
There’s nothing quite like a well-worn pair of leather boots. They can add instant style and edge to any outfit, but sometimes they can be a little too polished and perfect. It is important to know how to distress leather boots.
You have to be persistent to complete the process perfectly. It is important to follow the instructions with proper acknowledgment. If you’re looking for a way to give your boots a little more character, distress them! It’s an easy process that anyone can do at home, and the results are worth it. Keep reading for instructions on distressing your leather boots in some easy steps.
Materials You Will Need
- Water
- Sandpaper
- Leather dye
Reasons to Distress Leather Boots
1. Gives the Boots a Unique Look
One of the primary reasons people choose to distress their leather boots is because it gives the boots a unique look. Distressed leather looks different than traditional leather, and it can add a bit of personality to any outfit.
2. Makes the Boots More Comfortable
Another reason people choose to distress their leather boots is that it makes the boots more comfortable. Distressed leather is softer and more pliable than traditional leather, which makes it more comfortable to wear. Additionally, distressed leather conforms to the shape of your foot over time, which further increases its comfort.
3. Protects the Boots from Water Damage
Distressing your leather boots can also help to protect them from water damage. When leather gets wet, it can swell and warp, which can ruin the shape of the boot. However, distressed leather is less likely to swell and warp when it gets wet, which means that your boots will retain their shape even if they get caught in a rainstorm.
4. Increases the Boots’ Longevity
Another benefit of distressing your leather boots is that it can increase their longevity. Leather that has been distressed is less likely to crack and tear than traditional leather, which means that your boots will last longer if you distress them.
5. Makes the Boots Easier to Clean
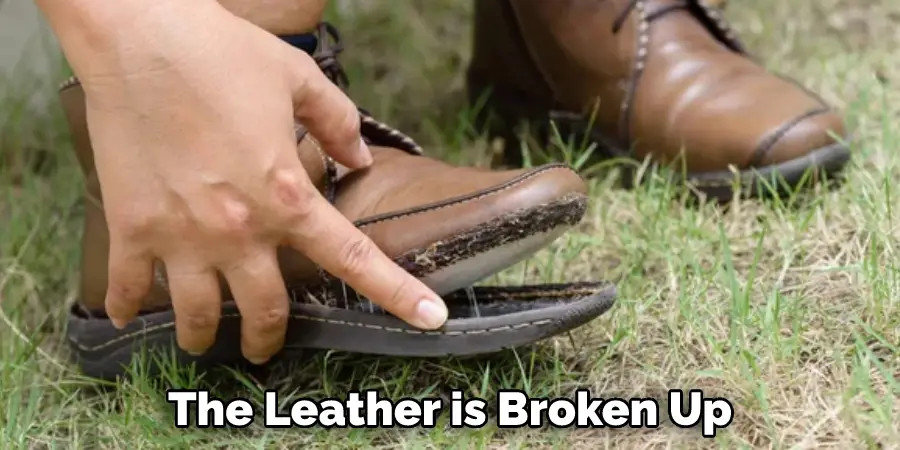
Distressed leather is also easier to clean than traditional leather. Because the surface of the leather is broken up, dirt and debris are less likely to become trapped in the pores of the boot. As a result, you won’t have to spend as much time cleaning your boots if you distress them.
6. Helps Hide Scuffs and Scratches
Scuffs and scratches are inevitable when you wear leather boots, but they’re much less noticeable on distressed leather than they are on traditional leather. If you’re worried about your boots getting scuffed or scratched, distressing them can help to hide any imperfections.
7. It’s a Simple Process
Finally, people often choose to distress their leather boots because it’s a relatively simple process. You don’t need any special skills or tools to distress your boots – all you need is some sandpaper and elbow grease!
7 Steps Guide on How to Distress Leather Boots
Step 1: Moisten the Boots
The first step in distressing your leather boots is to moisten them. This helps to soften the leather, which makes it easier to work with when you begin to sand it. To moisten your boots, simply wet a cloth and wipe it over the surface of the boot until it is damp but not soaked. This will create a light overall distressed effect.
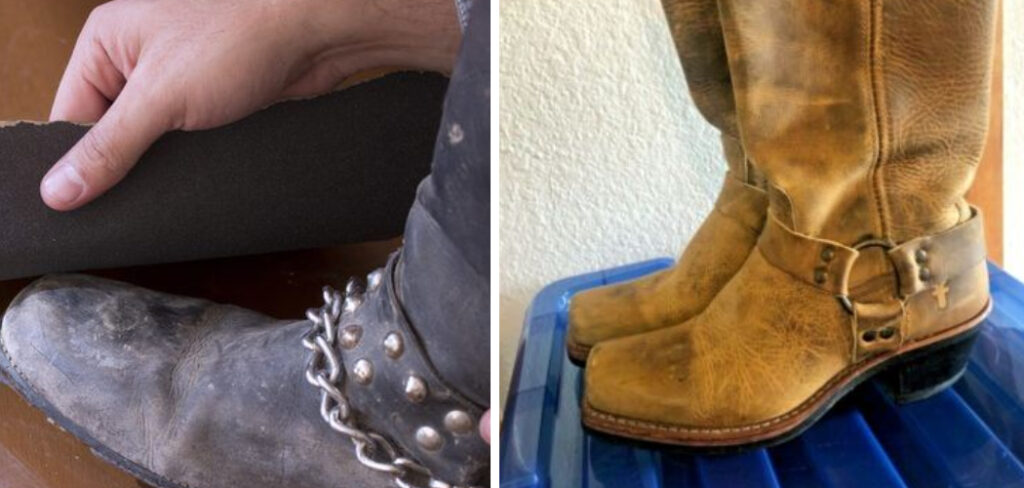
Step 2: Sand the Boots
Once your boots are damp, it’s time to start sanding them. Use medium-grit sandpaper and begin at the toe of the boot, working in small circles until you have worked over the entire surface. Don’t apply too much pressure as you sand – just use enough pressure to grind away the top layer of leather.
Step 3: Apply Leather Dye
If you want to add a bit more character to your boots, you can opt to apply some leather dye after sanding them. This will help to give the boots an aged look and make them look even more unique. To apply the dye, use a soft brush and work the dye into the surface of the boot. You should carefully dye the leather.
Step 4: Wipe Away Excess Dye
If you choose to apply the leather dye, once you have finished brushing it on, use a damp cloth to wipe away any excess dye. This will help to ensure that the color is even and that there aren’t any patches of dye left on the boot. Excess materials should not be allowed. You have to be careful about this thing.

Step 5: Buff the Boots
Once you have finished sanding and/or dyeing your boots, it’s time to buff them. Use a soft cloth or an old t-shirt to gently rub the surface of the boots in a circular motion until they are nice and shiny. By following proper guidelines you have to buff the boots. If any parts are not organized during the time of buffing, it can cause a huge problem.
Step 6: Condition the Boots
Once your boots are buffed, it’s important to condition them to keep the leather soft and supple. You can use a commercial leather conditioner, or you can make your own with natural ingredients like olive oil and vinegar. All you need to do is mix equal parts of each ingredient and then apply it to the boots with a soft cloth.
Step 7: Let the Boots Dry
Once you have finished conditioning your boots, let them dry completely before you wear them. This will help to ensure that the conditioner is fully absorbed and that your boots are ready for wear. You should properly dry in a proper manual.
Enjoy Your Distressed Leather Boots. Now that your boots are distressed, you can enjoy wearing them for years to come. Distressed leather is incredibly durable and will give you a unique style that will never go out of fashion.
Tips on How to Distress Leather Boots
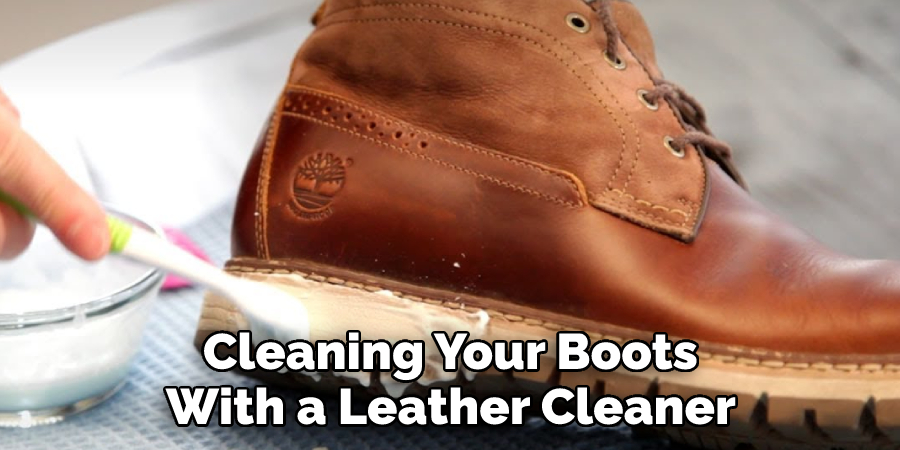
- Start by cleaning your boots with a leather cleaner or saddle soap. This will remove any dirt, grime, or salt that may be on the surface of the leather.
- Once your boots are clean, you will want to apply a leather conditioner. This will help to keep the leather from drying out and cracking.
- Next, you will need to choose the color of boot you would like to distress. You can either choose a dark color, such as black or brown, or a light color, such as tan or white.
- Once you have chosen the color of your boot, you will need to apply a layer of primer. This will help the paint to adhere to the leather and prevent it from peeling off.
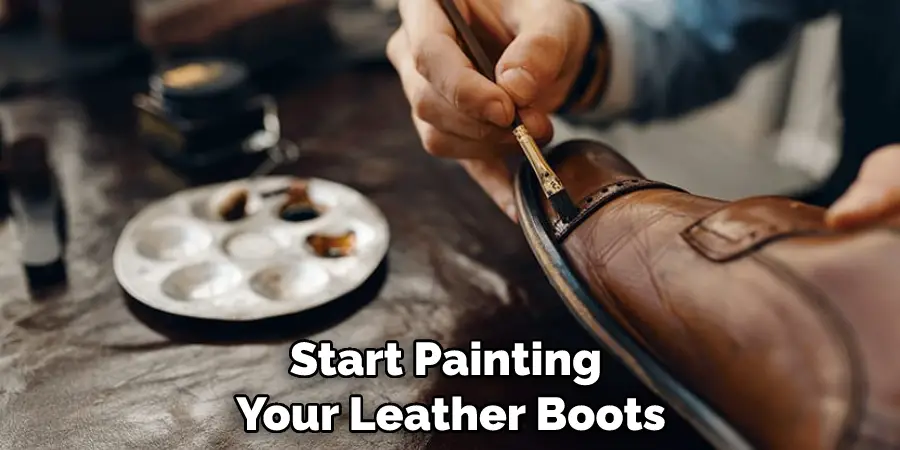
- After the primer has dried, you can now start painting your boots with a distressed look. You can either use a sponge or brush to apply the paint.
- Once the paint has dried, you will want to apply a top coat of clear sealer. This will help to protect the paint and give your boots a shiny finish.
- You will want to buff your boots with a soft cloth to remove any excess sealer or paint.
You Can Check It Out to Take Apart Leather Couch
Frequently Asked Questions
How to Choose the Right Color of Leather Boots?
When it comes to choosing the right color of leather boots, there are a few things to keep in mind. First, consider what color of pants or skirt you’ll be wearing most often with the boots. Black and brown are always safe choices that will go with nearly anything, but if you want something more unique, opt for a shade like Burgundy or olive green.
You should also think about what time of year you’ll be wearing the boots most often. Bright colors are perfect for spring and summer, while darker shades are ideal for fall and winter. Finally, keep in mind that leather is a natural material, so there may be some slight variations in color from one pair of boots to the next. But don’t let that discourage you – these variations add to the beauty of leather and make each pair of boots truly one-of-a-kind.
How to Apply Primer to Your Leather Boots?
Before you can start painting your leather boots, you need to prime them. This will help the paint to adhere better and also prevent the leather from being damaged by the paint. To prime your boots, you will need a primer designed for use on leather. You can apply the primer with a brush or a sponge.
Once you have applied the primer, you will need to let it dry completely before you start painting. When the primer is dry, you can then start painting your boots. Make sure to follow the instructions on the paint can for the best results. Once you have finished painting, you will need to let the boots dry completely before you wear them.
How to Distress Brown Leather Boots?
Brown leather boots are a timeless wardrobe staple, but they can sometimes look a little too polished. If you want to give your boots a more rugged, lived-in look, there are a few easy distressing techniques you can try at home.
One approach is to simply rub the surface of the leather with a wire brush. If you want something more specific, you can use the wire brush to create patterns or lines in the leather.
Another option is to use sandpaper to distress the surface of the boots. This will create a more textured look. start with medium-grit sandpaper and work your way up to a finer grit for a smoother finish.
Whichever technique you choose, be sure to work slowly and evenly to avoid damaging the leather. With a little time and effort, you can easily transform your brown leather boots into a stylish statement piece.
Conclusion
Now that you know how to distress leather boots, it’s time to put your new skills to the test. Go forth and create a pair of beautiful, unique boots that are sure to turn heads. If you want to add some character to your boots and make them unique, consider distressing them.
This process is easy and only requires a few materials that you likely already have at home. With a little time and effort, you can create a beautiful pair of distressed leather boots that will last for years.
You Can Check It Out to Store Leather Shoes