Are you looking for a way to bring your favorite leather jacket, boots, or purse back to life? The answer may be simpler than you think–drying! Leather can take repeated abuse and still look fabulous if it is properly dried.

In this blog post, we will guide you through how to dry leather so that your cherished items are returned to their former glory. Whether it’s clothes, shoes, bags — or any other item made of leather — we’ll show you everything needed to restore the piece chemically and physically. So buckle up and let’s get started with the basics of drying your beloved leather pieces!
Needed Materials
Before you start drying your leather, make sure you have all the necessary materials to do it properly. Here’s a list of what is required for the job:
- A Soft Cloth or Towel (Preferably Microfiber)
- A Vacuum Cleaner With Upholstery Attachment
- Cleaning Solution Specifically Created for Leathers
- A Hairdryer
11 Step-by-step Guidelines on How to Dry Leather
Step 1: Clean and Vacuum the Leather
The first step in drying leather is to give it a thorough cleaning. Start by using a soft cloth or towel to remove any dirt, dust, and debris stuck on the leather. If there’s any stubborn dirt, use a vacuum cleaner with an upholstery attachment to get rid of it. It’s important to do this before applying any leather cleaning solutions, as dirt and debris could interfere with them.
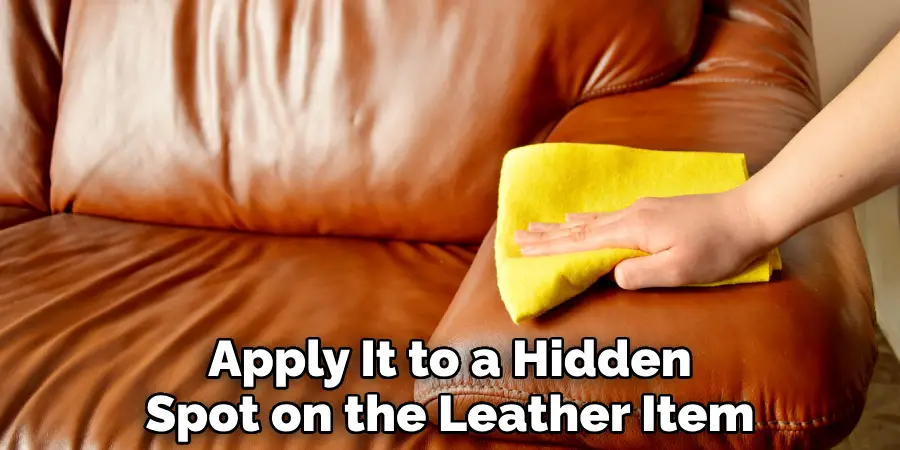
Step 2: Test Out a Small Spot for Colorfastness
Before you clean or dry your entire leatherette item, make sure it’s colorfast. To do this, take a small amount of leather cleaning solution and apply it to a hidden spot on the leather item. Wait a few minutes for the cleaner to dry, then check if any color is removed or transferred onto the cloth you used. If there’s no transfer after five minutes, your item is safe to clean or dry.
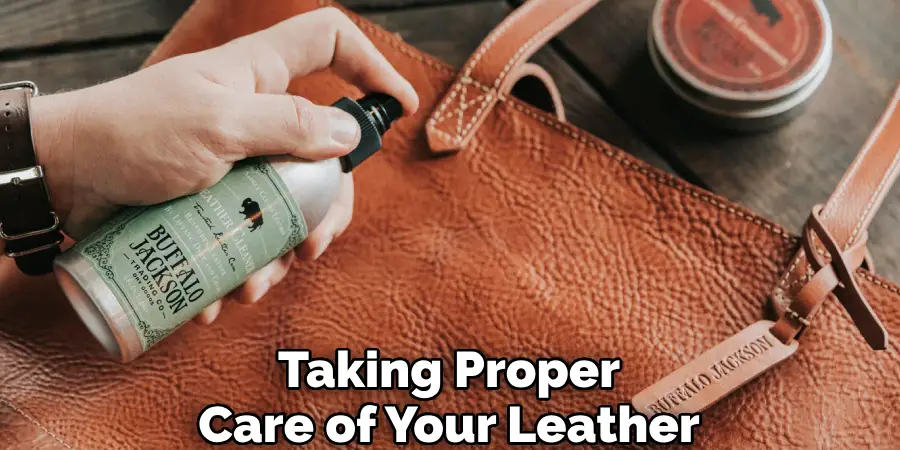
Step 3: Apply the Leather Cleaning Solution
Once you’re sure your leather item is colorfast, it’s time to apply the cleaning solution specifically created for leathers. Make sure to follow the instructions on the bottle carefully and never mix different cleaners together — this can cause permanent damage to your leather item.
Step 4: Let the Cleaner Sit
Once you’ve applied the leather cleaning solution, let it sit for five to ten minutes. This will give the cleaner time to break down dirt and debris stuck in the pores of the leather. But don’t let the cleaner sit for too long — it could damage the leather. It’s best to stick to the time frame listed on the bottle. But if in doubt, it’s always best to err on the side of caution and go with a shorter cleaning time.
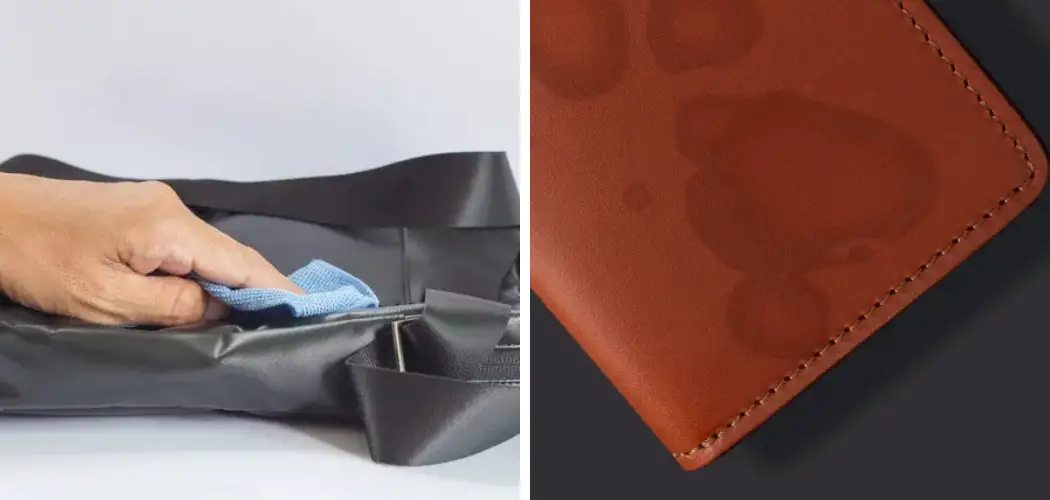
Step 5: Wipe Away Excess Cleaner
After letting the cleaner sit for a few minutes, take a clean cloth and wipe away any excess cleaner. Make sure to avoid using too much pressure, as this could damage the leather. Otherwise, all the cleaners should be removed from the leather item. It’s important to remember that when it comes to drying leather, cleaning is always the first step. If the leather isn’t properly cleaned, all other drying steps will be much less effective.
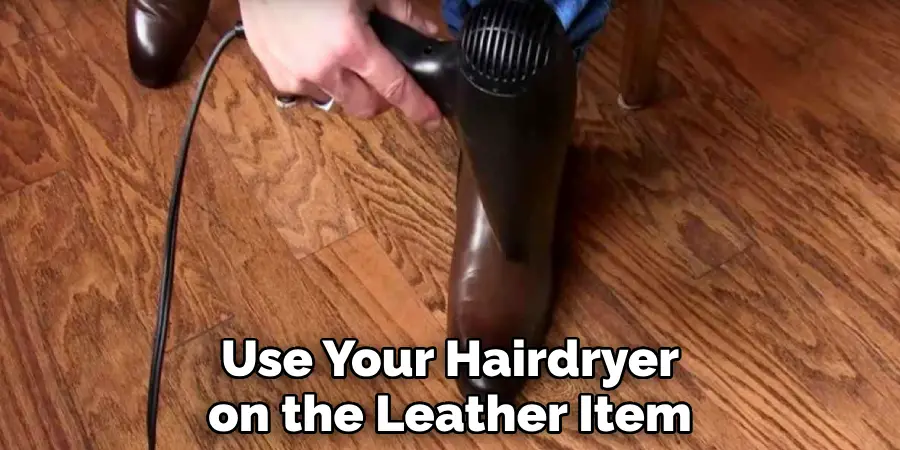
Step 6: Use a Hairdryer to Dry Leather
Once you’ve wiped away the excess cleaner, it’s time to use your hairdryer on the leather item. The airflow will help speed up the drying process, ensuring your leather item doesn’t have any moisture left in it. Make sure to keep the dryer at least six inches away from the leather and keep it moving so that you don’t damage or overheat the leather.
Step 7: Let Air Dry
Once you’re done with step 6, let your leather item air-dry for at least an hour. This will give the leather time to absorb all of the cleaning solutions and ensure that there’s no moisture left in it. However, if the leather item is still damp after an hour, you can use a hair dryer again to complete the drying process. It’s important to remember that air drying is the most important part of leather care.
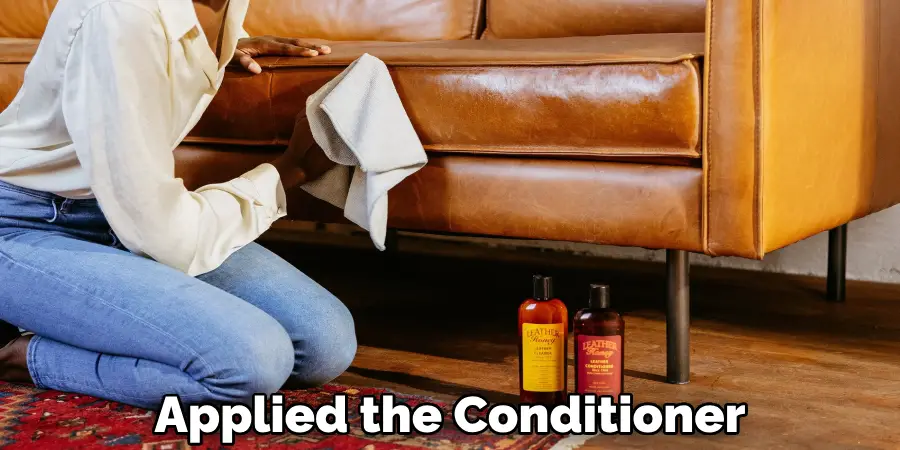
Step 8: Condition
Once your leather item is completely dry, it’s time to condition it. Take a soft cloth and apply a small amount of leather conditioning cream or oil. Make sure to spread the product evenly, avoiding any excess accumulation. This will help reduce the drying and cracking of the leather item. But make sure not to over-condition, as this can cause the leather to become stained or discolored. Otherwise, your leather item should look and feel as good as new!
Step 9: Wipe Away Excess Conditioner
After you’ve applied the conditioner to your leather item, take a clean cloth and wipe away any excess. Make sure to avoid using too much pressure – this could damage the leather. Although you might be tempted to leave the conditioner on your leather item, it’s important to remember that too much conditioning can actually cause the leather to become stained or discolored. Otherwise, all of the excess conditioners should be wiped away.
Step 10: Let the Conditioner Absorb
Now that you’ve applied the conditioner and wiped away any excess, let it absorb into the leather for at least an hour. This will help keep your leather item soft and supple. Whether you let the conditioner absorb for longer or shorter is completely up to you, however. Just make sure that it has been given enough time to sink in and do its job. It’s also important to remember that failure to leave the conditioner on for the recommended amount of time will make it less effective.
Step 11: Buff with a Soft Cloth
Finally, take a soft cloth and buff your leather item to restore its shine. This will help keep it looking like new and make sure your beloved item is returned to its former glory. Always remember that when it comes to drying leather, patience is key. You must take the time and effort required to properly dry your leather item or else you risk damaging it. But with a bit of dedication and attention to detail, you’ll be able to keep your beloved leather items in pristine condition for years to come!
We hope this guide on how to dry leather was helpful. If you have any questions or need help, don’t hesitate to contact us! We would be more than happy to help you out. Happy Drying!
Frequently Asked Questions
Q: How Often Should I Dry My Leather Items?
A: It’s recommended that you dry and condition your leather items every six months to keep them in top shape. This will help prevent the drying and cracking of the leather. It’s also important to make sure you use a cleaning solution specifically created for leather so that you don’t damage the item.
Q: Is it Safe to Use a Hairdryer on Leather?
A: Yes, it is safe to use a hairdryer on leather as long as you keep the dryer at least six inches away from the leather and keep it moving. This will help ensure that you don’t damage or overheat the leather item.
Q: Can I Use Regular Cleaning Solutions on Leather?
A: No, using regular cleaning solutions on leather can cause permanent damage to your items. We recommend that you only use a cleaning solution specifically created for leather. This will help ensure that your leather item is properly cleaned and conditioned without any damage.
Q: What Should I Do If I Notice My Leather Item Is Cracking?
A: If you notice that your leather item is cracking, it’s best to stop using it immediately and seek professional advice. This could be a sign of severe wear and tear, and you should take it to a specialist who can help restore it. Taking proper care of your leather items will help keep them looking like new for years to come.
Conclusion
Leather can be an expensive and difficult fabric to work with, but when you know the right way to dry it, it can become a key staple in your wardrobe. Through proper care and maintenance of leather pieces, you can make them last for decades. Now that you have the skills to properly dry your leather items, don’t forget to research other ways of taking care of your investment such as preserving and cleaning them regularly.
Drying leather doesn’t have to be a chore, because it can actually extend the life of the garment itself, as well as its color and texture if done correctly. Once mastered, this technique will become part of your regular routines and keep all your favorite leather garments looking their best year after year. So go ahead and share these essential tips on drying leather with others so we all get the most out of what our closets have to offer – durability with fashion! Thanks for reading this article on how to dry leather.