
Are you looking for a creative way to personalize your leather purse and make it truly unique? Dying your leather purse can be surprisingly easy with the right steps, materials, and patience.
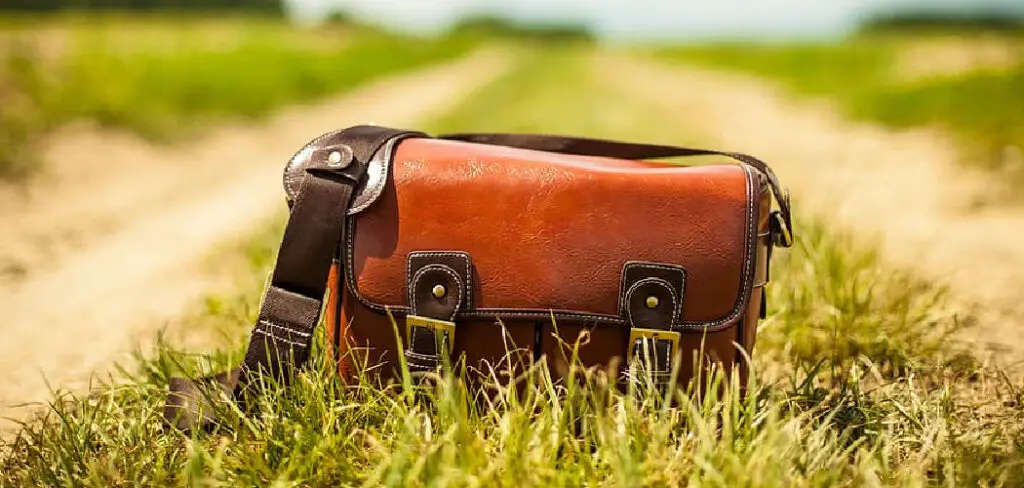
From choosing the right color dye to making sure your leather is primed and ready for use, there are a few essential tips that will guarantee success when it comes to mastering this craft. In this blog post, we’ll explain exactly how to dye leather purse and provide useful tricks along the way so you can be confident in your handmade project!
What Materials Will You Need for Dying Leather Purse?
Before you can begin dyeing your leather purse, it’s important to make sure you have the right materials. The essentials for dying a leather purse include:
- Leather Conditioner
- Leather Preparer/Cleaner
- Aniline or Pigment Dye
- Leather Finishes
- Clean Cloth
- Brush and Sponge
- Gloves
Step by Step Instructions on How to Dye Leather Purse
Step 1: Prepare the Leather
Before you begin to apply the dye, it is essential that your leather surface is clean and conditioned. This can be done using a leather cleaner or conditioner, which will help to remove any dirt or oils that may interfere with the dying process.
Step 2: Apply the Dye
When it comes to choosing a dye, you will have two main options – aniline or pigment dyes.
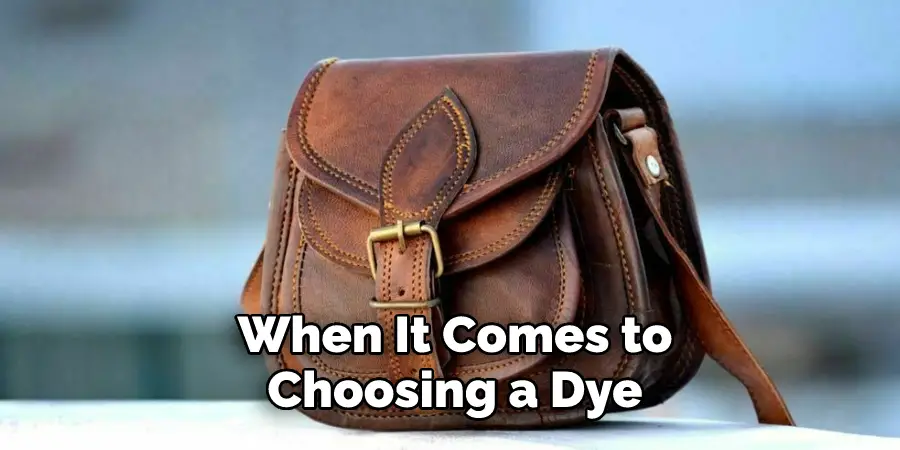
Aniline dyes are considered the best for dying leather since they penetrate deeper into the material and provide better coverage, while pigment dyes tend to stay on top of the leather surface, creating a more vibrant effect. Once you have selected your dye, use a brush to apply it across the entire purse evenly.
Step 3: Let It Dry
Once your leather purse has been completely dyed, allowing adequate time for the dye to completely dry and set is important. This may take up to 24 hours, depending on the dye type and amount used.
After 24 hours, check the consistency of the dye by rubbing your finger across the material. If it’s still too wet, increase the drying time. Don’t let it dry to sunlight, as this can alter the color. Use a fan, or keep it in the shade.
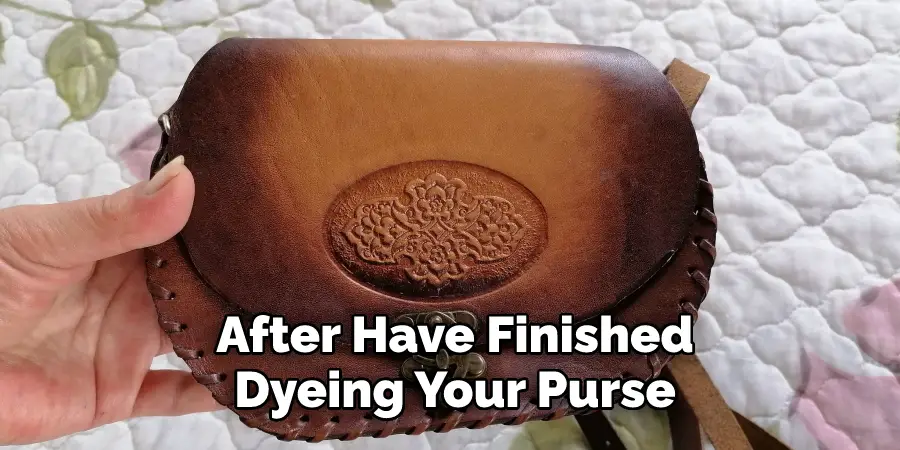
Step 4: Apply Finishes
After your leather has dried completely, apply a few coats of leather finishes such as acrylic or shellac for extra protection against wear and tear. Acrylic will provide a glossy finish, and shellac will create a matte effect.
And there you have it! With these simple steps, you can easily dye your leather purse and make it look beautiful and unique in no time. With a bit of practice and patience, you’ll be able to master this craft in no time. Good luck!
Some Important Tips and Tricks to Dye Leather Purse
- Always condition the leather purse before dyeing. It will help ensure a more even application of the dye and increase the life of your purse.
- Do a patch test on one corner of the purse before you begin so that you can check if the dye will take on leather.
- Prepare your leather purse for dyeing by cleaning it with a mild detergent or saddle soap. Make sure to remove any dirt, oils, or other contaminants from the surface of the leather.
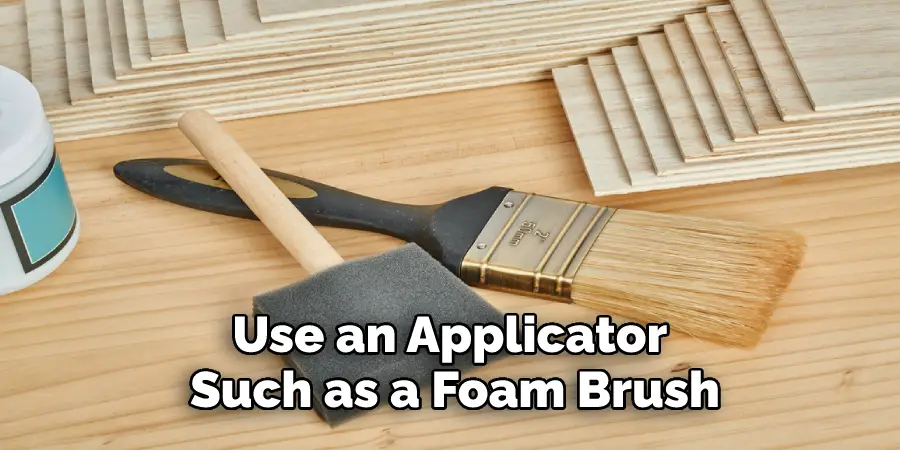
- Use an applicator such as a foam brush, cloth, or spray bottle to apply the dye to your leather purse. Be sure to coat the entire surface with the dye evenly.
- After applying the first coat of dye, allow it to dry completely before applying a second coat. This will ensure even coverage and a better finish.
- When finished with the dying process, allow your leather purse to cure for 24 hours before using it again.
- To keep your leather purse looking its best, regularly condition it with a quality leather conditioner. This will help protect the dye color and keep the leather soft.
By following these tips and tricks when dyeing a leather purse, you can be sure to get the best results possible! With the right steps, you’ll have a beautiful, colorful accessory that will last you for years to come. Enjoy!
Things You Must Consider to Dye a Leather Purse
1. Type of leather
You must know the type of leather your purse is made from to determine the best dyeing method and product. For example, vegetable-tanned leather will require a different approach than chrome-tanned leather.
2. Dye color
Do you want the dye to cover them completely or just enhance the color of your purse? Do you want a light hue or something more dramatic and bold? You will need to choose the right type of dye that is specifically designed for leather.
3. Preparing the leather
Before you begin dyeing, it is essential to prep the surface of the leather. Clean off any dirt or debris, and then use a prep solution to open up the pores of the leather so that it can absorb the dye.
4. Applying the dye
You can apply the dye with a brush, sponge, airbrush, or spray bottle, depending on the size and shape of your purse and what kind of effect you are looking for. Be sure to work in small sections and use a circular motion when applying the dye with a brush or sponge.
5. Finishing touches
After you have finished dyeing your purse, it is important to seal it in color and protect the leather from damage. Use a high-quality leather sealant as well as a conditioner to help the dye stay in place and keep the leather from cracking or fading.
Considering these tips, you can confidently dye your leather purse to bring it back to life and show off your unique style. Enjoy!
Different Types of Dying
When it comes to dying leather, you have two options – either a water-based dye or an oil-based dye. Water-based dyes are available in a range of colors and can be applied with a foam brush or sponge. This type of dye is quick and easy to apply but may not create as vivid results as oil-based dyes.
On the other hand, oil-based dyes are much more resistant to fading and produce more vivid results, but they can be more difficult to apply and require a bit more time and effort. Oil-based dyes should be applied with a brush and require multiple coats to achieve the best results.
When deciding how to dye your leather purse, you must decide which type of dye is right for your project. Be sure to use a quality product and follow the manufacturer’s instructions carefully. With the right technique, you can create a beautiful, vibrant leather purse that will last for years to come. Good luck!
Frequently Asked Questions
What Color Will Be Best for a Dying Leather Purse?
This will depend on your preferences and the type of leather you are using. Generally, darker hues like black or brown work best when dyeing leather items, but you can also go for a more subtle color like tan or beige if that suits your style better.
Can I Use Regular Fabric Dye to Dye My Leather Purse?
No, regular fabric dye will not be suitable for dying a leather purse. You will need to use a specific leather dye that is designed to penetrate the leather and bind with it so that it won’t crack or fade.
Will I Need to Reapply the Dye Over Time?
This depends on a few factors, including how often you use your purse and where you store it. If you take good care of your leather purse, you should not have to apply dye again for at least several years. However, applying a protective sealant after each dyeing session can help extend the color’s life.
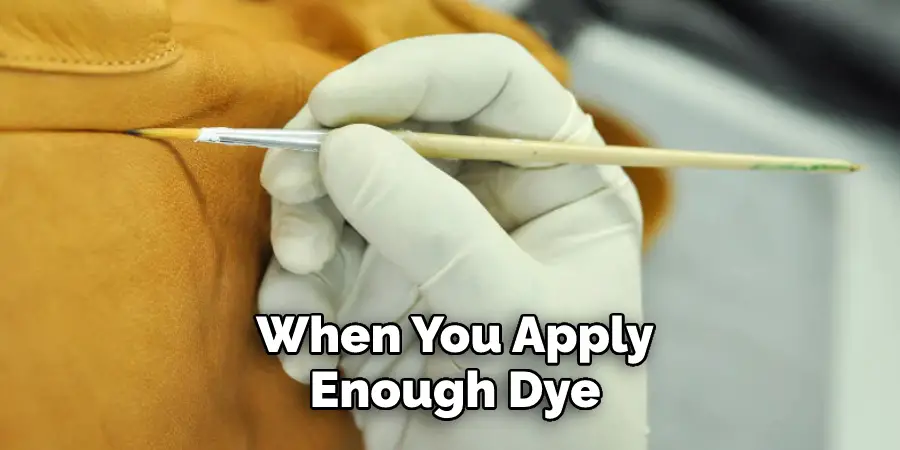
What Are the Signs of Understanding My Dying is Complete?
When you apply enough dye, your leather purse’s surface should look even and slightly glossy. You can also do a light water test to ensure the color has penetrated through. Just dab some water on an inconspicuous area of the purse, and if it beads up without any color running, you’re done! Also, remember to let the dye cure for 24 hours before using it again.
Conclusion
Dying a leather purse is an interesting and rewarding activity; you can express your personality and create unique pieces of clothing. Knowing how to dye leather purse correctly can also save you money in the long run from purchasing multiple items when all you really need is one custom-made item that suits any occasion.
It’s important to remember that any dyed item should be waterproofed for best results; this will help keep your leather project looking vibrant for many years to come. The process itself may take time, but it’s well worth it for the end result!
Finally, have fun with your leather dying projects, experiment with different colors or perhaps try a combination of patterns and textures on the same piece. With the right supplies, creativity, and care – you’ll be able to create something truly special!