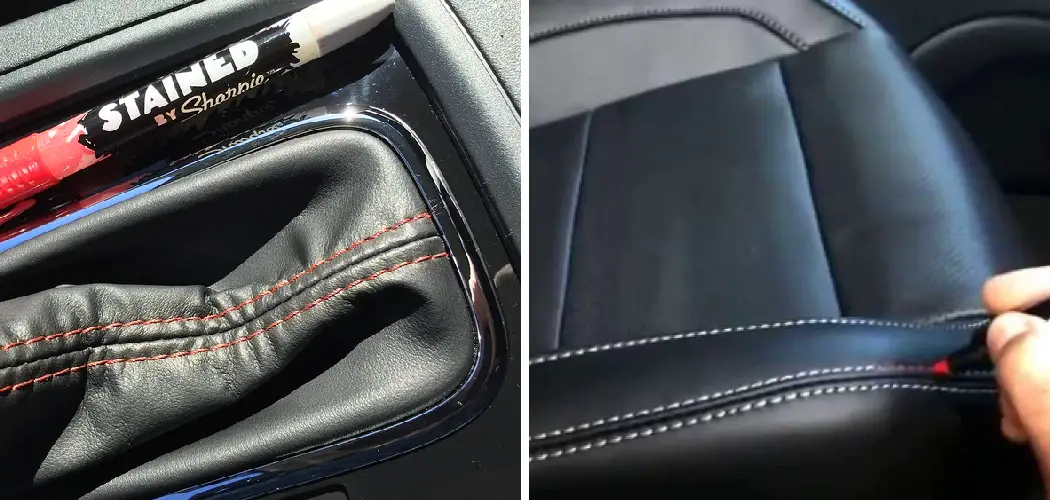
Do you have an old leather item that needs a little extra zing? Or, perhaps, you want to give a new item some vintage appeal and make it stand out from the rest. Dyeing stitching on leather is one of the best ways to upgrade your favorite bag, wallet, or other accessories – and it’s actually not as difficult as you might think!

In this blog post, we’ll discuss how to dye stitching on leather and tips for ensuring your project looks professional. With just a few simple steps and materials required, dying stitching on leather doesn’t have to be intimidating or expensive. Read on for more information about how you can craft your own DIY masterpieces in no time!
Materials Required for Dye Stitching on Leather
- A leather item of your choice
- Leather dye
- Stitching thread (leather thread is best)
- Needle
- Rubber gloves
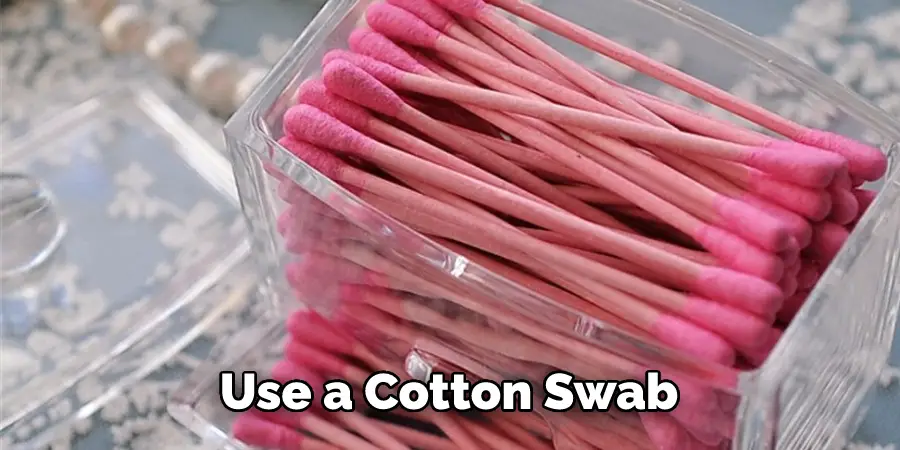
- Use a cotton swab or rag to clean up the area after you’ve finished.
Step-by-step Guidelines on How to Dye Stitching on Leather
Step 1: Adding Leather Dye to a Container
Start off by adding a small amount of leather dye to an old container. Make sure to use rubber gloves when handling the dye, as it can stain your skin. You should add leather dye to the container because it’s safer and easier to work with. Sometimes the container might already be marked with dye from the factory, but this doesn’t mean it’s unusable.
Step 2: Dipping Your Stitching Thread in the Leather Dye
Then, dip your stitching thread into the leather dye and make sure it’s completely saturated. Allow it to sit for a few minutes before taking it out and allowing any excess dye to drain off. Dipping is preferable because it ensures even distribution and better dye coverage on your leather. Make sure while you are doing this step; the dye doesn’t come in contact with any other surfaces.
Step 3: Stitching on Leather
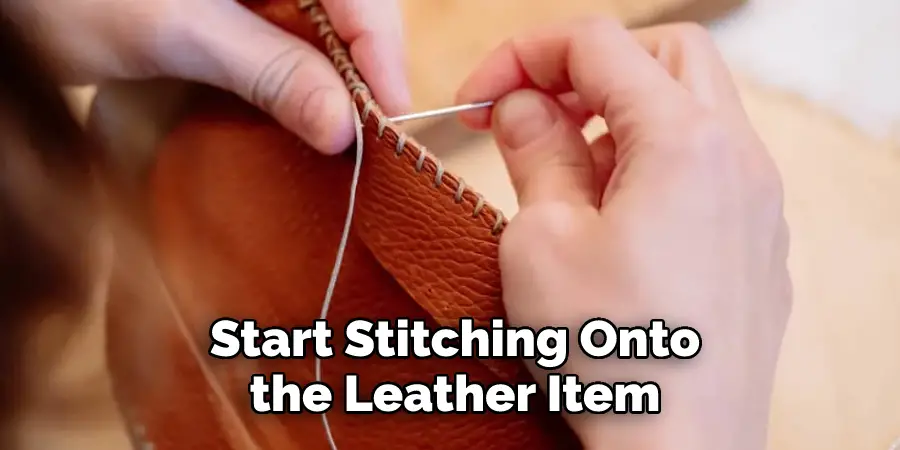
Once you’ve got your thread ready, it’s time to start stitching onto the leather item. Use a simple whip stitch or blanket stitch to create the desired pattern, and make sure to keep your stitches evenly spaced. While stitching, you may need to use a damp rag to remove any excess dye from the area. This will prevent any unwanted smudges or spills.
Step 4: Dyeing Your Stitching
After you’ve finished stitching, dip your needle and thread into the leather dye again. Make sure to saturate the entire thread length to ensure all your stitches are dyed evenly. If it’s not dyed evenly, you may need to go back and touch up some areas with a damp rag. That’s it! Once you’re satisfied with the color, leave your leather to dry for a few hours before use.
Step 5: Cleaning Up
Finally, use a cotton swab or cloth to remove any excess dye from the leather item and stitching. Make sure to wipe away any dye residue from the edges and corners as well so that your item looks polished and professional when completed.
Congratulations! You have now successfully learned how to dye stitching on leather. It’s a fun and easy way to give new life to an old favorite or add some vintage vibes to a new item. With just the right materials and a little bit of time, you can upgrade your look in no time!
Some Other Tips and Tricks to Dye Stitching on Leather
1. Use Leather Thread Instead of Regular Cotton Thread
Leather thread is specially designed for use on leather items, which means the dye will adhere better and last longer. Using leather thread is beneficial because it’s stronger and more resistant to wear and tear.
2. Test the Color of Your Dye on a Scrap Piece of Leather Before Starting:
This ensures you get the desired color when working on your project. Test the color on a large scrap piece to better understand the final result.
3. Use a Damp Cloth to Clean Up Any Spills or Smudges
If you accidentally spill some dye onto your leather item, use a damp cloth to dab away any residue and avoid staining the area quickly. A damp cloth is also a great way to remove any excess dye from your stitching as well.
4. Use a Soft Brush to Remove Excess Dye From the Stitching:
If there’s still some excess dye on the stitching after it has dried, use a small, soft-bristled brush to remove any residue. This will ensure that your stitches look neat and clean when completed.
With these tips and tricks, you are now ready to dye stitching on leather like a pro! Have fun with it and experiment with different colors and patterns to create your own unique look.
Things You Need to Consider When Dye Stitching on Leather
1. Invest in Quality Leather Dyes
When dyeing stitching on leather, it’s important to invest in high-quality leather dyes so that the color will last longer and look more vivid. High-grade leather dyes are available at most craft stores or online.
2. Make Sure Your Leather is Clean and Dry
Before starting, ensure your leather item is clean of dirt and dust particles, which can affect the dye distribution. Also, ensure the leather is completely dry before you start dyeing to prevent any unwanted smudging or running of colors.
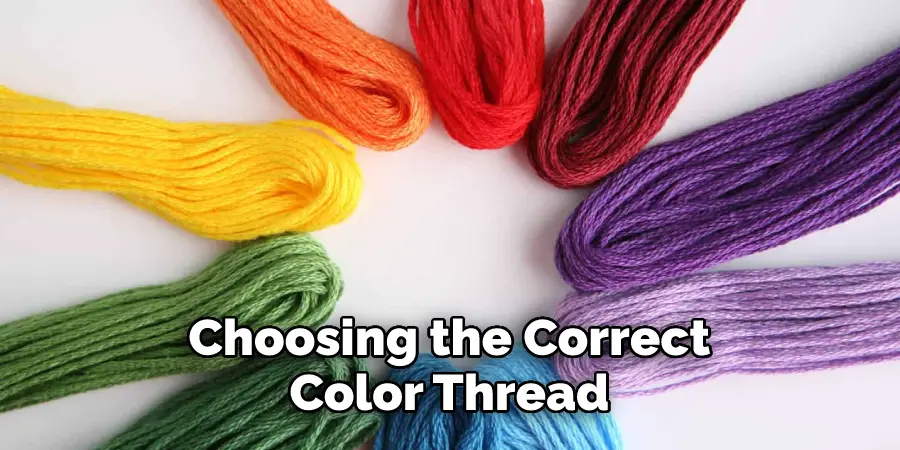
3. Choose the Right Color of Thread
Choosing the correct color thread to match your desired dye color is important. If you use more than one color, ensure all colors blend harmoniously. So be careful to choose the right color combinations for the best results.
4. Monitor Your Progress Carefully
Make sure to keep an eye on your progress as you work and check for any discrepancies or unevenness in dye distribution. Make adjustments as necessary to create the desired look. So you should always stay alert and take care not to rush.
5. Allow the Dye to Dry Completely
Once you’re done dyeing, allow it to dry completely before using your leather item. This will ensure that all colors have been set properly and any excess dye is removed. Stay away from touching or moving the leather item until it has completely dried.
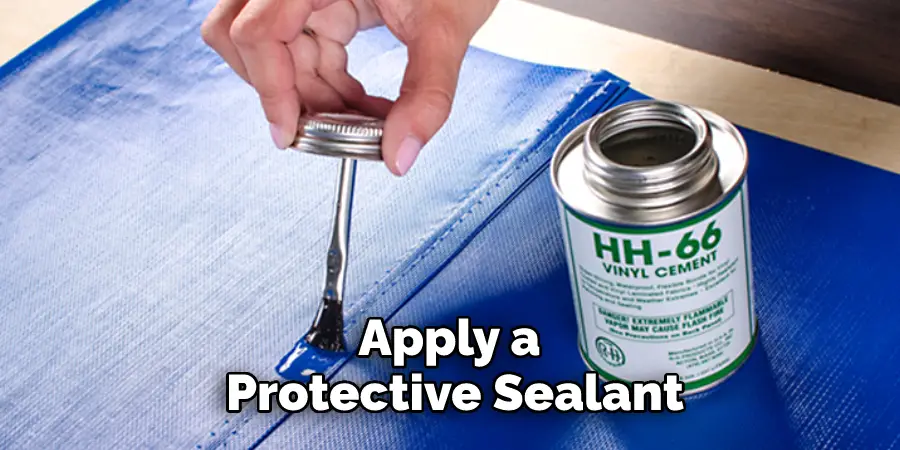
6. Add an Extra Layer of Protection
Once your dye job is finished, you can add a layer of protective sealant to help preserve the colors and keep them looking vibrant. This is especially important if your leather item will be exposed to the elements or wear and tear over time.
Frequently Asked Questions
Can I Do Dye Stitching by Myself?
Yes, dye stitching is a fairly simple process that you can do yourself. However, depending on the complexity of your project and the materials used, it may be beneficial to seek professional help.
What Type of Thread Should I Use When Dye Stitching?
When dye stitching leather, it’s best to use polyester or nylon thread as these are more durable and will last longer. Cotton thread is not recommended as it may break down over time.
What Tools Do I Need for Dye Stitching?
The basic tools you need for dye stitching include a sponge, dye brush, leather needles, scissors, and a rubber mallet. You may need additional tools if you’re using more complex techniques, such as edging or embossing.
Is There a Specific Dye I Should Use for Dye Stitching?
Yes, when dye stitching leather, it’s important to use a leather-specific dye that is specifically designed for this purpose. Buying from a reputable company is also recommended for the best results.
How Do I Know When the Dye is Completely Dry?
Testing it on a small leather area is the best way to tell if the dye has dried completely. If no signs of wetness remain, then it’s safe to assume that your dye job is finished and ready to use.
Do I Need to Seal the Dye After It Has Dried?
It’s generally recommended to apply a protective sealant over your dye job when you’re finished. This can help keep the colors from fading or smudging and will also make the leather more resistant to wear and tear.
Conclusion
Do you want to take your leatherworking project to the next level? Dyeing stitching on leather is a great way to add color and design without adding extra bulk. While this craft requires some patience, it’s worth the effort — after all, who doesn’t love putting their unique touch into a handmade item?
This article has shown how to dye stitching on leather can be done quickly and easily with just a few simple supplies. Also, offer tips on what types of dyes work best for different projects. No matter if you are a beginner or an experienced professional — this article has something for everyone!