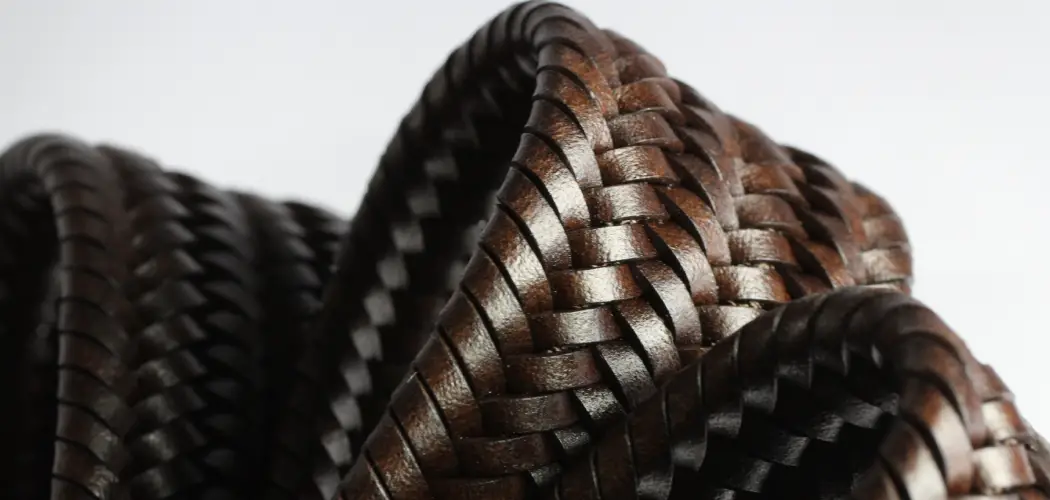
Embossing leather has been a popular way to add design and texture to leather goods for centuries. The art of embossing dates back to ancient civilizations such as Egypt and China. Today, it is still widely used in various industries, including fashion, crafts, and home decor.

One of the most common items that can be embossed is a leather belt. Not only does embossing add a unique touch to your belt, but it also adds durability and strength to the leather. In this guide, we will take you through the steps of how to emboss a leather belt and give you tips on creating a professional-looking design. So, let’s get started!
Understanding Leather Embossing
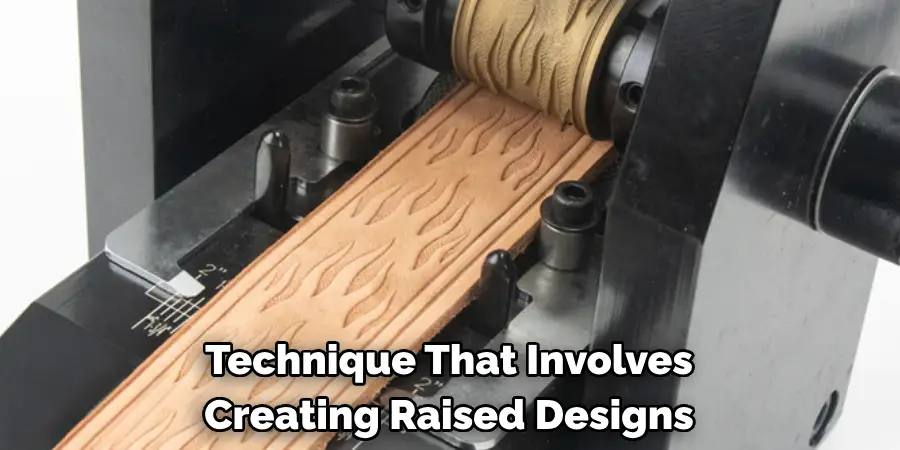
Embossing is a technique that involves creating raised designs or patterns on the surface of leather. This can be done by using heat, pressure, or a combination of both. The result is a textured design that adds dimension and character to the leather.
There are two types of embossing: blind embossing and foil stamping. Blind embossing uses just pressure to create the design, while foil stamping adds metallic or colored foil to the design. For this guide, we will focus on blind embossing as it is a more beginner-friendly technique.
Tools and Materials You Will Need to Emboss a Leather Belt
- Leather belt
- Design stamp
- Mallet or hammer
- Cutting board or rubber mat
- Embossing wheel or tracing stylus
- Vegetable-tanned leather oil (optional)
Step-by-step Guidelines on How to Emboss a Leather Belt
Step 1: Prepare Your Work Area
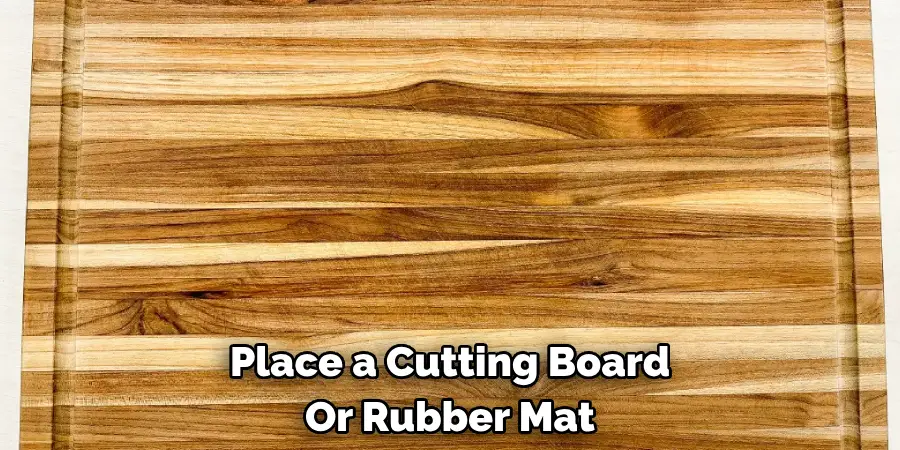
Before you start embossing, it is important to have a clean and flat work surface. It is also recommended to place a cutting board or rubber mat on the surface to protect it from any damage caused by hammering. Preparing your work area will ensure that you have a smooth and successful embossing process. If you are using a leather belt that has been previously oiled, make sure to wipe off any excess oil before starting.
Step 2: Choose Your Design Stamp
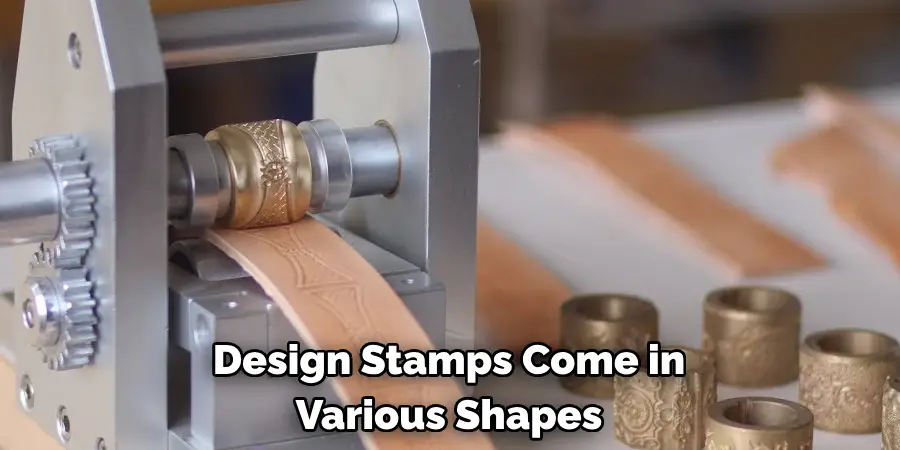
Design stamps come in various shapes and sizes. When choosing your design stamp, consider the size of your leather belt and the overall look you want to achieve. You can also find pre-made design stamps with popular patterns like flowers, animals, or geometric shapes. Choosing a stamp with a deep and defined design will give better results. If you are a beginner, it is recommended to start with a simpler design.
Step 3: Wet the Leather Belt
To make the embossing process easier, wet your leather belt with water. This will soften the leather and allow the stamp to leave a more defined impression. You can use a spray bottle or damp cloth to wet the leather evenly. Be careful not to soak the leather, as this can cause it to stretch and lose its shape. If you are using a pre-oiled leather belt, this step is not necessary. Make sure to wipe off any excess water before proceeding.
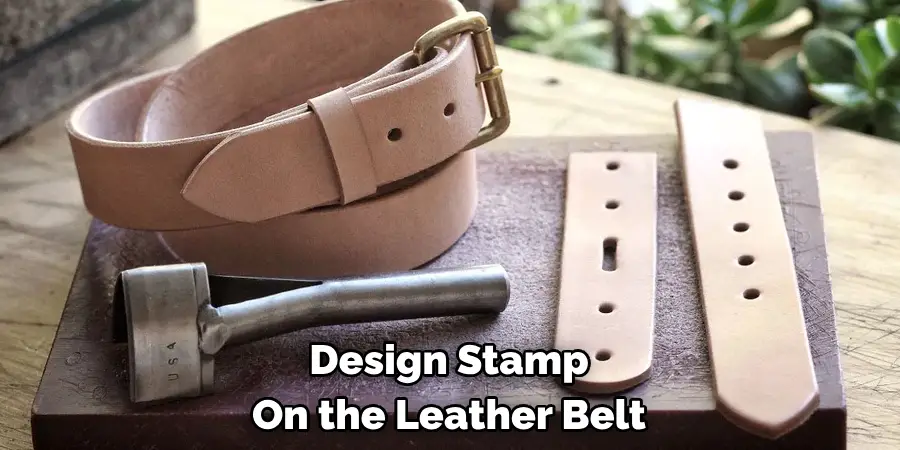
Step 4: Position the Design Stamp
Place the design stamp on the leather belt in the desired location. Make sure to press firmly and evenly so that the entire stamp makes contact with the leather. You can also use an embossing wheel or tracing stylus to mark out a pattern if you are not using a pre-made stamp. When using an embossing wheel, make sure to roll it firmly and smoothly over the leather.
Step 5: Hammer or Mallet Time!
This is where the fun part begins! Using a mallet or hammer, strike the design stamp with enough force to create an impression on the leather. Make sure to hit all areas of the stamp evenly to achieve a consistent design. If you are using a tracing stylus, go over the marked pattern with a mallet or hammer to create the same effect.
Step 6: Finishing Touches
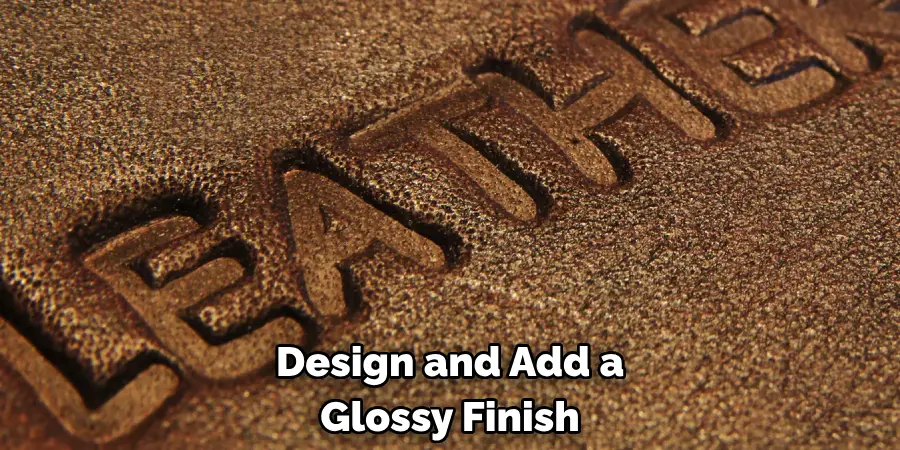
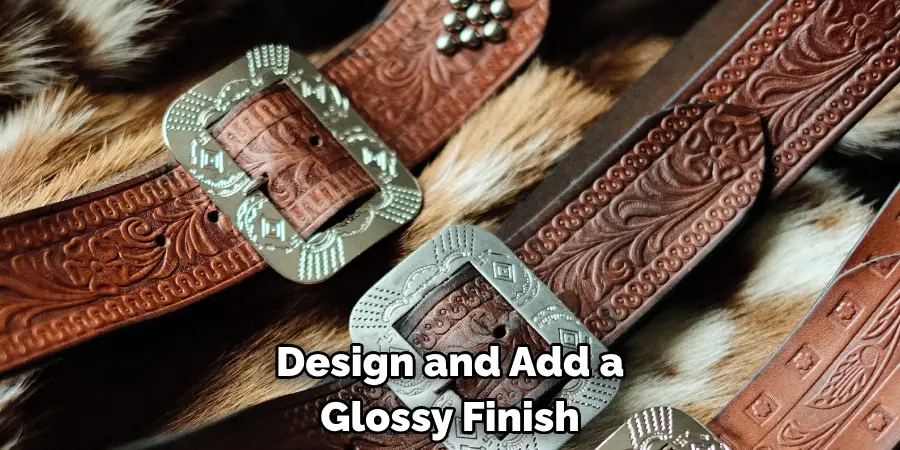
Once you have completed the embossing process, you can add finishing touches to your leather belt if desired. You can use vegetable-tanned leather oil to condition and protect the leather. This will also help to bring out the design and add a glossy finish. Allow the oil to soak in for about an hour before wiping off any excess with a clean cloth. Make sure to let the belt dry completely before wearing it. If you want to add color to your design, you can use leather dyes or paints specifically made for leather.
Following these steps will help you successfully emboss a leather belt and create a unique and professional-looking design. With practice, you can experiment with different stamps, techniques, and finishing touches to personalize your leather belts even further. So go ahead and add a touch of art to your wardrobe by embossing your leather belt! Happy crafting!
Additional Tips and Tricks to Emboss a Leather Belt
- Embossing a leather belt offers endless possibilities in terms of designs and patterns. Take advantage of this by experimenting with different patterns and textures to create unique and personalized belts. Some ideas include animal prints, geometric shapes, and floral designs.
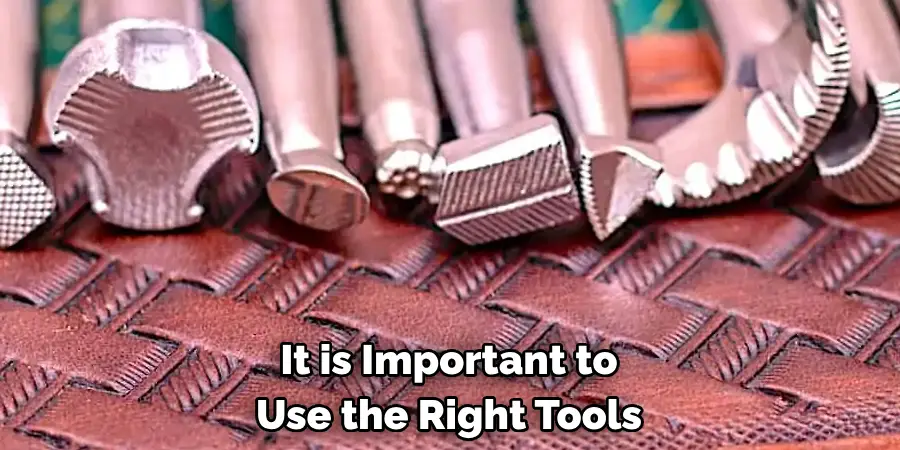
- When working with leather, it is important to use the right tools. A good quality embossing tool with a sharp and precise tip will make your work much easier and give you better results. Additionally, using a leather conditioning oil can help soften the leather and make it more pliable for embossing.
- Before embossing, it is recommended to test on a scrap piece of leather first. This will help you get a feel for the pressure and technique needed for the design you have chosen. It also allows you to make any necessary adjustments before working on the actual belt.
- When selecting a design or pattern, keep in mind the width and length of your leather belt. A large and intricate design may not look as good on a narrow or short belt, so choose accordingly.
- One way to add depth and dimension to your embossed design is by using multiple levels of pressure when making the impressions. This can be achieved by gradually increasing or decreasing the pressure applied by your embossing tool.
- If you are not confident in your freehand embossing skills, you can always use pre-made stamps or stencils. These are readily available at craft stores and offer a quick and easy way to add designs to your leather belt.
- When embossing, be sure to work on a flat and sturdy surface. This will allow for even pressure distribution and prevent any accidental slips or mistakes.
- For a more professional and polished look, consider dying your leather belt after embossing. This will enhance the design and make it stand out even more.
- Lastly, practice makes perfect! Embossing can be a challenging skill to master, but with time and patience, you will improve and create beautiful leather belts. Don’t be afraid to try new techniques and designs, and most importantly, have fun with them!
Following these tips and tricks will help you create stunning and unique leather belts that are sure to impress. Remember to always use high-quality materials and tools, and don’t be afraid to get creative with your designs. With a little practice, you’ll become a pro at embossing leather belts in no time! So go ahead, grab some leather, and start creating one-of-a-kind belts that will make a statement. Happy embossing!
Things You Should Consider to Emboss a Leather Belt
- The first thing you need to consider is the type of leather belt you want to emboss. There are various types of leather available in the market, such as full-grain, top-grain, and bonded leather. Each type has its unique characteristics and may require different techniques for embossing.
- Another factor to consider is the design or pattern you want to emboss on your leather belt. This will depend on your style and preferences, as well as the tools and materials you have available.
- It is important to choose the right embossing tools for the job. These can include stamps, rollers, or custom-made plates. Each tool will create a different effect, so it’s essential to experiment and find the one that works best for your desired outcome.
- The surface of the leather also plays a crucial role in the embossing process. A smooth and even surface will result in a clean and crisp embossed design, while an uneven or rough surface may lead to an incomplete or distorted pattern.
- Before starting the embossing process, make sure to prepare the leather properly. This includes cleaning and conditioning the leather to remove any dirt or oils that can affect the embossing.
- Practice makes perfect when it comes to embossing a leather belt. It is recommended to practice on scrap pieces of leather before attempting to emboss your actual belt. This will give you a chance to refine your technique and avoid any mistakes in your final product.
- Temperature and pressure are key factors in achieving a successful embossed design. Different types of leather may require different levels of heat and pressure, so it’s crucial to find the right balance for your specific material.
- When embossing with stamps or rollers, make sure to apply even pressure to ensure an evenly distributed design. Uneven pressure can result in incomplete or blurry patterns.
- If using custom-made plates for embossing, it’s essential to follow the manufacturer’s instructions carefully. These plates may require specific heat and pressure levels, as well as a certain amount of time for the design to set.
- Finally, after completing the embossing process, allow the leather belt to dry completely before handling or wearing it. This will ensure that the embossed design stays intact and does not get damaged.
Following these considerations will help you achieve a beautifully embossed leather belt that reflects your style and adds a unique touch to any outfit. Keep experimenting with different techniques and designs to create one-of-a-kind pieces that you can be proud of. Happy embossing!
Troubleshooting Common Issues to Emboss a Leather Belt
1. Uneven Pressure:
Uneven pressure can be one of the most common problems when embossing a leather belt. This can result in an incomplete or distorted embossed design, making the overall appearance of the belt unsatisfactory.
To troubleshoot this issue, ensure that your embossing machine is set at the correct pressure level for leather materials. If your machine does not have adjustable pressure, you can compensate by using a thicker or thinner piece of leather depending on the desired outcome. Another useful tip is to start with a lower pressure setting and gradually increase it until you achieve the desired result.
2. Uneven Heat Distribution:
Another common issue when embossing a leather belt is uneven heat distribution. This can result in parts of the design being over-embossed while other parts are under-embossed.
To troubleshoot this issue, make sure that your embossing machine is evenly heated before starting the process. If you notice hot spots on your machine, try moving the belt around during the embossing process to distribute the heat evenly. You can also try using a heat-resistant mat or parchment paper between the leather and the machine to prevent direct heat contact.
3. Incorrect Temperature:
The temperature setting is crucial when embossing a leather belt. Too low of a temperature can result in an incomplete or faint design while too high of a temperature can scorch the leather, ruining it completely.
To troubleshoot this issue, always start with a lower temperature setting and gradually increase it until the desired result is achieved. It is also essential to follow the manufacturer’s instructions and recommendations for temperature settings. If you are using a new embossing machine, do test runs on scrap pieces of leather first to determine the appropriate temperature setting.
4. Incompatible Materials:
Using incompatible materials can also lead to issues when embossing a leather belt. For example, using a leather material that is too thick or too soft may not emboss well.
To troubleshoot this issue, always ensure that you are using the correct type and thickness of leather recommended for your embossing machine. You can also try adjusting the pressure and temperature settings to see if it improves the results. It is also essential to test on scrap pieces of leather before embossing on the actual belt to ensure compatibility.
5. Improper Design Placement:
Sometimes, the issue may not lie with the machine or materials but rather with the placement of the design on the leather belt. If the design is not centered properly or is placed too close to the edge of the belt, it can result in an uneven or distorted embossed design.
To troubleshoot this issue, always measure and mark the placement of the design on the leather belt before embossing. Use a ruler or a template to ensure that the design is centered and evenly spaced from the edges of the belt.
Following these troubleshooting tips can help you overcome common issues when embossing a leather belt and achieve a professional-looking, high-quality result. Remember to always test on scrap pieces of leather first and make adjustments as needed to avoid any mistakes on your actual project. With practice and patience, you will become an expert at embossing leather belts in no time! So, keep practicing and have fun creating unique, personalized leather belts. Happy embossing!
Frequently Asked Questions
Can I Emboss a Leather Belt by Myself?
Yes, you can emboss a leather belt by yourself. It may seem like a daunting task at first, but with the right tools and techniques, anyone can learn how to do it. Embossing a leather belt is a fun and creative way to personalize your fashion accessories or create unique gifts for your loved ones.
Can I Emboss Any Kind of Leather?
Not all types of leather are suitable for embossing. Vegetable-tanned leather is the best choice for embossing as it has a firm and smooth surface that holds the impression well. Avoid using chrome-tanned leather or synthetic materials as they may not produce satisfactory results.
Should I Follow Any Precautions While Embossing Leather?
Yes, there are a few things to keep in mind before embossing leather. Make sure your work area is clean and well-ventilated to prevent dust or fumes from affecting your finished product. Also, be careful when handling heated tools or chemicals used for dyeing as they can cause burns or irritate the skin.
What Is the Best Tool for Embossing Leather?
The best tool for embossing leather is a handheld embosser, also known as a leather stamp or punch. These tools come in various designs and sizes and are specifically designed for creating detailed impressions on leather. You can also use a hammer or mallet to apply pressure on the embosser if you do not have access to a handheld one.
Conclusion
Now you know how to emboss a leather belt, it’s time to put your new skills to the test. Remember to choose the right type of leather, follow safety precautions, and use appropriate tools for best results. With practice, you’ll be able to create beautiful embossed designs on your leather belts and other accessories. Happy embossing!