Have you ever been in a situation where you needed to fix wet leather that had become soaked or even ruined? Not only is it frustrating, but the thought of salvaging something so delicate can be quite intimidating. The truth is, however, there are many ways to save wet leather and possibly still have it look pristine enough to use for upholstery on furniture or cover other items.
Knowing how to fix wet leather not only helps protect an investment in your craft supplies but also gives you peace of mind knowing that the item is protected from further damage. In this blog post, we will cover all things associated with fixing wet leather and discuss some tips to ensure the integrity remains intact.

By understanding methods of preserving and rejuvenating damaged fabric,, you can ensure your DIY projects have no permanent setbacks due to moisture-related issues!
What Will You Need?
Before you start with any repair job, it is important to ensure you have all the items and supplies necessary to complete the task. When it comes to fixing wet leather, some of the most essential items are:
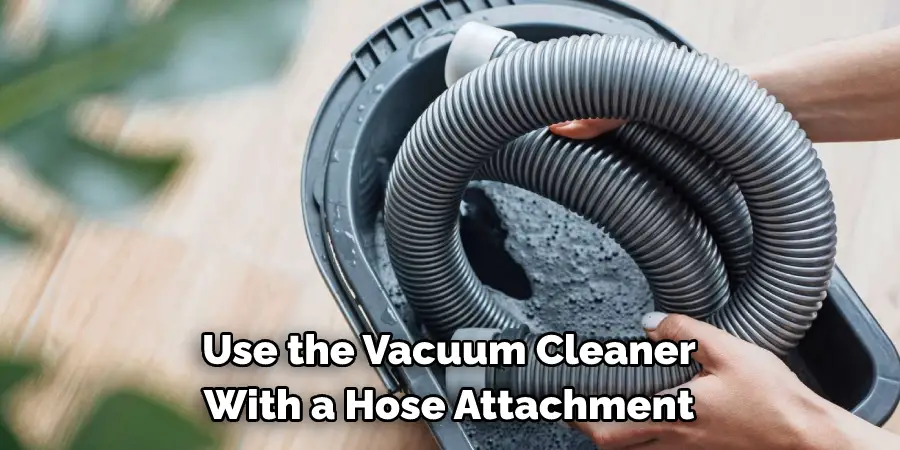
- A vacuum cleaner with a hose attachment
- Leather cleaner/conditioner
- Soft clothes or sponges
- Hairdryer
- Leather dye (optional)
Once you have everything in one place, it is time to get working on fixing your wet leather item.
10 Easy Steps on How to Fix Wet Leather
1. Remove Water from the Leather:
Use the vacuum cleaner with a hose attachment to remove as much water as possible from the leather surface. Make sure to be gentle and take your time, especially if it is an intricate item or piece of furniture. If the water is not coming off easily, try using a soft cloth or sponge to help lift it.
2. Apply a Cleaner/Conditioner:
After removing all visible moisture, apply a leather cleaner/conditioner to keep the material soft and pliable during the drying process. This will also help protect it against further damage caused by resuming normal use. If you are unsure about the type of product to use, consult a professional or research online for recommendations.
3. Air Dry in a Well Ventilated Room:
Place the item in a well-ventilated room and leave it to air dry. This will prevent any further damage that can be caused by using other methods, such as blow drying or heating up the leather too quickly. Try not to move the item too much during this process, as it could cause more harm than good.
4. Use a Hairdryer:
When the item is nearly dry, use a hairdryer on a low setting to help accelerate the process. Make sure to keep the nozzle at least 10 inches away from the material and move it back and forth in short bursts for even heat distribution. Additionally, it is important not to expose the material to direct heat for too long, as this can cause irreversible damage.
5. Reapply Cleaner/Conditioner:
Once you have used the hairdryer to your satisfaction, reapply another coat of cleaner/conditioner product to ensure optimal softness and flexibility when resuming normal use. Be careful not to use too much, as this could cause the leather to become slippery or even discolored.
6. Use Leather Dye (optional):
If the item has become discolored as a result of the water damage, you may want to use leather dye to restore its original color. Before attempting this step, read and follow all instructions listed on the product’s packaging. Otherwise, you run the risk of further damaging the material.
7. Apply Finishing Product:
Once you have completed all steps above it is time to apply a finishing product such as a sealant or wax polish. This will help protect the material against any future harm and keep it looking like new for longer periods of time. Moreover, it will also provide a layer of protection against dirt and moisture.
8. Let Dry Completely:
Allow your item to dry completely before bringing it back into regular use or putting it away in storage. This will make sure all the applied products have had a chance to settle into the leather and provide optimal results. You can also give it another once-over with a hairdryer just to make sure everything is completely dry.
9. Use Regularly:
Once your item has been adequately treated and put back into use, it is important to keep up with regular maintenance such as cleaning and conditioning. This will help extend its lifespan even further while ensuring you get the most out of your investment. Ensure to follow the cleaning and conditioning instructions listed on the product’s packaging for best results.
10. Enjoy!:
Now that everything is finished, you can sit back and enjoy your newly restored item! Take pride in knowing that you were able to save it from permanent water damage using these simple steps – now, just remember to be extra careful when handling wet items in the future! Remember, prevention is always the best cure.
By understanding these methods for preserving and restoring wet leather, you will be able to extend the life of your favorite items and save money in the long run. So next time you encounter a wet-leather emergency, follow these steps for the best results! You won’t regret it.
5 Additional Tips and Tricks
1. Wipe off the excess moisture with a soft, clean cloth.
2. Let the leather dry naturally in a well-ventilated area away from direct heat or sunlight.
3. Stuff the wet leather with newspaper to help it keep its shape while drying and absorb some of the remaining moisture.
4. Apply a leather conditioner to help restore oils and protect the material from damage once dry.
5. If there is mold or mildew present, use an all-natural cleaning solution such as lemon juice or vinegar to remove it before attempting any more repairs. Doing this will prevent further damage to the leather and ensure that it lasts for years to come!
By taking these steps, you’ll be able to successfully fix wet leather and restore it to its former glory. However, if the damage is beyond repair, it may be time to let it go and invest in a new piece. No matter what you choose, tackling wet leather with the right knowledge and tools will make all the difference!
5 Things You Should Avoid
1. Don’t attempt to dry the leather with a hairdryer or other direct heat source.
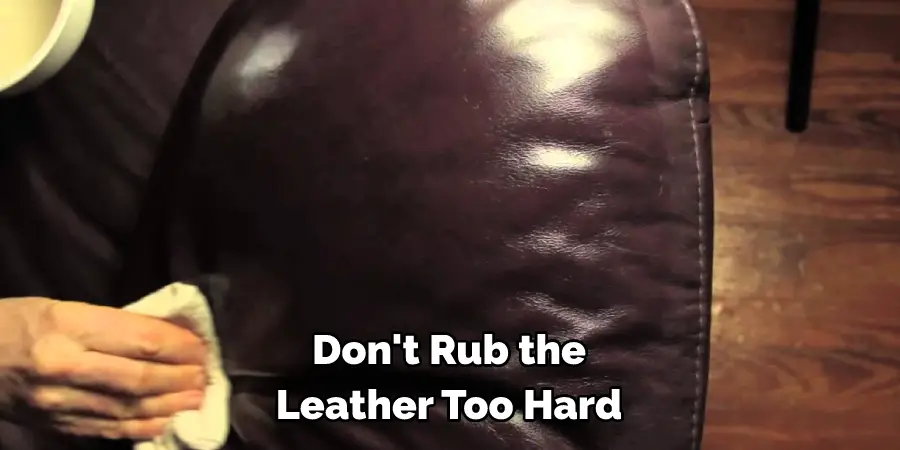
2. Don’t rub the leather too hard when wiping clean, as this could damage the material.
3. Don’t put leather in the washing machine or dryer- it is too delicate for that kind of treatment!
4. Don’t use harsh chemical cleaners on leather; they can cause permanent damage.
5. Never leave wet leather in a closed off area without proper ventilation- this can lead to mildew or mold growth, which is difficult to remove.
Overall, fixing wet leather isn’t impossible, and with the right knowledge and approach, you can restore it back to its natural beauty! Keep these tips and tricks in mind when dealing with any future water damage; you’ll surely get great results every time!
Can You Dry Leather in the Sun?
The short answer is: no, you should not dry leather in the sun. The intense heat and direct UV rays can cause irreparable damage to the material, so it’s best to let natural airflow and air-drying methods do the work instead. Sunlight can also fade or discolor some types of leather, so if your piece is particularly delicate, keep it out of direct sunlight entirely. Not to mention that leaving wet leather exposed to the elements could attract dust, dirt, and other contaminants, compromising your item’s quality over time!
Additionally, never use a hairdryer or other direct heat source to dry leather. This can cause irreparable damage and weaken the material, leaving it brittle and prone to cracking in the future.
By following these tips, you’ll be able to fix wet leather easily! Taking a few simple steps will ensure that your item is restored back to its original glory in no time- so don’t be afraid of water damage anymore! With the right approach, you can have your prized possessions looking like new.
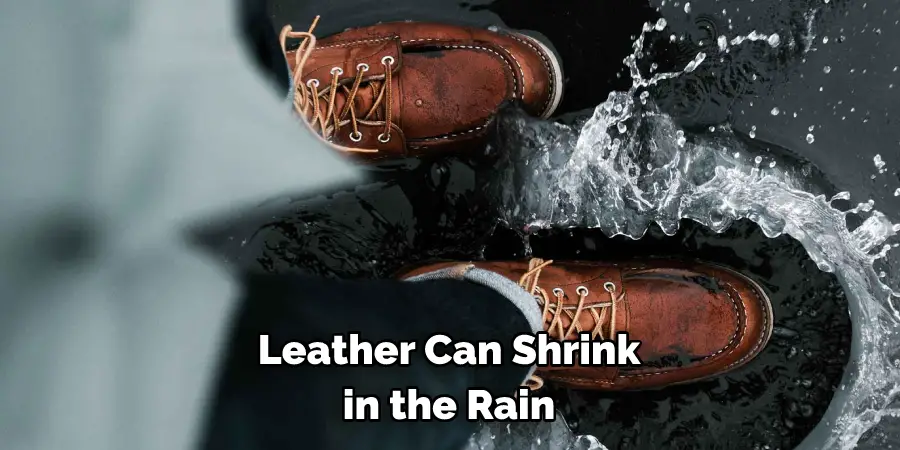
Does Leather Shrink in Rain?
Yes, leather can shrink in the rain. This is due to the water absorbing into the material and causing it to expand- once it dries, it will contract back to its original size. In some cases, this could mean that your leather item becomes too tight or doesn’t fit properly anymore. To avoid this, make sure you always keep wet leather away from direct heat sources or high temperatures, which could cause further expansion and damage. Stuffing the leather with newspaper during the drying process can also help reduce any shrinking effects.
It’s also important to note that leaving a wet leather item out in the rain for too long can lead to mold growth and other signs of deterioration. If this happens, you may have no choice but to replace the item- so always be sure to take care of your leather items in wet weather!
Conclusion
In conclusion, caring for wet leather doesn’t have to be tedious or difficult. If you find yourself in the unfortunate circumstance of having a wet leather garment, bag, or craft item, never fear – you now know the steps you can take to remedy the issue. Before applying heat or drying it on your own, make sure that you seek professional advice if you don’t feel up to the task or are unsure about how best to proceed.
Hopefully, you have the tools and knowledge about how to fix wet leather! With these steps in mind, your prized possessions will look brand new in no time! Don’t let water damage stop you from protecting and restoring your valuable items- stay ahead of the game with these tips.
Regardless of whichever methods you choose to use to dry out your wet leather items, ensure that you do so safely and correctly. With these useful tips under your belt for fixing wet leather, now all that’s left is for you to get crafting!