
Embossing faux leather is a creative and rewarding process that can add elegance and a personal touch to various crafts and accessories. By creating raised patterns on the surface of faux leather, crafters can achieve a look similar to that of expensive embossed leather goods. This technique not only enhances the aesthetic appeal but also adds a unique texture to your projects.
Whether you’re looking to customize gifts, create distinctive home decor, or upscale your fashion creations, mastering the art of faux leather embossing is a valuable skill. This guide on how to emboss faux leather will walk you through the materials needed, the preparation steps, and the embossing process to help you get started on your embossing journey.
Definition and Description of Faux Leather
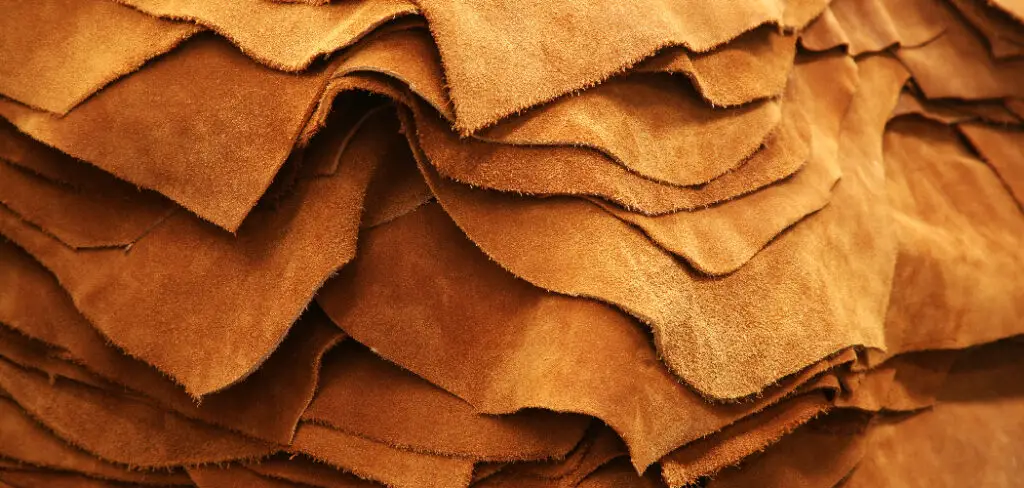
Faux leather, also known as artificial or synthetic leather, is a type of material that mimics the appearance and texture of real leather. It is often made from a base layer of fabric or paper coated with polyurethane (PU) or vinyl to give it a durable and water-resistant finish.
Faux leather can come in various forms such as sheets, rolls, or even pre-cut shapes for specific projects. It is a popular choice among crafters due to its affordability and versatility in crafting applications.
Benefits of Using Faux Leather for Embossing Projects:
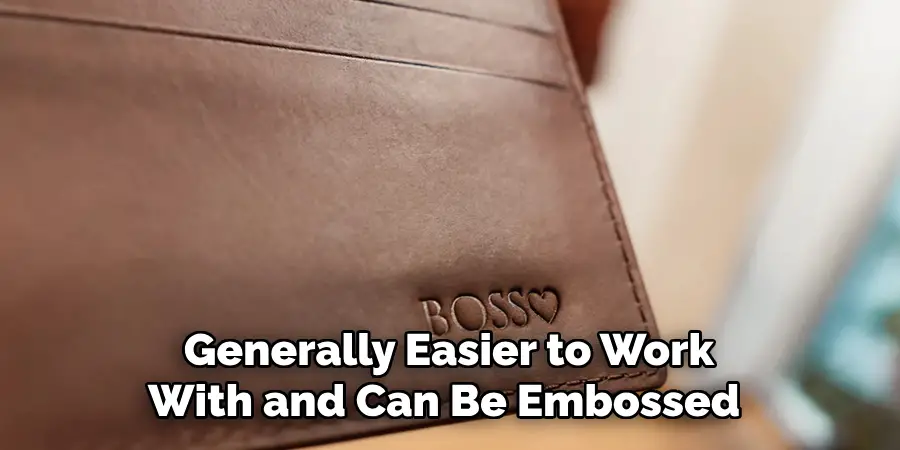
There are several advantages to using faux leather for embossing projects. Firstly, it is more cost-effective compared to real leather, making it accessible to a wider range of crafters. Faux leather also offers a greater variety of colors and patterns, allowing for more creativity in design.
Additionally, because faux leather is synthetically made, it is generally easier to work with and can be embossed using a wider range of tools. It is also more durable and easier to maintain compared to real leather, making it a great choice for long-lasting projects. You can also find vegan and eco-friendly faux leather options for those looking for sustainable alternatives.
Materials Needed
To successfully emboss faux leather, you will need some basic materials that are easily accessible at most craft stores. These include:
Faux Leather:
As mentioned earlier, faux leather can come in different forms such as sheets, rolls, or pre-cut shapes. Choose the type that best suits your project and make sure it is of good quality to achieve a clean embossing result.
Embossing Tool:
This tool comes in various forms such as styluses, scoring tools, or even a blunt pencil. The key purpose of this tool is to create pressure on the faux leather surface to create raised patterns.
Embossing Mat:
An embossing mat is used as a base for your faux leather sheet. It provides a soft surface that allows the embossing tool to create an impression on the faux leather without damaging it.
Heat Source:
A heat source, such as an iron or a heat gun, is needed to set and seal the embossed patterns on the faux leather surface.
Optional Materials:
Other materials that can enhance your embossing process include a clear ruler for measuring and creating straight lines, adhesive spray to temporarily hold down the faux leather sheet, and a damp cloth to clean any excess ink or powder from the embossing process.
11 Step-by-step Guidelines on How to Emboss Faux Leather
Step 1: Choose Your Design
Select the design you want to emboss onto the faux leather. This could be a pre-made embossing stamp or one that you’ve created yourself. Ensure that the design is suitable for embossing onto the faux leather material.
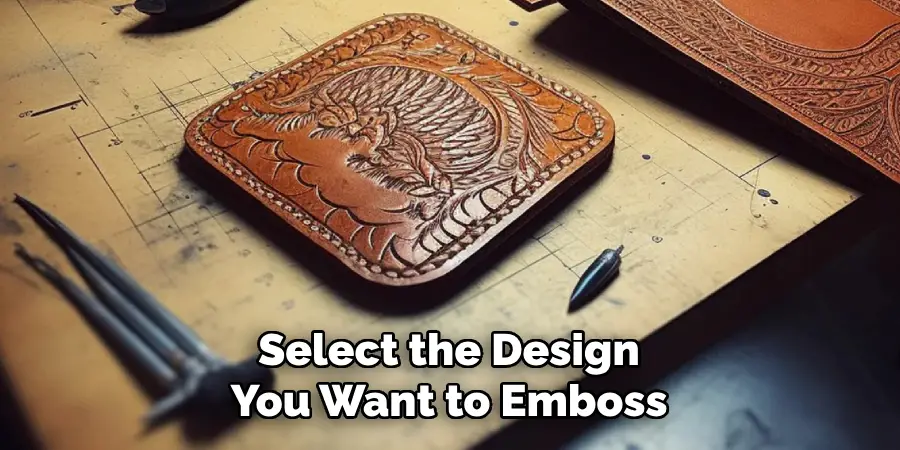
You can also sketch out your design directly onto the faux leather sheet if you prefer. It’s always a good idea to practice on scrap pieces first to perfect your technique. The possibilities for design are endless, so let your creativity guide you. You can even combine different embossing techniques for a unique look.
Step 2: Prepare Your Work Area
Find a clean, flat, and well-ventilated work surface to emboss the faux leather. Lay down a protective covering such as a cutting mat or a piece of cardboard to prevent damage to your work surface. Butcher paper or a plastic sheet can also be used to protect your tools from any adhesive spray.
If you are using an adhesive spray, ensure that the area is well-ventilated and follow safety precautions. Well-ventilated areas are also recommended when using a heat source. It’s always a good idea to wear protective gloves to avoid getting any ink or powder on your hands.
Step 3: Prepare the Faux Leather
Place the faux leather material flat on your work surface. Smooth out any wrinkles or creases to ensure an even embossing surface. If necessary, you can use an iron on a low setting to gently press out any stubborn wrinkles, but be careful not to melt the faux leather.
The faux leather should be slightly larger than your design to allow space for securing it onto the embossing mat. You can also trim the edges after embossing if needed. But remember to leave enough space around the design for securing and handling purposes.
It’s also a good idea to practice on scrap pieces of faux leather before embossing your final design. The thickness of the faux leather can also affect the outcome of your embossing, so experiment with different materials to see what works best for your design.
Step 4: Position the Design
Position the embossing design or stamp onto the faux leather material where you want the design to appear. You can use temporary adhesive or tape to secure the design in place if necessary, ensuring it doesn’t move during the embossing process.
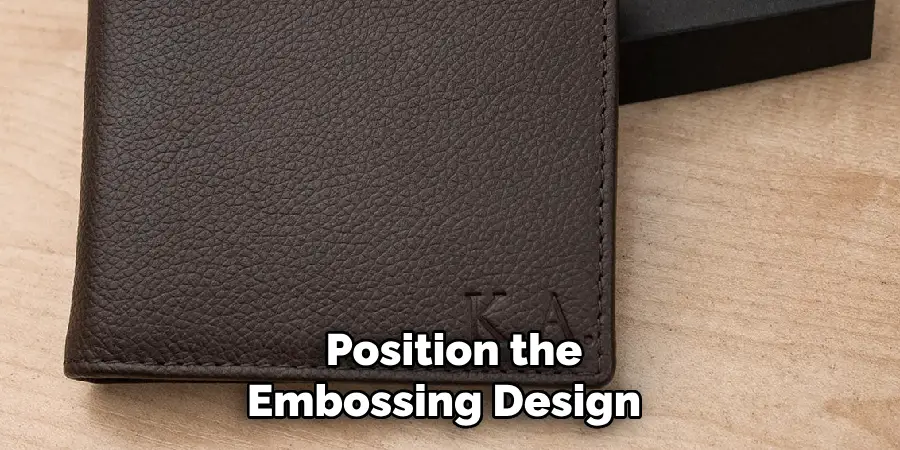
You can also use a clear ruler to help guide you in placing the design straight and aligned. But remember to remove any adhesive before embossing. The placement of the design is crucial as it will determine the final result. You can also use multiple designs or repeat the same design for a more complex look.
Step 5: Apply Embossing Ink or Paint
Apply a thin, even layer of embossing ink or paint onto the surface of the embossing design. Use a brush or sponge applicator to ensure complete coverage of the design. Then, carefully remove any excess ink or paint from the edges of the design to prevent it from smudging onto other areas.
Alternatively, you can also use embossing powders in various color options for a different effect. Make sure to experiment with different colors and techniques to achieve your desired look. Otherwise, you can skip this step if you prefer a natural faux leather look.
Step 6: Press the Design
Carefully lower the embossing stamp onto the faux leather material, ensuring it lines up correctly with the design. Apply even pressure to the stamp, pressing it firmly onto the surface of the faux leather. It’s essential to keep the stamp steady and avoid any wobbling movements, as this can distort the embossed pattern.
If you’re using a stylus or scoring too, make sure to keep it upright and apply even pressure to create a clean impression. You can also use your fingers to gently press the design onto the faux leather if needed. But make sure to wash your hands thoroughly before touching the ink or powder. It’s also a good idea to practice on scrap pieces first to perfect your technique.
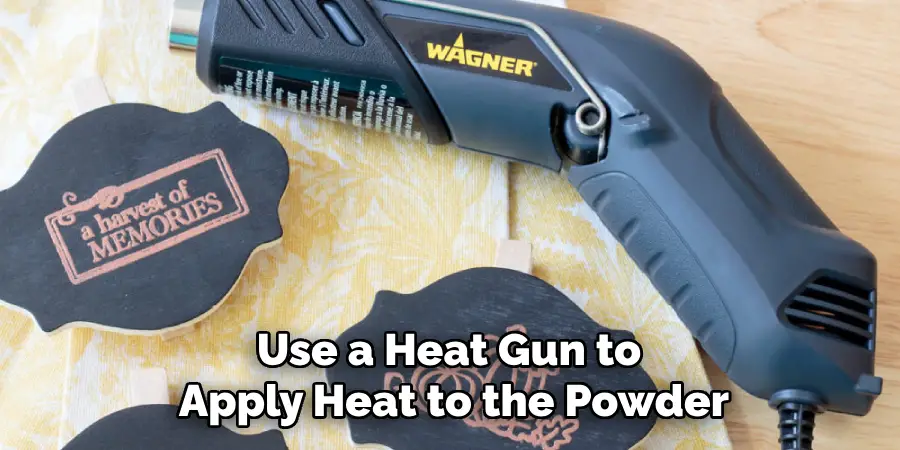
Step 7: Heat Embossing (Optional)
If you’re using embossing powder, sprinkle it evenly over the wet ink or paint while it’s still wet. Shake off any excess powder, then use a heat gun to apply heat to the powder. Move the heat gun in a circular motion over the embossed area until the powder melts and becomes shiny.
Then, quickly remove the heat source. Heat embossing should only be used with heat-resistant faux leather materials. You can test this by heating a scrap piece of faux leather before embossing your final design. If the heat causes any damage or melting, it’s not suitable for heat embossing.
Step 8: Allow to Cool
Allow the embossed design to cool completely before handling it. This will ensure that the embossing ink or paint sets properly and that the design remains intact. It will also prevent any smudging or smearing of the design during handling.
Depending on the type of faux leather material and embossing medium used, this can take a few minutes to several hours. You can use this time to clean up your work area and prepare for the next step. You can also use a cool setting on a hairdryer to speed up the cooling process if needed.
Step 9: Remove the Design
Carefully lift the embossing stamp or design from the faux leather material to reveal the embossed design underneath. Take your time to avoid smudging or damaging the design as you remove it.
The faux leather material may be slightly stuck to the stamp, so gently peel it away if needed. If you’re using a heat-resistant material and heat embossing, make sure to allow the design to cool completely before removing it from the heat source. Otherwise, the design may become distorted or damaged.
Step 10: Clean Up
Clean any excess embossing ink, paint, or powder from your work surface, tools, and faux leather material using a soft cloth or brush. Be gentle to avoid scratching or damaging the embossed design. It’s also a good idea to wipe down your embossing stamp or design with a damp cloth or stamp cleaner after each use.
This will help maintain the quality and longevity of the design for future projects. Store your faux leather material and tools in a clean, dry place for future use. You can also practice different techniques and designs to expand your embossing skills.
Step 11: Finishing Touches
If desired, you can further embellish or customize the embossed design by adding additional colors, shading, or accents using fabric paints, markers, or other embellishments. You can also sew or glue the embossed faux leather onto other materials, such as fabric, paper, or wood, to create unique and personalized items like bags, journals, or picture frames.
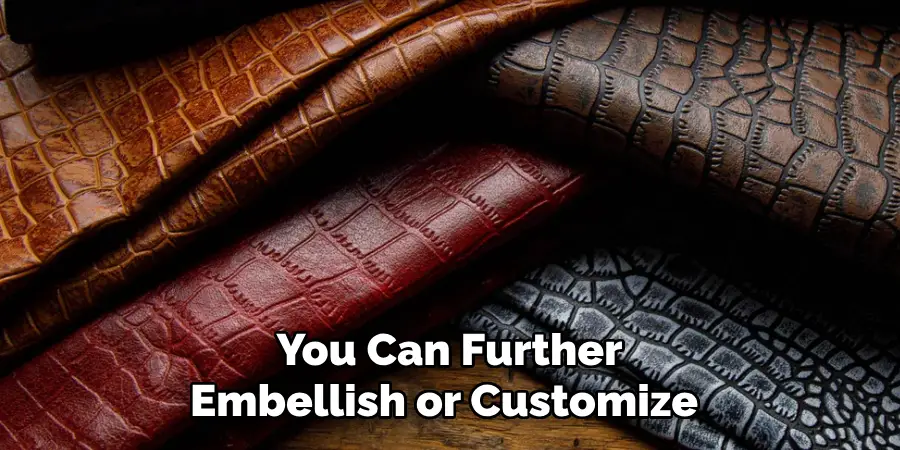
The possibilities are endless with embossing on faux leather, so don’t be afraid to experiment and have fun with it! Remember to always allow the design to dry completely before handling or applying any additional touches. And most importantly, enjoy your beautifully embossed faux leather creations!
Step 12: Enjoy Your Embossed Faux Leather
Once the embossing process is complete and any additional embellishments are added, your faux leather material is ready to be incorporated into your desired project or craft. Enjoy your beautifully embossed creation!
You can also mix and match different techniques, designs, and colors to create one-of-a-kind pieces that reflect your personal style. Use these skills to add texture and dimension to any project and take your crafting to the next level. Faux leather embossing is a fun and versatile technique that can be used in various ways, so let your creativity shine!
Following these steps on how to emboss faux leather, you can easily create stunning embossed designs on faux leather material. Remember to practice and experiment with different techniques and materials to find what works best for you. With just a few tools and supplies, you can elevate your crafting and add a touch of elegance to any project with faux leather embossing. Have fun creating! Happy crafting!
Troubleshooting and Tips
- Always Use a Clean and Dry Work Surface to Avoid Any Unwanted Smudges or Marks on Your Faux Leather Material.
- If You’re Using Ink or Paint for Embossing, Make Sure It’s the Right Consistency. Too Much Water Can Cause the Design to Bleed, While Too Little May Result in a Faint or Incomplete Impression.
- When Using Heat Embossing, Make Sure to Hold the Heat Gun at Least 6 Inches Away From the Material to Prevent Damage or Burning.
- It’s Always a Good Idea to Practice on Scrap Pieces of Faux Leather Before Embossing Your Final Project. This Will Help You Perfect Your Technique and Avoid Any Mistakes.
- If Using Multiple Colors for Your Design, Allow Each Color to Dry Completely Before Adding the Next Layer to Avoid Smudging or Mixing Colors.
- Experiment With Different Designs, Textures, and Techniques to Create Unique and Personalized Embossed Faux Leather Creations.
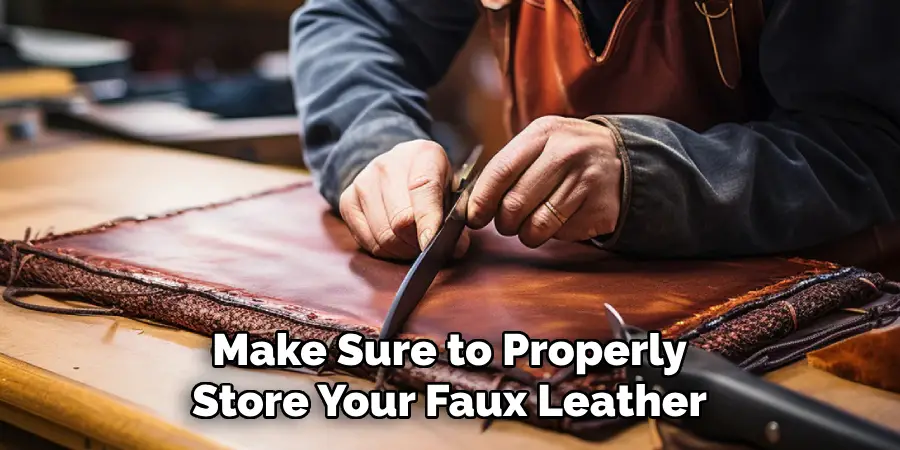
- Make Sure to Properly Store Your Faux Leather Material and Embossing Tools for Future Use.
- Faux Leather Should Be Stored Flat in a Cool, Dry Place to Prevent Any Warping or Damage.
Long-Term Maintenance and Care
- To Maintain the Quality and Longevity of Your Embossed Faux Leather, Avoid Excessive Heat, Moisture, or Direct Sunlight.
- Do Not Iron Over Any Embossed Designs on Faux Leather as This Can Damage the Design and Material.
- When Cleaning, Use a Soft Cloth or Brush to Gently Wipe Away Any Dust or Debris. Avoid Using Harsh Chemicals or Abrasive Materials.
- Avoid Folding, Bending, or Creasing Your Embossed Faux Leather to Prevent Any Damage to the Design.
- With Proper Care and Storage, Your Embossed Faux Leather Can Last for Years to Come. Enjoy!
Frequently Asked Questions
Q1: Can I Emboss Real Leather Material?
A1: Yes, you can emboss real leather using similar techniques and materials. Keep in mind that real leather may require more heat and pressure to achieve a clear and defined embossed design.
Q2: Can I Use Any Type of Ink or Paint for Faux Leather Embossing?
A2: No, it’s important to use ink or paint specifically designed for faux leather embossing. Other types of ink or paint may not adhere properly to the material and can result in a smudged or incomplete design.
Q3: Can I Reuse the Embossing Powder?
A3: Yes, you can reuse embossing powder as long as it hasn’t been contaminated with other materials. Simply pour any excess powder back into its original container for future use. It’s also a good idea to label the container with the color and type of powder for easy reference.
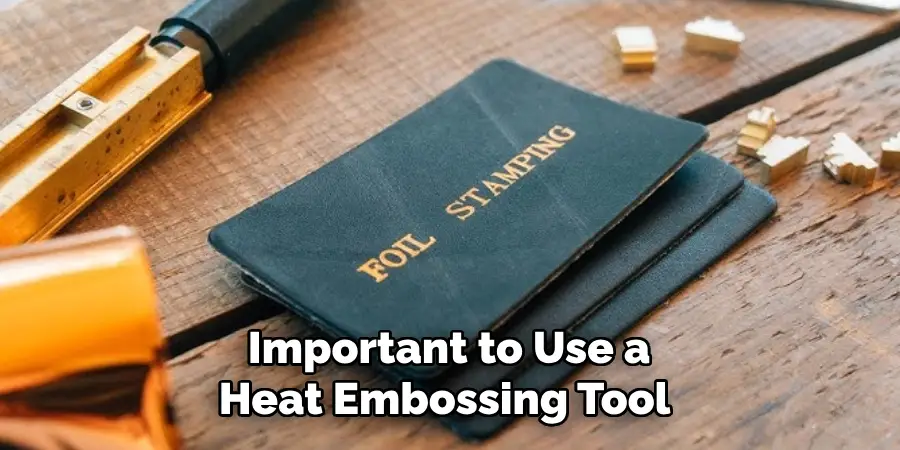
Q4: Can I Emboss Faux Leather with a Regular Iron?
A4: No, it’s important to use a heat embossing tool specifically designed for crafting and embossing. A regular iron may not provide enough heat or control for the embossing process and can damage the material.
So, it is always better to use a heat embossing tool for best results. Overall, keep in mind that faux leather embossing is a fun and versatile technique that allows you to add texture and dimension to any project or craft. Practice, experiment, and have fun with it to create unique and beautiful faux leather creations!
Conclusion
Embossing faux leather is an artistic endeavor that can profoundly elevate the value of your crafts. With the right set of tools, a bit of practice, and a flair for creativity, you can transform ordinary faux leather items into sophisticated, embossed pieces. Whether it’s for personal satisfaction or commercial purposes, the skills gained from faux leather embossing will surely set your work apart.
Remember, each project is an opportunity to refine your technique and express your artistic vision. So, gather your materials, let your imagination run wild, and embark on creating embossed faux leather marvels that are as durable as they are beautiful. Thanks for reading this article on how to emboss faux leather.