Are you the proud owner of a self-healing cutting mat, but have noticed that it’s not living up to its name? Have you recently tried using your mat and been surprised by jagged cuts or other signs of damage instead? If so, don’t throw out your trusty sidekick just yet – with a little persistence and work, many issues plaguing the life (and longevity) of these mats can be fixed.

In this blog post, we’ll explain exactly how to repair a self healing cutting mat – from finding the right materials needed for repairs all the way to putting everything back together. Read on for tips on restoring your mat back to top condition!
Tools and Materials You Will Need to Repair a Self-Healing Cutting Mat
- Cutting mat adhesive
- A clean cloth
- Tweezers
- A flat, hard surface like a table or countertop
- A hobby knife or utility knife
- Soft, lint-free cloth
Step by Step Guidelines on How to Repair a Self Healing Cutting Mat
Step 1: Inspect the Damage and Clean the Area
The first step in repairing your cutting mat is to identify what needs fixing. Look closely for any signs of damage, such as loose pieces, creases, or tears. Take note of where the damage is and how extensive it is – this will help you determine which materials and steps you need to take to complete the repair.
Once you’ve identified any issues, use a soft cloth and warm water to carefully clean the area of any debris or dirt. Make sure that the area is completely dry before moving on to the next step.
Step 2: Apply Adhesive
Once the area is clean and dry, you can start applying adhesive. Start by squeezing a small amount of cutting mat adhesive onto the damaged area, then use tweezers or your fingers to spread it out evenly. Make sure that you are using just enough glue so that it fills all crevices and covers the entire damaged area. Once the glue is in place, set it aside to dry.
Step 3: Reinforce the Damage
While your adhesive is drying, use a hobby knife or utility knife to cut out small strips of your cutting mat that can be used to reinforce any areas with damage. Use tweezers to carefully place these pieces on top of the adhesive, then press them down firmly. This will ensure that your mat is as strong and sturdy as it was before any damage occurred.

Step 4: Allow Everything to Dry
Once you’ve finished applying the strips of the mat and pressing them in place, use a flat surface like a table or countertop to flatten out the entire area. Make sure that the repaired area is completely flat and free of any bumps or air pockets. Finally, allow everything to dry completely before using your cutting mat again.
And there you have it – with a little patience and persistence, you can easily repair any damage to your self-healing cutting mat! With these steps in mind, we hope that you are now ready to take on any repairs that may come your way. Good luck, and happy crafting!
Additional Tips and Tricks to Repair a Self-Healing Cutting Mat
- Make sure to use the right type of adhesive – some types can damage the mat’s self-healing properties and reduce its effectiveness over time.
- If your cutting mat is starting to look worn or dull, try using a soft cloth and a light cleaning solution like rubbing alcohol to clean it off and restore its shine.
- To prevent further damage, always make sure that your cutting mat is stored properly – on a flat surface and away from any sharp objects or edges.
- If you have larger cuts or tears in the mat, consider investing in a patch kit that uses heat to seal the pieces of the mat together. This can be a great solution if you find yourself in a pinch.
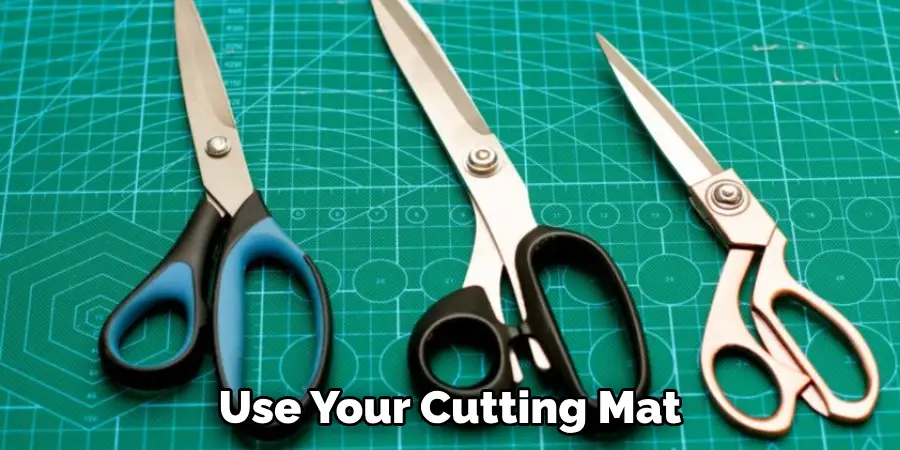
- When using your cutting mat, make sure that you are always using a sharp blade or tool – dull blades can cause more damage than necessary and require even more repairs!
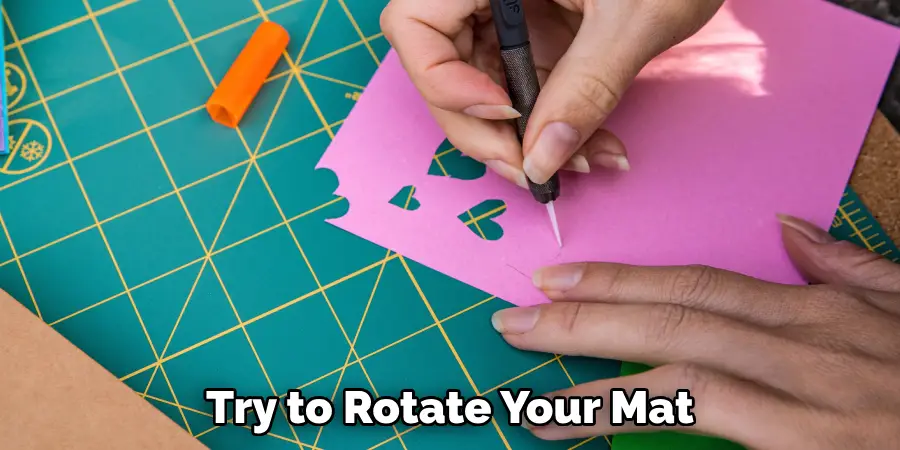
- Finally, if possible, try to rotate your mat every few months so that it wears down evenly over time – this will help extend its life and ensure that it lasts as long as possible.
By following these simple tips and tricks, you can easily extend the lifespan of your self-healing cutting mat – no matter how frequently you use it! With a little bit of care and maintenance, your mat will undoubtedly be ready to help with all of your crafting needs for years to come. Happy cutting!
Things You Should Consider to Repair a Self-Healing Cutting Mat
- Carefully inspect the mat to determine the location of the cut or tear that needs repair. If you can’t find it, try running your hand over the surface and feeling for weak spots where cuts could be located.
- Clean both sides of the cutting mat with a damp cloth, making sure to get rid of any dirt or debris that could prevent the mat from being repaired.
- Gather your supplies, which should include adhesive tape and a sharp razor blade or knife.
- Cut a length of tape that is slightly longer than the damaged area on the cutting mat and stick it to one side of the cut or tear. Make sure that both sides are evenly adhered to each other and that no air bubbles are present.
- With the razor blade or knife, carefully trim off any excess tape from the edges of the cut or tear.
- If there are any gaps in the repair, apply extra adhesive tape to those areas and re-trim with the razor blade or knife as necessary.
- Allow the mat to dry for at least two hours before using it.
- To ensure the mat stays in good condition, avoid cutting on surfaces that can be damaged easily, and always use a sharp blade when cutting. Additionally, try to store the mat on a flat surface away from direct sunlight or heat sources.
- If further repair is needed, consider replacing the entire mat. This is especially true if the damage is extensive and the repair job is not looking very good. It’s best to invest in a new mat than having to repair it often due to poor quality repairs.
- Lastly, take note of how you use your cutting mat so that you can better prevent future damage from occurring. Be sure to use a paper-backed ruler when measuring and a cutting board when chopping. These measures can help protect your mat from unnecessary incidents.
These considerations should help you repair your self-healing cutting mat with ease and confidence. With proper use and care, you can ensure that your mat will stay in good condition for a long time.
Frequently Asked Questions
How Often Should I Replace My Self-healing Cutting Mat?
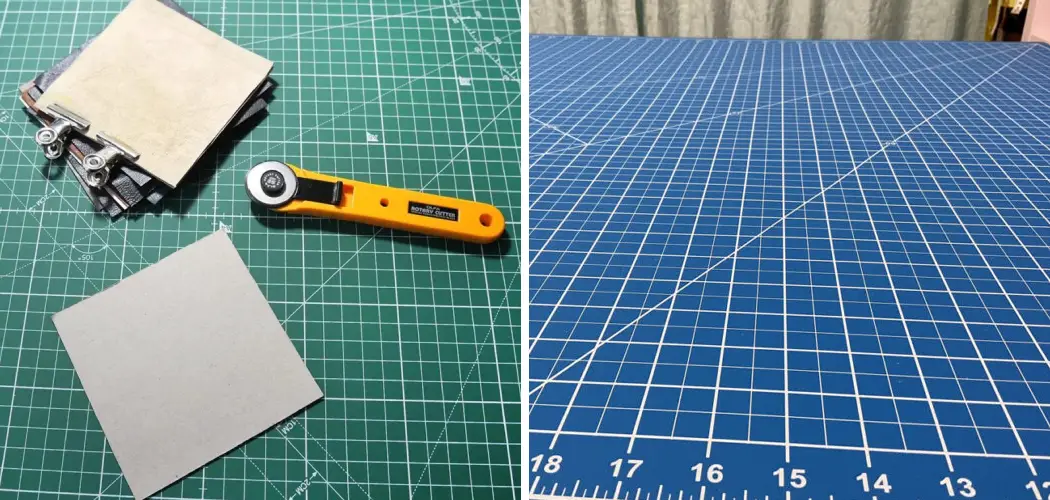
Generally, you should replace your self-healing cutting mat every 6-12 months depending on the amount of wear and tear. If you use a rotary cutter, it may be necessary to replace your mat more frequently as blades can cause deeper cuts. Additionally, if you notice that your mat is not self-healing as efficiently, it may be time for a replacement.
How Can I Remove Glue or Adhesive From My Cutting Mat?
If you have spilled glue or adhesive on your cutting mat, you can try using either white vinegar or rubbing alcohol to remove the residue. Apply the solution to a cloth and then gently rub the area. Once the residue is gone, use a paper towel to wipe away any remaining solution.
How Do I Clean My Self-healing Cutting Mat?
To clean your cutting mat, you should start by wiping it down with a damp cloth or paper towel. If there are any stubborn stains, you can use a soft scrub brush and a mild soap to lightly scrub the area. Be sure not to use any abrasive cleaners as this can damage the self-healing layer of your cutting mat. After cleansing, you should rinse with water and then dry thoroughly before using.
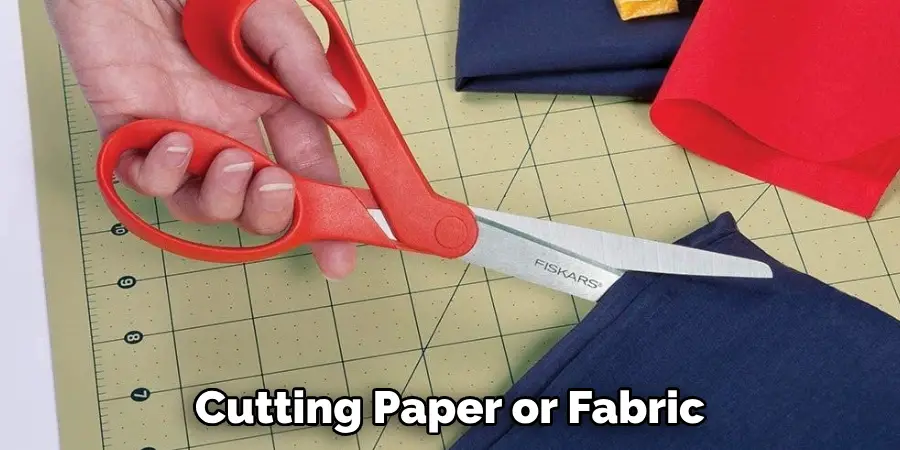
What Else Can I Use My Self-Healing Cutting Mat For?
Your self-healing cutting mat can be used for more than just cutting paper or fabric. It is also great for carving pumpkins, laying out applique pieces, making clay sculptures, painting, and much more! The possibilities are truly endless with this versatile tool. Plus, its self-healing layer ensures you won’t have to worry about damaging your work surface.
Conclusion
It is important to take care of the cutting mat and repair it whenever necessary. Cutting mats are quite an important tool for sewing and hobby enthusiasts and can last a long time if given proper care.
To repair a self-healing cutting mat, one needs to apply a sealant across the surface of it and let the liquid dry overnight. After that, add heat to the cracked parts of the cutting mat to activate its self-healing properties and use sandpaper to remove any excess material from the cracks.
Finally, leave the mat until it has completely cooled off before beginning use. From this article, you should now have a better understanding of how to repair a self healing cutting mat.
With these tips in mind, you can ensure that your projects are always completed with precise accuracy and time saved when mending minor tears or cracks! So what are you waiting for? Get out there and get to repairing your cutting mats!
