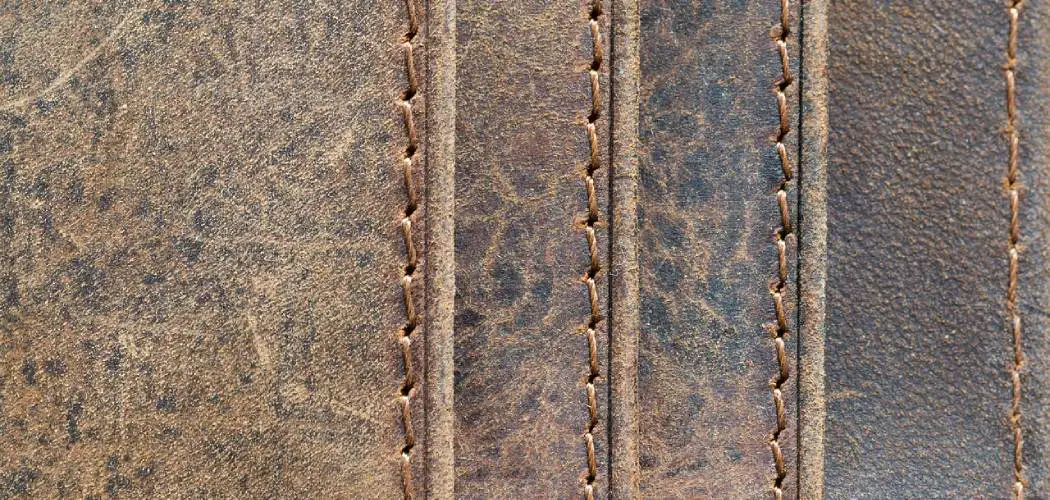
Leather is a beautiful and versatile material that can create a wide variety of items. One downside to working with leather is that the edges can often be challenging to finish well. In this article, we will share three methods on how to finish soft leather edges so that they look polished and professional. Let’s get started!

Soft leather is the best choice for beginners since it is easier to work with. Try using soft leather to create your first few projects, and then move on to other types of leather if you want something with a little more durability.
How to Finish Soft Leather Edges Detailed Guide
Method 1: Sanding
This method is the most widely used and easiest way of finishing soft leather edges. It gives a smooth and neat look to the sides of the leather and gives them a finished look. When you use this method, make sure that you do not go against or across the natural grain lines on the sides of your leather; instead, you should keep smooth curves when following these lines.
Things You’ll Need:
- Sandpaper (fine grit, 600+)
- Ruler Masking Tape
Step 1:
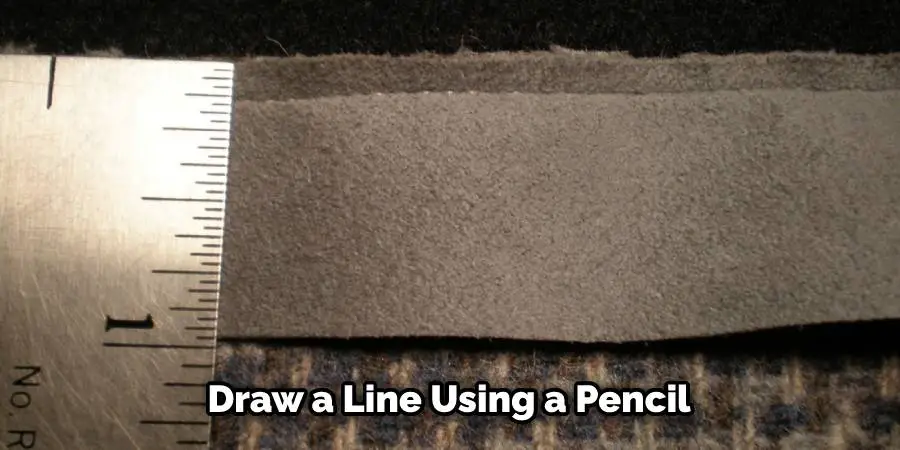
Take out the sandpaper and a ruler. Place the ruler along the side of your leather where you want to finish off the edge. If you have a pattern along these sides, try and place the ruler according to this pattern to look more organized and desirable. Draw a line using a pen or a pencil on both sides of your leather from where one end touches the ruler all across to where this rule ends.
Step 2:
You can use blue or red tape for this, depending on whether you would like to color-code your rulers with different colors of tapes or not. Cut off strips of tape about 3 inches in height and put them between each line drawn on your leather. Make sure that you place the tape’s sticky side on the wrong side of your leather and press it down gently so that it sticks on well.
Step 3:
Take a piece of sandpaper as per the width of your ruler and fold it in half as shown. Then run this folded paper from where one line ends to another, keeping some distance between these two lines as you proceed, making sure that the sheet only touches the edges but does not rub against them.
You can also keep moving from one line to another by using a single sheet instead of folding it in half since it will save time and paper wastage. Finally, keep going over these taped areas several times, changing which side is facing up for better results.
Step 4:
Once you are done with the sanding, remove the tape carefully by peeling it off slowly from one end to another without bending or tearing the leather. Keep the ruler away after this since your leather will not need any measurements at this point. You can also use a cotton bud dipped in alcohol or even water to clear off some dust sticking on these sides of your leather.
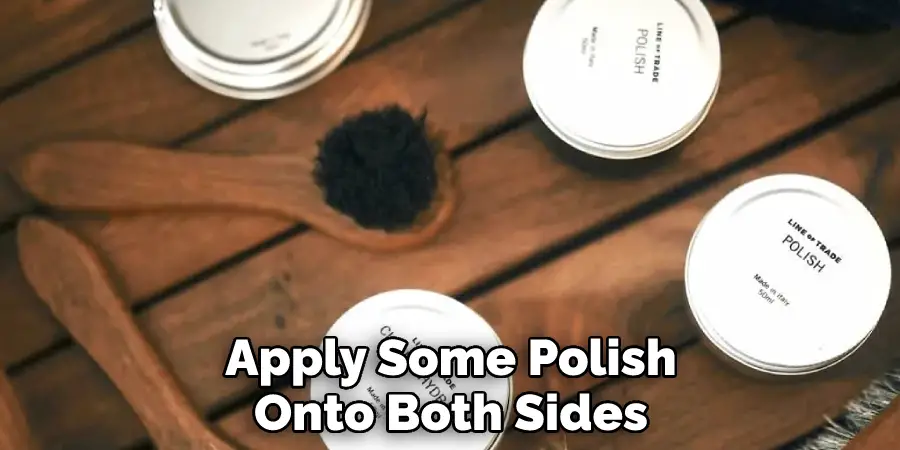
After letting it dry thoroughly, apply some polish onto both sides of your soft leather using either a sponge brush or an old piece of cloth till they look smooth and shiny again. Don’t worry too much about polishing them since they won’t get perfect looking that way unless you use some chemicals, which I wouldn’t recommend since they could make your leather brittle over time. This is a crucial method in how to finish soft leather edges.
Method 2: Waxing & Buffing
This is another easy method that can also finish off soft leather edges. The only difference here is that you will need specific tools like those mentioned above to get good results. However, this method gives a uniform look to the sides of these leather pieces and makes them look well-finished. Plus, it’s simple enough for anyone to use!
Things You’ll Need:
- Soft Leather Edges
- Ruler Masking Tape (optional but recommended)
- Wax Polish (any kind would do)
- Buffer (a regular one for this would do)
Step 1:
Take out your ruler and masking tape if you haven’t used it before. Place the ruler along the side of your leather where you want to finish off the edge. If you have a pattern along these sides, try and place the ruler according to this pattern to look more organized and desirable. Draw a line using a pen or a pencil from one end of this piece all across until this rule ends using either a pen or a pencil on both sides of your leather from where one end touches the ruler all across up until where this rule ends.
Step 2:
You can use blue or red tape for this, depending on whether you would like to color-code your rulers with different colors of tapes or not. Cut off strips of tape about 3 inches in height and put them between each line drawn on your leather. Make sure that you place the tape’s sticky side on the wrong side of your leather and press it down gently so that it sticks on well after placing each strip inside these lines.
Step 3:
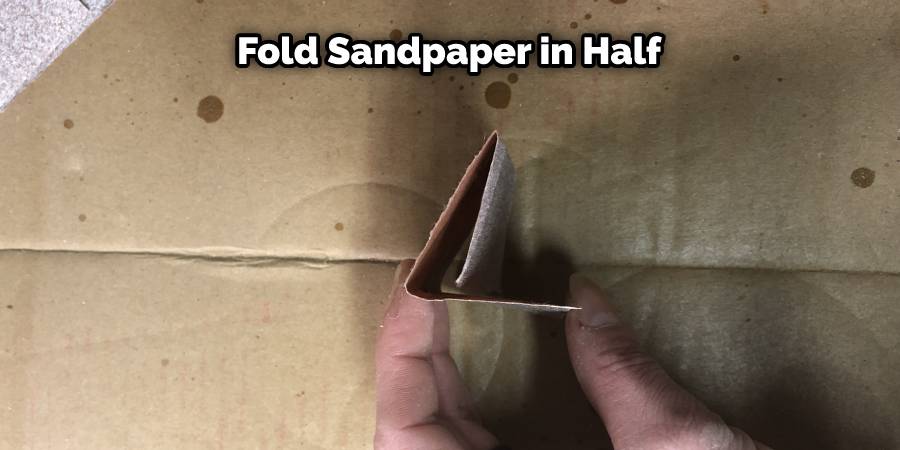
Take a piece of sandpaper as per the width of your ruler and fold it in half as shown. Then run this folded paper from where one line ends to another, keeping some distance between these two lines as you proceed, making sure that the sheet only touches the edges but does not rub against them. You can also keep moving from one line to another by using a single sheet instead of folding it in half since it will save time and paper wastage. Keep going over all these taped areas several times, changing which side is facing up for better results.
Step 4:
Once you are done with the sanding, remove the tape carefully by peeling it off slowly from one end to another without bending or tearing the leather. Keep the ruler away after this since your leather will not need any measurements at this point. You can also use a cotton bud dipped in alcohol or even water to clear off some dust sticking on these sides of your leather.
Step 5:
Let it dry thoroughly before applying any polish onto both sides of your soft leather using either a sponge brush or an old piece of cloth till they look smooth and shiny again. Don’t worry too much about polishing them since they won’t get perfect looking that way unless you use some chemicals, which I wouldn’t recommend since they could make your leather brittle over time.
Methods 3: Rolled Edges & Scalloped Edges
This uses the same rolling edges on soft leather pieces to give them a finished look. The only difference is that you do not need any tape or rulers since it’s done by hand.
Things You’ll Need:
- Soft Leather Edges
- Ruler (optional)
- Scissors
Step 1:
Take some old pieces of cloth and cut out strips which are about 4 inches in width. Make sure that they are longer than the length of your leather piece so that you can hold them with both hands later to roll up all sides. Place these rolled sheets on top of your leather’s edges one after another down the length of your piece from where one end touches the other. Make sure that you keep a small distance between each rolled sheet, so it doesn’t take too long to apply this technique.
Step 2:
Now run a pencil or a thick marker across all edges covered by these rolled sheets going very slowly and carefully. You’ll see that the border becomes darker where your marker or pencil has touched it. Then take a lighter and run this flame carefully along all edges by holding it about an inch away from them to get a burned look that will give your leather a finished appearance after being polished. Keep going over each edge several times till you are satisfied with the results.
Step 3:
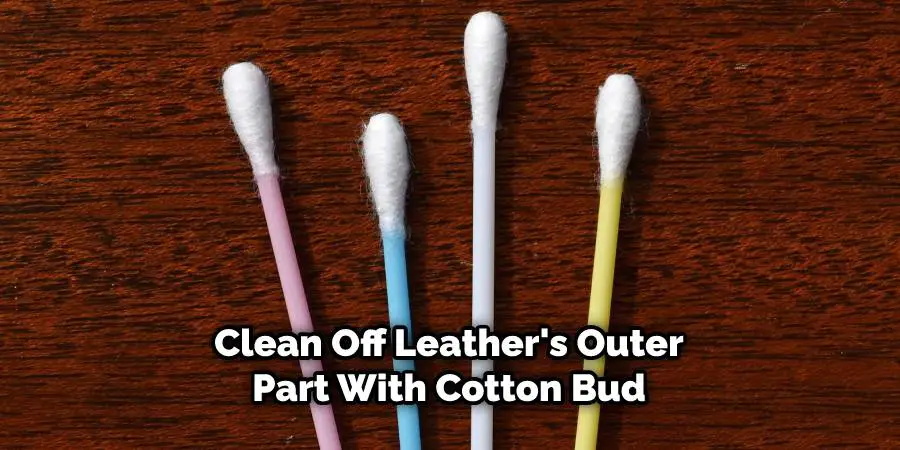
Take a cotton bud dipped in alcohol or water and clean off your leather’s outer parts, which are not burned. You can also spray them with some chemicals to make this process even faster, but it’s up to you since they aren’t strictly necessary for this technique either.
Step 4:
Let all sides dry before spraying or applying any liquid onto them to get a shiny look after being polished.
Step 5:
After your leather dries, don’t forget to cut off any excess rolled sheets sticking out since you won’t need them anymore, and it’ll make the edges uneven. These steps will help in how to finish soft leather edges.
Soft Leather Edges: Burnish, Paint, or Dye?
The look of leather edges can be enhanced through burnishing, painting, or dyeing. Burnishing is a process of rubbing and buffing the edges with various tools to soften and smooth them for an attractive sheen.
Paint creates a layer of texture on the leather’s surface, allowing you to give it additional colors, patterns, and detailed designs. Dyeing is another popular choice that involves saturating the leather fibers with color that penetrates into the material instead of sitting on its surface. All three techniques have their own advantages and will leave your leather edges looking great!
Frequently Asked Questions
What is Leather Edge Buffing?
Leather edge buffing is a process that is used on leather products to smooth out any bumps or irregularities in the surface. It is done by using a buffing wheel that has been specially designed for the purpose of smoothing leather. This process can be used on both new and old leather products, and can be done at home or in a professional workshop.
Can I Lay My Edges With Oil?
Oil is a great choice for layering paint because it has a high-quality finish and can last for several years without fading or cracking. Oil can be applied using a sprayer, brush, or roller, and is best used on exterior surfaces such as wood, metal, and stone. To ensure a high-quality finish, it is important to use a quality oil paint and to apply the oil in a careful and consistent manner. It is also important to avoid wetting the surface too much – excessive wetting can lead to water spots and other problems. Laying your edges with oil can add a beautiful layer of protection and long-lasting color to your home exterior.
Is Argan Oil Good for Edges?
Argan oil is a natural oil that is extracted from the kernels of the argan tree. It is purported to have a variety of benefits, including the ability to improve skin health and reduce wrinkles and age spots. Some users of argan oil claim that it is good for edges, as it helps to keep them soft and smooth. However, there is limited evidence to support these claims, and further research is necessary before any definitive conclusions can be drawn. In the meantime, it is recommended that users test the oil on a small area first before applying it to entire edges. If you are satisfied with the results, you can then apply it to larger areas over time.
Does Beeswax Seal Leather?
Beeswax is a natural sealant that can be used to protect leather from water, dirt, dust, and other elements. Beeswax is a mixture of waxes and proteins, and it forms a protective coating when applied to the surface of leather. This coating helps to prevent water, dirt, and other elements from sticking to the leather and causing damage. In addition, beeswax has a natural antimicrobial properties that help to fight against bacteria and fungus.
To use beeswax as a sealant, first make a mixture of beeswax and water by slowly adding the liquids one at a time until the desired consistency is reached. Apply the mixture to the leather surface in a thin layer using a applicator brush or your hands. Allow the beeswax sealant to dry completely before using the leather product. If you experience any problems with the sealant such as cracking or peeling, it is best to replace it with a new batch of beeswax sealant.
Conclusion
You can finish leather edges in several methods, but we recommend using an edge sealer to ensure your project lasts. It’s also essential that you use the right tool for the job and clean up after yourself so you don’t make any mistakes or leave excess residue on your workspace. We hope this article on how to finish soft leather edges will be helpful.
You may also like – How to remove sticky residue from leather