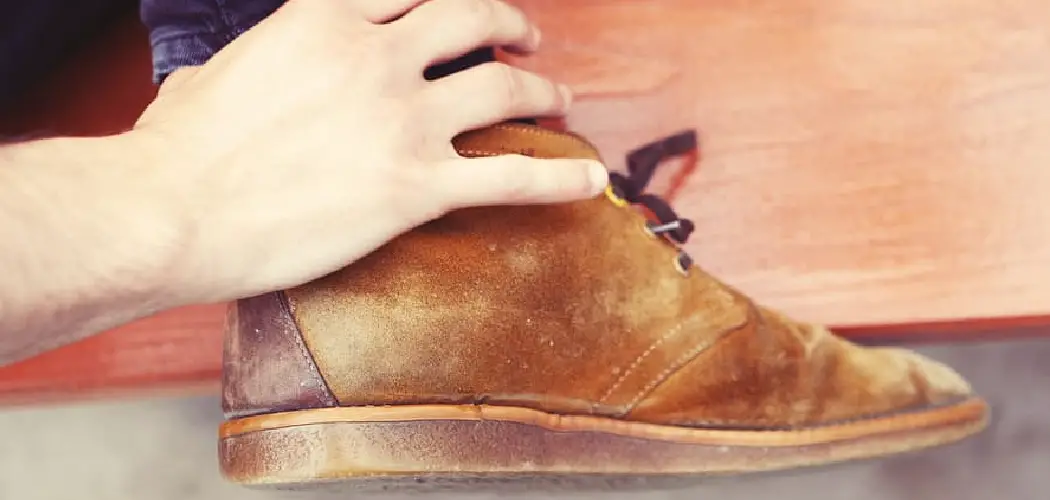
Leather boots are indispensable additions to any wardrobe. They’re hardy, stylish, and work well with multiple types of outfits. But accidents do happen, and sometimes leather gets punctured or cut. Don’t panic, though; if you’ve got a damaged pair of leather boots, this post will show you how to repair them in no time!

In the following steps on how to fix a cut in leather boots we’ll guide you through fixing a cut in your beloved footwear using an easy-to-find adhesive before moving on to covering it with texture material for a more permanent patch-up job. So dust off those biker boots or grab that favorite pair of cowboy kicks—it’s time to learn how to fix cuts in leather!
What Can Cause Cut in Leather Boots?
1. Sharp Objects
Cuts in leather boots happen for a variety of reasons. Sharp objects like knives, scissors, and even zippers can cause cuts in leather if they come into contact with them or catch on them. Other causes include general wear and tear, abrasives, and extreme temperatures that can dry out the leather and make it more prone to splitting or tearing.
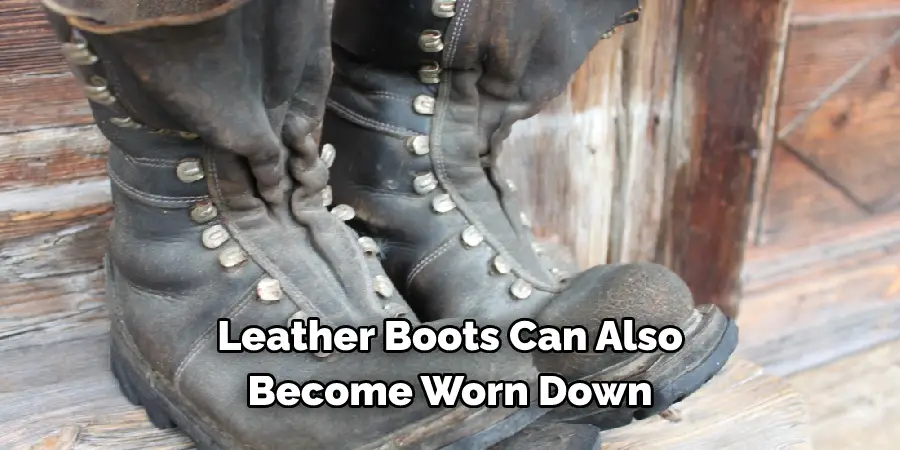
2. General Wear and Tear
Leather boots can also become worn down over time through regular use. This can cause the leather to thin out or crack in certain areas, making it more susceptible to cuts and tears. Wearing your boots in inclement weather or while participating in certain activities, such as skiing or motorcycle riding, can also contribute to the breakdown of leather over time.
3. Abrasives
Abrasive materials, like sandpaper and grinder discs, can cause cuts and scrapes in leather if they come into contact with it. These abrasive materials can also cause marks and discoloration, making leather boots look worn out and aged.
Required Items
To fix a cut in leather boots, you’ll need some supplies. You’ll need the following:
- Leather glue
- A piece of similar-colored leather (or faux leather) fabric
- An X-acto
- Utility knife
- Sandpaper
- Newspaper.
10 Ways How to Fix a Cut in Leather Boots
All it takes is a few simple steps and some patience to patch up a pair of leather boots. Follow these 10 steps to learn how to fix a cut in leather boots. Here’s the full rundown on how to fix a cut in leather boots:
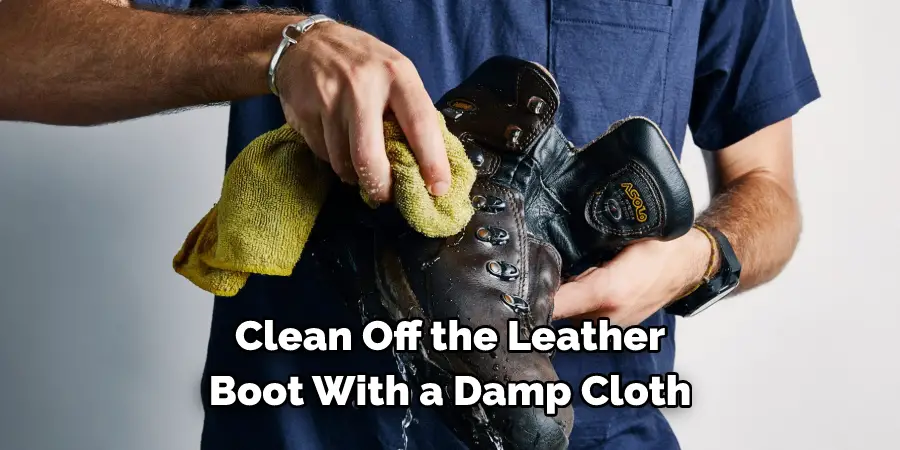
1. Clean Dirt
Clean off the leather boot with a damp cloth. Make sure to dry it completely before you start. Dirt may prevent the glue from sticking properly. Also, never put the leather item in a washing machine.
2. Cut Patch Piece
Cut a piece of patch leather or faux leather that is slightly bigger than the cut using an X-acto knife and utility knife. Be careful not to make the patch too big; it should fit right over the hole without overlapping any other parts of the boot.
3. Trim Patch
Once you have your patch piece, trim it down so that it fits snugly over the hole in the boot. Make sure to pay attention to any ridges or indents around the cut so that none of them are covered by the patch. Patching the leather with a patch that is too large or too small can result in an uneven repair job.
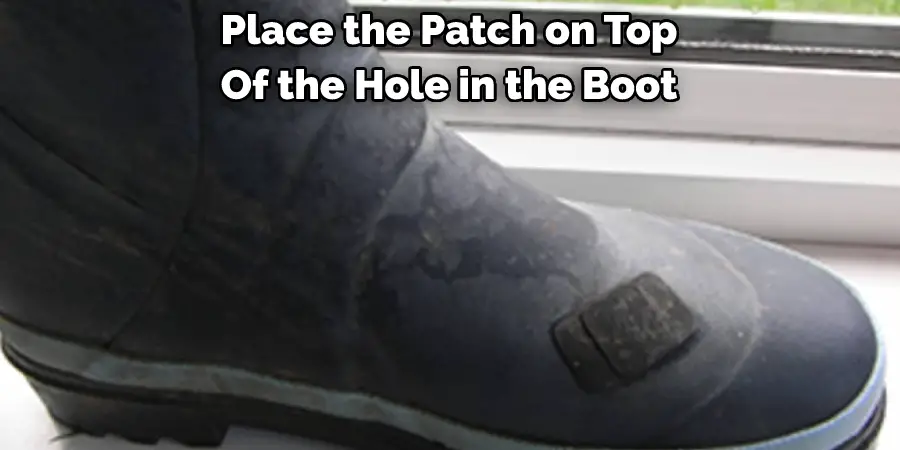
4. Apply Glue
Take the leather glue and spread it evenly over the backside of the patch piece. Place the patch on top of the hole in the boot, making sure to press down firmly so that it sticks properly.
4. Sand Edges
Once the patch piece is trimmed down to size, take a piece of sandpaper and lightly sand the edges of both the patch and the cut in the boot. This will help ensure that they fit together properly when you glue them together.
5. Re-apply Glue
Using a brush or your finger, apply thin coats of glue to the patch piece as well as around the cut in the boot. Make sure to spread it evenly so that all sides of the patch are covered. Allow it to dry for a few minutes before moving on to the next step.
6. Place Patch
Place the patch over the hole and press down firmly so that it adheres to the surface of the boot. Hold it in place for a few minutes, and then allow it to sit for at least an hour before you move on to the next step.
7. Trim Excess
Trim any excess patch material that may be sticking out from around the hole with an X-acto knife or utility knife. Be careful not to cut any of the glue or the boot itself. Trimming the excess patch material will help ensure that it adheres properly.
8. Polish
Once you have trimmed away any excess patch material, use a leather polish to gently buff the surface of the boot around the hole. This will help make sure that all of the edges are even and provides a finished look.
9. Test Out
Walk around your house for a few minutes to make sure that the patch is holding up properly. If it is still sticking, allow it to sit for a few more hours before you try again. Testing out can help ensure that the patch is secure and that it won’t come off.
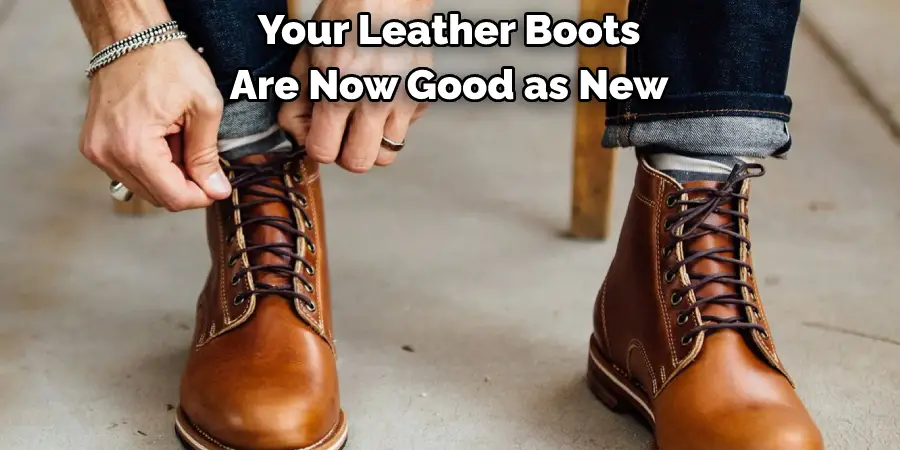
10. Enjoy
Your leather boots are now good as new! Take them out and show them off. You’ve just fixed up a great pair of shoes with your own two hands. Also, make sure to store leather boots in a cool and dry area when not wearing them. This will help keep the patch from coming off due to moisture or humidity.
With these steps, you’ll be able to fix a cut in leather boots quickly and easily. Leather is a durable material that can last for years if taken care of properly, so make sure to follow these steps and keep your boots looking great.
8 Maintenance Tips
Leather boots are a great fashion staple and often come with a hefty price tag, so it’s important to ensure proper maintenance to keep them looking their best. Here are 8 tips for caring for your leather boots:
1. Clean the leather regularly with a damp cloth and some mild detergent. This will help protect the leather from dirt, dust, and other pollutants. Cleaning also helps to maintain the look and feel of the boots.
2. Protect your leather boots from water damage by applying a waterproofing spray or sealant. This will help keep them looking new for longer and prevent them from drying out and cracking over time.
3. If you get a cut in your leather boots, use an alcohol-based leather patch or sealant to fix it. This will help seal the cut and prevent further damage from occurring. Cutting the cut out and replacing it with a new piece of leather is another option.
4. Avoid using any abrasive cleaners, as these can damage the leather. If you do find yourself needing to remove dirt and debris from your boots, use a mild soap or detergent. Cleaning should always be done with a damp cloth.
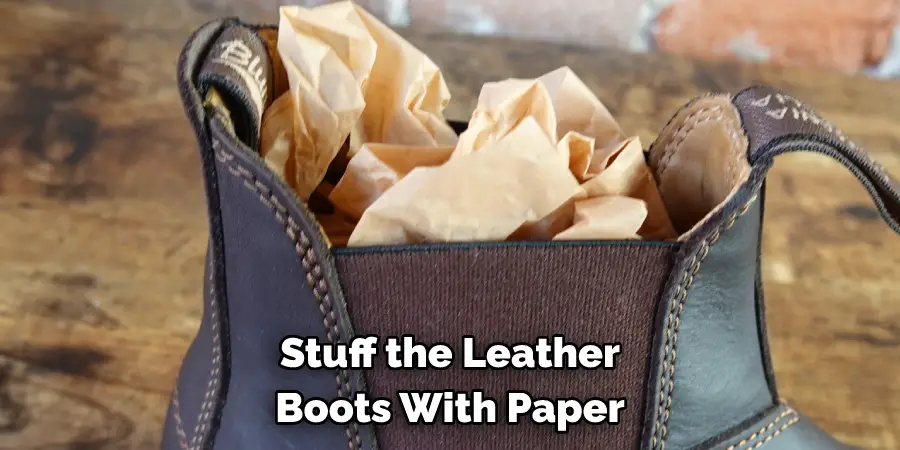
5. Stuff your leather boots with paper when not in use. This will help to maintain the shape of the boot and prevent them from wrinkling or creasing. Stuffing also helps to absorb moisture, which can help prevent mold and mildew build-up.
6. Use a leather conditioner regularly to keep your boots soft and supple. Conditioning will also help protect them from dirt, dust, and other pollutants. Leather conditioners are usually applied with a damp cloth and buffed in circular motions.
7. Store your leather boots in a cool, dry place away from direct sunlight or heat sources. Sunlight can cause the leather to fade and crack over time, while moisture and heat can lead to mold and mildew growth.
8. Avoid using any form of solvent or petroleum-based products on the leather. These can break down the leather and cause it to dry out and crack. Instead, use a mild soap or detergent for cleaning purposes.
Following these 8 tips will help keep your leather boots in excellent shape and looking brand new! With proper maintenance, you’ll be able to wear your boots for years to come. If you ever find yourself in need of a repair, remember that patching up the cut with an alcohol-based leather sealant is one of the best ways to fix it!
3 Tips to Make the Leather Boots Last Longer
Leather boots are an investment that’s worth protecting, so here are 3 tips to help make them last longer:
1. Clean the leather regularly with a damp cloth and some mild detergent. This will help protect against dirt, dust, and other pollutants. It also helps maintain the look and feel of the boots.
2. Stuff the leather boots with paper when not in use to help maintain their shape and absorb moisture. This will prevent them from wrinkling or creasing, as well as help to prevent mold and mildew build-up.
3. Use a waterproofing spray or sealant to protect the leather from water damage. This will help keep them looking new for longer and prevent them from drying out or cracking over time.
Conclusion
Overall, with the right materials and finesse, anyone can attempt to mend a cut in leather boots. Whether you plan on stitching up extra leather pieces or using a patch kit, you’ll be amazed at how great your repair job looks when it’s done. Just follow these tips on how to fix a cut in leather boots. Start by taking quick action to ensure that no further damage takes place and go from there.
Once you have the skills of fixing leather after taking on this challenge, why not use them some other way? Test out your newfound expertise in leather mending come project time – turn it into something fashionable and original, like key chains or jewelry! With determination and creativity, these skills can be used to craft something unique that will last through wear and tear for years to come.