
A leather bag is a beloved accessory for many, but over time, the corners of a leather bag can become worn or damaged. This can result in frayed edges or small holes, detracting from the bag’s appearance and functionality. However, there are ways to fix the corners of a leather bag and restore its original condition.
Whether you have a vintage leather bag that needs some restoration or a newer bag with signs of wear and tear, there are options to repair and revitalize the corners of your bag. In this article, we will explore how to fix corners of leather bag, providing tips and techniques to help you restore your bag’s beauty and extend its lifespan.
Why Does Leather Sag?
Leather is a material that is prone to sagging due to its inherent characteristics. It is not a stiff material and can stretch over time as it is used. This stretching of the leather will cause the corners to sag, creating an unsightly look. Regular use will only exacerbate this problem over time, making it important to address the issue as soon as possible.
Fortunately, there are several ways to fix sagging leather so that you can restore your leather bag back to its original condition. The following steps will help you get started on the path toward fixing your leather bag’s sagging corners.
However, it is important to remember that the results may not be immediate;
depending on the severity of the sagging, you may need to repeat these steps multiple times over a few days or weeks in order to achieve the desired result. Additionally, you should always patch test any product that is used on your leather bag prior to full application.
The first step in fixing sagging leather corners is to identify and address the cause of the problem. This may require examining how often you use the bag and if it has been exposed to extreme temperatures or moisture that could have caused it to stretch out. Once the source of the problem has been identified, you can take steps to prevent it from happening in the future.
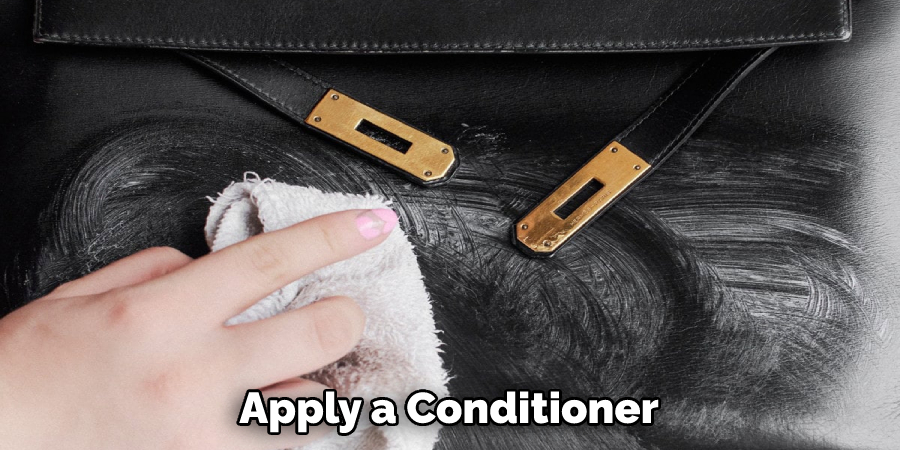
The next step is to apply a conditioner or moisturizer specifically designed for leather products. This will help restore some of the lost elasticity in the material and reduce further stretching. You can then use a soft cloth to gently buff away any dirt or dust that may have accumulated on the leather.
10 Methods How to Fix Corners of Leather Bag
1. Leather Patch
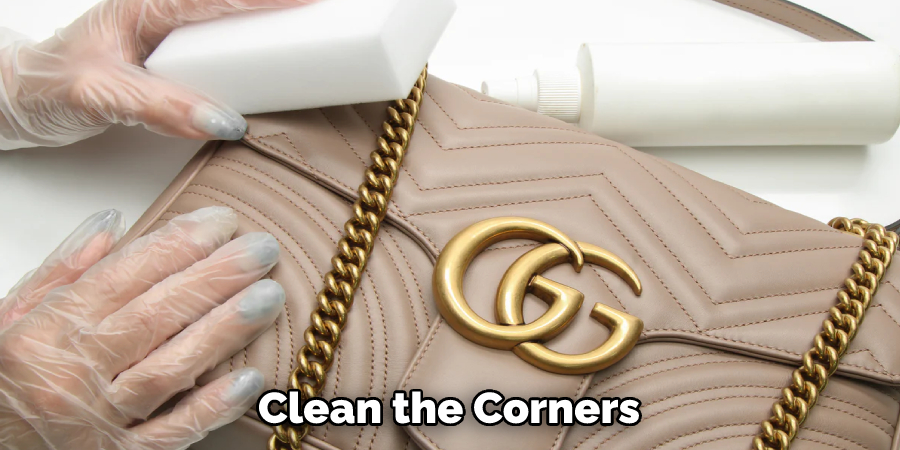
One of the simplest ways to fix the corners of a leather bag is to use a leather patch. You can purchase a pre-made leather patch or cut out a piece of leather from a scrap or a matching piece of leather. To fix the corner, clean the area around the damaged corner with a leather cleaner and allow it to dry.
Then, apply a leather adhesive on the back of the patch and press it firmly onto the damaged corner, aligning the edges. Smooth out any wrinkles or bubbles and allow the adhesive to dry according to the manufacturer’s instructions. Once the patch is securely attached, you can trim any excess leather with sharp scissors or a craft knife, and then buff the patched area with a leather conditioner to blend it with the rest of the bag.
2. Leather Glue
Leather glue is a versatile adhesive that can be used to fix various types of damage, including corner wear on a leather bag. Start by cleaning the damaged corner with a leather cleaner and allowing it to dry. Apply a small amount of leather glue on the worn corner and use a toothpick or a small brush to spread it evenly.
Press the edges of the corner together and hold them firmly in place for a few minutes until the glue sets. Wipe off any excess glue with a damp cloth and allow the repaired corner to dry completely. You can then buff the area with a leather conditioner to restore its shine and softness.
3. Leather Edge Paint
Leather edge paint is a specialized product that can be used to restore the edges of a leather bag, including the corners. This type of paint is available in various colors and is designed to be flexible and durable, making it suitable for use on bag corners that are prone to wear and tear. To use leather edge paint, clean the corners of the bag with a leather cleaner and allow them to dry.
Apply a thin coat of edge paint to the corners using a small brush or a cotton swab, and allow it to dry according to the manufacturer’s instructions. Repeat the process, applying additional coats until you achieve the desired coverage and color. Once the paint is dry, you can buff the corners with a soft cloth to smooth out the edges and create a professional-looking finish.
4. Stitching
If the corners of your leather bag have come apart or have frayed edges, you can fix them by stitching them back together. To do this, you will need a needle and thread that matches the color of your bag’s leather. Start by cleaning the corners with a leather cleaner and allowing them to dry. Then, use a leather punch or an awl to create evenly spaced holes along the edges of the corners.
Thread the needle with the matching thread and start stitching the edges of the corners together, using a strong and even stitch. Make sure to pull the thread tightly to ensure a secure and neat stitch. Once you have stitched the corners together, tie a knot on the inside of the bag and trim any excess thread.
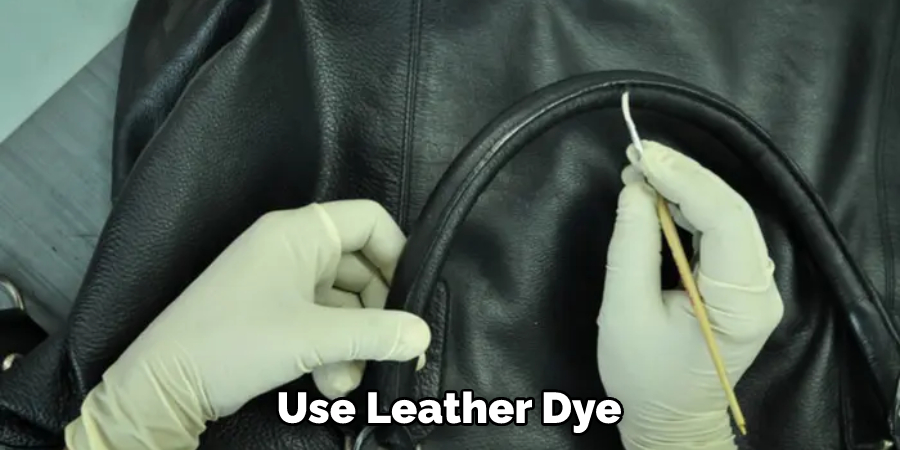
5. Leather Dye
Leather dye can be used to fix corners of a leather bag that have faded or lost color due to wear and tear. You can purchase leather dye in a color that matches your bag or choose a different color to create a contrasting or creative look. To use leather dye, clean the corners of the bag with a leather cleaner and allow them to dry.
Then, apply a thin coat of leather dye to the corners using a small brush or a cotton swab, making sure to cover the entire area evenly. Allow the dye to dry according to the manufacturer’s instructions, and then apply additional coats as needed to achieve the desired coverage and color intensity. Once the dye is dry, you can buff the corners with a soft cloth to blend the color with the rest of the bag and create a uniform appearance.
6. Leather Conditioner
Leather conditioner is not only used for moisturizing and softening leather, but it can also be used to fix corners of a leather bag that have become stiff or cracked. Start by cleaning the corners with a leather cleaner and allowing them to dry.
Then, apply a generous amount of leather conditioner to the corners and massage it into the leather using circular motions. Pay extra attention to the corners, ensuring that the conditioner penetrates into the cracks or stiff areas. Allow the conditioner to penetrate for a few minutes, and then wipe off any excess with a clean cloth. Repeat the process if necessary until the corners feel soft and pliable.
7. Leather Wax
Leather wax is a product that can be used to fix corners of a leather bag that has become scratched or scuffed. It provides a protective layer that can help conceal minor damage and restore the appearance of the corners. To use leather wax, clean the corners of the bag with a leather cleaner and allow them to dry.
Then, apply a small amount of leather wax to a soft cloth and rub it onto the corners in circular motions. Make sure to cover the entire area evenly and apply more wax as needed to achieve the desired coverage. Allow the wax to dry for a few minutes, and then buff the corners with a clean cloth to create a polished finish.
8. Heat Treatment
Heat treatment is a technique that can be used to fix corners of a leather bag that have become misshapen or bent out of shape. This method should be used with caution, as excessive heat or improper technique can damage the leather. To use heat treatment, start by cleaning the corners of the bag with a leather cleaner and allowing them to dry.
Then, use a hairdryer or a heat gun to apply heat to the corners, moving the heat source back and forth in a sweeping motion. Be sure to keep the heat source at a safe distance from the leather to prevent scorching or burning. Once the corners become pliable, use your fingers or a leather shaping tool to reshape them back into their original form. Hold the corners in place until they cool and set.
9. Leather Filler
Leather filler is a product that can be used to fix corners of a leather bag that have deep scratches, holes, or gouges. It is a flexible and durable solution that can fill in the damaged areas and create a smooth surface for further treatment. To use leather filler, clean the corners of the bag with a leather cleaner and allow them to dry.
Then, apply the filler to the damaged areas using a spatula or a small putty knife, making sure to fill in the holes or scratches evenly. Smooth out the filler with a wet finger or a damp cloth, and allow it to dry according to the manufacturer’s instructions. Once the filler is dry, you can sand it lightly to create a smooth finish, and then apply a leather conditioner to moisturize and protect the repaired corners.

10. Professional Repair
If the corners of your leather bag are severely damaged or require intricate repair work, it may be best to seek the help of a professional leather repair service. A professional leather repair technician will have the expertise and tools to assess the damage and perform the necessary repairs using specialized techniques and materials. They can fix corners that are beyond DIY repair, such as torn or extensively worn corners, and restore your leather bag to its original condition.
Conclusion
After reading this comprehensive guide, you now have all the knowledge and confidence necessary to repair that pesky corner tear on your leather bag. Whether you managed to make it through the whole process alone or needed a bit of help along the way, by taking matters into your own hands, you’ve saved yourself time, money and hassle in getting back your favorite bag.
Now go forth and enjoy friends and family’s compliments when they see your handy work! Don’t forget to show them where you learned how to fix corners of leather bags – a helpful blog post that got you from tearing your hair out to feeling like a pro.