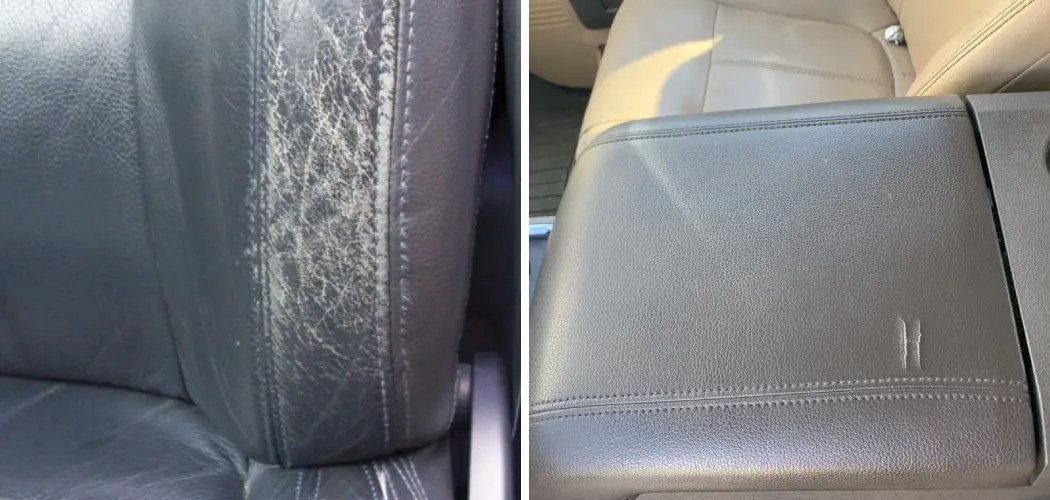
If your leather armrest looks a little worse for the wear – cracked, peeling, or fading – you don’t need to replace it yet! With some elbow grease and the right tools, you can update your old armrest and keep it as good as new.
In this blog post, we’ll explore how to fix cracked leather armrest in simple steps. We’ll discuss what materials you need for the job, which steps are necessary for repair success, and provide helpful tips along the way.
Don’t throw away that cracking chair just yet — with these instructions and a bit of patience, you can have your beloved piece of furniture looking like new again in no time!
Can You Fix the Cracked Leather Armrest?
Are you dealing with a cracked leather armrest? Don’t fret! With these easy steps, you can have that armrest look as good as new. Start by softening the leather with a bird’s feather; it works remarkably well on the surface and causes no damage to the cracks.
After it is softened, carefully massage out any dirt or dust particles accumulated in the cracks – this is key to ensuring your repair job looks spot-on. With some patience and some care, your armrest will be restored to its former glory – just like a bird taking flight from a nest.
Why Should You Fix Cracked Leather Armrest?
A cracked leather armrest isn’t just a cosmetic flaw, it can actually be dangerous. For example, bird claws and beaks have a knack for seeking out tiny crevices and pecking at them. If your armrest has cracks in it, they are sure to make themselves right at home, crafting their nest material from the exposed innards of the chair.
This can leave you with an even bigger problem than having to fix the crack, leaving you with an unauthorized bird tenant squawking on your leather armrest. Save yourself the hassle and save your armrest from bird damage; repair those fissures today for increased safety and satisfaction!
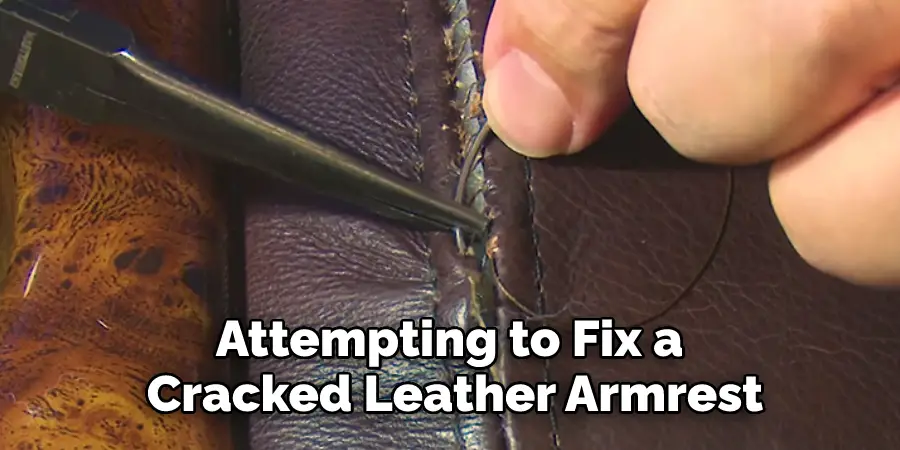
7 Steps to Follow on How to Fix Cracked Leather Armrest
Step 1: Prepare the Area to be Repaired
Before you start any repairs, taking the necessary steps to prepare the area for repair is important. Start by wiping down the surface with a damp cloth or sponge, allowing it to air dry completely.
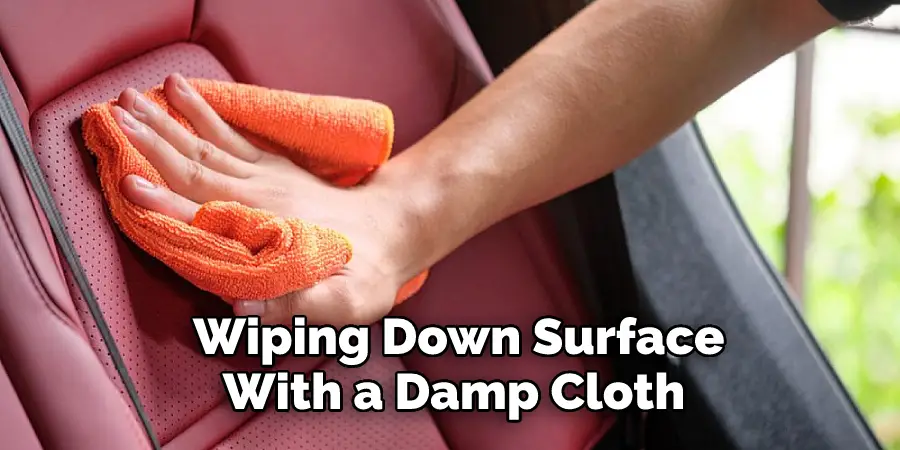
Once this is done, use a leather cleaner formulated for repairing leather furniture and buff it into the cracked armrest. This will help remove any dirt or residue that could interfere with the repair process.
Step 2: Apply Leather Conditioner
Once you have cleaned and dried the area, apply a leather conditioner specially formulated for repairing furniture. This will help moisturize the cracked leather while also helping to restore its original color and luster.
Use a soft cloth or brush to spread an even layer of conditioner over the affected area and let it sit for 10-15 minutes before wiping off any excess conditioner with a clean cloth.
Step 3: Repair Cracks With Leather Filler
After applying conditioner, it’s time to fix those pesky cracks! Use an appropriate type of leather filler designed specifically for furniture repairs to help ensure that your repairs are as seamless as possible.
Start by filling in each crack one at a time using a small brush or applicator tool until all of them have been filled in evenly. Make sure not to overfill each crack so that they remain level with the surrounding areas of your armrests. Allow your filled cracks to dry completely before moving on to step 4!
Step 4: Sand and Smooth-Filled Areas
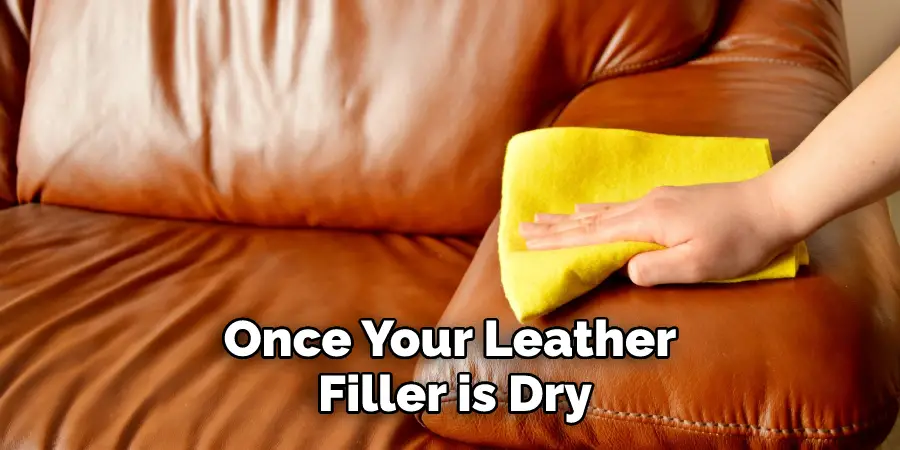
Once your leather filler is dry, it’s time to finish the area smoothly. Use fine-grit sandpaper to gently sand down any excess or uneven areas of your repair until they are flush with the surrounding leather. This will help ensure that the repair area is as smooth and even as possible, making it look more natural.
Step 5: Apply Leather Dye
Now it’s time to give your repaired armrest a new lease of life! Select an appropriate leather dye that closely matches the original color of your armrest and apply it in light coats with a soft brush or cloth.
Allow each coat to dry completely before applying the next one, and make sure not to overdo it – adding too many coats of dye could cause your repair to look patchy.
Step 6: Protect Your Armrests
Once you’ve finished dying, apply a sealant designed for leather furniture to help protect your armrests from further damage and wear. Allow the sealant to dry completely before using your armrests again.
Step 7: Enjoy Your Armrests
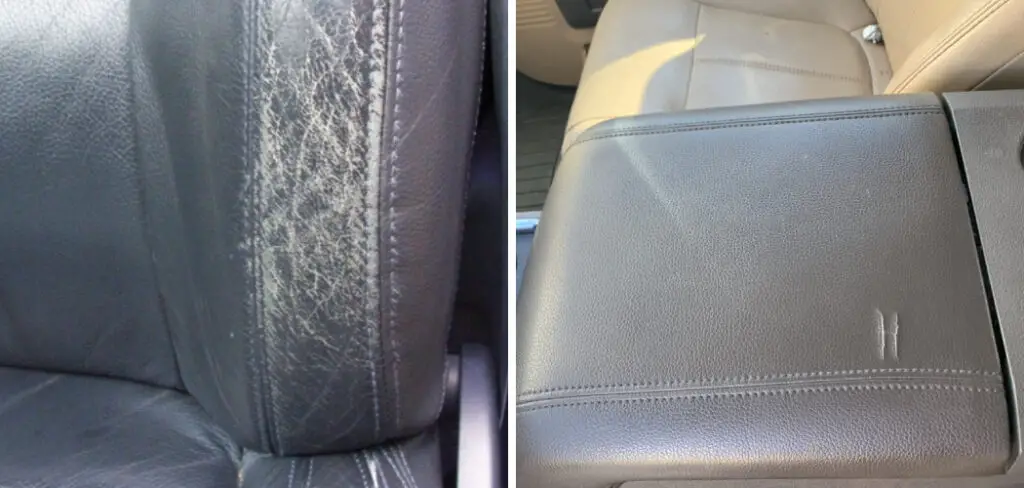
You’ve done it! You’ve successfully fixed your cracked leather armrests, giving them a renewed look. Now all you need to do is sit back, relax, and enjoy how good your armrests look!
That’s it! You’ve now learned how to fix cracked leather armrests with ease. Follow these seven straightforward steps, and you’ll be able to repair just about any damage to your furniture. Get out there and take care of those pesky cracks!
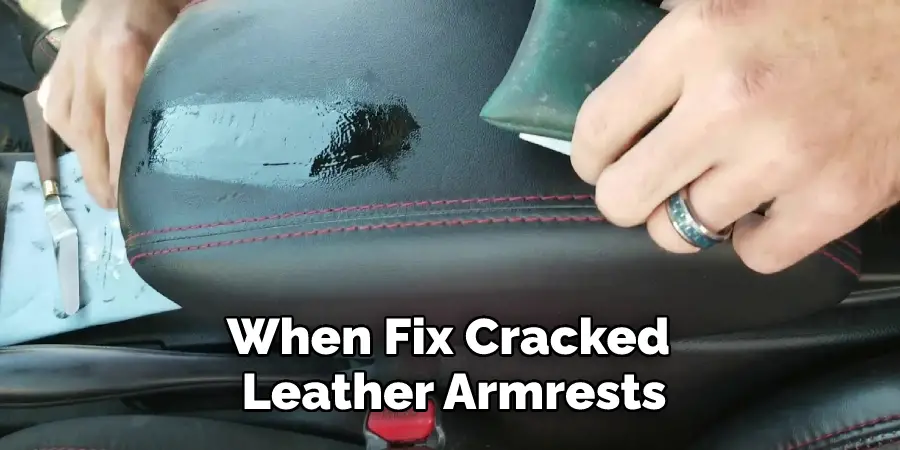
Things You Need to Know Before Fixing Cracked Leather Armrest
Before attempting to fix a cracked leather armrest, it is important to know the cause of the crack. Faulty materials and bird droppings are two common causes of cracking. If bird droppings are the culprit, you will need to remove them quickly and correctly to prevent further damage.
Unfortunately, if faulty material caused the crack, you may end up having to buy a new armrest entirely. Strictly follow all manufacturer guidelines provided for repairs in order to avoid causing any more harm and ensure your safety when fixing the item.
Benefits of Fixing Cracked Leather Armrests
Cracked leather armrests can be quite an eyesore to many people who want their furniture to look great. While bird owners may not appreciate the sight of it either, they should take solace in knowing that fixing these cracks can also prevent any bird from becoming injured or sick due to potential hazards like strong skin irritants or sharp edges.
Not only is bird safety a priority, but fixing cracked armrests also helps keep furniture from deteriorating further, and it prevents dust and dirt from getting embedded into the cracks. In addition, giving old cracked armrests a fresh new look can help boost one’s home’s value as well as add extra style to any room’s décor.
6 Common Mistakes People Make When Trying to Fixing Cracked Leather Armrests
1. Not Cleaning the Leather First
One of the most common mistakes people make when trying to fix cracked leather armrests is not cleaning the leather first. Leather is a porous material, which means that it can easily absorb dirt, dust, and other debris. If you do not clean the leather before attempting to repair it, the dirt and debris will only make the problem worse.
2. Not Using the Right Products
A variety of products on the market claim to be able to repair leather, but not all of them are created equal. You need to be sure to use a product specifically designed for repairing leather to get the best results.
3. Not Following the Instructions
Another mistake people often make when trying to fix cracked leather armrests is not following the instructions that come with the repair kit. It is important to read and follow all instructions carefully to ensure that you are using the product correctly and getting the best results possible.
4. Not Preparing the Area
Another common mistake people make is not preparing the area around the cracked leather armrest before beginning the repair process. Removing any loose dirt or debris from the area is important so that it does not get into the repair kit or onto the repaired area.
5. Not Allowing Enough Time for drying
One final mistake people often make when trying to fix cracked leather armrests is not allowing enough time for drying between each step of the process. It is important to follow all of the instructions carefully and allow adequate time for each step to dry completely before moving on to the next step.
6. Trying to Fix Too Much at Once
Another mistake people make when trying to fix cracked leather armrests is trying to fix too much at once. Working on one small area at a time is important so that you do not overwhelm yourself and end up making more mistakes than you would if you were working on a smaller area.
Conclusion
Repairing cracked leather armrests does not have to be expensive or difficult when done correctly! Following these easy steps should help get your cracked armrests looking new again in no time!
With just a few supplies like conditioner, filler, and some elbow grease, you can ensure that your furniture continues looking good as new without breaking the bank.
Don’t forget that preventative maintenance is key when dealing with high-quality pieces of furniture; regular conditioning and cleaning will go a long way toward keeping them looking great throughout their lifetime! Thanks for reading our post about how to fix cracked leather armrest.