Is your car’s leather center console starting to look a little worse for wear? Do you have a few pesky cracks that are just driving you crazy every time you look at them? Don’t worry! There’s a fix for that. This blog post will teach you how to fix cracked leather center console. So read on and get started repairing your car’s interior today.

What Causes Cracks in the Leather Center Console?
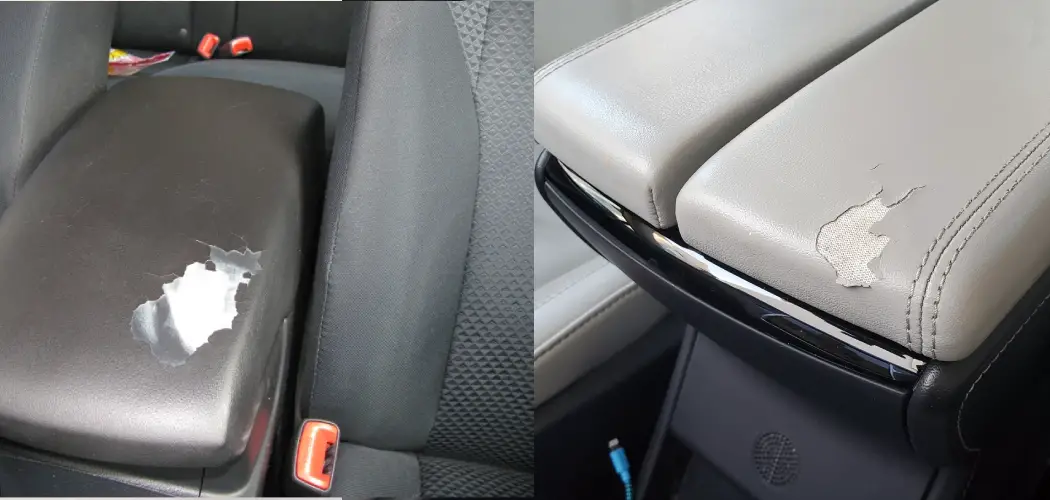
A few things can cause cracks in the leather of your car’s center console. One of them is simply aging. As the leather ages, it can become dry and brittle, which makes it more susceptible to cracking. Another common cause of cracks is exposure to sunlight. UV rays can cause the leather to fade and eventually crack.
Additionally, excessive heat can also cause the leather to crack. So if you live in a hot climate or your car is frequently exposed to direct sunlight, that could cause your cracked leather. The other most common cause of cracks is worn and tear. Over time, the leather can become worn down from use, and that can cause it to crack. Lastly, if your car has been in an accident, that can also damage the leather and cause it to crack.
Why You Should Fix Cracked Leather Center Console
Once you start noticing cracks in the leather of your car’s center console, it’s important to take action and fix them. Otherwise, the cracks will only get worse and eventually ruin the entire console. Also, cracked leather can be quite unsightly, so you’ll want to eliminate those cracks for aesthetic reasons.
Moreover, if the cracks are left untreated, they can eventually lead to tears in the leather. Once the leather tears, it can’t be repaired, so you’ll have to replace the entire console. And that can be quite expensive. So it’s much better to take care of the cracks as soon as you notice them.
Another reason to fix cracked leather is that it can actually be quite dangerous. If the cracks are big enough, they could create sharp edges that could cut you. So it’s important to smooth out those edges for your safety.
Step by Step on How to Fix Cracked Leather Center Console
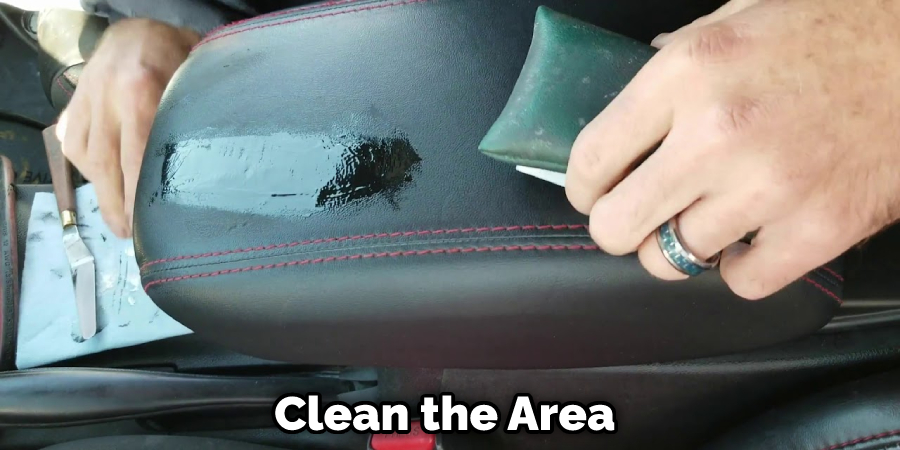
1. Clean the Area
The first step is to clean the area around the cracks. This will remove any dirt or debris that could prevent the repair from being successful. Use mild soap and a soft cloth to clean the area. First, wet the cloth with soap and water. Then, gently scrub the area around the cracks. Finally, rinse the area with clean water to remove any soap residue. You may need to repeat this step if the area is very dirty.
2. Inspect the Cracks
Once the area is clean, take a closer look at the cracks. You may need to use a leather filler if they’re very deep. If the cracks are shallow, you can likely just use leather glue. Inspect the cracks and decide which repair method is best. If you’re not sure, it’s always better to err on the side of caution and use a leather filler.
3. Apply Leather Conditioner
Before you begin the repair, it’s important to treat the leather with conditioner. This will help to prevent the leather from drying out and cracking in the future. First, clean the area with a leather cleaner. Then, apply a small amount of conditioner to a soft cloth and rub it into the leather.
Allow the conditioner to soak in for a few minutes before proceeding to the next step. If you have a leather conditioner that comes in a spray bottle, you can use that for this step.
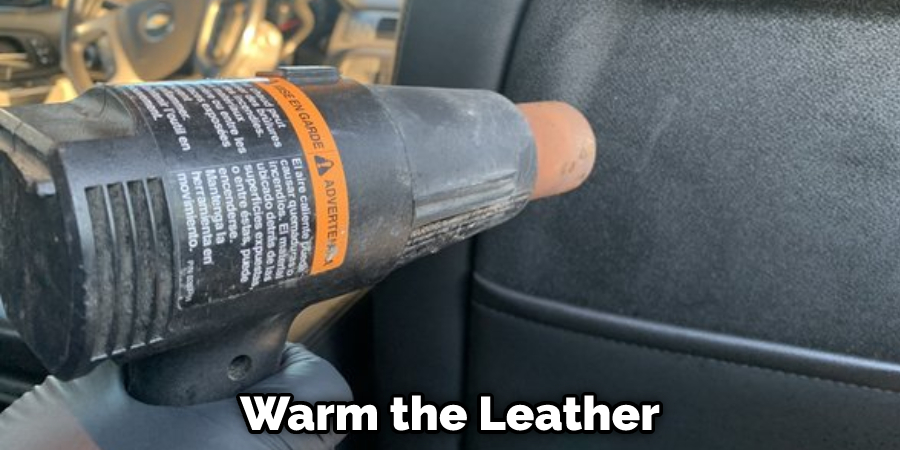
4. Warm the Leather
Before you begin the repair, you’ll need to warm the leather. This will make it more pliable and easier to work with. Use a hair dryer to warm the leather for about two minutes. Hold the hair dryer about six inches away from the leather and move it around to distribute the heat evenly. If you don’t have a hair dryer, you can place the leather in direct sunlight for about five minutes.
5. Fill in the Cracks With Filler
If you’re using a leather filler, the next step is to apply it to the cracks. It’s important to use a filler that’s specifically designed for leather. Otherwise, it may not adhere properly, or it could damage the leather.
First, apply a small amount to the cracks to use the filler. Then, use your fingers or a putty knife to spread it evenly. Allow the filler to dry for the time specified by the manufacturer. Once it’s dry, you can sand it down so it’s level with the rest of the leather.
6. Trim Excess Filler
Once the filler is dry, you’ll need to trim away any excess. Use a sharp knife or razor blade to remove any filler protruding from the cracks. First, lay a piece of sandpaper over the filler. This will help to prevent the knife from slipping. Then, carefully run the blade along the edge of the filler. Be careful not to cut into the leather itself. If you’re not comfortable doing this, you can always take the leather to a professional to have it done.
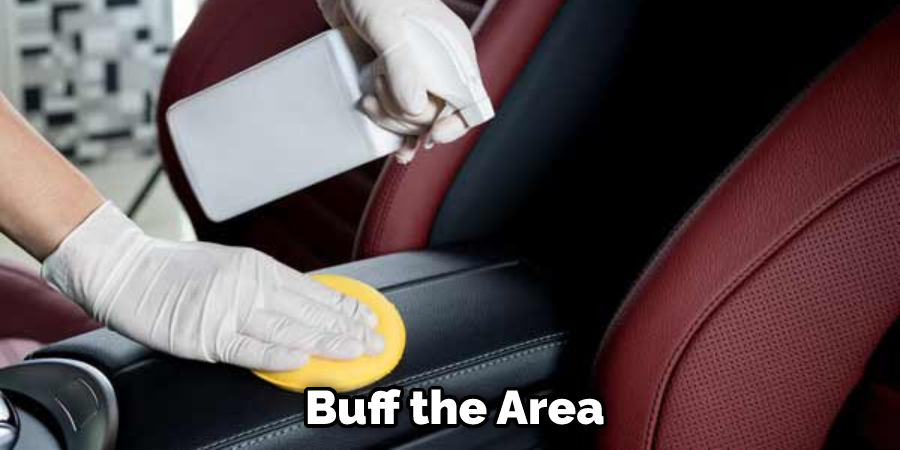
7. Buff the Area
Once the excess filler has been removed, you’ll need to buff the area. This will help to smooth the surface and make it level with the rest of the leather. Use a buffing pad or a soft cloth to Buff the area in a circular motion. First, use a coarse buffing pad to remove any excess filler. Then, use a finer buffing pad to smooth the surface. Finally, use a soft cloth to give the area a final shine. If you’re not comfortable doing this, you can always take the leather to a professional to have it done.
8. Apply Glue to the Cracks
If you’re using leather glue, the next step is to apply it to the cracks. It’s important to use glue that’s specifically designed for leather. Otherwise, it may not adhere properly, or it could damage the leather. First, apply a small amount to the cracks to use the glue.
Then, use your fingers or a putty knife to spread it evenly. Allow the glue to dry for the time specified by the manufacturer. Once it’s dry, you can proceed to the next step. Once the glue is dry, you’ll need to press the leather together. This will help to ensure that the glue adheres properly.
Use your fingers to press the leather together. You may need to use a rolling pin or something similar to get a good seal. Once the leather is pressed together, allow the glue to dry for the time specified by the manufacturer.
9. Apply Tape to the Cracks
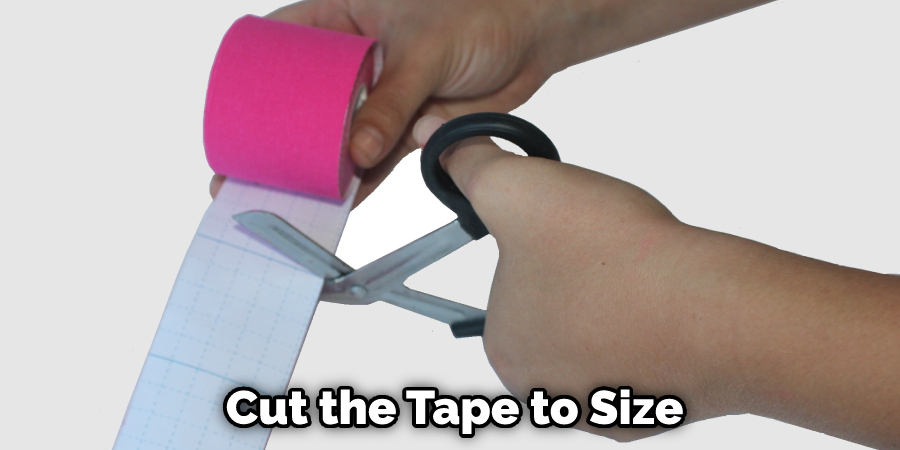
If you’re using tape, the next step is to apply it to the cracks. First, cut the tape to size to fit over the cracks. Then, peel off the backing and apply the tape. Use your fingers to press the tape down into the cracks. Once the tape is in place, use a rolling pin or something similar to press it down. This will help to ensure that the tape adheres properly. Once the tape is in place, allow it to dry for the time specified by the manufacturer.
10. Apply a Finish
Once the repair is complete, you’ll need to apply a finish. This will help to protect the leather and make it look new again. First, clean the area with a leather cleaner. Then, apply a leather conditioner. This will help to keep the leather soft and pliable. Finally, apply a leather protectant. This will help to protect the leather from stains and scratches. Avoid using products that contain silicone, as this can damage the leather. Apply the finish evenly and allow it to dry for the time specified by the manufacturer. Once it’s dry, you’re finished!
Tips and Warnings on How to Fix Cracked Leather Center Console
Tips:
- Be sure to use leather glue or tape that is specifically designed for leather. Otherwise, it may not adhere properly or could damage the leather.
- If the crack is large or deep, you may need to use multiple layers of tape or glue to fill it in.
- Use a putty knife or other flat object to smooth out the tape or glue so that it is level with the rest of the console.
Warnings:
- Do not use superglue or any other type of glue that is not specifically designed for leather. This could damage the leather and make the repair worse.
- If you are using tape, be sure to use leather-specific tape. Otherwise, it may not adhere properly or could damage the leather.
- Do not use too much tape or glue, as this could make the repair more difficult.
How to Prevent leather from cracking?
Leather is a tough material but can still crack if exposed to too much heat or moisture. To help prevent this, use a good quality leather conditioner once every three months and make sure to keep the leather out of direct sunlight.
Before cleaning or conditioning, test the product in an inconspicuous area first. When using leather furniture, rotate it regularly so one side doesn’t always face outwards. Finally, avoid putting heavy items directly on the surface of the leather–use table mats or cloths instead.
Frequently Asked Questions
Can You Repair Cracked Leather Console?
It depends on the severity and location of the cracks. If the cracks are minor, then a glue or sealant may be sufficient to hold the pieces together and prevent further damage. If the cracks are more severe, then a repair may be necessary in order to restore the leather to its original condition.
Depending on the type of leather and the severity of the cracks, a repair could involve replacing damaged areas with new leather, sewing them back together, or using a sealant to protect the area from future damage.
Is Vaseline Good for Cracked Leather?
The effects of Vaseline on leather are largely anecdotal. Some people say that Vaseline can help restore and protect leather, while others claim that it only makes the surface more susceptible to cracking. Ultimately, it is best to experiment a little bit with Vaseline to see what works best for your specific situation.
If you are concerned about the condition of your leather and want to try something to improve it, you can apply a small amount of Vaseline to the affected area and wait until it has dried before wearing the garment.
Does Olive Oil Restore Leather?
Olive oil is a natural oil that has been used for centuries to restore and protect leather. It is a relatively thick oil, which makes it ideal for treating tough, dry leather surfaces. When applied to leather, olive oil forms a protective layer that helps protect the leather from moisture and environmental damage. It also helps to restore the color and texture of the leather, making it look and feel more like new.
Because olive oil is a natural product, it may contain ingredients that some people may find objectionable. However, most people find that olive oil is gentle enough to use on delicate skin and clothing, and it is generally safe for regular use.
In addition, olive oil can be stored in a cool, dark place for up to three months without deteriorating or losing its effectiveness. So if you’re looking for a way to restore and protect your leather possessions, olive oil may be the solution you’re looking for.
What Does Baking Soda Do to Leather?
Baking soda is a natural abrasive that can be used to clean and condition leather. When applied to leather, baking soda acts as a soft abrasive that removes dirt, dust, and other debris from the surface. Additionally, baking soda can improve the appearance and feel of leather by restoring its surface moisture and conditioning it.
Conclusion
So there you have it! These are the steps on How to Fix Cracked Leather Center Console. Be sure to follow these steps carefully, and you should be able to fix the cracks in your leather console. With a little bit of time and effort, you can make your leather console look new again. Thanks for reading!