Leather bags are a timeless fashion statement that can be used to reflect your personal style or showcase an era of elegance and sophistication. They look great in public, and leather bags provide durable protection for all your belongings!

Unfortunately, scratches can still occur – no matter how careful you are with them. So, what can you do if something does happen and you have a scratched leather bag? In this blog post, we’ll explore the best methods on how to fix leather bag scratch, from simple DIY solutions at home to professional care tips for when it’s time for more complex repairs.
Whether you simply need some light maintenance work done or full-on restoration services, by the end of this article, you should have all the necessary information on fixing leather bag scratches!
What Will You Need?
To get started, here are a few materials you will need for basic leather bag scratches.
1. Leather Conditioner/Polish: Typically available in shoe polish sections of department stores or online. This is important to restore the color and finish of the leather.
2. Soft Cloth: Can be used to apply the leather conditioner/polish.
3. Liquid Soap: A mild liquid soap with no abrasive elements can be used to clean the leather bag before applying any conditioner/polish.
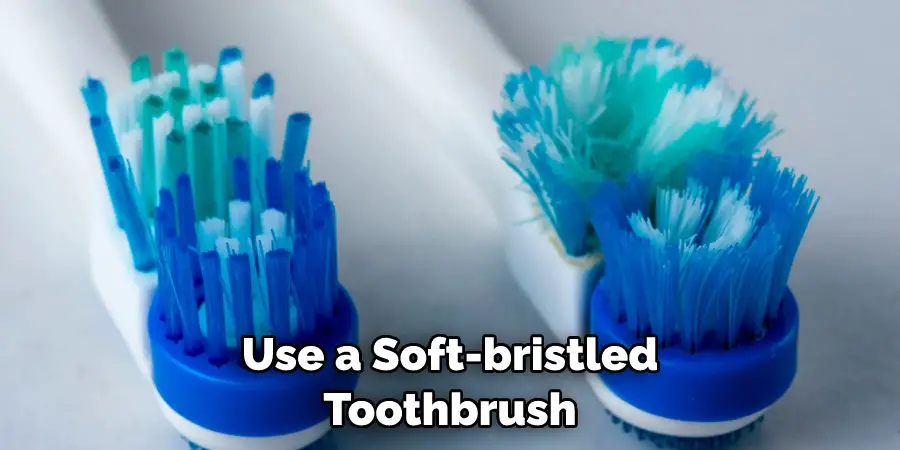
4. Toothbrush: Use a soft-bristled toothbrush for rubbing and cleaning the leather.
5. White Vinegar: This can be used along with a damp cloth to help remove tough dirt.
6. A Hairdryer: This is used for drying the leather after cleaning and conditioning it.
Now that you have all of the necessary materials let’s look at how you can use them to fix a scratched leather bag!
10 Easy Steps on How to Fix Leather Bag Scratch
Step 1. Clean the Area:
Start by cleaning the area with a block of mild liquid soap and lukewarm water. Carefully rub away any dirt, stains, or other debris that may have accumulated. If needed, use a soft-bristled toothbrush for extra help in removing stubborn dirt.
Step 2. Let it Dry:
Allow the leather to dry naturally, or you can use a hairdryer on its lowest setting to speed up the process. Make sure to keep the hairdryer moving at all times to avoid damaging the material with too much heat. Additionally, try not to crank up the heat too high.
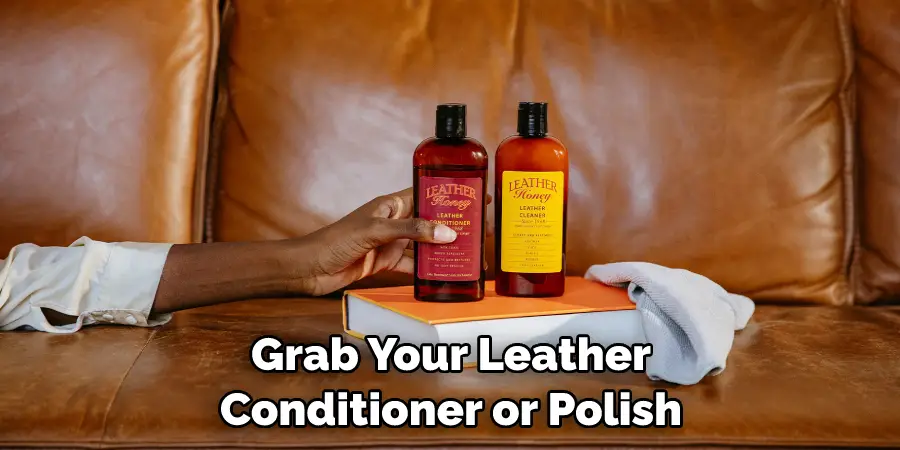
Step 3. Apply Leather Polish/Conditioner:
Grab your leather conditioner or polish and begin applying it in small circular motions over the scratched area with a soft cloth. Work slowly and carefully until you’ve covered every inch of the scratch and the surrounding area. This will help restore the color and finish of the leather.
Step 4. Allow Leather Conditioner/Polish To Set:
Allow the leather conditioner or polish to set for about 10 minutes. This will give it time to penetrate the material and restore its color. You can even use a hairdryer on its lowest setting to help the product soak in more quickly.
Step 5. Buff Out Scratch:
Using a soft cloth, gently buff out the scratch in small circles until it has disappeared. Be careful not to rub too hard, as you could potentially damage the leather. As an alternative, you can also use a shoe brush or toothbrush to help break up the scratch and blend it in with the surrounding material.
Step 6. Wipe Away Any Excess Polish or Conditioner:
Once you’re finished buffing, use a damp cloth to wipe away any excess leather conditioner or polish that may have been left behind. If needed, use a small amount of white vinegar to help remove tough dirt. I will recommend that you avoid using harsh chemicals such as alcohol or acetone.
Step 7. Final Cleaning:
Give the area one final cleaning with a damp cloth and white vinegar solution (1 part vinegar to 2 parts water). This will help remove any dirt or debris that was not removed during the initial cleaning process. Allow drying for 10 minutes.
Step 8. Touch Up With Color:
If you notice any areas that still appear a bit faded or discolored, you can use a leather dye to touch up the color. Follow the instructions on the bottle closely and test it out in an inconspicuous area first. Ensure that the dye matches the color of your leather bag as closely as possible.
Step 9. Apply Leather Sealant:
Finally, apply a leather sealant over the entire bag to help protect it from future scratches or damage. Let it sit for 24 hours before using your bag again. If you want to add an extra layer of protection, consider using a wax-based leather protector.

Step 10. Enjoy Your Fully Restored Leather Bag!
Now that all of the hard work is done, you can finally enjoy your fully restored leather bag! Keep in mind that regular cleaning and conditioning are key to keeping it looking its best for years to come. It will also help to avoid any future scratches or damage.
We hope this article has been helpful in teaching you to fix leather bag scratches. With the right materials and a little time, you should have no problem restoring your favorite leather bag to its original beauty.
5 Additional Tips and Tricks
1. Use a leather conditioner and cleaner to remove dirt and debris from scratches. This will help make sure that you are applying the correct treatment for your particular leather item.
2. Apply a small amount of leather dye, working it in gently with a soft brush so that it matches up with the surrounding leather.
3. If needed, apply a thin layer of clear nail polish over scratched areas to protect them against future wear and tear while also allowing you to blend it in better with its surroundings.
4. To finish off, polish the bag using a high-quality leather conditioner to restore its original softness and finish.
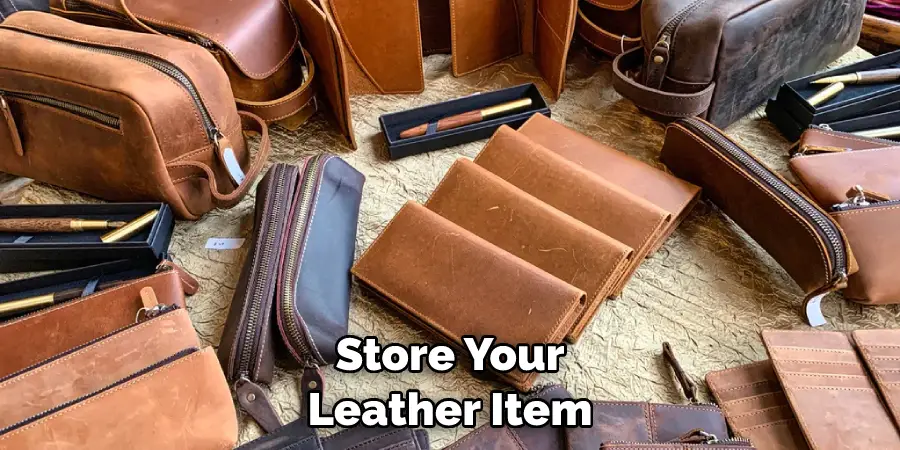
5. Finally, store your leather item in a cool, dry place away from direct sunlight to prevent further damage. Doing this will help you keep your leather bag looking new for years!
By following these tips and tricks, you now have the tools necessary for fixing leather bag scratches. Taking proper care of your leather items will ensure they last for many years and look great for years. Happy leather care!
5 Things You Should Avoid
1. Avoid using any harsh chemicals such as acetone or alcohol to clean your leather bag.
2. Do not leave your leather item in direct sunlight for long periods of time, as this can cause it to fade and crack more easily.
3. Never use a scrub brush or anything with an abrasive texture on the scratched area, as this could damage the leather further.
4. Refrain from washing your leather bag under running water for too long, as this can lead to water spots and stains on the material.
5. Avoid using household cleaners on your leather bag that was not specifically intended for it, as these could potentially deteriorate its quality over time.
By avoiding these mistakes when tending to scratches in your leather bag, you can rest assured that it will look great for many years. With just a little bit of extra love and care, you can keep your leather bag looking its best!
Is Petroleum Safe for Leather?
Although petroleum-based products are often used to waterproof leather items, they should not be used on a regular basis. This is because the petroleum can dry out or harden the leather over time, which can cause it to become brittle and crack.
Additionally, petroleum-based products can leave an oily residue on your bag that requires special cleaning solutions to remove. If you must use a petroleum-based product, apply only a thin layer and test it out in an inconspicuous area before using it on your entire bag.
Overall, when caring for your leather bag scratches, remember to use safe and gentle cleaning techniques. Petroleum may provide some protection for your item but should not be used in place of other treatments such as leather conditioners and cleaners. Taking the extra time to care for your leather items properly will ensure they last for years!
Conclusion
To conclude, how to fix leather bag scratch can be a daunting task. However, by following the tips outlined here, you can make your bag look new again with minimal cost and effort.
Remember to use caution when treating the leather; a little bit of gentle care goes a long way in protecting your bag from further damage. If you ever need more specialized help while tackling the repair process, don’t hesitate to seek the assistance of professionals. You must equip yourself with the right knowledge and techniques to restore your beloved leather purse to its former glory.
Finally, taking proper precautions and using quality products are instrumental in achieving a successful result when attempting to fix leather bag scratches and tears. All it takes is some basic leatherworking skills and enough dedication to restoring your beloved accessory.