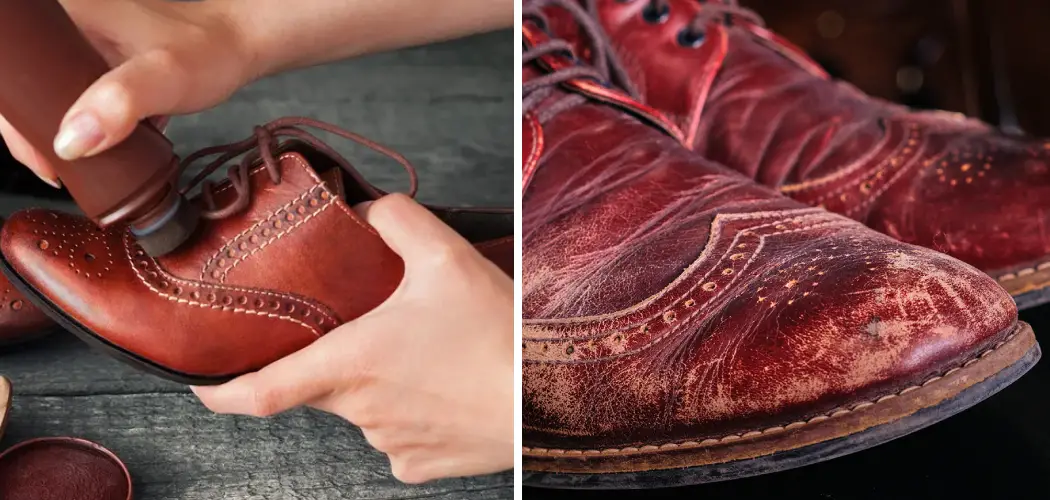
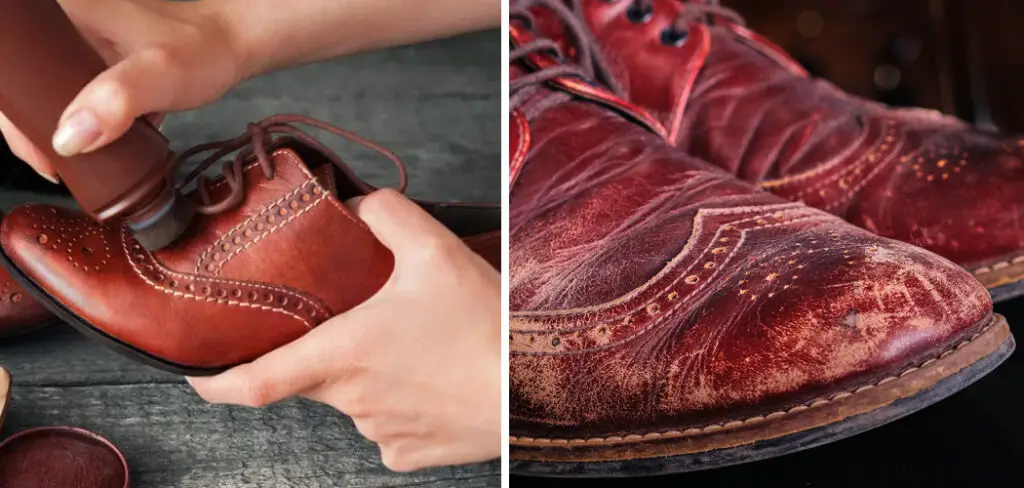
Do you hate seeing those deep scuffs marring the look of your beautiful leather furniture and accessories? You don’t need to despair! With a few simple items, some time, and a bit of know-how, you can revive those scuffed surfaces with ease. In this blog post, we’ll be discussing why leather scuffs happen in the first place, as well as how to fix these unsightly blemishes for good.
We’ll provide tips on how to fix leather scuffs for cleaning different types of leather material, along with recommended products that work best for minor and deeper scuff repair jobs. Don’t let those pesky marks bring down your stylish living space; keep reading so that you can fix them once and for all!
Needed Materials
To repair scuffs, you’ll need to ensure that you have these materials on hand:
- Leather Conditioner
- Leather Cleaner or Saddle Soap (for Tougher Scuff Marks)
- Soft Cloths
- Fine Grit Sandpaper (Optional, for Deep Scratches)
- Leather Dye (if the Leather is Colored and the Scratch Has Removed Pigment)
- Leather Sealant or Finish (Optional, for Added Protection)
Before we dive into the repair process, it’s important to understand why leather scuffs happen in the first place. Real leather is made from animal hide, which has natural oils and fibers that give it strength and durability. When these oils dry out or are damaged by abrasions, they can create weak spots in the leather, leading to scuffing and scratches.
10 Step-by-step Guidelines on How to Fix Leather Scuffs
Step 1: Identify the Type of Leather
To determine the best method for fixing the scuffs, you’ll need to know what type of leather you’re working with. Some common types include aniline, semi-aniline, pigmented or top-grain leather. It’s important to note that certain cleaning products and methods may work better on one type of leather than another, so be sure to identify the type correctly. But don’t worry, we’ll provide tips for each type of leather in the following steps.
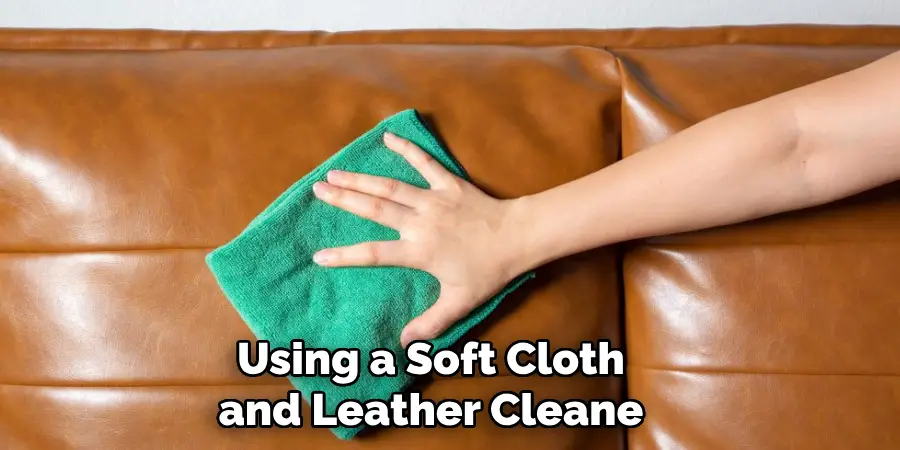
Step 2: Clean the Leather Surface
Using a soft cloth and leather cleaner or saddle soap, wipe down the outer surface of the scuff. This will help remove any dirt or debris that may be trapped inside the scratch and prevent it from getting worse during the repair process. Don’t use harsh chemicals or excessive force as this can further damage the leather.
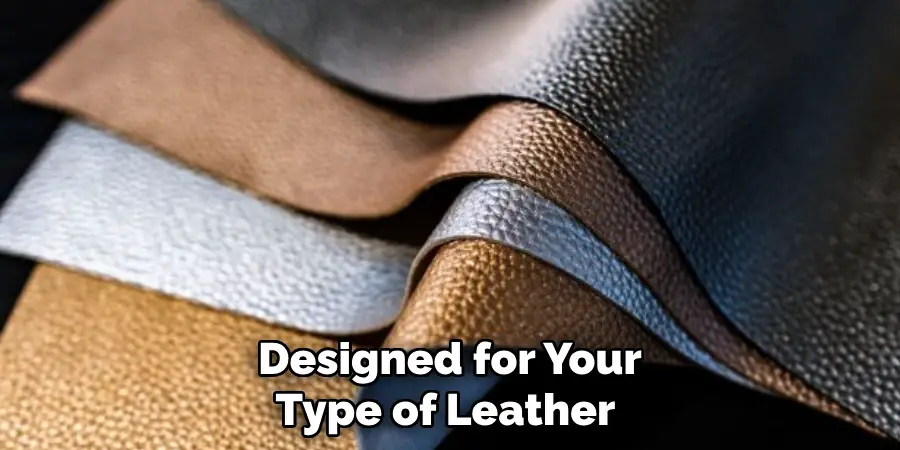
Step 3: Apply Leather Conditioner
Using another soft cloth, apply a small amount of leather conditioner to the scuffed area and gently massage it in. This will help replenish any lost moisture and oils in the leather, making it more pliable and less prone to future scuffing. Be sure to use a conditioner that is specifically designed for your type of leather. This step can also help to reduce the appearance of minor scuffs.
Step 4: Sand Down Deep Scuffs
If you have deep scratches, you may need to gently sand them down with fine-grit sandpaper. This will help smooth out the surface and reduce the appearance of the scuff. Be careful not to over-sand or apply too much pressure, as this may cause further damage. You can also use sandpaper to remove superficial scratches and scuffs on pigmented leather. It’s important to note that this step is not recommended for aniline or semi-aniline leather.
Step 5: Reapply Leather Conditioner
After sanding, be sure to reapply the leather conditioner to the affected area. This will help restore moisture and oils that may have been removed during the sanding process. It will also help blend in any color variations caused by the sanding. You may need to apply multiple coats until the scratch is no longer visible. But remember, less is more when it comes to leather conditioner.
Step 6: Use Leather Dye (if Needed)
If your leather is colored and the scuff has removed pigment, you may need to use a leather dye to restore the color. Simply apply the dye with a soft cloth or sponge, following the manufacturer’s instructions. Be sure to choose a dye that closely matches the original color of your leather. This step is not recommended for aniline or semi-aniline leather, as it may change the appearance and characteristics of the leather.
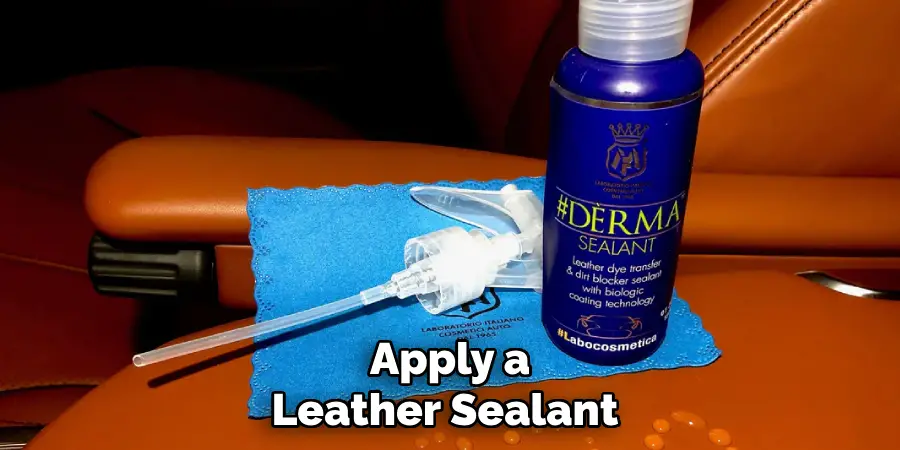
Step 7: Protect with Leather Sealant
For added protection against future scuffs and scratches, you can apply a leather sealant or finish. This will help create a protective barrier on top of the leather, making it more resistant to damage. Be sure to choose a sealant that is recommended for your type of leather and follow the manufacturer’s instructions for application.
Step 8: Use Heat (for Aniline Leather)
For aniline leather, you can use heat to help reduce the appearance of scuffs and scratches. Using a hairdryer on low heat, gently warm up the affected area while massaging the leather with your fingers. This will help redistribute the natural oils in the leather and blend out any scuffs or scratches. Be sure not to use high heat, as this can cause damage to aniline leather. Otherwise, you can skip this step for other types of leather.
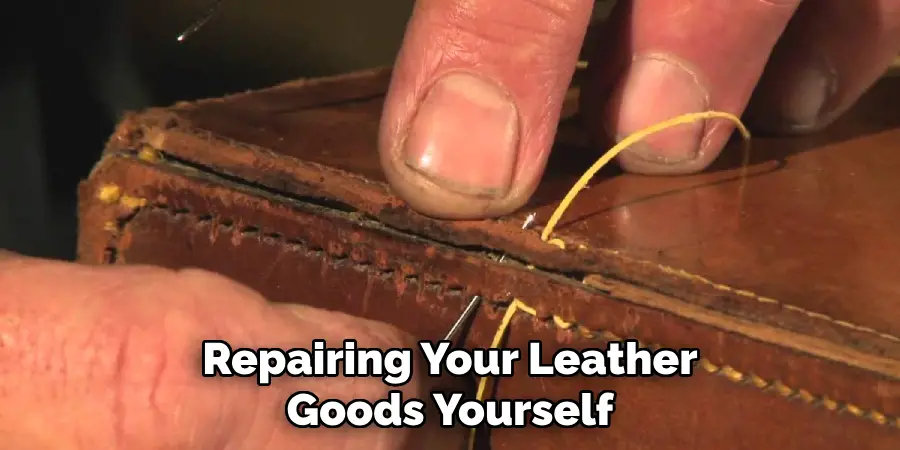
Step 9: Consult a Professional (for Tougher Scuffs)
If the scuff marks are too deep or extensive for DIY repair, it’s best to consult a professional leather restoration specialist. They have the expertise and tools to properly restore your leather without causing further damage. This may be more expensive than doing it yourself, but it will ensure a proper and long-lasting fix for your leather scuffs. However, for minor scuffs, the steps outlined above should suffice.
Step 10: Maintain and Prevent Future Scuffs
To keep your leather looking its best and prevent future scuffs, it’s important to properly maintain it. This includes regularly cleaning and conditioning your leather, as well as avoiding harsh chemicals or abrasive materials when cleaning.
You can also use a protective spray or wax to help repel dirt and moisture. Additionally, avoiding excessive friction and impacts on the leather will also help prevent scuffs from occurring.
By following these step-by-step guidelines on how to fix leather scuffs, you can effectively fix leather scuffs and keep your leather looking like new for years to come. Remember to always use caution and choose products specifically designed for your type of leather for best results.
With proper care and maintenance, your leather goods will continue to age gracefully and withstand the test of time. So, be sure to take care of your leather and enjoy its beauty for years to come! Happy repairing!
Frequently Asked Questions
Q1: Can I Use Household Products to Fix Leather Scuffs?
A: It’s best to use products specifically designed for leather. However, mild soap and water can be used in a pinch, but always test on a small inconspicuous area first. It’s important to avoid harsh chemicals or abrasive materials that can further damage the leather.
Q2: Will Fixing Leather Scuffs Make Them Disappear Completely?
A: It depends on the severity of the scuff and how well it responds to treatment. Minor scuffs may become virtually invisible after following these steps, while deeper scratches may still be slightly visible but greatly improved in appearance.
Q3: Can I Use a Marker or Dye to Fix Leather Scuffs?
A: It’s not recommended to use a marker, as it may further damage the leather and cause discoloration. A dye can be used for colored leather, but only if it closely matches the original color and is specifically designed for leather use.
Otherwise, follow the steps outlined above for best results. However, it’s always best to consult a professional if you’re unsure or hesitant about repairing your leather goods yourself.
Q4: How Often Should I Condition My Leather to Prevent Scuffs?
A: It depends on how often the leather is used and exposed to harsh elements. As a general rule, conditioning every 6-12 months is recommended for best results. However, be sure not to over-condition as it can cause buildup on the leather surface.
Conclusion
Overall, leather scuffs are something that can easily be fixed. With the right tools and preparation, anyone can have their leather looking good as new in no time. Taking proper care of your leather will always be beneficial in preventing future scuffs or damage of any kind. While there are numerous methods to remove existing scuffs, citizens need to do their own research to find what may work best for them.
The ‘clean and lubricate’ method is one of the simplest ways to tackle these kinds of jobs but make sure to follow instructions carefully when using specific cleaning products! At the end of the day, it’s all about practice and experience – with timely maintenance the amount of extra effort needed will drastically decrease.
Make sure you’re giving your leather goods enough attention and don’t be afraid to take a little risk – you should be reaping the rewards! Now go forth and keep those leather items looking aesthetically pleasing with our helpful tip on how to fix leather scuffs!