
The leather used to make bags can be expensive, and replacing a bag due to peeling can be costly. It is, therefore, important to know to fix peeling leather bags at home so that you can prolong the life of your bag for as long as possible.

Doing it yourself also allows you complete control over the process, ensuring you are happy with the results. With the right tools and techniques, it is possible to make your bag look as good as new without having to purchase a replacement.
One of the main advantages to fixing peeling leather bags at home is that it is cost-effective. Repairing a bag yourself will save you money compared to taking it to a professional repair service. Furthermore, you can avoid potential waiting periods associated with having your bag fixed by a professional and receive your repaired bag in a much shorter time frame.
Additionally, you will have peace of mind knowing that the repair was completed exactly as you intended and in your own time. In this blog post, You will learn in detail how to fix peeling leather bag at home.
Step-by-Step Processes for How to Fix Peeling Leather Bag at Home
Step 1: Inspect the Bag
Before you decide how to fix your peeling leather bag, you need to inspect it. Check for any tears or weak areas in the material. Make sure that all of the hardware is secure and functioning properly. Also, look for signs of mold or mildew which could indicate a deeper problem with the bag’s structure. Knowing the underlying issue will help you determine the best way to fix your bag.
Step 2: Clean and Condition the Leather
Leather can become dry over time, leading to peeling or cracking. It’s important to clean and condition the leather before attempting any other repairs. To begin, use a soft cloth and mild soap to wipe away any dirt and grime gently. Allow the leather to dry completely before moving on to applying a conditioner. This will help prevent additional cracking or peeling in the future.
Step 3: Apply Leather Adhesive
Once your leather is clean and conditioned, it’s time to apply an adhesive. Use a brush or cloth to apply the leather adhesive to any peeling or cracking areas. If you have any weak spots, add extra adhesive here. Once finished, allow the glue to dry completely before moving on to the next step.
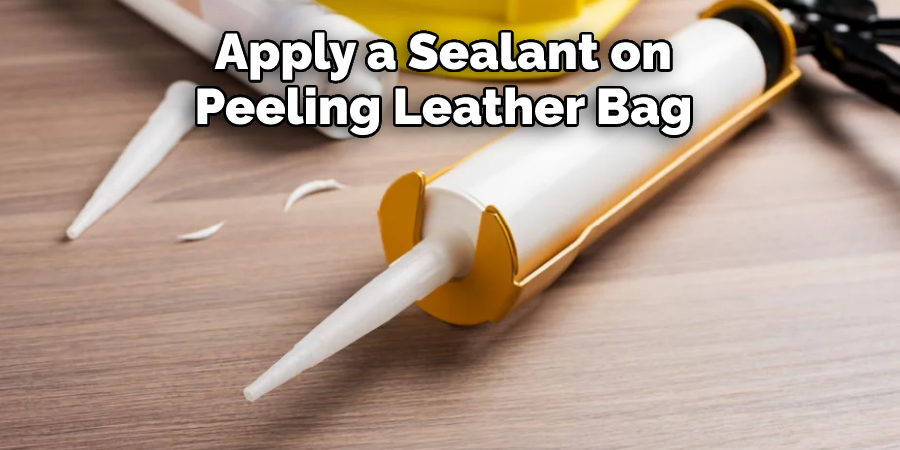
Step 4: Apply Leather Sealant
After your leather has adhered back together, it’s time to apply a sealant. This will help protect your bag from further damage and also give it a polished look. Using a brush, evenly spread the sealant over the entire bag.
If you want to restore the color of your leather bag, you may want to consider adding leather paint or dye. This will help make your bag look like new and give it a vibrant finish. Before you begin, be sure to do a patch test first to ensure the color you’ve chosen is compatible with the material of your bag.
Step 5: Apply Leather Protector
Once you’ve finished with the dye or paint, it’s time to apply a leather protector. This will help your bag maintain its color and protect it from weathering or staining. Use a soft cloth to rub the protector into the material of your bag evenly.
If your bag has any hardware or trim pieces, make sure to check them before reattaching them. If they’re still in good condition, use a strong adhesive to adhere them back onto your bag. Allow the adhesive to dry completely before using your bag again.
Step 6: Reattach the Straps
If your bag has straps, reattach them as well. Ensure that the hardware is secure and use a strong adhesive to attach any loose straps. Allow the adhesive to dry completely before using your bag again. If your bag has a zipper, use a pair of pliers to reattach it. Ensure the teeth are aligned correctly and the zipper is securely attached.
Once you’ve finished all of the steps, your bag should be in great condition again. Enjoy your newly fixed leather bag, and make sure to take care of it moving forward. Regular cleaning and conditioning will help prolong the life of your bag.
Precautions for How to Fix Peeling Leather Bag at Home
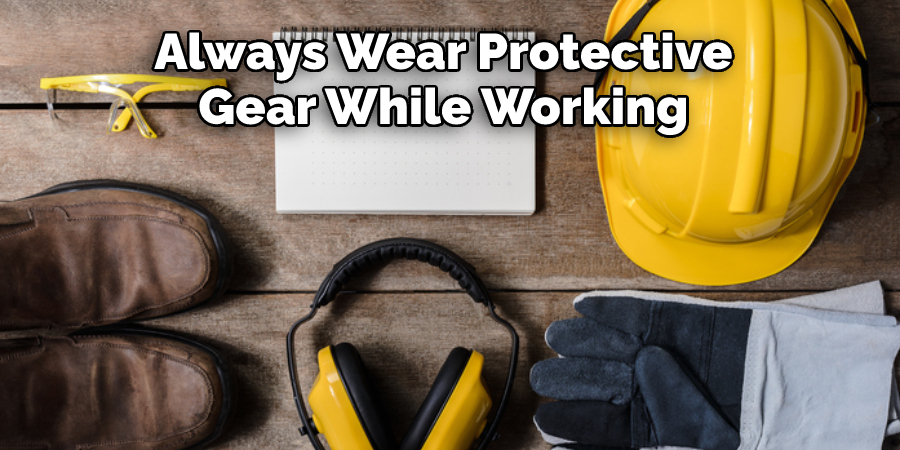
- Always wear protective gear while working with leather and other materials. This includes gloves, safety glasses, and an apron. Keep children away from the area to avoid potential health risks.
- If you use any type of sealant or adhesive, be sure to work in a well-ventilated area, as some chemicals can be toxic.
- Before applying any type of adhesive or sealant, it is important to test a small area in an inconspicuous spot to ensure compatibility and avoid damaging the leather.
- Pay attention to the instructions on any product that you are using, as each may have specific safety warnings associated with its use.
- Ensure the leather is completely dry before fixing peeling areas, as moisture can cause additional damage or discoloration.
- Take your time, and do not rush any steps in this process. Cutting corners can potentially cause more damage to your bag.
- Once you have fixed the peeling area, be sure to condition the leather with a quality product that is designed specifically for use on leather. This will help protect and prolong the life of your bag.
By following these precautions when attempting to fix peeling leather bags at home, you can enjoy the satisfaction of knowing that you have done everything possible to create a safe environment and keep your bag looking great.
How Can You Prevent a Peeling Leather Bag in the Future?
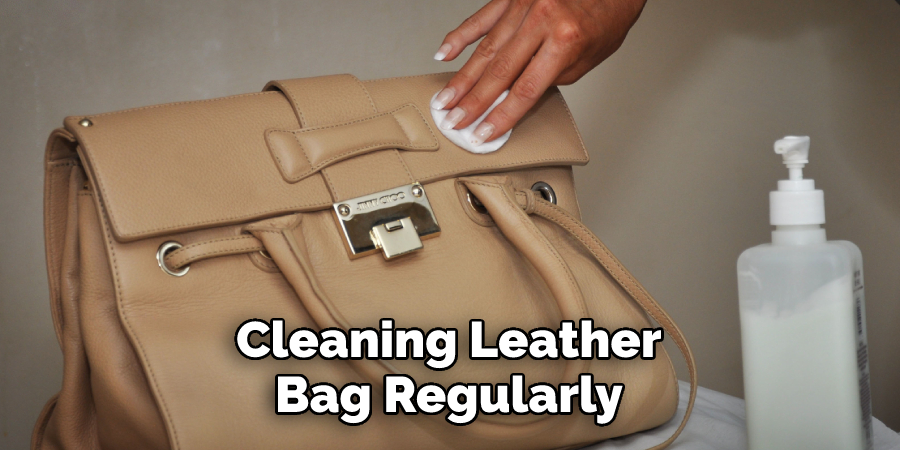
Once you have fixed your peeling leather bag with the steps mentioned above, you can also take these additional measures to prevent any future damage. First, make sure that the leather bag is regularly cleaned and conditioned.
Cleaning will help remove the build-up of dirt and debris that can cause cracks or breaks in the surface over time. Additionally, conditioning the leather will help it maintain its suppleness and elasticity, which can prevent it from cracking or peeling in the future.
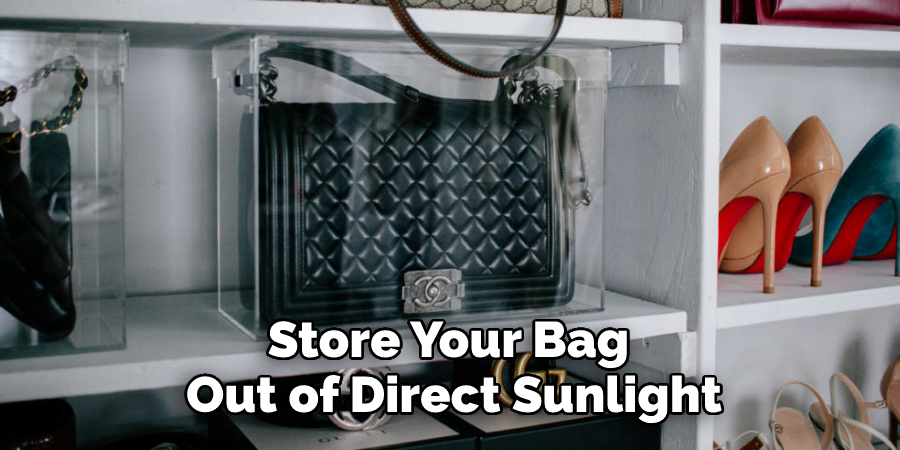
Second, try to store your bag out of direct sunlight. Excessive exposure to UV rays can cause damage over time and should be avoided as much as possible. If you must store your bag in a sunny spot, cover it with a breathable cloth to help provide some protection from the sun’s rays.
Finally, avoid using harsh cleaners on your leather bag as they can strip away essential oils that keep the material soft and supple. If necessary, use only mild soaps specifically formulated for cleaning leather products.
How Can You Clean and Condition Your Leather Bag to Keep It Looking Its Best?
Cleaning and conditioning your leather bag regularly is essential to keep it looking its best. First, use a soft cloth or brush to remove any dirt and debris that has built up on the surface of the bag.
Once all of the dirt has been removed, you can apply a leather conditioner that helps prevent cracking and keeps the leather supple. To apply the conditioner, use a clean cloth and gently rub it into the leather in small circular motions. Be sure to cover all areas of the bag, including any straps or other details. Let the conditioner set for at least 10 minutes before wiping off any excess with a damp cloth.
You can also use a specialized leather cleaner/conditioner to help restore the leather’s natural shine. After cleaning and conditioning your bag, it’s important to keep it away from direct sources of heat, as this can cause further damage. Regularly wiping down your leather bag with a soft cloth is also recommended to keep it looking its best.
With proper care and maintenance, you can ensure that your leather bag lasts for years to come. By following the steps above, you can easily fix any peeling leather bag at home without having to spend a fortune on expensive repairs or replacements. Proper care and protection are essential if you want your leather bag to last for many years.
Conclusion
In conclusion, learning how to fix a peeling leather bag at home can be both cost and time efficient. By following the steps outlined in this article, you can repair your leather bag without needing professional help. Start by cleaning and conditioning the affected area with a suitable cleaning solution, then apply leather glue or patching tape as necessary.
Finally, use an even coat of paint or dye to seal the area and give your bag a new look. With these tips, you can achieve beautiful results that will make your leather bag look as good as new. I hope this article has been beneficial for learning how to fix peeling leather bag at home. Make Sure the precautionary measures are followed chronologically.