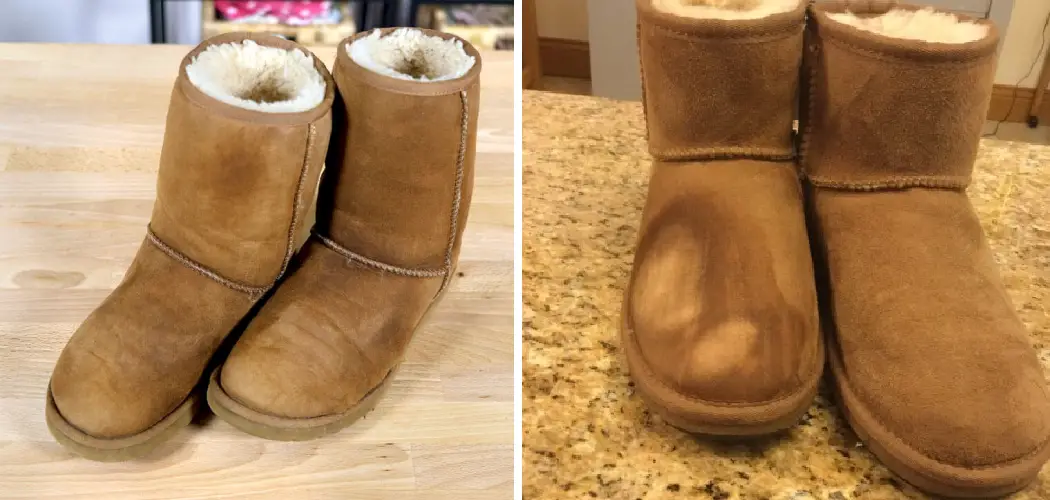
Uggs are a popular choice for footwear among people of all ages, and their durability and comfort make them a must-have. However, even the most well-made pair of Uggs can eventually suffer from tears or rips that make them uncomfortable to wear. Knowing to fix ripped Uggs will help you get more mileage from your favorite pair and save you money in the long run.
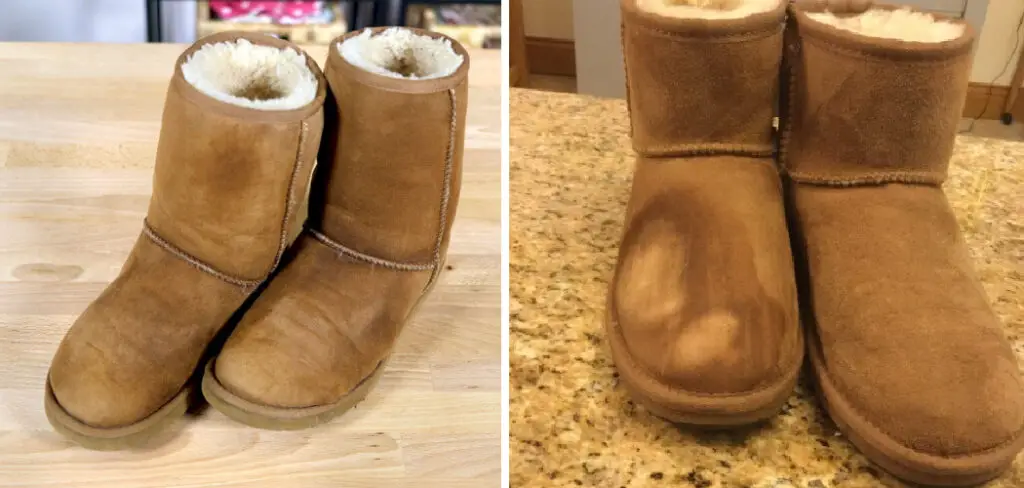
Uggs are a popular and comfortable choice of footwear for many people. Unfortunately, they can be prone to rips and tears over time. But don’t worry! There is an easy way to fix ripped Uggs and keep them looking new with just a few simple steps. In this blog post, You will learn how to fix ripped uggs.
Materials You Will Need
- Needle
- Thread
- Scissors
- Ruler or measuring tape
- Pencil or pen
- Fabric patch (optional)
- Fabric glue (optional)
- Masking tape (optional)
- Ugg cleaner and conditioner (optional)
- Leather patch (optional)
- Sponge
- Ugg boots
Step by Step Processes for How to Fix Ripped Uggs
Step 1: Inspect the Ripped Area
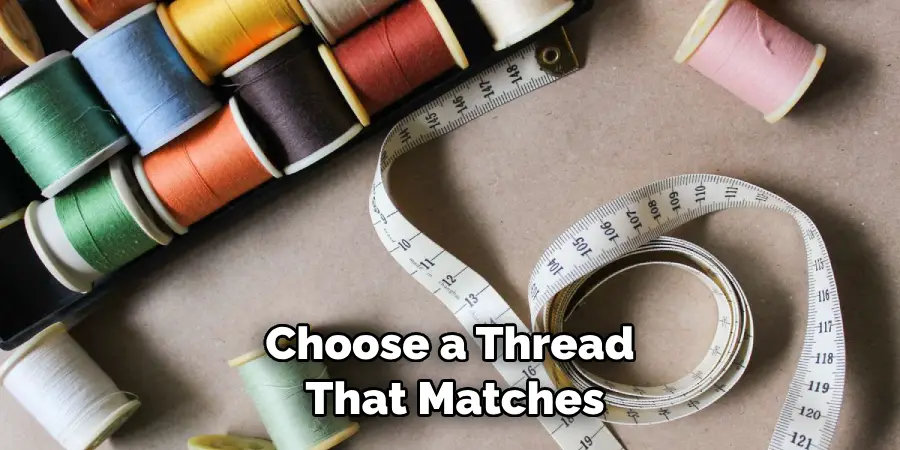
Look at the ripped area and check for any additional signs of wear or damage. If there are any frayed edges, you must trim them with scissors before you start sewing. Choose a thread that matches as closely as possible to the color of your Uggs. You can match the thread to the exact color, or if you prefer a different look, you can choose another color.
Step 2: Thread the Needle
Thread your needle with approximately 12-15 inches of thread. If you use a curved needle, loop one end around each side of the eye before cutting off the excess thread. Starting from the backside of the Uggs, begin stitching along the ripped area. Use a straight stitch and pull it tight for a secure hold. You can reinforce the stitches by going around in circles or doing a few backstitches to close the tear.
Step 3: Finish Sewing
Continue stitching until you have reached the other side of the Uggs, then cut off any excess thread with your scissors. You can also secure the thread with a knot if the stitch comes loose. Now that you have finished sewing, turn the Uggs inside out and check for any problems. If everything looks good, try them on to ensure they fit properly.
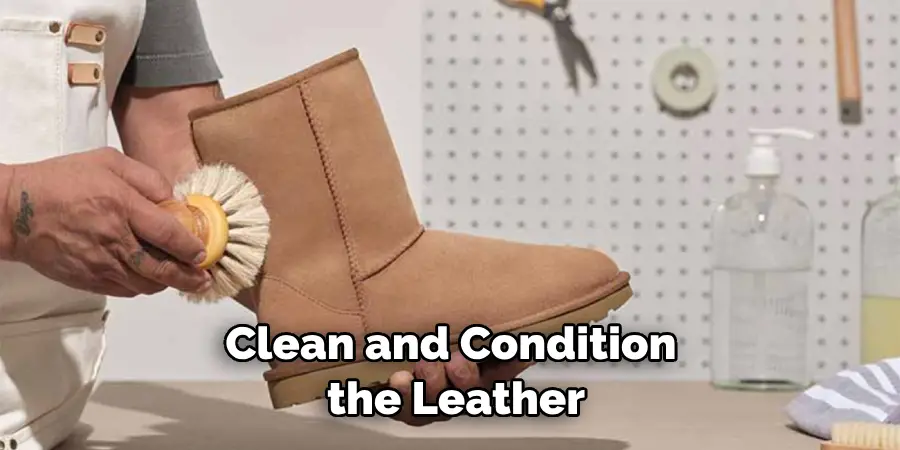
Step 4: Clean and Condition the Leather
If necessary, clean and condition the leather of your Uggs with an appropriate cleaner or conditioner. This will help keep them looking new and protect them from further damage. To make your repair more visible, you can use a fabric or leather patch to cover the area. Simply apply it with fabric glue or masking tape, depending on the type of patch you are using.
Step 5: Admire Your Handiwork
Admire the results of your hard work and enjoy wearing your Uggs as though they were brand new. Check your Uggs regularly for any signs of wear and tear. If you notice any problems, repeat the above steps to keep them in good condition for years.
These simple steps will ensure that your Uggs remain comfortable and stylish – no matter how often they get ripped or torn. With a little care and attention, your Uggs will last you for years.
Tips for How to Fix Ripped Uggs
- Choose a thread and needle that matches the color of your Uggs as closely as possible.
- Take off all metal ornaments from the shoes, including rings and buckles, if any, so you don’t accidentally scratch them while mending.
- Use scissors to cut away the ripped part of the Uggs while ensuring not to damage the rest of your shoes.
- Put a piece of cloth or fabric under the ripped area, this will make it easier for you to sew and prevent any damage caused by the needle.
- Start stitching from one side to the other using small stitches so that it’s secure but not too noticeable, once you have gone around the entire rip, tie a knot at the end.
- Ensure all your stitches are secure and neat before removing the cloth.
- Clean up any excess thread or fabric from the repair area using a pair of scissors and brush off any dust particles with a cloth before wearing your Uggs again.
These steps should help you fix your ripped Uggs in no time! Be extra careful while sewing and take extra precautions as necessary. Doing so will ensure that your shoes are fixed securely and last long.
What Type of Glue is Best for Fixing Ripped Uggs?
Choosing the right type of glue is important when tackling a repair job on your Uggs. While regular white glue might be useful for some projects, it can actually do more harm than good when dealing with leather and suede materials.
Opt for an adhesive designed for leather and suede items to get the best results. Many brands of shoe repair glue will work just fine when mending a ripped Ugg, so take the time to find one that works for your needs:
- Applying the Glue Properly: Once you have the right type of glue, it’s important to apply it in the correct way. You want to ensure all edges are sealed, and the repair is secure, so take extra care when applying the adhesive. To start, clean off any dirt or debris from the surface of the Uggs where you’ll be making your repair. This will allow the glue to stick better and create a reliable bond. Then, apply just enough glue to cover both sides of the rip area and press them together firmly. Allow the glue to dry completely before wearing your Uggs again.
- Maintaining Your Uggs: It’s also important to take good care of them to help maintain their quality and durability for years to come. To keep them looking their best, brush off dirt or dust regularly with a suede brush. If you need to do a deep clean, use a specialty Ugg cleaning product designed specifically for this type of material. Finally, if your Uggs become wet, let them air dry naturally and away from heat sources like radiators or heaters.
- Keeping Extra Supplies on Hand: Just in case you do end up with a rip, it’s helpful to have the right supplies on hand to tackle the job. Keep a tube of Ugg-specific glue and a suede brush handy for quick repairs or cleaning. This way, you won’t have to search for the right supplies when you need them most.
With these tips, you’ll be better equipped to tackle any rips or tears with your Uggs. Knowing to fix ripped Uggs can help keep them in good condition and looking great for years to come.
Is There Any Way to Prevent the Rip From Happening Again?
Yes! It’s important to take care of your uggs and keep them in good shape. Here are some tips on how to prevent another rip from happening:
- Take the time to inspect your uggs for wear or fraying before wearing them. This allows you to identify any potential issues early, giving you a chance to repair them before they become more serious problems.
- Use mild soap and water with a soft cloth to clean your uggs regularly. This helps to reduce dirt buildup and prevents the fabric from becoming too weak or fragile.
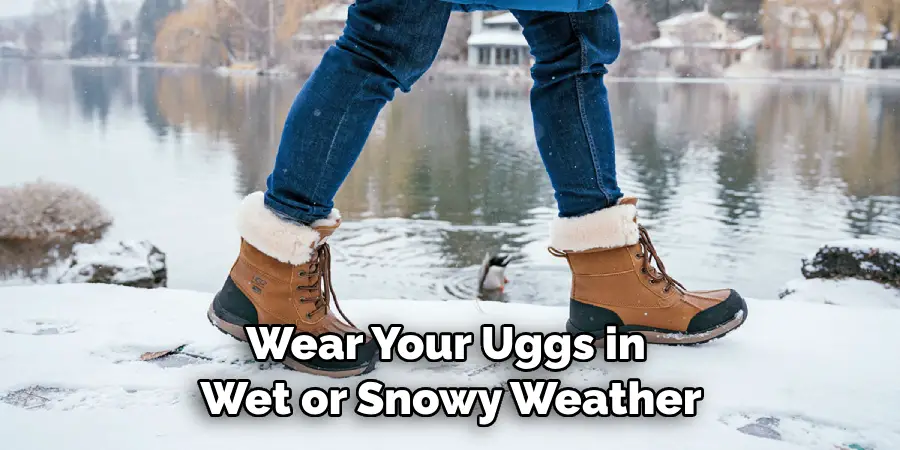
- If you wear your Uggs in wet or snowy weather, dry off the boots as soon as possible. Damp fabric can cause the leather to degrade quickly, leading to rips and tears.
- If you have kids, ensure they’re not playing rough with your Uggs! Kids can be tough on footwear so it’s important to keep an eye out for any damage they might cause.
Following these tips can help keep your uggs in good condition and minimize the risk of them becoming ripped or torn. You can enjoy your favorite pair of boots for many years with a little care and attention.
Is There Any Way to Avoid Having to Replace the Ripped Uggs Altogether?
Yes, if you act quickly enough and the damage is still relatively minor, there are several ways to repair ripped Uggs. Depending on the severity of the rip or tear, the method used will vary.
For rips and tears that are small enough that a needle and thread can be used to stitch them together, it’s possible to fix them without having to replace the whole boot. Doing this requires using a strong, durable thread that won’t unravel after just one wearing of the boots.
Similarly, if you have any leather patches or pieces from the original shoebox, your Uggs came in; it may be possible to use those leftovers to cover up the rip. An adhesive may be necessary to patch up the gap for larger rips or tears. A heavy-duty glue should work best for this purpose — just make sure that it’s specifically designed for leather and not just any typical household glue.
Conclusion
In conclusion, fixing ripped Uggs is relatively easy with the right materials and know-how. Start cleaning and drying the damaged area to ensure no dirt or debris is left behind. Then, consider using an adhesive to patch up small tears and holes in the material.
Sewing a replacement piece can provide a more permanent solution for bigger damages. Whatever method you use, remember proper maintenance practices to keep your Uggs in the best shape possible. This article has been beneficial for learning how to fix ripped uggs. Make Sure the preventive measures are followed chronologically.