Leather is a natural material that has been used for centuries to create products such as clothing, furniture, and accessories. However, leather can be expensive, so it’s important to take care of it to last a long time. One way to protect leather is to glue it to plastic. This will help keep the leather from getting damaged and make it water-resistant. In this tutorial, you will learn how to glue leather to plastic using a few simple steps. Keep reading to learn more.

What is Glue?
Before we start, it’s important to understand what glue is and how it works. Glue is a type of adhesive that bonds two surfaces together by creating a strong connection between the molecules on each surface. There are several types of glue available for different materials, such as wood glue, fabric glue, and plastic glue.
When gluing leather to plastic, it’s important to use a strong and waterproof glue that will create a durable bond. Some options include contact cement, super glue, or epoxy adhesive.
What Kind of Glue Will Stick to Leather and Plastic?
A few different types of adhesives can be used on leather and plastic, but not all of them will work well. Use contact cement, epoxy resin, or super glue for best results. If you need to attach two pieces of leather or plastic together, you’ll need to find a glue that will adhere to both materials. A few different types of adhesives can be used on leather and plastic, but not all of them will work well. Use contact cement, epoxy resin, or super glue for best results.
Contact cement is a type of adhesive that forms a strong bond when pressed between two surfaces. Once the contact cement dries, it will create a permanent bond that can’t be easily broken. This makes it ideal for attaching leather and plastic together.

Epoxy resin is another type of adhesive that can be used on leather and plastic. It’s a two-part adhesive that forms a strong bond when it cures. Once it cures, the bond will be permanent and very strong. Super glue is a third option that can be used on leather and plastic. It forms a strong bond quickly, but it’s not as strong as epoxy resin. When choosing an adhesive for leather and plastic, make sure to pick one that is specifically designed for those materials. Using the wrong type of glue can result in a weak bond that won’t hold up over time.
Why is it Important to Use the Right Glue?
Using the right glue for gluing leather to plastic is important because it will ensure a strong and durable bond. If you use the wrong type of glue, the bond may not be strong enough to hold up over time, resulting in your project falling apart. Additionally, using the wrong glue can damage the materials and ruin your project. For example, using a glue that is too strong for the leather may cause it to tear or discolor.
You should also consider the purpose of your project when choosing the right glue. If you are creating something that will be exposed to water or extreme temperatures, it’s important to choose a waterproof and heat-resistant glue.
What You Will Need:
Leather:
Make sure the leather you are using is clean and free of any oils or dirt. This will ensure a strong bond with the glue.
Plastic:
Choose a plastic material that is compatible with the glue you have chosen. Some plastics may not work well with certain glues, so it’s important to do some research beforehand.
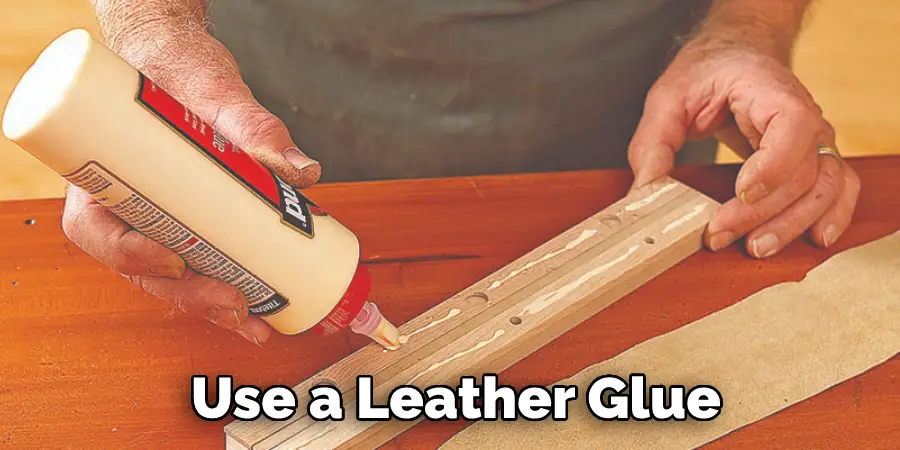
Glue:
As mentioned before, contact cement, epoxy resin, or super glue are all suitable options for gluing leather to plastic.
Brush:
A small brush will be needed to evenly spread the glue onto both surfaces.
Clamps:
Clamps will help hold the materials in place while the glue dries.
Scissors or X-Acto Knife:
These tools may come in handy for trimming the leather or plastic to the desired shape and size.
Protective Gear:
It’s important to wear gloves and eye protection when working with glue, as it can be harmful if it comes into contact with skin or eyes.
Step by Step How to Glue Leather to Plastic:
1. Cut the Leather and Plastic
The first step is to cut the leather and plastic to the desired size and shape. Next, use a ruler or measuring tape to measure the area you want to cover. Then, use a pen or pencil to mark the area. Finally, use a pair of scissors to cut out the shape. If you are using a thicker plastic material, an X-Acto knife may be more effective for cutting.
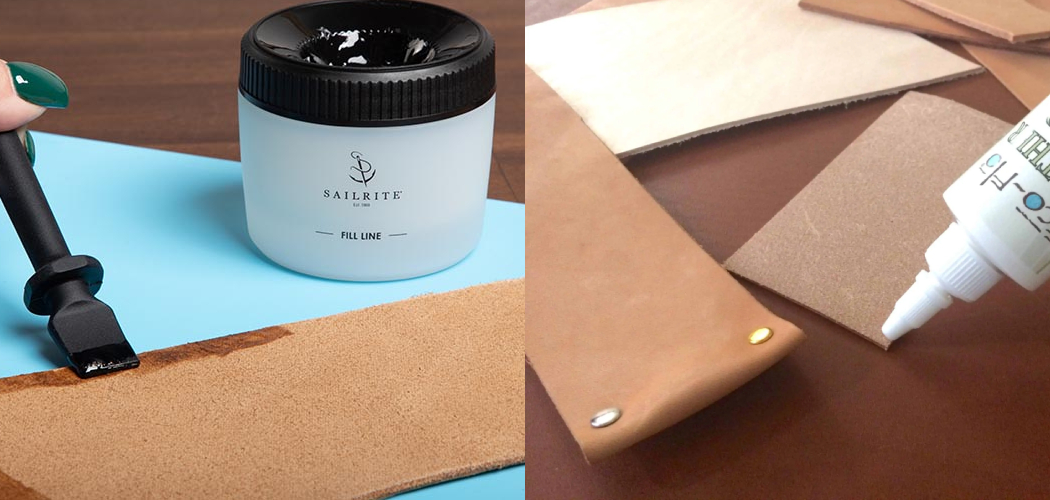
2. Apply Adhesive to the Plastic
Next, apply adhesive to the plastic. If you’re using contact cement, apply it to both the leather and plastic. If you’re using epoxy resin or super glue, apply it to the plastic only. Be sure to follow the manufacturer’s instructions for best results. If you’re using contact cement, you’ll need to let it dry for a few minutes before proceeding.
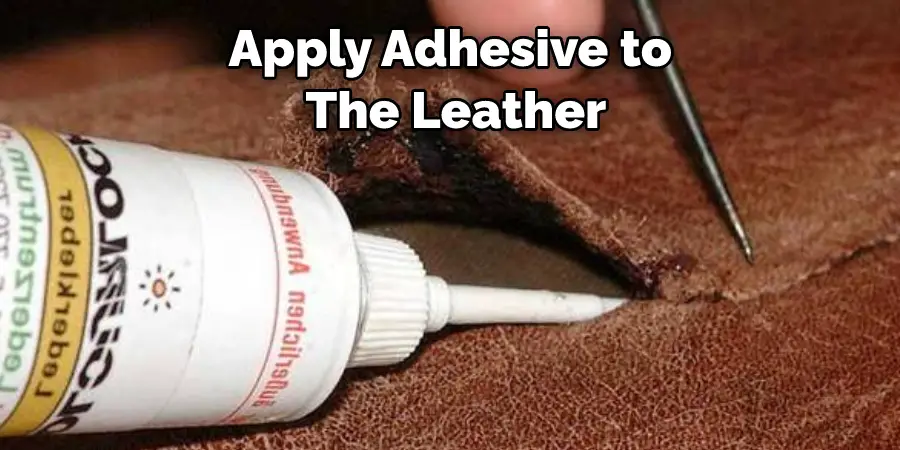
3. Apply Adhesive to the Leather
If you’re using contact cement, apply it to the leather. If you’re using epoxy resin or super glue, there’s no need to apply it to the leather first. Just make sure that you apply an even layer to the plastic. If you’re using super glue, be careful not to get any on your skin. It can irritate. The skin and bond to it very quickly.
4. Press the Pieces Together
Once the adhesive is applied, press the leather and plastic together. If you’re using contact cement, you’ll need to hold the pieces together for several minutes. For other types of glue, consult the manufacturer’s instructions. Use clamps to hold the pieces together if necessary. You can also use books or heavy objects to weigh down the materials.
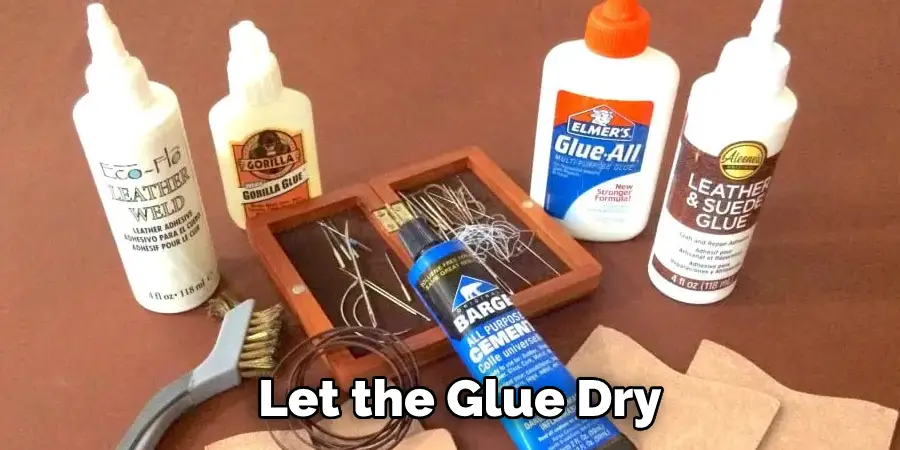
5. Let the Glue Dry
After pressing the leather onto the plastic and letting the glue dry for about 15 minutes, you should have a strong bond between the two materials. Hold the leather for about 24 hours to ensure the bond is fully set. If the leather still does not strongly adhere to the plastic, you can try repeating steps 2-4. Remember to give the glue plenty of time to dry before using the leather item.
6. Trim the Excess Leather and Plastic
Once the glue is dry, you can trim the excess leather and plastic away. Use a pair of scissors to cut along the edge of the leather, being careful not to cut the plastic beneath. You can also use a sharp knife to trim away any excess glue. If you’re unhappy with how the leather is glued down, you can always remove it and start again.
7. Apply a Second Coat of Adhesive (Optional)
If you want an even stronger bond, you can apply a second coat of adhesive. This is particularly useful if you’re using super glue or epoxy, which can take longer to set. Just be sure to let the first coat dry completely before applying the second. It’s also important to note that using too much adhesive can result in a weaker bond, so make sure to use it sparingly.
8. Test the Bond
Once you’ve trimmed away the excess leather and plastic, give the bond a test. Try to pull the two materials apart. If they separate easily, you’ll need to start over with a new adhesive. If the bond feels strong, you’re good to go. If you’re still not sure, wait a few hours and test again. Once you’re confident in the bond, you can proceed to the next step.
9. Finish the Edge
If you want a nice, finished edge, you can use a leather sealer or adhesive to seal the edge. This will give your project a more polished look and help keep the leather from fraying. You can find these products at most craft stores. If you are working with a large piece of leather, you may want to use a heat-sealing machine to seal the edge. This will give you a very clean, professional-looking edge.
10. Add Decorative Details
If you want, you can add some decorative details to your project. This is particularly easy if you’re using super glue, as you can simply apply it directly to the areas where you want to add embellishments. Some ideas for decorative details include rhinestones and studs or even just painting the areas around the glued leather with a contrasting color. Let your imagination run wild! Make sure that whatever you add is firmly attached before proceeding.
Following these steps, you should now have a successfully glued leather-to-plastic project. Remember to always use caution when working with glue and make sure to properly dispose of any excess or unused adhesive. With the right materials and techniques, you can create beautiful and durable projects that combine the strength of plastic with the elegance of leather. Happy crafting!
How to Care for Leather and Plastic Items:
Regarding glue, there are a few things you should know about leather and plastic. Here are some tips on how to care for your leather and plastic items:
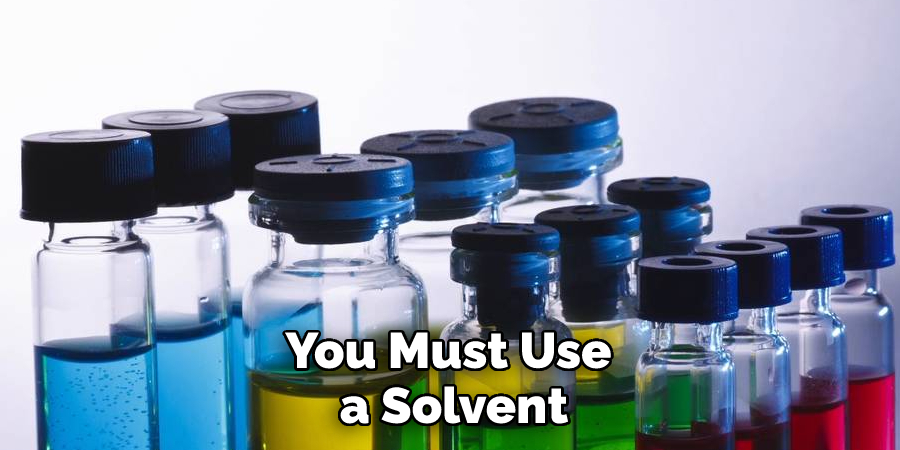
1. Avoid using harsh chemicals or solvents on leather or plastic. These can damage the material and cause it to break down over time.
2. If you must use a solvent, test it on an inconspicuous area first to make sure it won’t damage the leather or plastic.
3. Be sure to clean off any excess solvent before it has a chance to dry, as this can also damage the material.
4. When gluing leather or plastic, use a glue that is specifically designed for that material. Regular household adhesives may not work as well and can cause damage.
5. Follow the glue instructions carefully, and allow plenty of time for the glue to dry completely before using the item.
6. If you’re not sure how to care for your leather or plastic item, consult a professional. They will be able to advise you on the best way to clean and protect the material.
Some Precautions on How to Glue Leather to Plastic:
1. You should always test the glue on a small, inconspicuous area first to make sure there is no adverse reaction.
2. If you are using contact cement, be aware that it is extremely flammable. Make sure to use it in a well-ventilated area and keep away from open flames.
3. When working with any kind of glue, be sure to wear gloves to protect your hands.
4. If you are gluing larger pieces of leather or plastic, it is best to use a clamp to hold everything in place while the glue dries.
5. Be patient! Give the glued area plenty of time to dry completely before moving on to the next step.
6. Once the glue has dried, you may want to seal the area with a clear lacquer or varnish to protect it from moisture and wear.
7. If you are gluing leather to plastic, remember that the leather may eventually discolor the plastic. Therefore, you may want to test an inconspicuous area first to see how the two materials react to each other.
You can successfully glue leather to plastic with a little care and patience! Just be sure to take all the necessary precautions and give the glued area plenty of time to dry before using it.
How Much Will It Cost?
The cost of gluing leather to plastic will depend on the materials and adhesive you choose. Some adhesives, such as superglue or epoxy, may be more expensive than others. Additionally, the size and complexity of your project will also affect the overall cost. However, compared to other types of crafting projects, gluing leather to plastic is generally a relatively affordable option.
You may also want to consider the cost of any additional materials you may need, such as clamps or leather sealers. These can add to the overall cost but may also improve the quality and durability of your project. Ultimately, the cost will vary based on your personal preferences and budget.
Frequently Asked Questions:
Q: Can I Use Regular Household Glue to Attach Leather to Plastic?
A: Regular household glue is not recommended as it may not provide a strong enough bond and could damage the materials. It’s best to use a glue specifically designed for bonding leather and plastic. The extra cost is worth it for a stronger and more durable bond. The same goes for using regular superglue, which may not adhere well to these materials.
Q: Can I Use Contact Cement to Glue Leather to Plastic?
A: Yes, contact cement can be used to attach leather to plastic. However, it is important to follow the instructions carefully and use it in a well-ventilated area. Contact cement is known for its strong bond and may be a good option for larger or heavier projects. But as with any adhesive, it’s important to test it first on a small area and give it plenty of time to dry before using the item.
Q: How Long Will It Take for the Glue to Dry?
A: The drying time will vary depending on the type of glue you use and the size of your project. Some adhesives may dry within a few hours, while others may take up to 24 hours or longer. It’s best to follow the instructions on the specific adhesive you choose and give it plenty of time to dry before using your item. You may also want to consider using a clamp to hold the pieces in place while the glue dries for added security.
Q: Are There Any Special Precautions I Should Take When Gluing Leather to Plastic?
A: Yes, it is important to wear gloves when working with any type of adhesive. You may also want to test the glue on a small, inconspicuous area first to ensure there are no adverse reactions. Additionally, be sure to work in a well-ventilated area and keep any open flames away from contact cement, as it is highly flammable. Finally, be patient and give the glue plenty of time to dry before using your item for the best results.
Final Words
This article provides an overview of how to glue leather to plastic. It includes information on the different types of adhesives that can be used, as well as some tips on how to care for your leather and plastic items. In conclusion, gluing leather to plastic is a fairly easy process that can be completed with the right supplies and a bit of patience. By following these simple steps, you can create a strong bond between your leather and plastic pieces that will last for years to come. Have you tried this method before? What challenges did you encounter? Let us know in the comments below.