If you want to keep your pleather looking their best, one of the most important tips is learning how to iron them properly. Ironing pleather, or what is more commonly known as faux leather, can be a tricky task. This synthetic textile fabric looks very similar to real leather but must be handled and taken care of in entirely different ways due to its delicate nature.

There are certain steps that must be followed when ironing pleather, such as adjusting the settings on your iron and using heat-tolerable tools so you don’t end up ruining this expensive material while trying to get it nice and wrinkle-free!
Thankfully, with the right knowledge and resources at hand, you can easily iron pleather safely without causing any damage; we will walk through step-by-step how to iron pleather properly so that you can have a flawless finish each time.
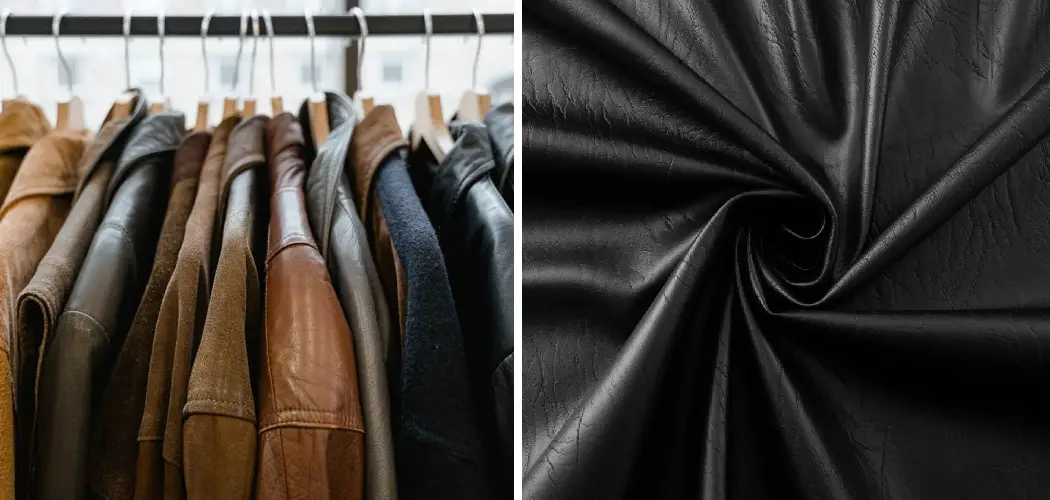
What is Pleather?
Pleather, or faux leather, is a fabric made by coating fabrics like nylon and polyester with polyurethane. This material is much easier to take care of than real leather since it doesn’t require the same maintenance. It’s also much cheaper to buy pleather materials over genuine leather products. Pleather can be found in clothing items such as jackets, shoes, purses and accessories.
Things to Remember While Ironing Pleather
1. Heat-Tolerant Tools & Accessories
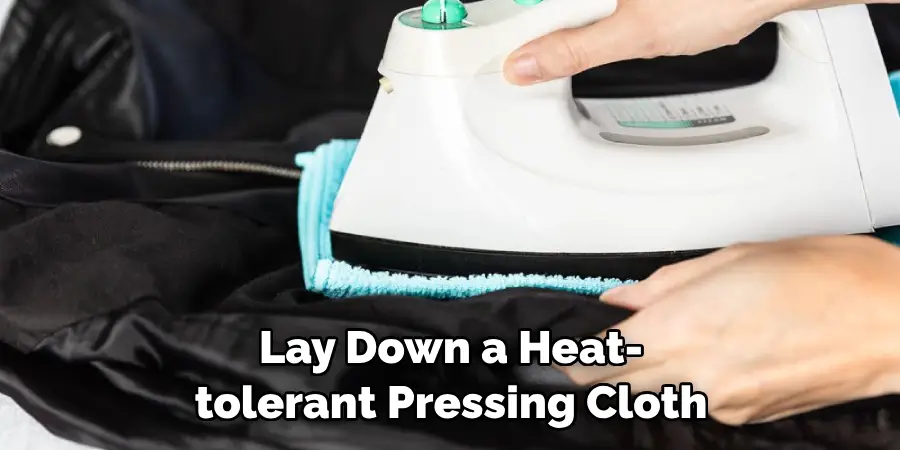
Before you start ironing pleather, it’s important to have the right tools on hand such as a heat-tolerant pressing cloth and/or an old cotton towel. This will ensure that your material doesn’t get damaged or burned while trying to remove the wrinkles.
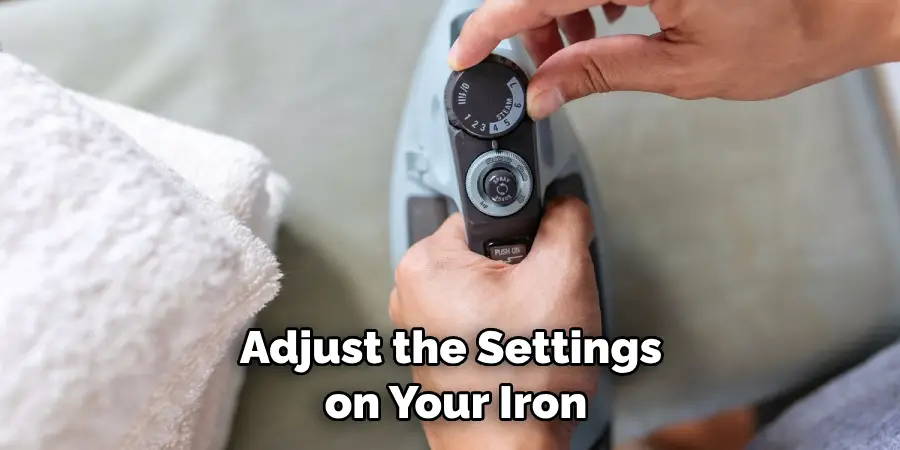
2. Adjust Your Iron Settings
Once you’ve collected all your tools, you’ll need to adjust the settings on your iron accordingly. Pleather is heat sensitive, so it’s important to set the temperature no higher than “Synthetic” or “Delicate/Silk.” It may also be necessary to set your iron to a “Steam” setting.
Following these steps carefully will allow you to have a flawless finish each time with your pleather items! Keep in mind that if the fabric is too delicate, it may be best to bring the item to a professional dry cleaner or tailor who specializes in this material.
Required Items For Ironing Pleather:
- Heat-tolerant pressing cloth or old cotton towel
- Iron
- Ironing board (or flat surface)
8 Ways How to Iron Pleather
1. Set the Heat
Set the heat on your iron to a “Synthetic” or “Delicate/Silk” setting and make sure the steam is turned off. Setting the iron to a higher setting could potentially ruin your pleather material. Keep in mind that some pleather materials can also be ironed without using steam.
2. Place a Pressing Cloth or Towel
Lay down a heat-tolerant pressing cloth (or old cotton towel) on top of the pleather item you’re about to iron. This will help protect your material from any potential burning or damage caused by the iron.
3. Iron Gently and Slowly
Begin ironing slowly and gently in a back-and-forth motion, starting from one end of the item. Pay attention to any wrinkles or creases that may be present on your pleather material so you can easily remove them while pressing down firmly but not too hard with your iron.
4. Make Sure You Cover All Areas
Be sure to cover all areas of the pleather item you’re ironing, such as cuffs, collars, and pocket flaps. This will help ensure that your entire piece looks wrinkle-free and sleek after ironing. Making sure you don’t miss any spots is key to a successful ironing job!
5. Avoid Ironing Seams or Embellishments
When ironing pleather, be sure to avoid pressing down on any seams or embellishments, as this could cause distortion and damage to the material. If necessary, use a pressing cloth or towel to cover these areas while ironing.
6. Move on to the Other Side
Once you’ve finished ironing one side, flip the pleather item over and repeat the same steps for the other side. Pay attention to any wrinkles or creases present on this side as well so they can be easily removed with your iron.
7. Let Cool Before Moving
When you’ve finished ironing both sides, it’s important to let the material cool down before moving or using it. This will help prevent any accidental displacement of your material while still hot from the iron.
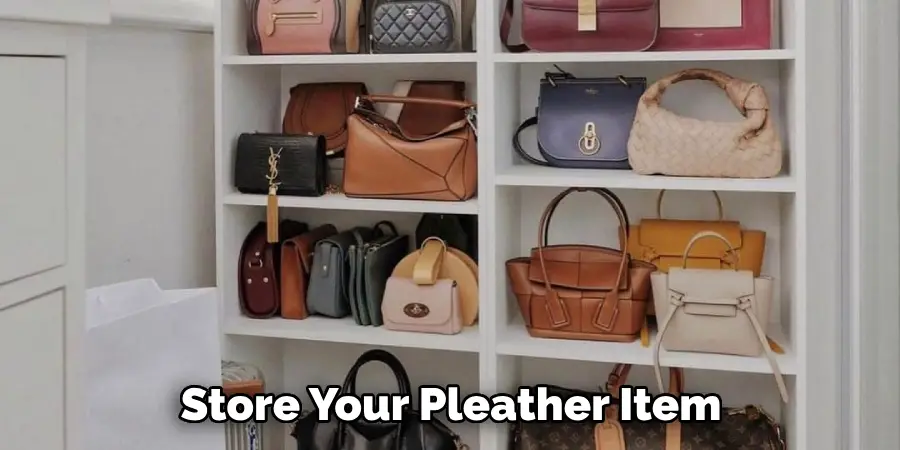
8. Clean Up and Store Properly
Once your pleather item has cooled off, be sure to clean up any leftover residue from the ironing process and store your pleather item in a safe place.
Following these steps for how to iron pleather can help ensure that you get a wrinkle-free finish each time. With the right tools, knowledge, and care, you’ll be able to keep your pleather looking its best!
And there you have it, an easy and efficient way to iron pleather! It’s important to remember that when ironing any type of fabric or material, patience is key in order to get the best results. Have fun ironing your pleather items, and enjoy a wrinkle-free finish each time!
8 Safety Precautions to Follow When Ironing Pleather
When it comes to ironing pleather, there are a few safety precautions that you should always keep in mind. Here are 8 essential tips to help ensure that your pleather items come out of the iron looking as good as new:
1. Make sure the surface you are working on is clean and flat. This will help prevent burns or other damage that can occur when ironing on a cluttered surface. Making sure that there are no creases or bumps can also help ensure even heat distribution.
2. Always use an appropriate iron temperature for pleather. Generally speaking, you should keep your iron on the lowest setting possible so as not to damage the fabric.
3. Never directly press the pleather with the iron; instead, place a pressing cloth over it and press firmly without actually touching the fabric. Pressing cloths can be made from cotton or linen material.
4. Never leave the iron sitting in one spot on the fabric for too long, as this can cause burns. Move it around in a circular motion to evenly distribute heat. Keeping the iron in motion also helps prevent burns.
5. Make sure to protect other areas of the fabric from potential heat damage by using a pressing board or protective sheeting. Protecting the pleather from heat damage is essential in keeping it looking its best.
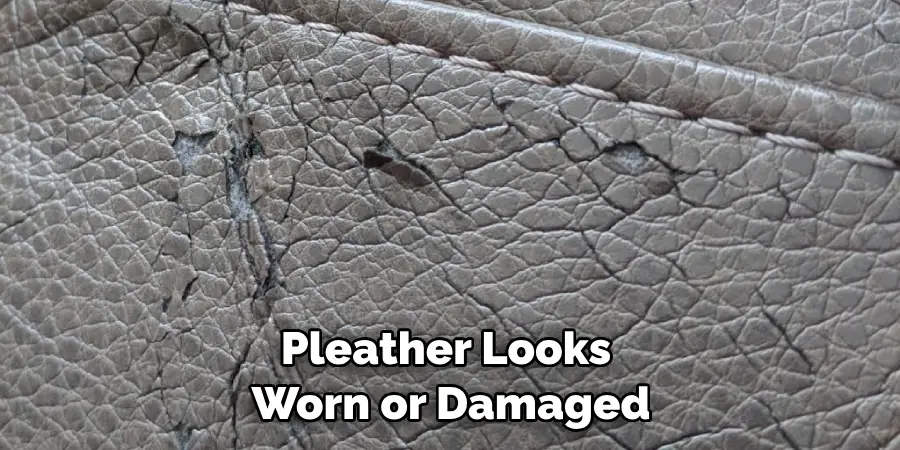
6. Be sure to check for any signs of wear and tear before you begin ironing. If the pleather looks worn or damaged, stop immediately and repair it or replace it as needed.
7. Avoid using too much steam when ironing pleather; this can cause shrinkage and damage. Avoiding steam altogether is the best way to protect your pleather items.
8. Finally, never leave the iron unattended while it is on. After you are done using it, unplug it and store it away in a safe place.
Following these essential tips will help ensure that your pleather items come out of the iron looking as good as new every time you use them! Ironing pleather can be a tricky task, but if done right, it is well worth the effort!
Frequently Asked Questions
Do You Need to Follow Any Special Tips?
Yes, there are some special tips you should follow when ironing pleather. Always use a low heat setting and cover the material with a pressing cloth or parchment paper to help protect it from direct contact with the iron.
Furthermore, move the iron slowly over the pleather in gentle circular motions and avoid going back over one area too many times, as this can cause damage. Also, should there be any wrinkles in the pleather fabric, steam can be used instead of direct heat to help remove them. Finally, always use a pressing pad or cloth between the iron and the pleather material to avoid burn marks.
Can You Use Any Iron?
No, it is important that you select an iron specifically designed for synthetic materials when ironing pleather. This will ensure that you are able to safely and effectively remove any wrinkles or creases in the pleather fabric while still protecting it from further damage.
Conclusion
Whether you are dealing with pleather shoes, bags, or jackets, the process of ironing them is fairly straightforward. Taking the time to properly iron your pleather items will help you maintain their shape and keep them looking their best for a long time.
As always, take care to follow the care instructions that come with each item so that you do not accidentally damage it! Additionally, select the proper setting on your iron accordingly for the particular type of pleather in question; heat can cause tiny cracks and result in permanent damage.
With that being said, be sure to always prioritize safety when ironing; wear heat-resistant protective gloves and use a cloth between your pleather item and the iron itself.
Doing these simple things can help you prevent any accidents or potential hazards. Thanks to this guide, you should now have all the information on how to iron pleather you need to make sure your favorite pleather items stay looking great!
