Have you ever seen those cool leather-wrapped knife handles and wondered how they did that? In this article, I’m going to show you how to do it yourself. It’s a straightforward process, and the results are stunning. So, whether you’re looking to give your old knives a new lease on life, or want to create a custom handle for a new blade, keep reading for instructions on how to leather wrap a handle.

Wraping a knife handle in leather is a great way to add style and function to your blade. It looks good, but it also provides a more comfortable and secure grip. And, best of all, it’s a relatively straightforward process that anyone can do. So, if you’re ready to learn about leather wraping a knife handle, let’s get started.
What You’ll Need
- Leather
- Rivets
- Hammer
- Buckle (optional)
- Awl or needle
- Pencil or pen
- Scissors
- Sponge
- Water
- Soap
- Bowl
- Rag
- Neatsfoot oil (optional)
How to Leather Wrap a Handle StepWise Guide
Step 1. Choose the Leather
The first step is to choose the leather you want to use. You can find leather at many fabric stores or online retailers. Be sure to select a strong, durable leather at least 2-3 mm thick. You will also need to choose the right size for your project. Finally, consider the dimensions of your handle and the number of wraps you want before making your purchase.

Step 2. Trace the Handle’s Outline onto the Leather
When you are ready to begin tracing the handle’s outline onto the leather, you will need a few supplies. First, you will need a piece of chalk. You will also need a sharp pencil. Using these two tools, you will trace the handle’s outline onto the leather.
The chalk will help you see the outline of the handle, and the pencil will help you transfer that outline onto the leather. Begin by tracing the outline of the handle with the chalk. Then, use the pencil to trace over the chalk line. Once you have traced the handle’s outline onto the leather, you can begin cutting out the leather using a sharp knife.
Step 3. Cut Out the Handle’s Outline from the Leather
For this guide, we will be using top-grain leather with a 2.8 mm or 3.2 mm thickness. This guide is for left-handed people. If you are right-handed, please reverse the instructions. First, take your time to outline the handle on the paper. Then, make sure that the drawing is symmetrical and to scale. If possible, ask a friend to help you with this step.
Once you are happy with the drawing, use a sharp knife to cut out the handle’s outline from the leather. Be very careful not to cut yourself. Next, use a sanding block to smooth out the edges of the cut leather. Finally, use a hole punch to make two holes in the leather, as shown in the picture.
Step 4. Soak the Cut-Out Piece of Leather in Water
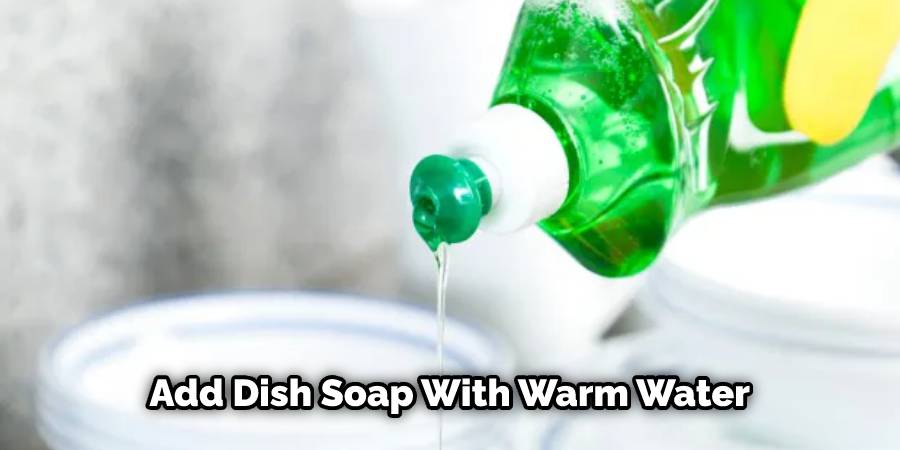
Now, it is time to soak the cut-out piece of leather in water. This will make the leather more flexible and easier to work with. Fill a bowl with warm water and add a few drops of dish soap. Stir the water to create suds.
Next, place the cut-out piece of leather in the bowl of soapy water. Use your hands to massage the soap into the leather gently. Avoid getting any soap on your skin, as it can be irritating. After a few minutes, remove the leather from the water and rinse it off with clean water.
Step 5. Shape the Leather Around the Handle
Now that the leather is wet, it will be more pliable. This makes it easier to shape around the handle. Begin by wrapping the leather around the bottom of the handle. Make sure that the hole in the leather is aligned with the hole in the bottom of the handle.
Next, use a rivet to secure the leather in place. A rivet is a small metal fastener used to join two pieces of leather together. To set a rivet, you will need a hammer and an anvil or a solid surface to set the rivet on. First, insert the end of the rivet through both holes in the leather and handle.
Then, use your hammer to flatten out the end of the rivet. Be sure to do this on a solid surface, such as an anvil or a piece of wood. Finally, use your fingers to bend the end of the rivet over the flattened end. This will secure the leather in place.
Step 6. Wrap the Leather Around the Handle
Now you’re ready to start wrapping the leather around the handle. Begin by threading the free end of the strip through the loop. Then, wrap the strip around the handle, making sure to overlap the edges slightly as you go. When you reach the end of the strip, use a bit of water to wet the edge, and then press it down onto the strip that’s already wrapped around the handle. This will help to secure it in place.
Continue wrapping the leather around the handle until you reach the end. Then, use a sharp knife to trim away any excess leather.
Step 7. Secure the Leather in Place
Finally, it’s time to secure the leather in place. You can do this by stitching the leather with a needle and thread or using rivets. If you choose to stitch the leather, use a heavy-duty needle and thread. Start by threading the needle with a length of thread. Then, insert the needle through the backside of the leather, making sure to catch all of the layers of leather. Next, pull the thread through until there is a small loop on the backside of the leather.
Next, insert the needle through the loop and pull it tight. This will create a small knot on the backside of the leather. Continue doing this until you have stitched all around the edge of the leather. Finally, use a pair of scissors to trim away any excess thread.
If you choose to use rivets to secure the leather, follow the instructions in Step 5. Be sure to set the rivets around the edge of the leather, spacing them evenly apart.
Step 8. Attach the Leather Handle to the Knife
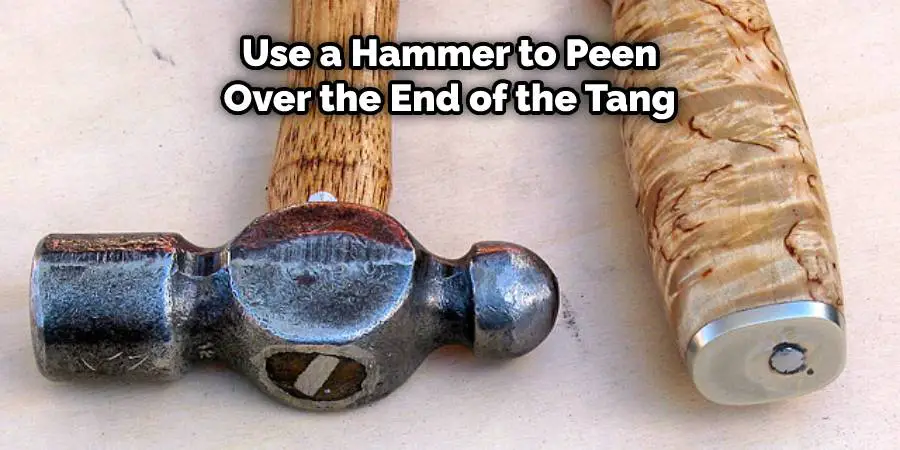
Now that the leather handle is complete, it’s time to attach it to the knife. If you’re using a full-tang knife, insert the knife’s tang into the hole in the bottom of the handle. Then, use a hammer to peen over the end of the tang. This will secure the knife handle in place.
You Can Check It Out to Wear a Leather Vest
If you’re using a partial-tang knife, you’ll need first to drill a hole through the knife’s blade. Be sure to wear safety goggles, as flying metal shards can be dangerous. Once you’ve drilled a hole through the blade, insert a pin or rivet through the hole and bend it over on the backside of the blade. This will secure the knife handle in place.
Step 9. Add the Finishing Touches
Now that the leather handle is attached, you can add the finishing touches. If desired, you can use a bit of water to wet the surface of the leather and then press it down with a cloth. This will help to give the leather a more polished look. You can also use beeswax or another type of leather conditioner to protect the leather and keep it from drying out.
There you have it! Now you know how to leather wrap a handle. This method is relatively simple and doesn’t require special tools or materials. With a bit of practice, you’ll be able to create beautiful, custom knife handles that are functional and stylish.
Tips and Tricks
- If you’re finding it challenging to keep the leather tight while wrapping, try using a piece of tape or string to hold everything in place.
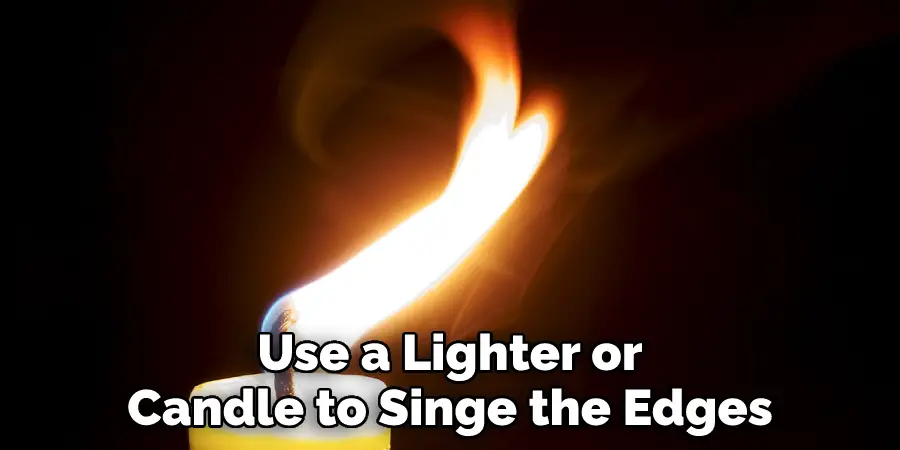
- Once you’ve wrapped the leather around the entire handle, use a lighter or candle to singe the edges of the leather lightly. This will help seal everything in place and give your wrap a nice, finished look.
- Try incorporating other materials into your wrap, like beads, feathers, or even metal filigree if you want to get creative. Be sure that whatever you use is securely fastened so it doesn’t come loose during use.
- With a bit of practice, you’ll be able to leather wrap just about anything! So go ahead and experiment with different techniques and materials until you find a look you love.
Frequently Asked Questions
What is Best Leather for Wrapping Handles?
Leather is a versatile material that can be used for a range of applications, such as wrapping handles. Here are a few tips that will help you choose the best leather for your needs:
- Consider the type of leather – There are different types of leather that are suited for different applications. For example, cowhide is a good choice for wrappers because it’s tough and durable.
- Check the quality – Make sure to check the quality of the leather before you buy it. You want to make sure that it’s thick enough and has a consistent color across the entire piece.
- Consider the price – You don’t have to spend a fortune on leather to get good results. In fact, some budget-friendly options are available that still provide good quality results.
- Test it out – Once you’ve chosen the right leather, test it out by wrapping some handles with it. This will help you determine whether or not the material is suitable for your needs.
Do Leather Handles Stretch?
Leather may look strong and durable on the outside, but like any other material, it can stretch. This is why it’s important to pay attention to the size of your leather handles before you buy them – if they’re too small, they will most likely stretching overtime. If this happens, the handle might start looking distorted or even crooked. In addition to being un comfortable, this could also lead to accidents as you struggle with controlling the sprayer in difficult conditions. Therefore, always make sure that your handles are a good fit by measuring them first!
Does Leather Hold Fingerprints?
Yes, Leather does hold fingerprints. However, it is likely that the prints would be difficult to see unless they were exceptionally clear or close up.
What is the Purpose of Wrapping the Handles of Some Baseball Bats in Leather?
Well, the purpose of wrapping the handles of some baseball bats in leather is to provide a better grip. This can be especially important for younger players who might not have developed strong hand-eye coordination yet.
Conclusion
Now that you know how to leather wrap a handle, it’s time to get started! The great thing about this project is that it can be tailored to fit your style. Be sure to experiment with different types of leather and stitching techniques until you find the look you love. We can’t wait to see what beautiful creations you come up with. Happy wrapping!
You may also read – How to cut a leather belt.