Holsters play a crucial role in gun maintenance and safety. A good quality holster can keep your firearm secure and also keep it from getting damaged or scratched. However, finding the right holster for your firearm can be challenging.

Moreover, purchasing a holster can be expensive. Therefore, making your holster can be an excellent, cost-effective option. In this post, we’ll be discussing the steps of how to make a holster, the materials needed, and tips to achieve the best result. So, let’s get started!
Can You Make a Holster?
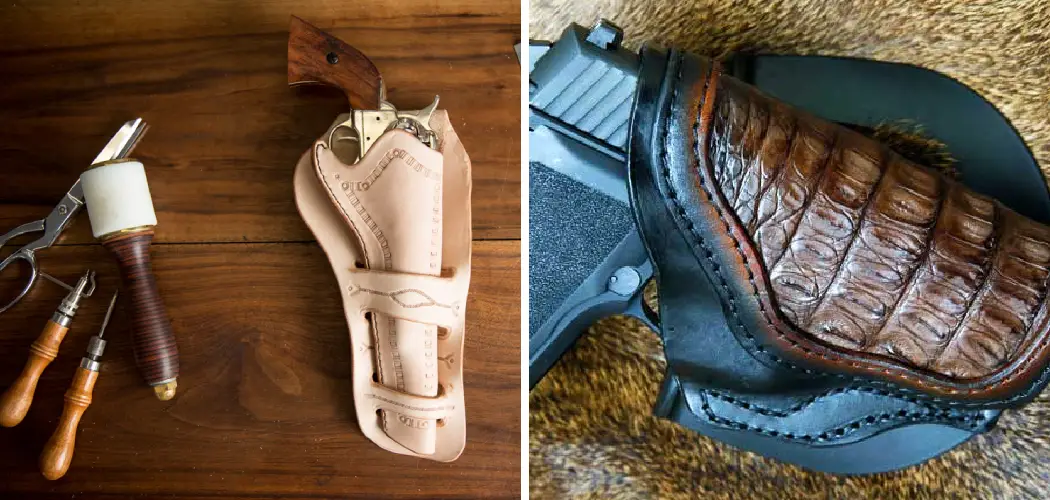
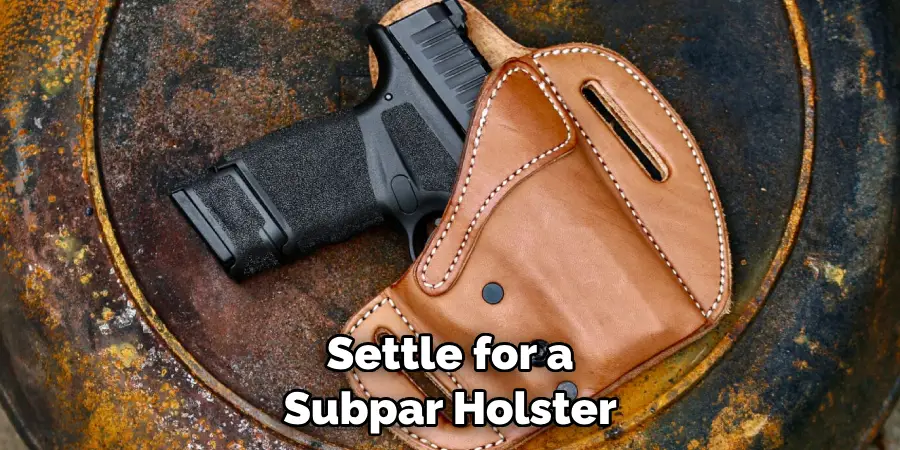
Making a holster may seem like a daunting task, but with a few basic materials and some patience, it is possible to create a custom holster that perfectly fits your firearm. Leather is a popular choice for holster making as it is sturdy and can be molded to fit the exact shape of your weapon.
However, there are also other materials like Kydex or nylon that can be used. Creating a holster from scratch allows you to tailor it to your specific needs and carry preferences, ensuring a comfortable and secure fit. With a little creativity and dedication, you can have a holster that not only looks great but also functions perfectly in keeping your firearm safe.
Why Make Your Own Holster?
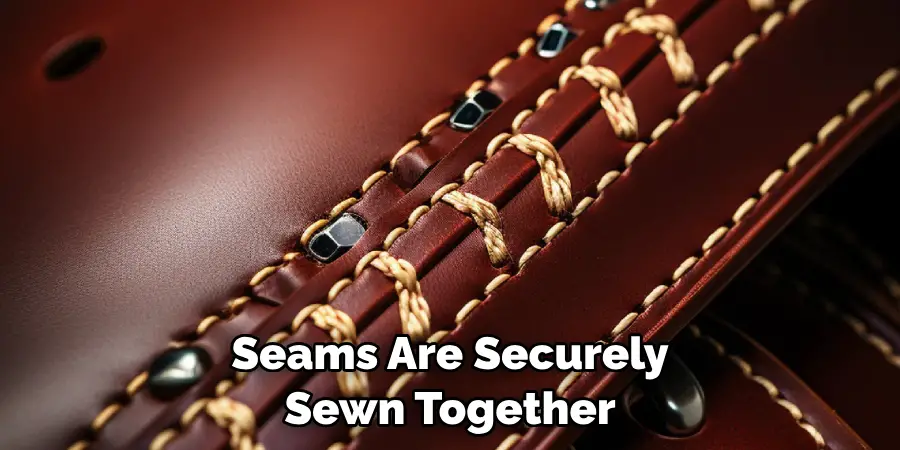
Holsters are an essential accessory for gun owners, allowing them to carry their firearms safely and comfortably. However, the market is flooded with generic holsters that may not fit your firearm perfectly or meet your specific needs. That’s where making your own holster comes in.
Creating a custom holster gives you complete control over the fit, style, and materials used. Plus, it’s a fun project that allows you to flex your creative muscles while potentially saving you money in the long run. So why settle for a subpar holster when you can make one that’s perfectly tailored to your firearm and your personal preferences?
Different Types of Holsters
Before we dive into the steps of making a holster, let’s take a quick look at the different types of holsters available. This knowledge will help you determine which type of holster is best suited for your firearm and lifestyle. Some common types of holsters include:
- Belt Holster: This type of holster attaches to a belt and is usually worn on the hip. It provides easy access to the firearm but can be visible under certain clothing.
- Shoulder Holster: As the name suggests, this holster is worn over the shoulder and is best suited for larger firearms. It allows for concealed carry but may not be as comfortable as other options.
- Ankle Holster: This type of holster is worn around the ankle and is best suited for smaller firearms. It allows for discreet carry but can be challenging to access quickly.
- Pocket Holster: As the name suggests, this holster is designed to fit inside a pocket and keep the firearm concealed. It’s best suited for smaller firearms.
A Step-by-Step Guide on How to Make a Holster
Step 1: Gather Supplies
The first step in making your own holster is to gather the necessary supplies. You will need leather, a sewing machine, thread, needles, and rivets. Additionally, you may want to purchase other tools, such as a leather hole punch and an awl. It is important to make sure that you purchase the highest quality materials available to ensure that your holster is durable and long-lasting.
Step 2: Cut Out Your Pattern
Once you have gathered all of your supplies, it’s time to cut out your pattern. You can either create your own pattern or use one that is available online. Make sure that you measure twice and cut once so that you don’t waste any material!
Step 3: Sew Together the Pieces
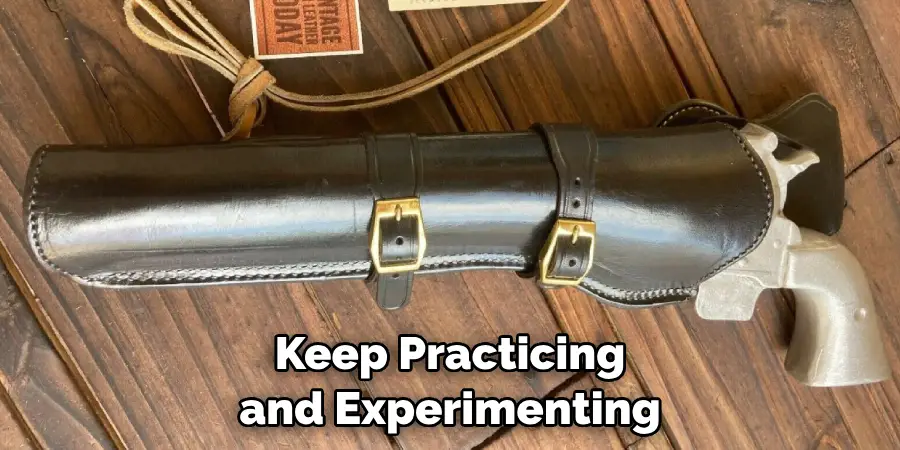
Once your pieces are cut out, it’s time to sew them together. This can be done by hand or with a sewing machine, depending on your preference and skill level. Make sure that all of the seams are securely sewn together so that they won’t come apart over time.
Step 4: Add Rivets
Rivets are metal fasteners used to hold two pieces of material together securely without using glue or stitching them together. To add rivets to your holster, use a hammer and anvil or vice grips to press the rivets into place until they are secure. This will help ensure that your holster is strong and durable for years to come.
Step 5: Finish with Stitching
Once all of the pieces have been secured with rivets, it’s time to finish off the edges with stitching for added strength and durability. Use a heavy-duty thread for this step, as it will be able to withstand wear and tear better than lighter threads would be able to do on their own.
Step 6: Attach Hardware
The last step in making your own holster is attaching any hardware, such as snaps or buckles that may be needed for closure or security purposes. Make sure that all hardware is securely attached so that it doesn’t come loose over time due to regular use of the holster.
That’s it! You’ve now learned how to make your own holster. Remember, practice makes perfect, so don’t worry if your first attempt doesn’t turn out exactly as you hoped. Keep trying and experimenting with different materials and techniques until you find the perfect combination for your custom holster.
5 Tips to Follow When Make a Holster
1. Measure Twice, Cut Once
It’s important to make sure that you measure your firearm accurately so that your holster fits perfectly. Remember the old adage “measure twice, cut once” to avoid wasting materials and ending up with an ill-fitting holster.
2. Use High-Quality Materials
Investing in high-quality materials may cost a bit more upfront, but it will result in a better end product that is durable and long-lasting.
3. Don’t Rush the Process
Making your own holster can be an enjoyable experience, so take your time and enjoy the process. Rushing through it may result in mistakes or an inferior product.
4. Test Out the Fit
Once your holster is complete, make sure to test it out with your firearm before using it regularly. This will help ensure that it fits snugly and securely.
5. Practice Makes Perfect
If this is your first time making a holster, don’t be discouraged if it’s not perfect on the first try. Keep practicing and experimenting until you achieve the desired result.
What to Do if The Holster Is Too Tight or Too Loose
Finding the perfect holster can be a challenging task as it should fit snugly to your firearm. But what if you realize that the holster you purchased is either too tight or too loose?
Don’t worry; there are easy solutions to this issue. If the holster is too tight, you can try breaking it in by stretching it with your firearm or leaving it overnight with your gun inside. On the other hand, if the holster is too loose, you can adjust its retention screw or add some padding, such as a layer of tape.
Remember, a properly fitting holster is crucial for your safety, so don’t hesitate to make adjustments to get it just right.
How to Fix a Leaking Holster
As a gun owner, you know how important it is to have a reliable and functional holster. However, if you notice that your holster is leaking, it can become a major safety issue. Fortunately, fixing a leaking holster is a relatively simple task that can be done at home.
One common culprit of a leaking holster can be the stitching. Ensure that all stitching is tight and secure by using a heavy-duty thread. Furthermore, applying a waterproofing sealant to the holster’s surface can increase its water resistance. Whether it’s for personal protection or for sport, it’s essential to have a holster that you can rely on.
Don’t wait until it’s too late; learn how to properly maintain your equipment to keep it in top condition.
How to Prevent a Holster from Molding
Mold can be a serious holster issue, leading to unpleasant odors and material deterioration. Fortunately, there are a few simple steps to keep your holster mold-free. First, store your holster in a dry place with good ventilation. Moisture is a breeding ground for mold, so keeping your holster dry is key.
If your holster does become damp, remove it from your firearm and allow it to air out completely before storing it. You can also use a silicone or leather conditioner to protect the holster from moisture.
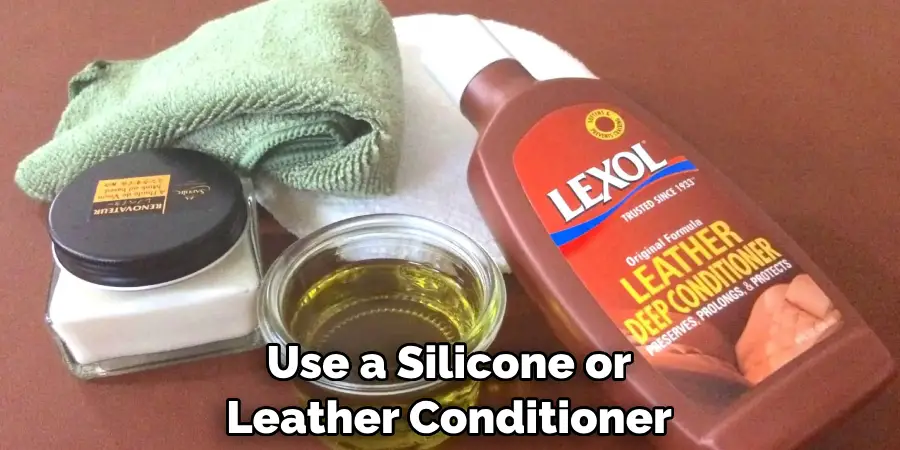
Lastly, be sure to clean your holster regularly to prevent the buildup of dirt and oils, which can also contribute to mold growth. By following these steps, you can keep your holster in good condition for years to come.
Conclusion
In conclusion, making your holster can be a fun and cost-effective option. It also allows you to customize your holster to fit your preferences. However, taking extra care when handling and using firearms is essential.
Always follow safety instructions, and if you’re not confident in your holster-making abilities, seek professional help. With the right tools and patience, you can create the holster of your dreams. Thanks for reading our post about how to make a holster and happy holster making!