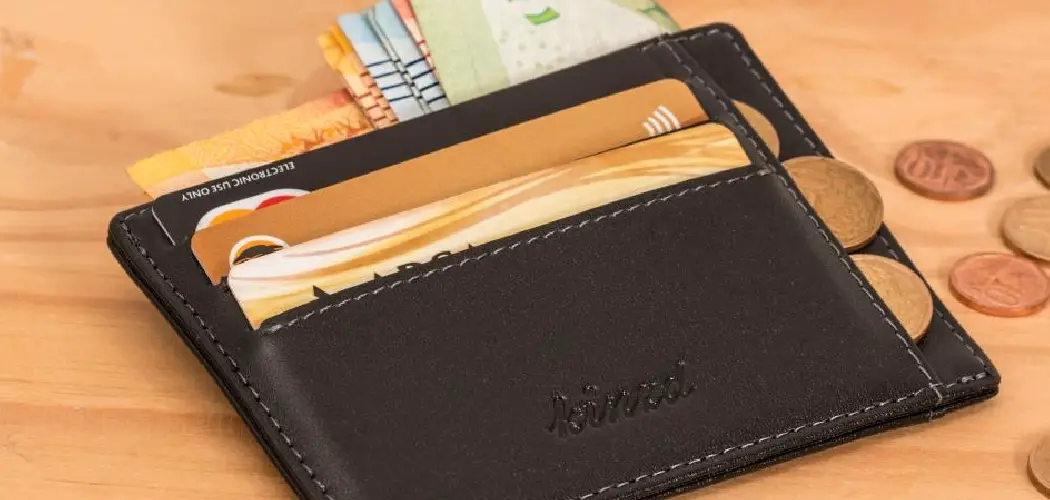
Crafting a leather coin purse is a rewarding project that combines creativity with practicality. Whether you’re a seasoned leatherworker or a beginner looking to explore a new hobby, making your own coin purse provides a great way to learn basic leatherworking techniques.

This guide on how to make a leather coin purse will take you through each step of the process, from selecting the right type of leather to the final stitching details. By the end, you’ll have a beautiful, handmade accessory perfect for keeping your coins organized and easily accessible.
Why Choose Leather?
Before we dive into the steps, it’s important to understand why leather is a great material for making a coin purse. Leather is durable, long-lasting, and has a natural resistance to wear and tear. It also offers a classic and timeless aesthetic that can’t be replicated by other materials. By using leather, you ensure your coin purse will not only look beautiful but also withstand daily use.
The type of leather you choose will also impact the final result. For a sturdier and more structured coin purse, opt for thicker leathers such as cowhide or vegetable-tanned leather. If you prefer a softer and more pliable coin purse, consider using lambskin or goat leather. Keep in mind that different types of leather require different tools and techniques, so make sure to select one that fits your skill level.
Materials Needed
To make a leather coin purse, you’ll need:
Leather:
As mentioned before, select the type of leather that suits your desired final product. Make sure to have enough material for the body, lining, and any additional embellishments.
Leatherworking Tools:
These can include a cutting mat, leather knife or scissors, hole puncher, stitching awl, needles and thread, rule, and a hammer for setting snaps or rivets.
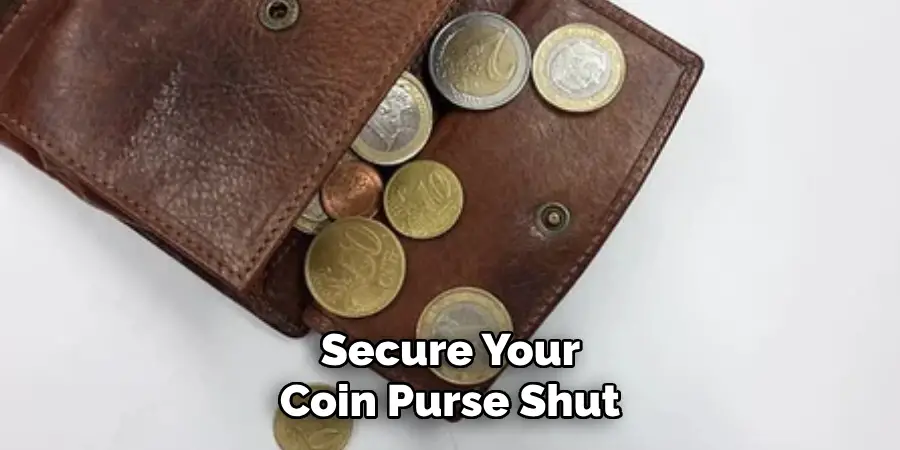
Closure Mechanism:
Choose between zippers, snaps, buttons, or clasps to secure your coin purse shut. This will depend on your personal preference and the overall look you want to achieve.
8 Step-by-step Guidelines on How to Make a Leather Coin Purse
Step 1: Design and Pattern
Begin your project by determining the design of your leather coin purse. Consider the size, shape, and style that would best suit your needs. Sketch out your design on paper, keeping in mind any additional features you might want, such as compartments or embossing. Once you have a clear idea, create patterns for the components of your purse.
These patterns will serve as templates for cutting out the leather pieces. Use durable paper or thin cardboard to make your patterns, as they will help ensure precision and consistency during the layout and cutting stages. If you are new to pattern making, you might consider using a pre-made pattern as a starting point and customize it according to your design vision.
Step 2: Prepare the Leather
With your design and patterns ready, the next step is to prepare the leather. Begin by laying out the leather on a flat surface to examine it for any imperfections or marks that you may want to avoid.
Once satisfied with the positioning, secure your patterns in place with tape or weights to prevent them from shifting. Carefully trace around the patterns using a pen or awl to mark the cutting lines onto the leather. When cutting, take your time to follow the lines precisely, using a sharp leather knife or scissors.
For a clean edge, a rotary cutter can be beneficial, especially on thinner leather. Remember to cut slowly and apply steady pressure to achieve straight, smooth cuts that will give your coin purse a professional finish.
As you prepare each piece, periodically compare it against your pattern to ensure accuracy before moving on to the next section. Once all the pieces are cut, you can proceed to the next step: assembling your purse.
Step 3: Construction
To begin the assembly, lay out the leather pieces in front of you. Start with the body and lining pieces and carefully align them together, ensuring that their edges match perfectly. You can use clips or pins to keep everything in place during this stage. If you’re adding pockets or compartments, now is the time to stitch them onto your lining piece before attaching them to the main body.
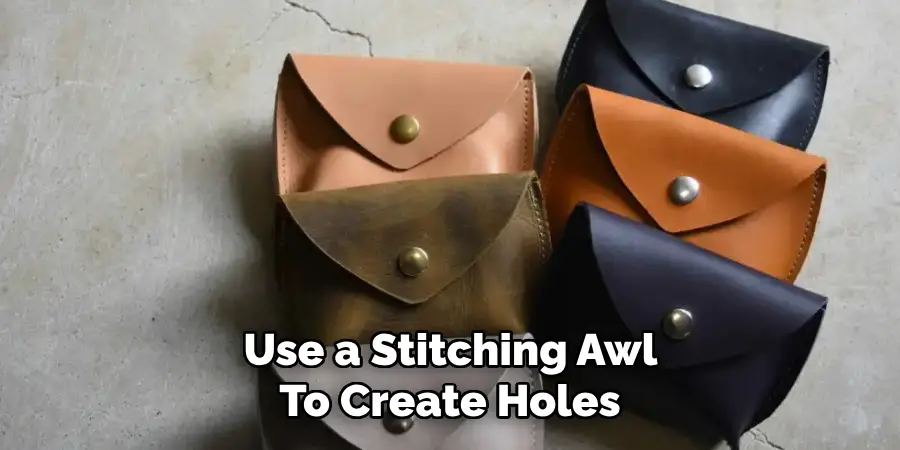
Once satisfied with the positioning, use a stitching awl to create holes along the edges where you’ll be sewing. Alternatively, you can use a hole puncher for creating consistently-sized holes.
Thread your needle with strong thread and start stitching along one edge using a saddle stitch method, which involves going in and out of the holes in a diagonal pattern. This type of stitch provides strong and durable seams that will hold your coin purse together.
Step 4: Adding Closure Mechanism
After stitching three edges together, it’s time to add your chosen closure mechanism. If using buttons or snaps, attach them according to their instructions. For zippers, you’ll need to sew them onto one side of the opening before attaching the lining piece. Make sure to leave enough space for the zipper pull to glide smoothly along its track.
The last edge will be where you leave an opening to turn your coin purse right side out. Before turning, trim any excess thread and make sure to snip the corners of the body piece for a clean finish. After turning, use a ruler or bone folder to gently smooth out any wrinkles and flatten the edges.
Step 5: Finishing Touches
Now that your coin purse is assembled and turned right side out, it’s time to add any final touches. You can choose to emboss or deboss your initials or design onto the leather using stamps or a hot stamping machine. This step adds a personalized touch to your creation.
You can also choose to dye or paint your leather coin purse to achieve a different color or design. Make sure to use leather-safe products and follow the instructions carefully.
Step 6: Burnishing
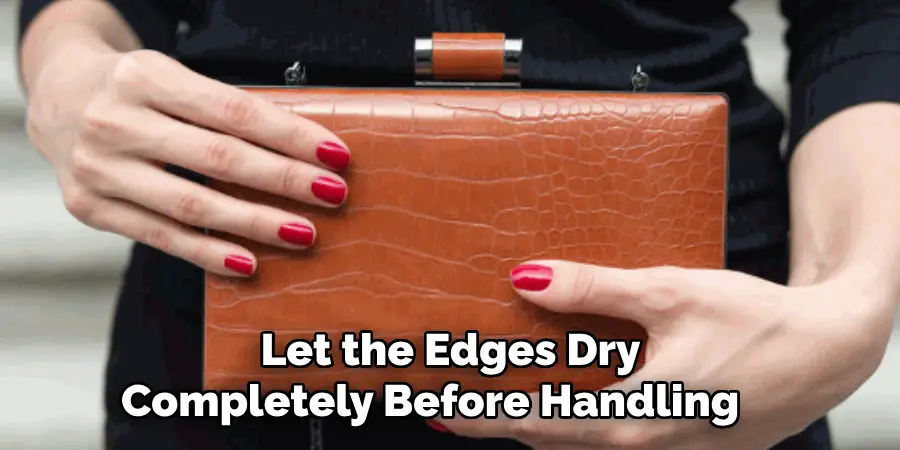
To give your coin purse a professional and polished look, consider burnishing the edges using a slicker tool or gum tragacanth and canvas. This process involves wetting the edges of your leather piece with either water or tragacanth, then using pressure and friction to smooth out any roughness until it becomes glossy and sealed.
It’s essential to let the edges dry completely before handling, so be patient and allow enough time for the burnishing to set.
Step 7: Attaching Keychain or Strap (Optional)
Adding a keychain or strap to your leather coin purse can enhance its functionality and style. If you decide to include this feature, you’ll need to attach a small D-ring or keychain loop to one of the corners or edges of your purse.
First, select the location where the keychain or strap will be most convenient and mark the spot using an awl or pen. Cut a small tab of leather, approximately half an inch wide and a few inches long, to serve as the attachment loop.
Fold the leather tab through the D-ring or keychain loop, aligning the ends of the tab with the marked location on the purse. Secure the tab by stitching it onto the purse with strong thread, ensuring it’s firmly attached to withstand daily use.
Additionally, if you prefer a detachable strap, you may attach snap fasteners or small hardware clips to the ends of your strap for easy removal and reattachment, offering versatility in how you carry or wear your coin purse.
Step 8: Enjoy Your Handmade Leather Coin Purse
Congratulations, you’ve successfully completed all the steps to make your very own leather coin purse! With patience and attention to detail, you’ve created a unique and functional accessory that reflects your personal style and skill.
Whether for personal use or as a gift for someone special, your handmade creation will surely be cherished and admired. Have fun using your newly crafted leather coin purse, and don’t forget to share your experience with others who may want to embark on this DIY journey themselves.
Following these steps on how to make a leather coin purse, you can also apply the same process to create larger leather purses or even wallets. The possibilities are endless, and with practice and experimentation, you can develop your own techniques and designs to make truly one-of-a-kind leather goods.
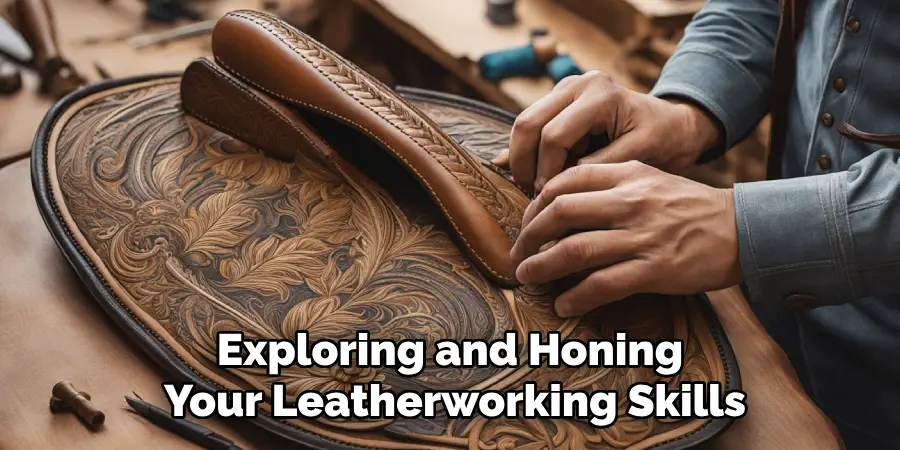
So go ahead, continue exploring and honing your leatherworking skills, and enjoy the satisfaction of creating something unique and beautiful with your own hands. Happy crafting!
Additional Tips
- For a more decorative touch, consider adding stitching or stamping designs onto the body piece before assembly.
- Experiment with different types of leather and thread to achieve different looks and textures.
- If sewing by hand, make sure to use a thimble for added protection against needle pricks.
- Practice makes perfect – don’t be discouraged if your first few attempts aren’t perfect; keep honing your skills and techniques.
- Consider adding a lining or interlining for added durability and structure.
- Use proper leatherworking tools and materials for best results.
- Enjoy the process and have fun creating something unique to you! So go ahead, continue exploring and honing your leatherworking skills, and enjoy the satisfaction of creating something unique and beautiful with your own hands.
Conclusion
Crafting your own leather coin purse can be a rewarding and enjoyable experience. It not only allows you to create a practical and stylish accessory but also provides an opportunity to hone your leatherworking skills.
By following the detailed steps on how to make a leather coin purse provided, you can transform simple materials into a unique piece that reflects your personal taste and craftsmanship.
Remember that each project is a pathway to creativity and learning, empowering you to experiment with different techniques and designs. Whether you’re a seasoned artisan or new to leatherworking, this journey of creating something with your own hands is bound to ignite your passion for DIY projects. Enjoy the process, celebrate your creativity, and cherish the handmade creations that emerge from your efforts.