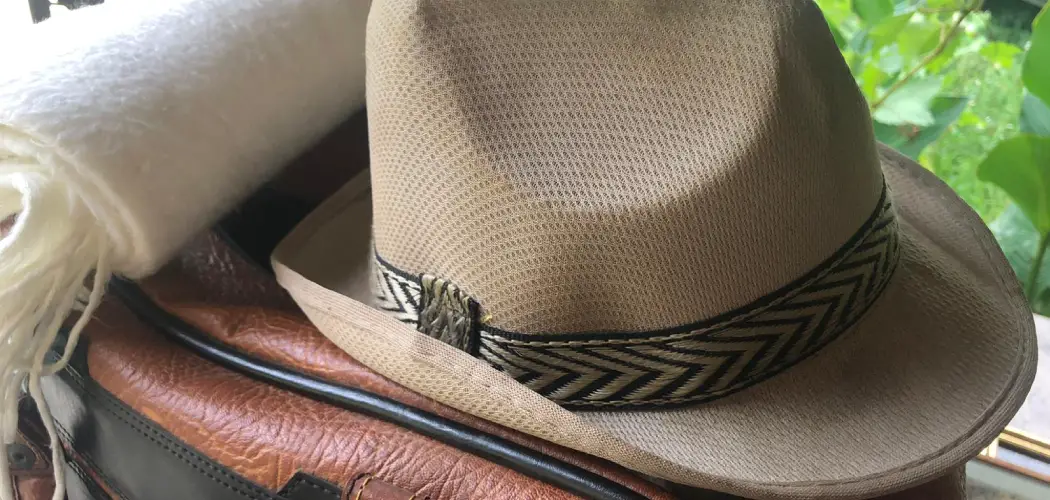
Are you looking for a way to make a stylish statement that also expresses your individual style? Creating your own leather hat is a great way to express yourself, show off your craftsmanship, and start conversations. A leather hat is the perfect accessory for you! It can be something fun and unique to wear on an evening out or even as part of a casual everyday look.

Whether you are looking for a fun weekend project or want to take on something unique with lasting impact, making a leather hat can be an enjoyable experience that will leave you feeling very proud of the results. Not only do these looks have a timeless appeal, but they’re also surprisingly easy and fun to make.
In this blog post, we will explain the steps needed to craft your very own custom leather hat fashionably finished with plenty of character. So grab yourself some supplies, roll up your sleeves, and let’s get started! Read on for more information about how to make a leather hat in no time at all.
What to Remember When Making a Leather Hat?
1. Supplies
When making a leather hat, there are a few important things to remember. First, make sure you have the right supplies and tools. This includes quality leather, thread that is designed for leather work, and the right needles for sewing the pieces together.
You should also use waxed thread, as this will help protect your project from fraying or breaking during the stitching process. Additionally, make sure to have a leather punch and strong scissors on hand to help you create the shape of your hat.
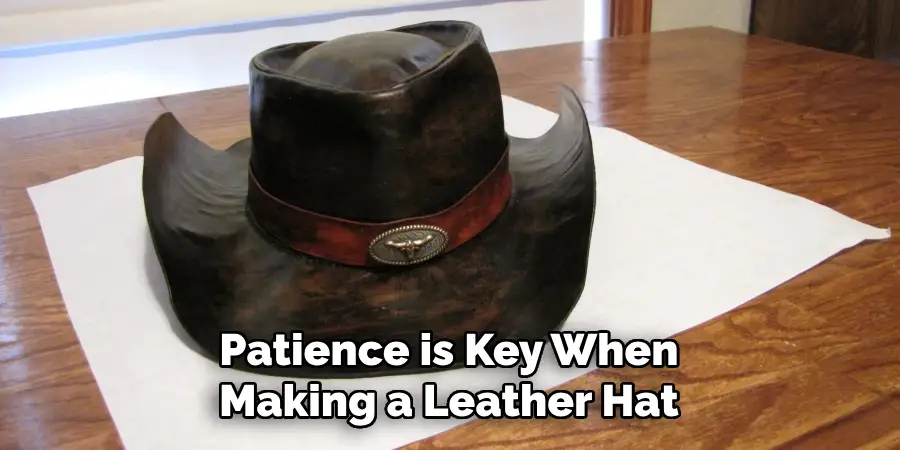
2. Patience
Second, remember that patience is key when making a leather hat or other leather project. It takes time and practice to learn the techniques and get comfortable with working with leather. Take your time with each step in the process, and make sure to double-check your work.
3. Leather Care
Finally, take the time to care for your leather project after you finish it. Regularly clean and condition the hat with a leather cleaner or oil to keep it looking its best and help protect it against wear and tear over time. Additionally, if you plan on storing your hat, make sure to store it in a cool, dry place and away from direct sunlight.
With these tips in mind, you can create beautiful leather hats that will last for many years. So don’t be afraid to get creative and try out new designs and techniques! You never know what you’ll come up with.
Required Items
When making a leather hat, it’s important to have the right supplies and tools on hand. This includes:
- Quality leather
- Thread designed for leatherwork
- Needles for stitching the pieces together
- Waxed thread
- Leather punch
- Strong scissors
- Leather cleaner or oil for regular care and maintenance
Having these items will help ensure your project is a success and that the hat you create is long-lasting and looks great. So make sure to stock up on all of the necessary supplies before starting your leather hat project!
How to Make a Leather Hat in 10 Steps
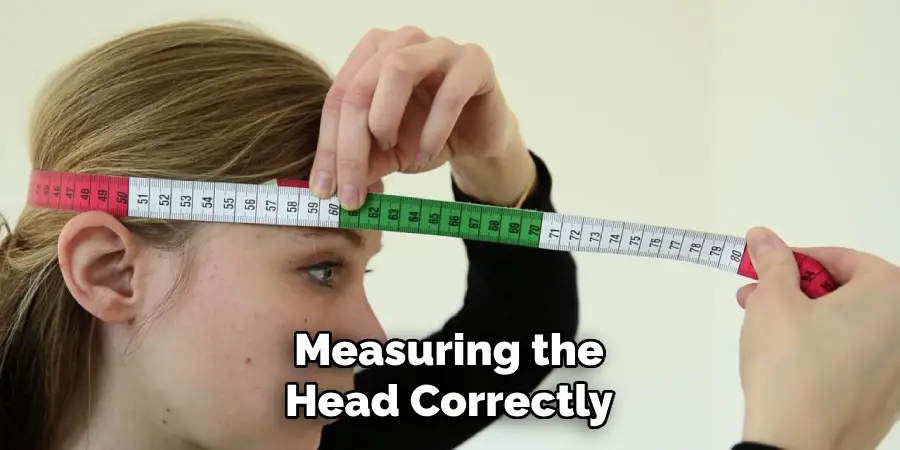
Step 1: Measurement
Measure the head of the person who will be wearing the hat. Measuring the head correctly is essential to making a hat that fits well. Keep in mind that the measurements need to be taken from the widest part of the head, which is typically just above the ears.
Step 2: Cut Pattern Pieces
Transfer your measurements onto a piece of paper and use them to create a pattern for your hat. Cut out two pieces of leather in the shape of your pattern sides and one top circle piece that is slightly larger than your head measurement.
Step 3: Punch Holes
Use a leather punch to create holes along the edges of the two sides of the pattern, spacing them about 1-2 cm apart. This will make it easier to sew the pieces together later on.
Step 4: Mark Center Points
Place the top circle piece on top of the two sides and mark the center points of each side with a marker. This will help you align the pieces when you sew them together.
Step 5: Sew Pieces Together
Take your waxed thread and use it to stitch the top circle piece onto one of the side pieces, making sure to start at the marked center points. Once that is done, sew the other side piece onto the hat.
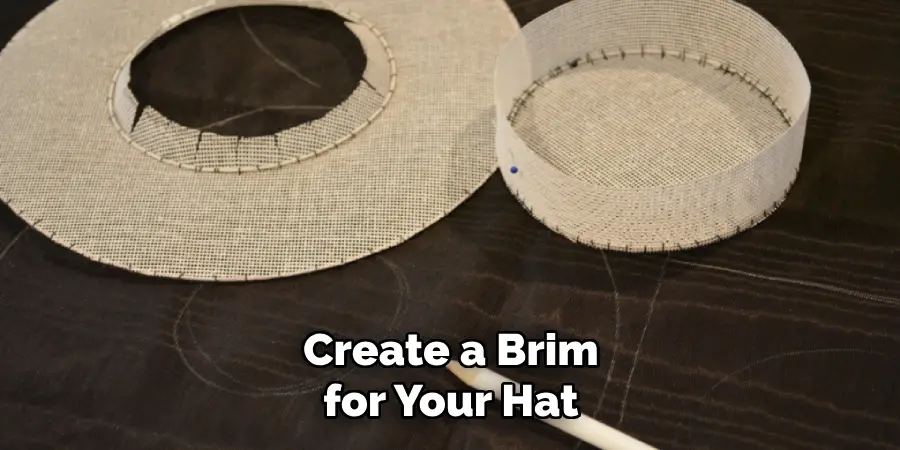
Step 6: Create a Brim
Next, create a brim for your hat by folding over the edges of the side pieces and stitching them down with waxed thread. This will help give the hat more structure and shape.
Step 7: Create Finishing Trim
If desired, you can add a finishing trim to the edge of your hat. This is an optional step but can help give your hat a more finished look. Also, be sure to thread the ribbon or trim through the holes you created earlier.
Step 8: Cut Excess Leather
Use a pair of scissors to trim away any excess leather that is sticking out from the edges of the hat. Cutting in a straight line helps give the hat a more finished look.
Step 9: Add Eyelets (Optional)
You can also add eyelets to the side of your hat for ventilation and decoration. To do this, use a leather punch to create two small holes on either side of your hat, and then insert an eyelet into each hole.
Step 10: Final Touches
Finally, give your hat a final inspection to make sure everything looks good. If needed, use a leather cleaner or oil to clean and condition the leather and bring out its natural shine.
With these ten steps, you can create a beautiful custom-made leather hat! So get creative with your design and have fun with the process.
8 Common Mistakes to Avoid When Making a Leather Hat
Making a leather hat can be daunting, especially for beginners. Even experienced leatherworkers make mistakes, so it pays to know the common errors people tend to make and how to avoid them.
- Not using quality materials. Don’t skimp on quality when it comes to purchasing your materials. Cheap or inferior materials will result in a poor-quality hat that won’t last.
- Not using the right tools. If you’re going to make a leather hat, make sure that you have the right tools for the job. This includes scissors or shears, punches, awls, and needles.
- Not conditioning the leather. Properly conditioning your leather is essential for making a quality leather hat. This involves using a conditioner to soften the leather and make it pliable for cutting and stitching.
- Not sizing the hat correctly. It’s important to measure your head accurately before cutting out the pattern pieces for your hat. Otherwise, you may end up with a hat that doesn’t fit properly or is too small.
- Not cutting the leather correctly. When cutting out the pattern pieces for your hat, it’s important to use clean, accurate cuts. Uneven or rough edges can ruin the look of your hat and make it difficult to stitch together.
- Not using strong stitching. Using a strong thread is essential when stitching your leather hat together. This will ensure that the hat is secure and won’t come apart easily.
- Not using the right glue. Glue can be used to reinforce certain areas of your leather hat, such as around the brim or along the edges. Make sure you use a strong, waterproof adhesive so it doesn’t come apart in wet weather.
- Not polishing the leather. A quality leather hat should have a smooth finish. This means that it needs to be polished and buffed with a soft cloth after you’ve finished making it.

By avoiding these common mistakes when making a leather hat, you can ensure that your hat is made of the highest quality and will last for years to come. With practice and patience, anyone can learn to make a quality leather hat!
Conclusion
As you can see, making a leather hat is both easy and rewarding. Not only will it provide protection from the elements, but it is also a stylish accessory that will make your outfit look fashionable in no time.
Whether you choose to customize yours with geometric patterns and rivets or keep it simple with just one color, you can be sure that your finished product won’t blend in with all the other hats out there.
Making a leather hat is an enjoyable and creative project, so don’t be afraid to take risks and follow these steps on how to make a leather hat while working on it! With plenty of trial and error, you should soon be proud of having created something that looks amazing and expresses your distinct style.
Lastly, invite some close friends over for drinks to show them off – what better way to end the project than by receiving admiration for your work?