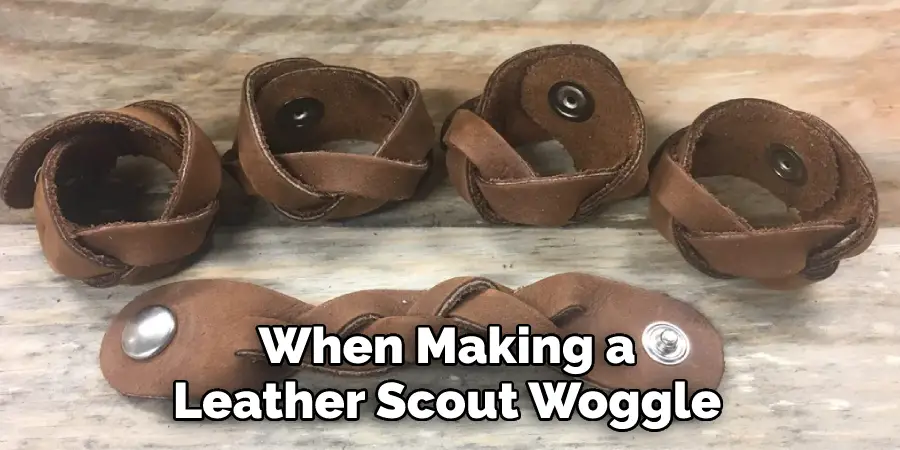
Making a leather scout woggle is a fun and rewarding project for scouts interested in mastering the art of working with leather. A woggle is an important part of the scout uniform, holding the neckerchief in place, making it essential to learn how to make one.
Not only can you personalize your own woggle, but you can also give handmade woggles as gifts to other scouts. Additionally, this project teaches basic leatherworking techniques that can be used in future projects.
Making a leather scout woggle is an easy and cost-effective way to create a unique badge for your scouts. Not only does creating your own woggle make it a one-of-a-kind item, but the activities associated with crafting these pieces also give scouts valuable life skills like hand sewing, working with leather, and creative problem-solving.
Additionally, the supplies needed are minimal, with leather and waxed thread being the main materials required to create a sturdy and attractive woggle. You can find step-by-step instructions on how to make a leather scout woggle in this blog article.
Materials You Will Need
- Leather pieces
- Ruler and scissors
- Pencil
- Awl tool or drill with a 0.5mm bit
- Thread, preferably waxed thread
- Needle
- Lighter
- Glue, such as E6000 glue
- Hammer and mallet
- Rivets (optional)
Step-by-Step Processes for How to Make a Leather Scout Woggle
Step 1: Inspect the Leather
Before you start making a leather Scout woggle, it is important to inspect the leather and make sure that it is of suitable quality for crafting. Make sure that there are no cracks, holes or tears in the material and that it has not been treated with any chemicals.
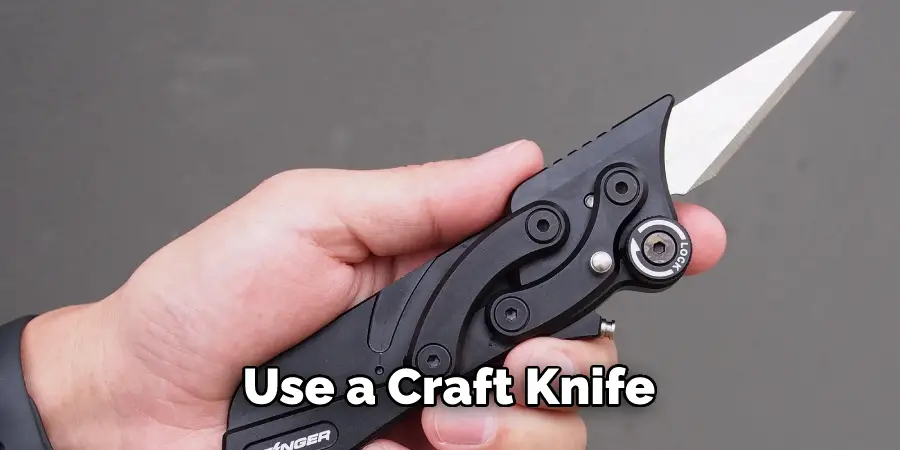
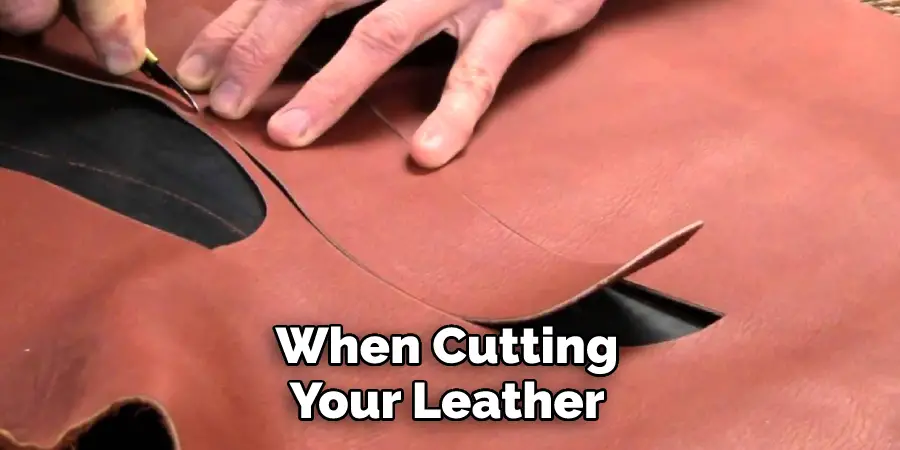
Step 2: Cut Out the Leather Piece
Using a ruler and craft knife, cut out the leather piece that will be used for the woggle. It should measure about two inches in width and four inches in length. Ensure that the edges are even and straight to make it easier to sew later on.
Place the leather piece on a stable surface, such as a cutting board, and use an awl or leather punch to make evenly spaced holes down the middle. Make sure that these holes are not too close together, as this will weaken the fabric.
Step 3: Thread the Needle
Cut a length of thread in a color that matches the leather and tie one end to a needle. This will make it easier to sew the woggle together. Start from one end, insert the needle through a hole on one side of the leather piece, and pull through until there is just enough thread left to make a knot. Leave at least 4 inches of thread so you can tie off the stitching at the end.
Step 4: Sew Along the Edge
Keep sewing along the edge of the leather until you reach the last hole on that side. Make sure to keep your stitches even so that they are strong and secure. Do not pull too tight as this will cause stress on the fabric and weaken it. Turn the leather piece over and insert the needle through the first hole. Sew along this side similarly to before until you reach the last hole.
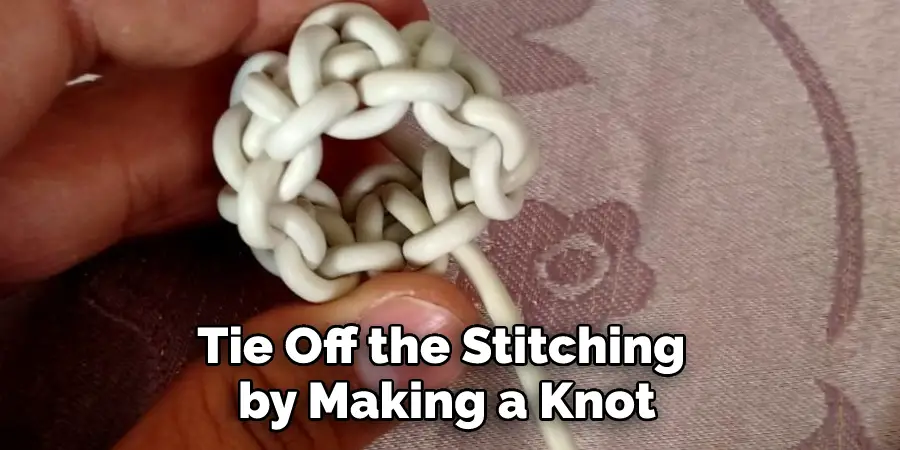
Step 5: Tie Off Stitching
Once both sides have been sewn together, tie off the stitching by making a knot with the remaining thread at one end. Cut off any excess thread that is sticking out and use a pencil or dowel to gently push down the edges of the fabric so that it properly fits the shape of the woggle. Finally, attach a keyring or split ring to the woggle, and your leather woggle is ready to be used.
Tips for How to Make a Leather Scout Woggle
- Always wear safety glasses and thick leather gloves when cutting, shaping, or manipulating leather to make a Scout Woggle. This will help protect your eyes and hands from any sharp objects or tools used in the process.
- Have an adult nearby when crafting with a knife, razor blade, needle, thread, or other sharp objects, as these can be dangerous if used incorrectly.
- Make sure to have a secure cutting surface, such as a cutting board or piece of scrap wood, when using any sharp tools or objects.
- Ensure all tools are in good condition and that blades are kept sharp for easy cutting through leather pieces.
- Always make sure to work with leather in a well-ventilated area, as the fumes can be hazardous to breathe in.
- Dispose of scraps properly and store pieces carefully to avoid any injuries from accidental falls.
- Finally, take your time and be patient when making a Scout Woggle – it will help ensure you create a useful and durable piece that you can enjoy for years to come.
Following these safety tips will help ensure the Making a Leather Scout Woggle process is a fun and safe experience.
How Much Time Should You Spend on Each Step of the Process?
The amount of time you should spend on each step of the process will depend largely on the complexity and size of your woggle design.
Generally, it is best to take your time with each step and ensure that it is completed properly so that the finished product looks professional. The main steps involved in making a leather scout woggle are cutting the leather, punching the holes, and sewing the woggle together.
When cutting your leather, if you use a template or design with intricate details and curves, it is best to take your time and be precise so that the edges come out clean. It may also be helpful to trace out any designs or patterns on the leather beforehand to help guide your cutting.
When punching the holes, it is important to use a sharp awl and slowly rotate it in each hole as you make them. This will ensure that the edges of each hole are clean and even, which will make sewing the woggle easier. If possible, try to use an awl with a stop to ensure the hole is an appropriate size.
How Long Will It Take Me to Make a Woggle?
Making a leather scout woggle is a simple DIY project that can be completed in around an hour. All you need is some leather, scissors, and some basic tools like an awl or rivets. You’ll also need a pattern guide to follow, either from an online source or printed out from your own computer. You can make a woggle in about an hour with the right supplies.
Once you have your supplies ready, the first step is to cut out your leather pieces with the pattern guide and scissors. After that, you will need to punch holes along the edges of each piece with an awl or rivets. Once all the holes are punched, assemble the pieces together with leather lacing or other decorative cords to form the woggle.
Finally, you can finish it off by adding embellishments such as beads, charms, tassels, and more. Making a woggle is an easy craft project that anyone can do in around an hour. With some simple supplies and a pattern guide, you can create your own leather scout woggle in no time.
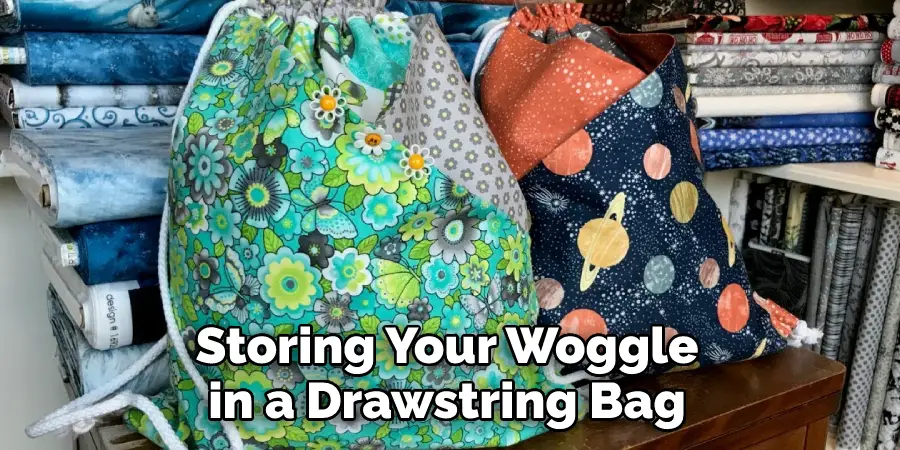
How Do You Store Your Woggle When You’re Not Using It?
Once you have made a leather scout woggle, keeping it in good condition is important. This means finding the right storage solution for when you’re not using it. Consider storing your woggle in a drawstring bag or pouch to protect it from dirt and dust. You can also store your woggle in a box that has been lined with tissue paper to help prevent it from becoming scratched or scuffed.
Do not store your woggle in a box that can get too warm, which may cause the leather to dry out and crack. Keep your woggle away from any direct sunlight, which can damage the leather’s color over time. Additionally, if you are storing multiple woggles together, keep them separated, so they do not get tangled.
Are There Any Special Techniques That You Should Use to Make a Woggle?
When making a leather Scout woggle, there are certain techniques that will help you create the best possible product. First and foremost, it is important to use quality leather when creating your Scout woggle.
The higher quality of leather that you use, the more durable and longer lasting your woggle will be. Additionally, make sure to cut out your leather pieces carefully and accurately so that they fit together perfectly.
Another important technique to keep in mind is to make sure you use the proper tools when creating your woggle. Leatherworking requires a few different tools, including needles, pliers, scissors, awls, and punches. Make sure you have all of these tools before beginning any leatherworking project.
Finally, make sure to practice good safety habits while working on your woggle. Wearing protective gloves and glasses when working with sharp tools is important. Additionally, ensure that all your tools are kept in a safe, secure area away from children or animals so they cannot be harmed.
Conclusion
One of the main disadvantages of making a leather scout woggle is the cost involved. Leather can be quite expensive, depending on the quality and thickness of the material.
In addition, it takes considerable time and effort to cut and sew the leather into a woggle shape. If you do not have access to tools such as an awl or punch, making a woggle will be much more difficult. Lastly, the leather may not last as long as other materials due to wear and tear or water damage.
In conclusion, making a leather scout woggle is an easy and accessible DIY project that requires just a few supplies. With the right materials and basic sewing skills, you can create your unique woggle in no time.
It’s a great way to express yourself while also contributing something special to your scouting group or community. I hope this article has been beneficial for learning how to make a leather scout woggle. Make Sure the precautionary measures are followed chronologically.