
Are you looking to make a unique belt buckle for yourself or as a gift? You can make your Western-style belt buckle with the right supplies and patience. Here are the steps you’ll need to follow.

Whether you are a fashion-savvy cowboy or just looking to add a little Western flair to an outfit, making your belt buckle is easy and doesn’t take long. Even if this is your first time doing any type of metalworking, with the right tools and materials, your handmade western belt buckle will be just as good as those found in stores!
In this blog post, we will break down the process step by step so that anyone can make their unique belt buckles – get ready to learn how to make a western belt buckle!
What Will You Need?
As with any project, you’ll need the right materials to start. For this western-style belt buckle project, you’ll need the following:
- Sheet Metal: You can use brass, copper, or any other soft and malleable metal.
- Hammer: This will be used for shaping and forming your sheet metal into a buckle shape.
- Metal Saw: A hacksaw or other type of saw are great for cutting through sheet metal.
- Sandpaper: Use to smooth out edges after cutting.
- Files: Used to refine shapes and create details on your buckle design.
- Finishing Material: This could be painted or lacquer if wanted.
Now that you have all the necessary materials let’s get started!
10 Easy Steps on How to Make a Western Belt Buckle
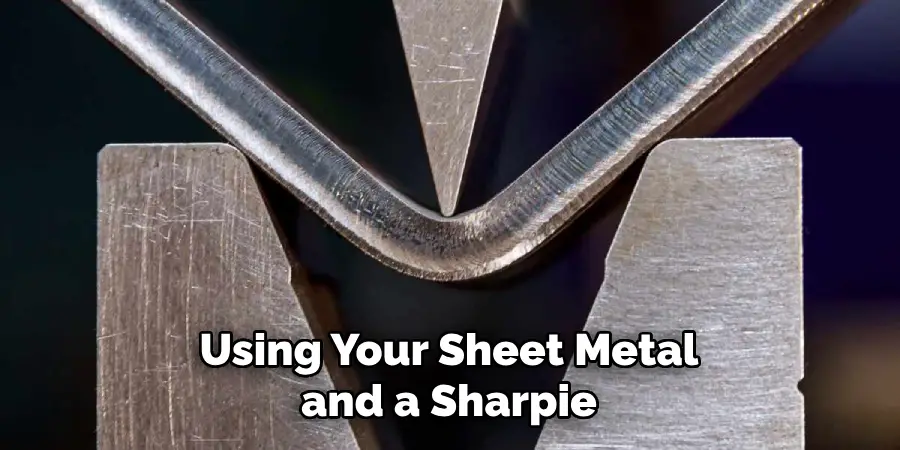
Step 1: Draw Your Design on the Sheet Metal
Using your sheet metal and a sharpie or other marker, draw out the design of your belt buckle onto the metal. If you need help, look for some inspiration online! There are lots of ideas to choose from. Once your design is drawn on the metal, use a hacksaw to cut it out.
Step 2: Hammering and Shaping
Once your shape is cut out, it’s time to start hammering and shaping it into what will eventually become your western-style belt buckle. Begin using a rubber mallet or small hammer and an anvil to flatten any bumps or edges. Additionally, you can use pliers to reshape the buckle if needed.
Step 3: Use Various Filing Tools
Now that your metal is shaped and flattened use various filing tools such as a flat file, half-round file, needle file, and round nose pliers to refine the shape of your buckle. This step can take some time but will be worth it for a professional looking buckle! As you file, keep checking the design against your original plan for accuracy.
Step 4: Sanding and Polishing
Once you are happy with the shape of your buckle design, use sandpaper to smoothen out any sharp or rough edges. If desired, you can also polish the metal with a cloth until it shines. Try using different grits of sandpaper to get the desired finish.
Step 5: Attach Belt Loop(s)
Depending on your design, you may want to attach belt loops or other hardware that will allow you to connect your buckle to a belt. This can be done by drilling holes in the metal and using rivets or screws to secure them. Remember to add the tongue piece of your buckle (the metal piece that goes through the actual belt) if needed.
Step 6: Finishing Touches
Now it’s time for the finishing touches! You can choose to paint or lacquer your buckle for an extra shine. You could also use beads, rhinestones, or other decorations if desired.
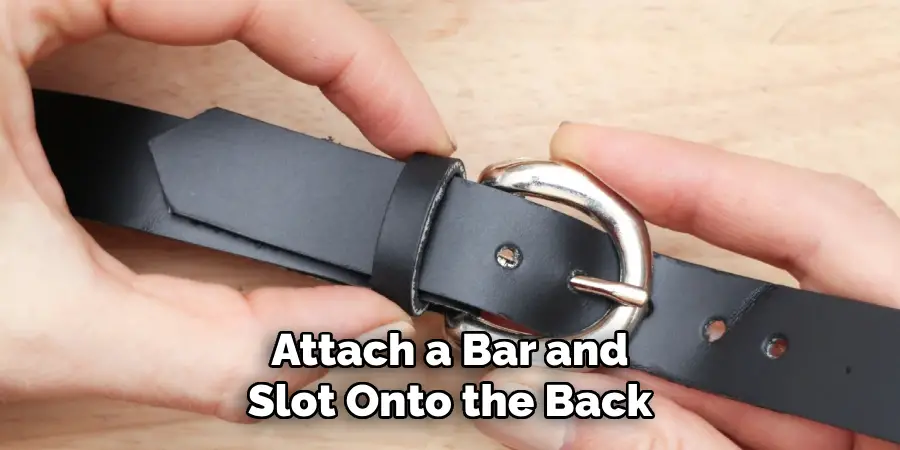
Step 7: Attaching Your Buckle
Once all the details are finalized, you’ll need to attach a bar and slot onto the back of your buckle in order for it to fit comfortably onto a belt. This can be done with rivets or screws. Keep in mind the tighter the fit, the better.
Step 8: Trim Excess Material
If any excess material is on the back of your buckle, use a pair of pliers to trim it off. You can also add some adhesive if needed to keep the hardware in place. Try to keep the back of your buckle as clean and neat as possible.
Step 9: Final Check
Before you call it finished, take one last look at your buckle and make sure all the details are perfect – no sharp edges or unfinished spots! Be careful not to damage it while taking it off the belt.
Step 10: Enjoy Your New Western Belt Buckle!
You did it! You now have a unique western-style belt buckle that you can wear proudly. Whether you made this as a gift for someone else or just for yourself, we hope you’ve enjoyed this project and will create more in the future. Let your creativity flow, and don’t be afraid to try something new!
Now that you know how to make a Western belt buckle, the possibilities are endless! With the right materials and some time, you can create custom buckles for yourself or as gifts. So what are you waiting for? Get started on your creative journey today!
5 Additional Tips and Tricks
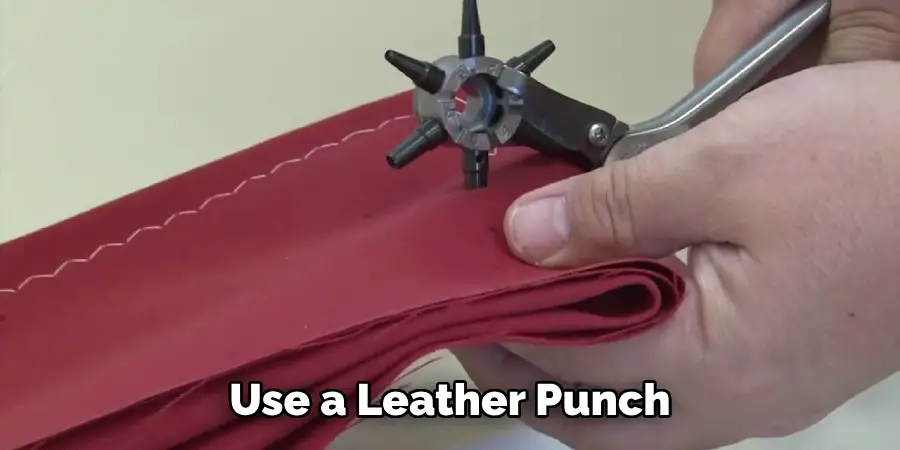
1. Use a leather punch or drill hole to create the buckle holes in your belt. Make sure you measure and mark the spot where you want to create the holes for your buckle.
2. Choose a buckle matching your preferred style and finish it with a rivet to attach to the belt. For a more traditional look, use an oval-shaped buckle and make sure all parts are secured before you proceed.
3. Arrange the leather pieces in such a way that they overlap each other when the buckle is closed so as to give it maximum strength and longer durability.
4. Add decorative accents like conchos or beading on top of your western belt buckle for a unique touch!
5. Once you have created your western belt, remember to keep it conditioned with appropriate leather care products, which will help preserve its life and beauty for many years to come.
With these five tips and tricks, you’ll have the perfect western belt buckle in no time!
5 Things You Should Avoid
1. Don’t use a regular hole punch for the buckle holes. A leather punch or drill will provide more precise measurements and create higher-quality results.
2. Avoid using low-quality materials when creating your western belt buckle, as this could cause it to break easily over time.
3. Steer clear of using too much glue to attach the buckle and leather pieces together, as this can make the finished product appear messy and sloppy.
4. Don’t add any decorations without first ensuring that they are securely attached with rivets and glue so they won’t come off during normal wear and tear.
5. Never forget to condition your belt regularly with appropriate leather care products! This will help keep your western belt buckle looking great for many years to come.

Following these simple tips and tricks will help you create the perfect western belt buckle that will last you a lifetime!
How Do You Loop a Western Belt?
If you’re looking to complete your western look, you’ll need to know how to loop a western belt. To do this, start by threading the leather end of the belt through the buckle and then bring it back up and through the first hole in the belt. Make sure that when doing this, you are not pulling too tight, as this could cause damage to both the leather and buckle.
Additionally, you can adjust the length of your western belt by looping it through additional holes. To do this, make sure that all holes on the belt are lined up when the buckle is closed. Once you have found the desired length, secure the end of the belt with a small piece of leather tape or glue to keep it from slipping and sliding around!
Once you have looped the belt around itself, secure it with a rivet or other fastener of your choice. You can add decorative pieces such as Conchos or beading for a unique touch!
With these simple steps, your Western belt will be ready for wear in no time!
Conclusion
Crafting your own western belt buckle is an enjoyable and rewarding experience that can create a unique piece of art that fits comfortably around your waist. You can express your own style and individual interests in many ways by incorporating chosen materials, colors, and images into your design.
Whether it’s a simple punch pattern or something more advanced like filigree tooling, you can always showcase your talent in the form of a special and distinguished belt buckle.
With basic supplies, the right tools, and some creativity, you will surely make something remarkable to bring out the cowboy in everyone. So start designing today and remember to show off your stylish creation – Texas style!
The article on how to make a western belt buckle has given you the necessary tips and tricks to begin your project. So grab your tools, choose your materials, and get buckling! Good luck!