There’s something about leather goods that just feels luxurious. Maybe it’s the weight of a good wallet in your hand or the way a well-made strap feels against your skin. Whatever it is, there’s no denying the allure of leather products. So if you’re looking to get into the world of leathercrafting, here are a few tips on how to make leather goods.

What Are Leather Goods?
Leather is a material that is made from the skin of an animal. It is a natural product used for centuries for various purposes. Leather goods are items that are made from leather. These can include clothing, shoes, handbags, and belts. Leather is durable and can last for many years with proper care.
It is also a flexible material that can be formed into various shapes and sizes. Leather goods are available in many styles to suit any taste. Whether you are looking for a classic look or something more modern, you can find leather goods to match your personal style.
Why Should You Make Leather Goods?
Leather is one of the most versatile and durable materials available, which is why it has been used for centuries to make everything from clothing to armor. Today, leather can be found in various products, from wallets and purses to belts and shoes. Leather goods are not only stylish but they are also built to last.
In fact, properly cared for leather items can last for decades. When you invest in a quality leather product, you can be confident that it will stand up to years of use. Whether you are looking for a new wallet or a new pair of boots, choosing leather will give you a stylish and long-lasting product.
How to Make Leather Goods Step-by-Step Guide
If you’re interested in learning how to make leather goods, you should know a few things. Leatherworking is a craft that requires both patience and skill. However, with practice, anyone can learn how to make beautiful and unique leather items.
1. Choose the Right Type of Leather
There are many different types of leather available, each with its unique characteristics. First, you’ll need to choose the right type of leather for your project. For example, vegetable-tanned leather is best for tooling and carving, while chrome-tanned leather is better for sewing.

2. Prepare Your Leather
Once you’ve chosen the right leather for your project, it’s time to get it ready to use. This process is called “prepping” your leather, and there are a few different ways to do it.
If you’re using vegetable-tanned leather, you’ll need to wet it before working with it. This will make the leather more flexible and easier to work with. To wet your leather, soak it in a bucket of water for 30 minutes or so. You can also use a sponge to wet it down if you don’t want to submerge the entire piece.
Once your leather is wet, it’s time to stretch it. This will help prevent it from shrinking as you work with it. To stretch your leather, lay it flat on a table and pull gently on all four corners. You can also use a weight to help stretch it out. Let the leather dry completely before moving on to the next step.
3. Choose the Right Tools
Leatherworking requires a few specific tools to get started. You will need a sharp knife, an awl, a hammer, and a strong thread. You can find these items at most craft stores. If you are planning on working with very thin leather, you may also need a bone folder.
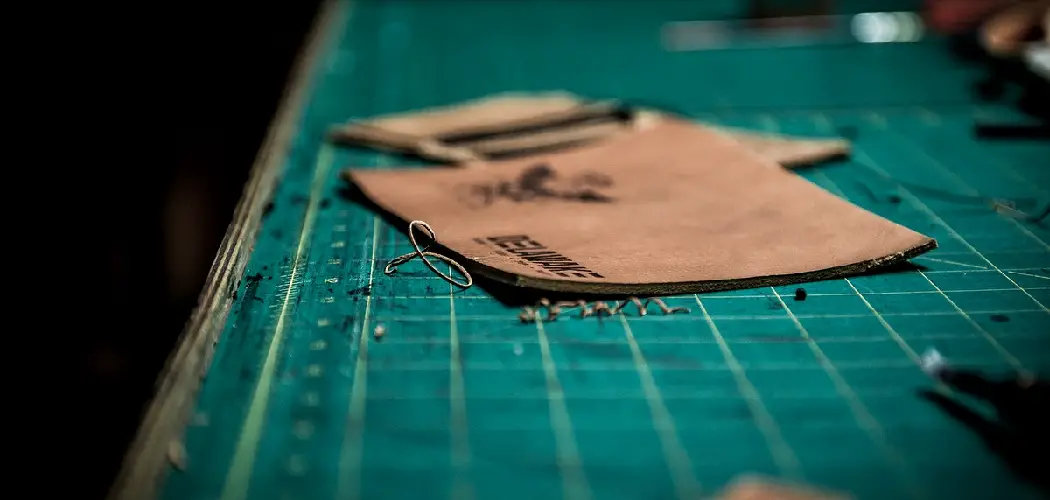
4. Cut Out Your Pieces
Once you have your tools, you must cut out your leather pieces. This can be done with a sharp knife or a rotary cutter. If you are working with multiple layers of leather, you may want to use a cutting board to protect your surfaces.
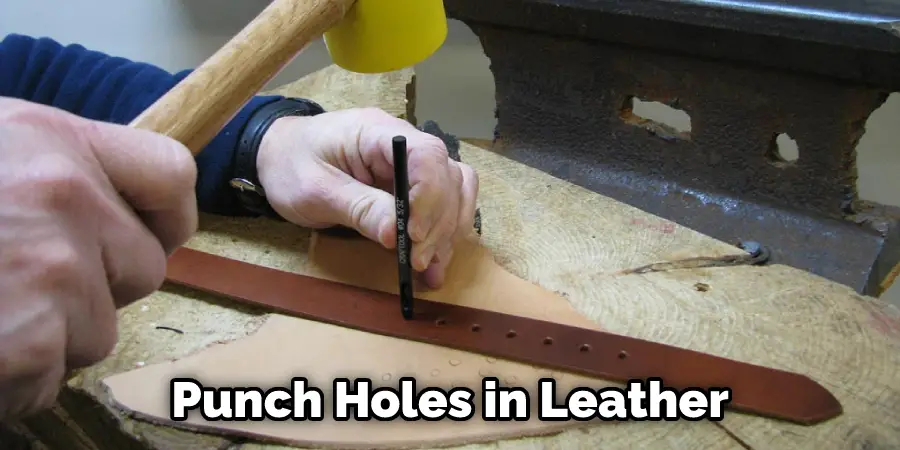
5. Punch Holes
After you have cut out your pieces, you will need to punch holes in them so that you can sew them together. You can do this with an awl or a leather hole punch. To make sure your holes are evenly spaced, you can mark them out with a pencil first.
6. Sew It Up
Once you have punched all of your holes, it’s time to start sewing! You will need a heavy-duty needle, thread, and a thimble. Start from the wrong side of the leather, and sew each hole closed. Be sure to backstitch each hole’s beginning and end to reinforce the stitching.
When you’re finished sewing, your leather goods should be strong and ready to use! Congratulations
7. Finish Your Leather
The final step in leather working is to finish your leather. This step is important because it will protect your leather from water damage and staining. Again, you can use a store-bought leather conditioner or make your own.
To make your own leather conditioner, mix one part olive oil with two parts beeswax. Heat the mixture until the beeswax is melted, then apply it to your leather with a cloth. Rub the conditioner into the leather, then buff it with a clean cloth.
8. Enjoy Your New Creation
Now that you’ve learned how to make leather goods, it’s time to put your new skills to use! Experiment with different designs and techniques, and don’t be afraid to experiment. With a little practice, you’ll be able to create beautiful, unique leather products that will last for years.
Types of Leather Goods You Can Make
Leather is a durable and versatile material that can be used to create a wide variety of products. Here are just a few of the types of leather goods you can make:
- Belts: Belts can be made from both thin and thick leather and decorated with various buckles, stitching, and other embellishments.
- Bags: Bags come in all shapes and sizes and can be made from both soft and stiff leather. They can be decorated with tassels, rivets, or other hardware.
- Wallets: Wallets are usually made from thin leather and often have multiple compartments for storing cards and cash. Some wallets also have a coin pouch.
- Clothing: Leather can be used to make jackets, pants, skirts, and even dresses. It is important to choose soft leather for clothing items that directly interact with the skin.
- Shoes: Leather is a popular choice for both dress shoes and casual footwear. It is important to choose tough leather for shoes that will see a lot of wear and tear.

How to Select the Right Type of Leather for Your Project
When it comes to leather, there are many different types to choose from, and each has its own unique set of characteristics. For example, some leathers are more durable than others, while some are more pliable. As a result, it’s important to select the right type of leather for your project.
If you need strong and durable leather, then chrome-tanned leather is a good option. This type of leather is treated with chromium salts, which makes it resistant to water damage and wear-and-tear. However, this treatment also makes the leather less pliable, so it’s not ideal for projects that require flexibility.
For more pliable leather, vegetable-tanned leather is a better choice. This type of leather is tanned using natural materials like tree bark, which gives it a soft and supple texture. However, this also makes the leather more susceptible to water damage.
As a result, vegetable-tanned leather is best suited for projects that don’t require excessive flexing or bending. When selecting the right type of leather for your project, it’s important to consider the desired properties of the finished product. By carefully considering the needs of your project, you can ensure that you select the perfect type of leather.
Decorating Techniques for Leather Goods
Leather is a material that can be found in various everyday items, from purses and belts to shoes and furniture. Because of its durability and flexibility, leather is an ideal material for many different types of products. However, one downside of leather is that it can be difficult to personalize or decorate.
Fortunately, there are a few simple decorating techniques that can be used to add some extra flair to leather goods. For example, stenciling is a great way to add patterns or images to leather. You can also use paints or dyes to create unique color schemes. Or, if you want a more permanent decoration, consider embossing or carving images into the leather.
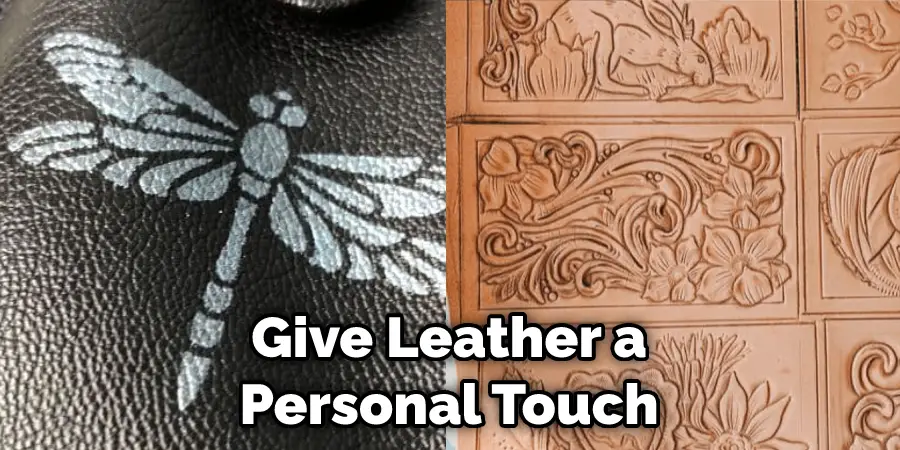
With a little creativity, it’s easy to give leather goods a personal touch.
How to Make a Cool Leather Keychain
Making a cool leather keychain is easy and only requires a few materials. First, gather your supplies: a piece of leather, a key ring, and a strap. Next, cut the leather into a strip that is about an inch wide and long enough to wrap around your wrist.
Then, use a needle and thread to sew the strip into a loop, leaving a small opening at one end. Once the loop is complete, insert the key ring and then stitch the opening shut. Finally, cut the strap to the desired length and attach it to the key ring. Your leather keychain is now ready to use!
Frequently Asked Questions
Is It Hard to Make Leather Goods?
It is not hard to make leather goods, but it does require some skill and a bit of patience. In order to make a good leather product, you will need to start with rawhide – this is the skin of an animal that has been tanned. You will need to stretch the rawhide until it becomes thin enough to work with. Once the rawhide is stretched, you will need to cut it into different shapes and sizes. The next step is to start tanning the leather. This involves soaking the leather in a solution that will turn it into a durable substance. After tanning, you will need to dry the leather out so that it can be worked with. Finally, you will need to add any embellishments or details and put the finished product together.
Which Country is Best for Leather Products?
It depends on a variety of factors, including the type of leather products you are looking for, the location of the manufacturer, and the shipping time to your destination. However, several countries around the world are known for their high quality leather products, including Italy, Spain, Portugal, and France. It may be helpful to do some online research to determine which country has the best reputation for leather products before making a purchase.
What is Grade 1 Leather?
Grade 1 leather is the highest quality of leather and is the most durable. It is also the most expensive and rarest type of leather. Grade 1 leather is used for high-end items, such as shoes, bags, and wallets.
Can You Put Baking Soda on Leather?
It depends on the type of leather and the formulation of the baking soda. Some people believe that baking soda can help reduce the appearance of scratches or scuffs on leather, while others say that it is not effective in this regard. It is best to try a small amount of baking soda on a small area of the leather to see if it produces any noticeable results. If not, you may choose to forgo the baking soda treatment and instead use a leather cleaner or cream designed specifically for this purpose.
Conclusion
Leather is a sturdy, versatile material used to make various products. If you’re interested in learning how to make leather goods, this is the blog post for you! We’ll provide basic instructions on how to work with leather and show you examples of what you can create. Let’s get started!