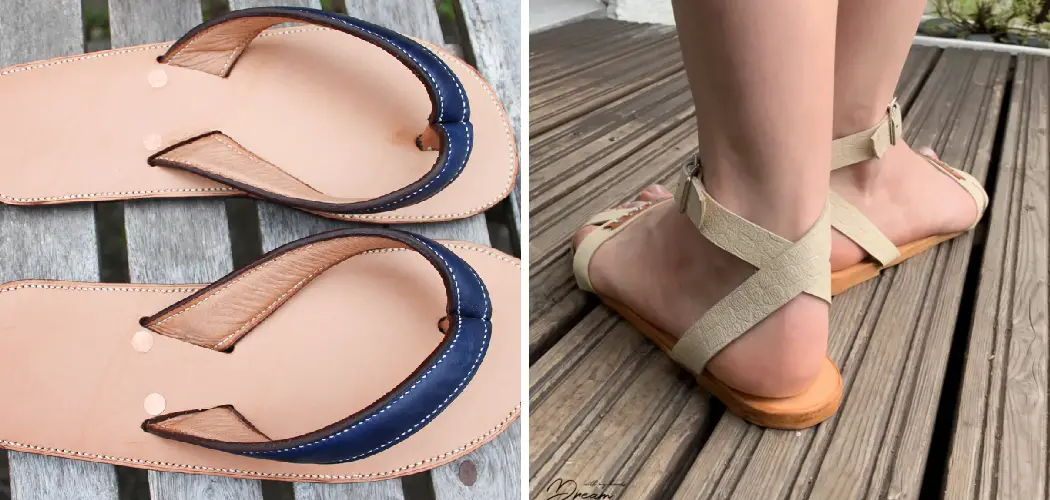
Making your own leather sandals can be a rewarding and creative project. Not only do you get to customize the style and fit to match your preferences, but you also gain the satisfaction of wearing something you have handcrafted.
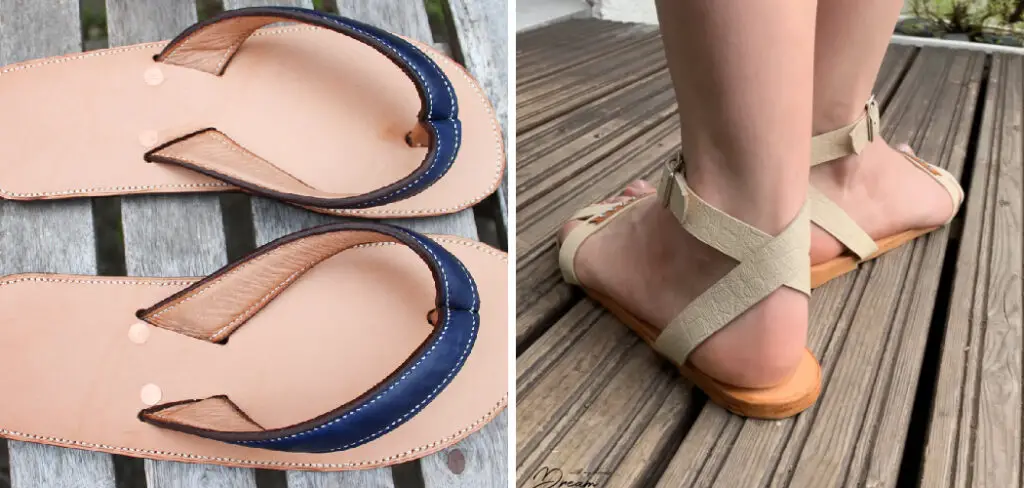
Whether you’re an experienced craftsman or a beginner looking to try out a new hobby, this guide on how to make leather sandals will walk you through the essential steps and materials needed to create your own unique pair of leather sandals.
Benefits of Making Leather Sandals
Making your own leather sandals not only allows you to express your creativity and personal style but it also has several practical benefits.
Cost-effective:
Buying a pair of high-quality leather sandals can be expensive, but making your own can save you a significant amount of money. You can purchase materials in bulk and make multiple pairs for the same cost as buying one ready-made pair.
Customizable:
When you make your own leather sandals, you have the freedom to choose the type of leather, color, stitching style, and other design elements. This allows you to create a truly unique and personalized pair of sandals that reflects your individual style.
Quality control:
When you make your own leather sandals, you have full control over the quality of materials used and the construction process. This ensures that your sandals will be durable and long-lasting.
Relaxing hobby:
Working with leather and creating something with your hands can be a therapeutic and relaxing activity. It can also help improve your focus and attention to detail.
Materials Needed
Leather (Preferably Full-grain):
Choose a high-quality leather that is at least 2-3mm thick for the sole and straps. You can purchase pre-cut pieces or buy larger sheets and cut them to size.

Leather Punch:
A leather punch is necessary to create holes in the leather to sew or attach the straps.
Thread:
Use waxed thread specifically made for leatherwork. This type of thread is strong, durable, and won’t fray easily when working with tougher materials like leather.
Needles:
Leather needles have a sharp triangular point that makes it easier to pierce through thicker materials like leather.
Scissors:
You will need scissors to cut your leather pieces to the desired size and shape. Make sure to use sharp scissors designed for cutting leather.
Hammer:
A hammer is needed to help flatten the leather and secure the straps in place.
Leather Dye or Paint:
If you want to add color to your sandals, you can use leather dye or paint specifically made for leather. Make sure to test it on a small piece of scrap leather before applying it to your project.
7 Simple Step-by-step Guidelines on How to Make Leather Sandals
Step 1: Measure
Before you begin cutting or assembling any components, it’s crucial to get accurate measurements of your feet to ensure the perfect fit for your sandals. Start by placing your foot on a piece of paper and tracing around it with a pencil.
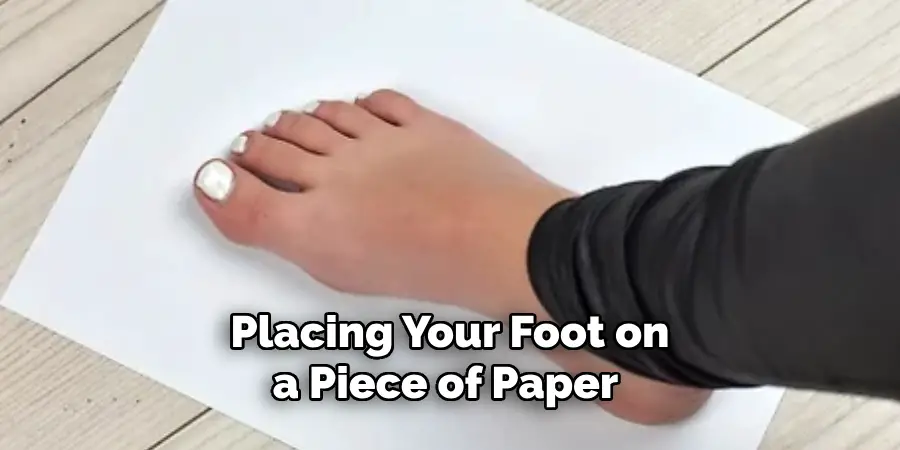
Make sure to stand naturally, distributing your weight evenly to get the most accurate outline. Repeat this process for the other foot, as both feet may not be exactly the same size.
Once you have your outlines, measure the length and the width of your feet at their longest and widest points. Add a little extra space to these measurements for comfort, usually about 0.5 cm (0.2 inches) on each side. These measurements will guide you when cutting the leather for the sandal sole and straps, ensuring a proper and personalized fit.
Step 2: Cut Out the Sole
With accurate measurements in hand, the next step is to cut out the sole of your sandals. Using the outlines you previously made, transfer the measurements onto your chosen piece of leather. Carefully trace the outline around the paper directly onto the leather using a pencil or a fabric marking tool.
Once the shapes are accurately traced, use a sharp pair of scissors or, preferably, a utility knife to cut along the lines. If you’re using thicker leather, you may need to make multiple passes with the knife to get a clean cut.
Be sure to take your time during this step, as the precision of your cuts will significantly affect the comfort and appearance of your finished sandals. After cutting, you can gently sand the edges with fine-grit sandpaper to smooth them out and remove any rough spots.
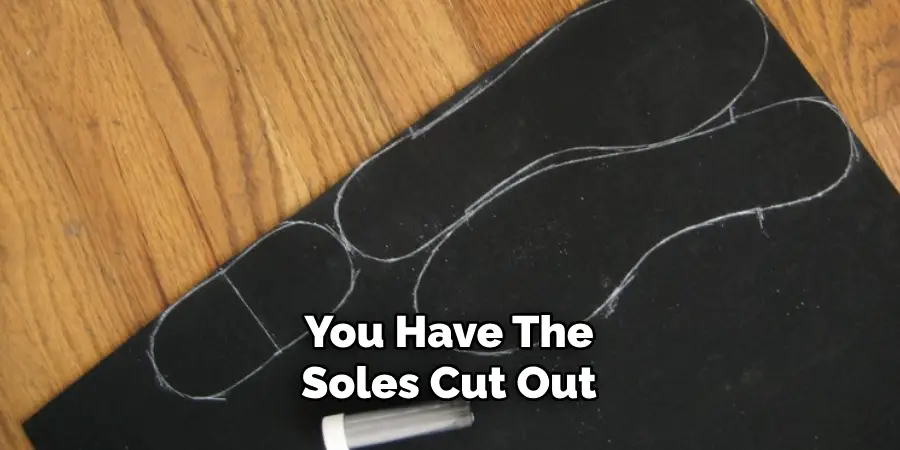
Step 3: Create Holes for the Straps
Now that you have the soles cut out, the next step is to create holes to attach the straps. Decide on the design and placement of your straps, considering where they will provide the most support and comfort. Generally, sandals have at least three strap points: one near the toes, one around the mid-foot, and one near the heel.
Using a ruler and a marking tool, carefully mark the locations of the holes on the sides of the sole. Make sure the marks are evenly spaced and aligned symmetrically on both soles to ensure a uniform look and feel.
Once you’re satisfied with the placement, use a leather punch to create holes at the marked points. Choose a hole size that matches the width of your straps, typically around 4mm to 6mm in diameter.
To create the holes, position the leather punch over the marked spot and press down firmly to punch through the leather. You may need to use a hammer to help drive the punch through thicker materials.
Repeat this process for all the marked locations on both soles, ensuring that each hole is clean and free of any rough edges. This step is critical for ensuring that your straps will be securely attached and that your sandals will be comfortable and durable.
Step 4: Cut Out the Straps
Once all the holes are punched, it’s time to cut out the straps. Using your measurements and design preferences, transfer these dimensions onto your chosen piece of leather. Make sure to cut a strip for each strap point on both sandals.
To make a simple single-band strap, cut a long rectangular strip that is about 2cm (0.8 inches) wide and slightly longer than the distance between two adjacent holes. For thicker materials like leather, use a utility knife or rotary cutter to ensure clean cuts.
If you want to get creative with your strap designs, there are many tutorials and templates available online for different styles such as braided or criss-crossed straps.
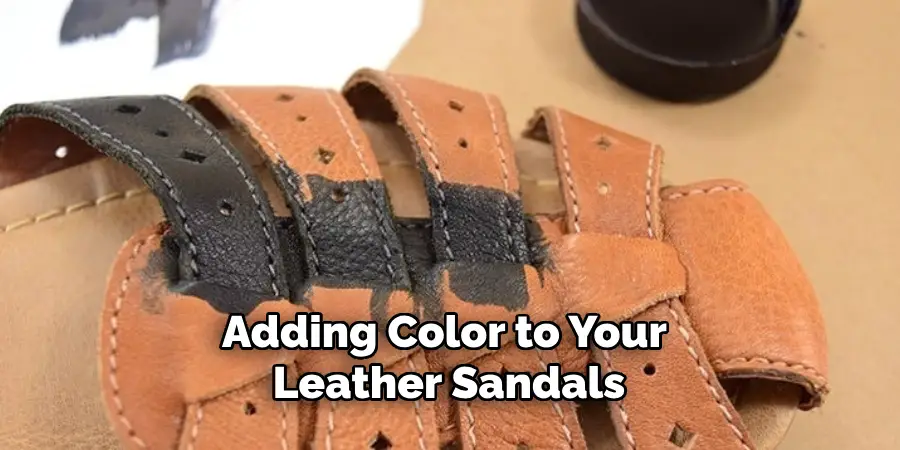
Step 5: Add Color (Optional)
Adding color to your leather sandals is a fantastic way to personalize your creation and make it truly unique. If you decide to add color, choose a leather dye or paint specifically designed for leather to ensure the best results and longevity.
Start by testing the dye or paint on a small scrap piece of the same leather to see how it takes to the material and to check if the color is to your liking.
Before applying the dye or paint, make sure the leather pieces are clean and free of any dust or oils. Use a clean cloth to wipe them down if necessary. When using leather dye, apply it using a wool dauber or a soft cloth, working in thin, even layers and allowing each coat to dry thoroughly before applying the next.
For leather paint, use a fine brush for detailed areas and a larger brush for broader sections, applying thin coats to avoid thick, uneven patches. Allow the pieces to dry completely before moving on to the next step.
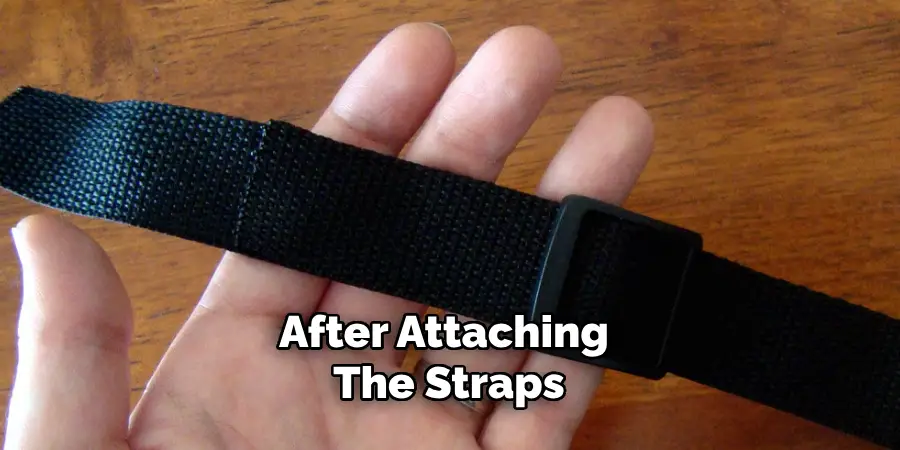
Step 6: Attach the Straps
Now, it’s time to attach the straps to the sole. Starting at one end, thread each strap through its corresponding hole on both sandals.
Pull the strap tight and make sure it sits comfortably across your foot before threading it through the next hole. Continue this process until all straps are attached, making any necessary adjustments for comfort and fit along the way.
Once all straps are in place, fold over any excess length at the end of each strap and secure them in place using leather glue. Make sure to carefully follow the instructions on your chosen adhesive, as different types may have different drying times or application methods.
It’s essential to allow the glue to dry completely before wearing your new sandals. Once the glue is dried, you can trim any excess straps or sand down any rough edges for a neat and polished look.
Step 7: Finishing Touches
After attaching the straps, you can add any final touches to your leather sandals. This could include adding decorative accents such as studs or beads, using a leather finish or conditioner to protect and seal the leather, or even adding a layer of anti-slip material to the sole for improved traction.
These are all optional steps on how to make leather sandals that can enhance the appearance and functionality of your handmade sandals.
With your sandals complete, take the time to admire your craftsmanship and try them on for a test walk. If they fit perfectly and feel comfortable, then congratulations! You now have a unique pair of leather sandals that you can proudly wear or gift to others.
If you encounter any issues, don’t be discouraged – practice makes perfect, and there’s always room for improvement in future creations. Have fun experimenting with different designs and materials to make more one-of-a-kind leather sandals. Happy crafting!
Care and Maintenance
Proper care and maintenance are essential to ensure the longevity and appearance of your handmade leather sandals. Here are some tips to keep them in excellent condition:
Cleaning:
Regularly clean your leather sandals to remove dirt and dust. Use a soft brush or cloth to gently wipe off any surface debris. For more thorough cleaning, use a damp cloth with a mild soap solution. Avoid soaking the leather, as excessive moisture can cause damage. Once clean, allow the sandals to air dry away from direct sunlight or heat.
Conditioning:
Leather is a natural material that can dry out and become brittle over time. To keep your sandals supple and prevent cracking, use a leather conditioner at least once every three months. Follow the instructions carefully and apply the conditioner evenly across the entire surface of the sandals.
Storage:
When not in use, store your leather sandals in a cool, dry place away from direct sunlight or heat sources. Avoid stacking them on top of each other, as this can cause creases or deformities in the straps or soles.
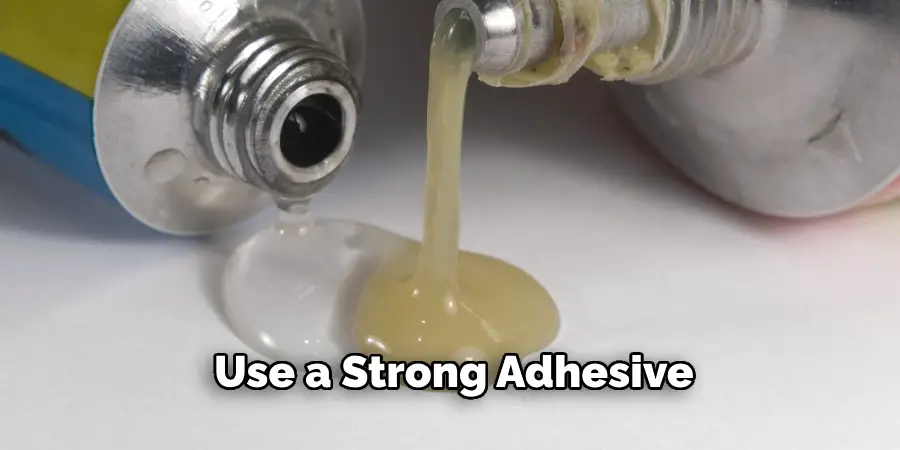
Repair:
If you notice any damage to your leather sandals, such as loose straps or holes, it’s essential to address them promptly. Use a strong adhesive specifically designed for leather to fix any loose parts or tears. If the damage is extensive, consider taking your sandals to a professional cobbler for repairs.
By following these care and maintenance tips on how to make leather sandals, you can keep your handmade leather sandals looking beautiful and lasting for years to come. With proper upkeep, they can even become heirloom pieces that you can pass down to future generations.
So don’t be afraid to get creative and make more stunning leather sandals in different styles and colors – happy crafting!
Do You Need to Use Professionals?
While making your own leather sandals can be a rewarding and enjoyable experience, there may be instances where enlisting the help of professionals becomes necessary.
For example, if you encounter specific challenges such as intricate strap designs unique foot shapes, or require advanced tools and techniques beyond basic crafting skills, a professional can offer expertise and precision that ensures a perfect fit and finish.
Additionally, professionals have access to high-quality materials and specialized equipment that can enhance the durability and aesthetics of your sandals.
If you seek customizations like engraved designs or orthopedic adjustments for comfort and support, professional cobblers or leather artisans can bring your vision to life with tailored craftsmanship.
Therefore, while DIY sandals are feasible and fun, don’t hesitate to call upon experts when needed to achieve the best possible results.
If you do decide to seek professional assistance, make sure to research and choose reputable cobblers or artisans with experience and positive reviews. Communicate your preferences and expectations clearly, and don’t be afraid to ask questions or provide feedback throughout the process.
With a collaborative effort, you can create truly unique and well-crafted leather sandals that you’ll love wearing for years to come. So go ahead – unleash your creativity and enjoy the art of sandal-making! Still want more DIY projects? Check out our other guides on how to make leather shoes, bags, or even furniture – the possibilities are endless! Happy crafting!
Frequently Asked Questions
Q: What Type of Leather Should I Use for Making Sandals?
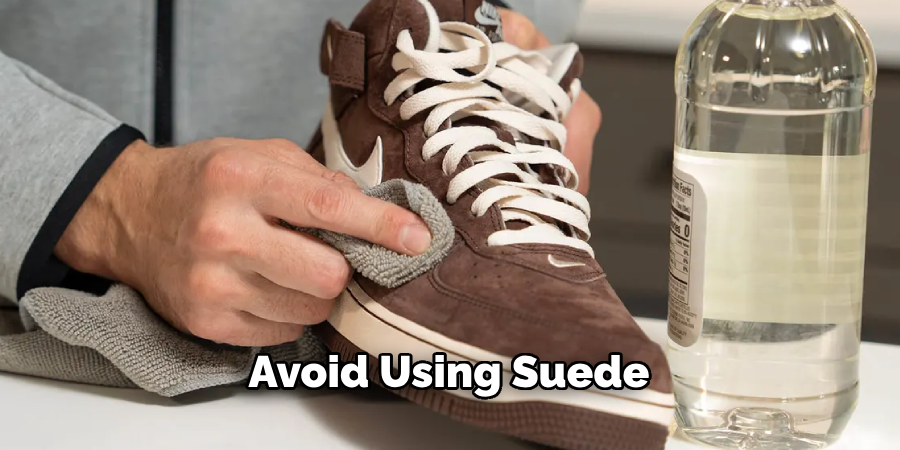
A: For best results, choose a thick yet flexible leather such as cowhide or buffalo hide. Avoid using suede or other thin materials that may not provide enough support for your feet.
The leather should also be smooth and free of blemishes or tears to ensure a polished finished product. You can also experiment with different types of leather to achieve unique looks and textures for your sandals.
Q: Can I Customize My Sandals?
A: Absolutely! One of the best things about making your own leather sandals is the ability to fully customize them according to your preferences. You can choose strap designs in different colors and even add decorative elements such as beads or embroidery to make them truly unique. The possibilities are endless – let your creativity run wild!
Q: Do I Need Special Tools for Making Leather Sandals?
A: While some specific tools like a leather punch may come in handy, you don’t necessarily need any special equipment to make leather sandals.
Many of the required tools can be easily found at home, such as scissors, rulers, and markers. However, investing in quality leatherworking tools may improve the ease and precision of your work if you plan on making multiple pairs of sandals or other leather crafts in the future.
Q: Are There Other Types of Fasteners Besides Straps?
A: Yes, there are other types of fasteners you can use for your leather sandals, such as buckles or Velcro. These can provide a more secure fit and may be preferred by those with different foot shapes or sizes.
However, straps are the most common and versatile option for handmade leather sandals. You can also experiment with different types of closures to find what works best for you and your sandals.
Conclusion
Learning how to make leather sandals is a fun and rewarding craft that allows you to create custom footwear that fits your style and needs. With just a few materials and some basic tools, you can create beautiful, durable sandals that are perfect for everyday wear or special occasions.
Remember to take your time, follow instructions carefully, and have fun exploring different designs and techniques. And don’t forget to properly care for your handmade leather sandals to keep them looking great for years to come. Happy crafting!