With this method, gluing leather to metal should be easy and straight forward. You can find plenty of tutorials online which provide detailed instructions for each step of the process. Don’t forget that it is important to seek advice from professionals when dealing with projects like these, especially if you are inexperienced.

Nowadays the possibilities are endless and leather adhesive might be an excellent choice whenever you want to combine two different materials. Additionally, you may also want to explore similar tutorials as this one such as learning how to glue leather to metal. Embrace the challenge, experiment with various techniques and soon enough your DIY projects will reach perfection!
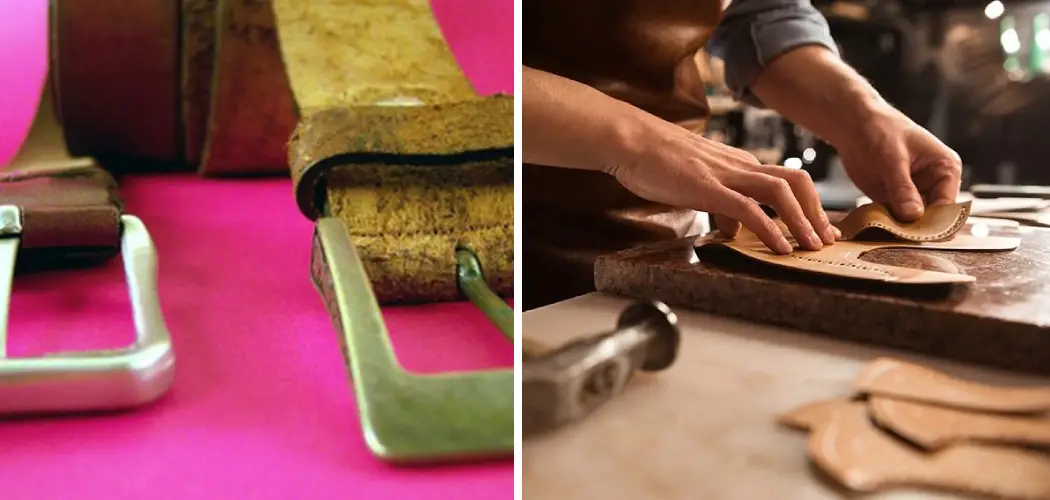
Needed Materials
Given below is a list of materials that you will need for this project:
- Leather
- Metal
- Leather Adhesive
- Sandpaper
- Masking Tape (Optional)
Safety Precautions:
Before you start working on this project, make sure to take the necessary safety precautions. Wear protective gear such as gloves and eye protection when handling chemicals like leather adhesive. Also, be aware of any fumes that may arise from the process and work in a well-ventilated area.
Step-by-step Guidelines on How to Glue Leather to Metal
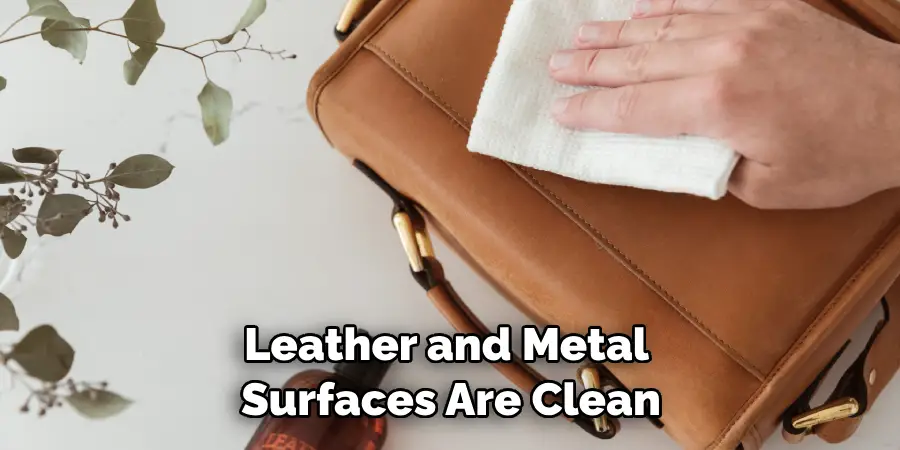
Step 1: Clean the surface
Make sure that both the leather and metal surfaces are clean and free of dirt. Otherwise, the adhesive may not adhere properly. You can use sandpaper to rough up the metal for better adhesion.
It is also recommended to use a wax-free cleaner for the leather. If there are any oil or grease stains, use a damp cloth to remove them. Always make sure that both surfaces are completely dry before you go to the next step.
Step 2: Prepare the adhesive
Read the instructions on the leather adhesive package and prepare it according to those guidelines. Apply a thin layer of glue onto both surfaces evenly. Make sure not to apply too much as it may cause the materials to stick together permanently.
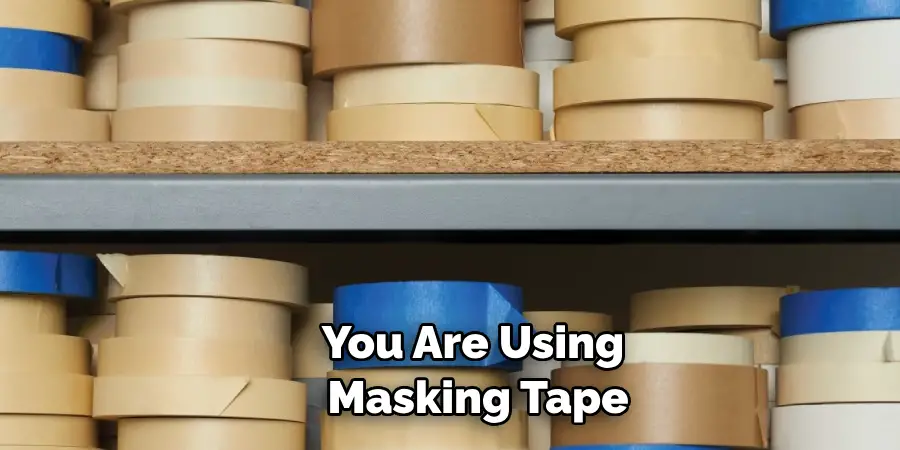
It is also recommended to use masking tape to secure the leather and metal pieces together. When you’re done, leave the materials to dry for about 24 hours. This step is crucial to ensure a strong bond.
Step 3: Let it dry
Let the adhesive dry for at least 15 minutes or until it reaches its desired consistency. If you are using masking tape, now is the time to place it around your project’s perimeter in order to protect it from any possible leaks or spills.
If you want, you can also apply a second layer of adhesive. This will help to strengthen the bond even further. It is important to remember that too much glue can compromise the bond’s strength. But, if you need a stronger bond, you can always try using multiple layers of adhesive.
Step 4: Place them together
When everything is ready, align both materials properly and press them firmly against each other so that they can bond well. Hold them in place for a few minutes so that the adhesive will have enough time to set.
You can use heavy objects to secure the pieces in place if necessary. When you place them together, make sure that the surfaces are completely even – this way, you can avoid any visible bumps or imperfections. This step requires patience and precision.
Step 5: Clamp it
You can use a clamp or any other heavy object such as a book to press and hold the leather and metal together while the adhesive dries. This step is especially important when making large projects. Make sure not to apply too much pressure, otherwise, the materials may be damaged.
It is advisable to leave the project as it is for at least 12 hours before removing the clamp. But follow the instructions on the adhesive package as different brands may require specific drying times.
Step 6: Let it cure
Let the adhesive dry overnight or until it has reached its full strength (you should check the instructions on your package). Once completed, you can now remove any excess glue with a damp cloth. It is important to remember that the adhesive must be completely dry before you start using the materials.
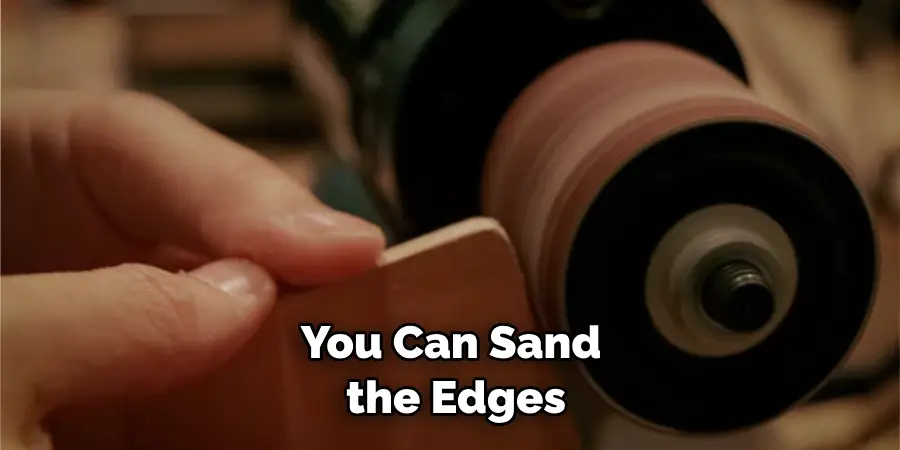
This way, you can avoid any possible damage. If you want, you can also sand the edges of your project to make it more smooth and polished. However, be careful not to damage the materials as you can make them unusable.
Step 7: Sand and finish
If you want to achieve a smoother result, you can sand the edges with fine-grit sandpaper. You may also finish it off with a leather conditioner or wax for extra protection and shine. You can also apply a sealer for additional weatherproofing.
It is important to follow the instructions on the sealer package as it may require specific drying times. It is best to let the project dry overnight before using it. It is also advisable to test the glue’s strength by gently pulling it apart and checking for any weak spots.
Step 8: Enjoy your work
Now you can enjoy your finished work! If done correctly, the glue should hold up against everyday use and come in handy for any future projects. Congratulations! This tutorial should have helped you learn this project.
Now that you know the basics, start exploring other techniques and find what works best for you. Always remember to use caution when dealing with these kinds of projects and have fun!
Following these steps, you should now know how to glue leather to metal. With the right materials and careful attention to detail, you can achieve a strong bond between these two materials. Additionally, always remember to follow the safety guidelines and ask for help from professionals when dealing with projects like these, especially if you are a beginner. Good luck with your projects!
Do You Need to Use Professionals?
Although this tutorial shows how to do the job yourself, there may be cases where professionals are required to get the best results. If you are having difficulty with your project or want professional-looking results, it’s always recommended to ask for assistance from professionals.
They will have the necessary tools and expertise to complete your project successfully and quickly. You can always ask for advice and take their tips on board. Additionally, they will be able to help you with the safety procedures that come with using these materials. So, if you are in doubt, it’s always best to ask for help from a professional.
How Much Will It Cost?
The cost will depend on the materials used and the complexity of the project. Generally speaking, you can expect to spend anywhere from $10-$100 depending on what supplies are needed.
Again, it’s best to ask a professional for an estimate before starting any project. It’s also important to remember that no matter how complex your project is, the cost is usually worth it if you can achieve a professional-looking finish.
Frequently Asked Questions
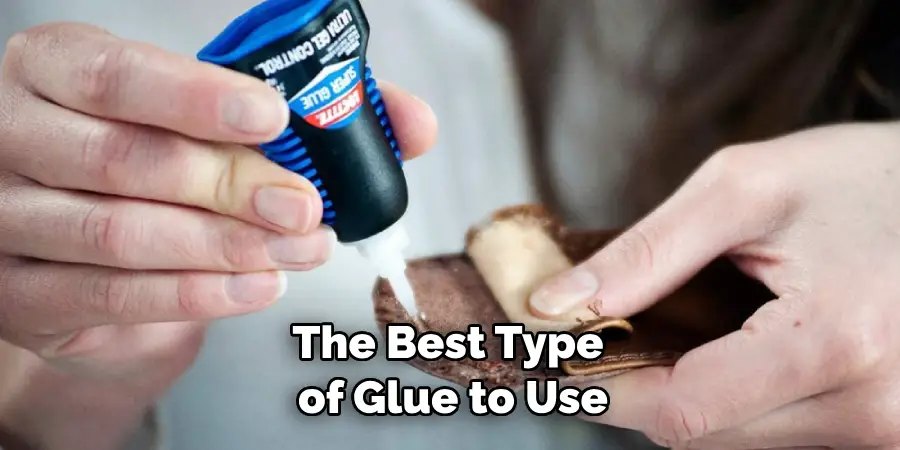
Q. What Type of Glue is Best for Leather and Metal?
A. The best type of glue to use for this project is a leather adhesive, as it will provide the best results and is designed specifically for bonding leather to metal. It is also waterproof, which is important for long-term wear.
Q. Is a Special Tool Needed?
A. Not necessarily, but you may find that having various tools such as a clamp or sandpaper can be useful when working on this kind of project. This will depend on the complexity of your project. It’s always best to ask for advice from a professional if you are unsure.
Q. How Long Does It Take to Complete This Project?
A. Depending on the size and complexity of the project, it could take anywhere from 1-2 hours to complete. If you have any doubts about the process, it’s always best to ask professionals for advice before starting your project.
Q. How Can I Make Sure the Bond Lasts?
A. To get the best results, make sure that both surfaces are clean and free of dirt before applying the adhesive. Also, use a quality leather adhesive and follow all safety precautions when working with chemicals. Finally, let the glue dry overnight to ensure that it will last for years to come.
Conclusion
With this method, gluing leather to metal should be easy and straight forward. You can find plenty of tutorials online which provide detailed instructions for each step of the process. Don’t forget that it is important to seek advice from professionals when dealing with projects like these, especially if you are inexperienced.
Nowadays the possibilities are endless and leather adhesive might be an excellent choice whenever you want to combine two different materials. Additionally, you may also want to explore similar tutorials as this one such as learning how to build cubicle shelves or creating wooden furniture using interlocking methods.
Embrace the challenge, experiment with various techniques and soon enough your DIY projects will reach perfection! Thanks for reading this article on how to glue leather to metal.