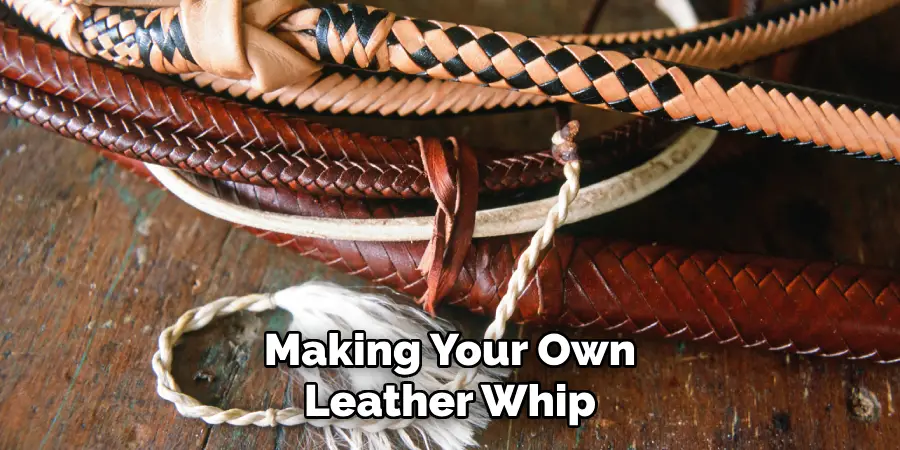
Making a leather whip may sound intimidating, but it is actually an easy and fun DIY project. With just some basic tools, you can craft your own unique leather whip to use for recreation or self-defense.

Whether you’ve always been fascinated by the wild western lifestyle or are looking for a way to hone your crafting skills, creating a leather whip is great introduction into the world of handcrafted projects.
Not only will you end up with an interesting new piece that doubles as decoration and weapon when needed, but by building it yourself you’ll gain greater appreciation for its details and construction value! Step on in and let’s explore the materials, techniques, and tips involved in making this classic cowboy accessory – it’s time to learn how to make leather whip!
The Allure and History of Leather Whips
Leather whips have been used for centuries as tools for disciplining horses or as a form of flagellation. In some cultures, they were even used to punish criminals. Leather whips are both feared and admired for their power and symbolism.
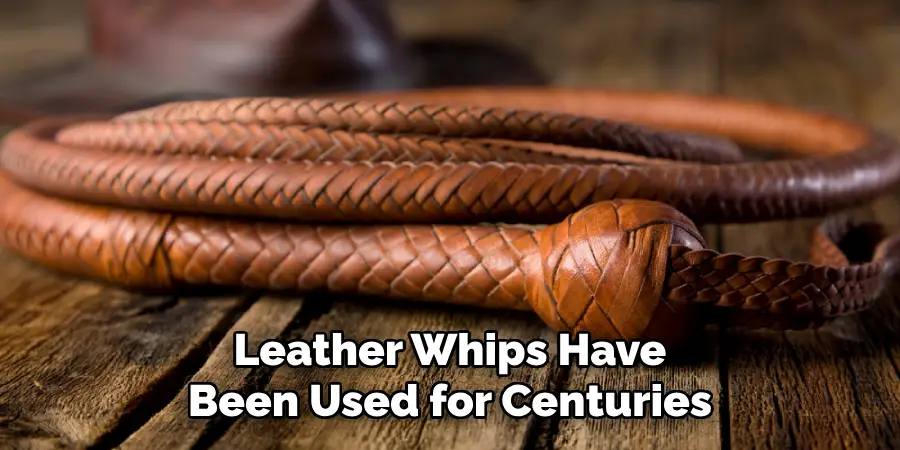
Today leather whips are seen less as tools of punishment and more as an interesting craft item or plaything in the BDSM lifestyle. Intricately braided leather can make a dramatic fashion statement like no other accessory. Many people enjoy creating intricate designs to suit their own personal style while others collect them just to admire their beauty.
The art of making an intricately crafted whip is often referred to as “whipping” or “plaiting.” This painstaking task is done by tightly weaving thin strips of leather together to form a patterned handle and thong. The skills needed to create these works of art have been passed down through generations, although the basic techniques remain the same.
Understanding the Purpose and Appeal of Making Your Own Whip
Making your own leather whip can be an incredibly rewarding experience. Not only is it a great way to get creative and learn a new skill, but it also provides you with a unique item that you can use for practical or recreational purposes. Crafting whips from leather has been popular since ancient times; they have long been used as weapons, tools, toys, and even as decorations.
When it comes to making your own leather whip, you have a wide variety of choices. Whether you want to make a bullwhip, stock whip, or snake whip, there are a few fundamentals that you need to consider before getting started.
You’ll need quality supplies and tools in order to create an exceptional product, so research the best materials available before starting. Additionally, learning the proper techniques for cutting and braiding leather is essential for successful crafting.
For many people, creating their own leather whip can offer an incredible sense of satisfaction and accomplishment. Not only will you be able to admire your beautiful creation but also be able to use it for whatever purpose you like—the possibilities are endless!
10 Steps How to Make Leather Whip
Step 1: Gather the Necessary Materials
To make a leather whip, you will need the following materials:
Leather Strips: Select high-quality leather strips that are flexible and sturdy.
Leather Conditioner: This will help soften the leather and protect it from damage.
Dye or Leather Stain: Choose a color that appeals to you, or leave the whip natural if you prefer.
Strong Thread or Waxed Nylon Cord: This will be used for stitching the whip.
Step 2: Design the Whip
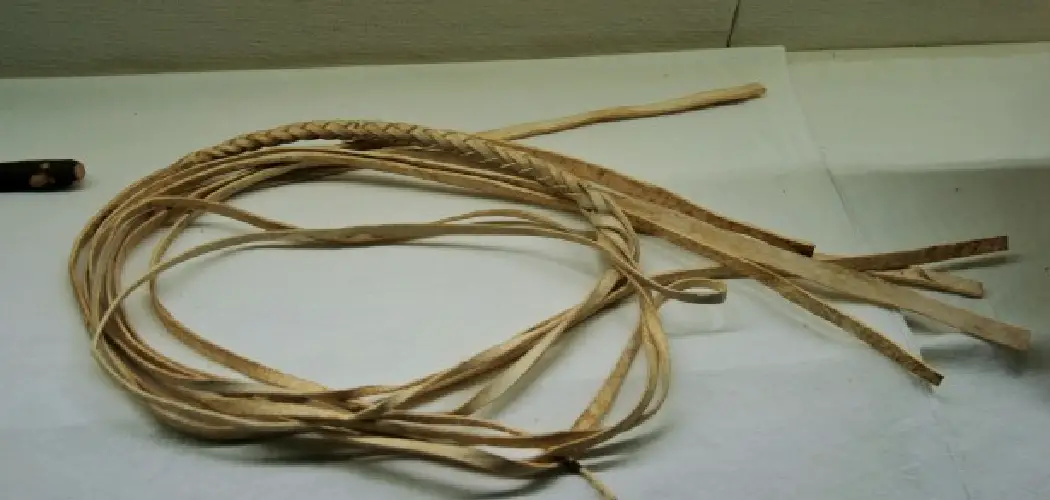
Consider the length and thickness you desire for your whip. A typical whip ranges from 6 to 8 feet long, but you can adjust it to your preference. Determine the number of tails (strips) you want, which will affect the weight and intensity of the whip. A beginner’s whip usually has fewer tails.
Cut the leather into strips if you plan on making a multi-tailed whip. The size of each strip should be approximately 1/4 inch thick and 3/4 inch wide. Cut the strips into lengths that range from 30 to 38 inches for each tail.
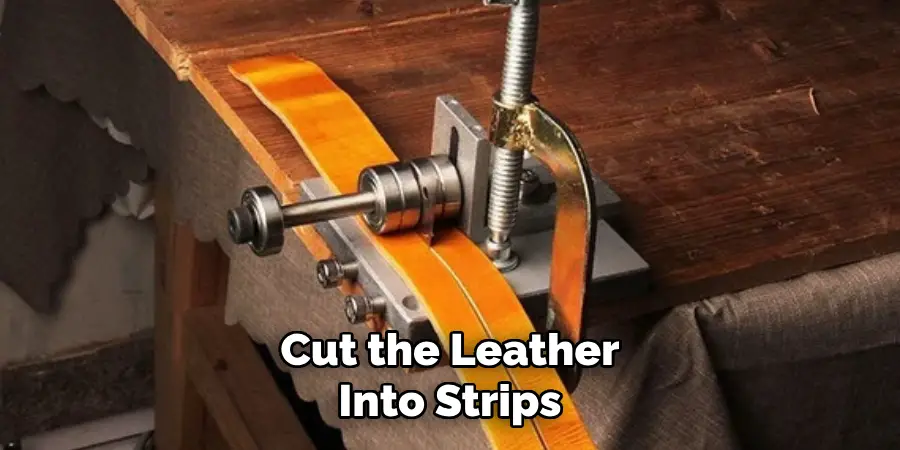
Step 3: Cut the Leather Strips
Using a sharp utility knife or leather cutting tool, cut the leather strips to the desired length. Ensure that the ends are straight and clean for a professional finish. You will need an equal number of strips for each side of the whip.
The number of strips will depend on the length of the whip. For a small whip, three or four strips are usually adequate. For a longer whip, eight or nine strips may be necessary. When cutting the strips, make sure to leave a gap between them so that you can easily attach them all together in the next step.
Step 4: Prepare the Leather
Apply a leather conditioner to both sides of the leather strips to soften them and prevent cracking. Allow the conditioner to penetrate the leather for the recommended time specified by the manufacturer.
However, be sure not to leave the conditioner on the leather for too long as it can cause discolouration. To prevent this from happening, wipe away any excess conditioner with a damp cloth.
Step 5: Dye or Stain the Leather (optional)
If you wish to color your whip, now is the time to apply dye or leather stain. Follow the instructions provided with the dye, ensuring even coverage. Allow the leather to dry completely before proceeding.
Although leather may appear dry, it can take several days to completely air dry. You can also use a blowdryer or heat gun to speed up drying time, but be mindful to not overheat the leather. Once dry, use a damp cloth to wipe away any excess dye or stain.
Step 6: Prepare the Handle
Choose a sturdy wooden dowel or PVC pipe as the handle for your whip. Sand the handle to smooth out any rough edges and create a comfortable grip. If desired, you can wrap the handle with leather or grip tape for added comfort and aesthetics. Secure the handle to the thong by wrapping leather or twine around the dowel and thong several times.
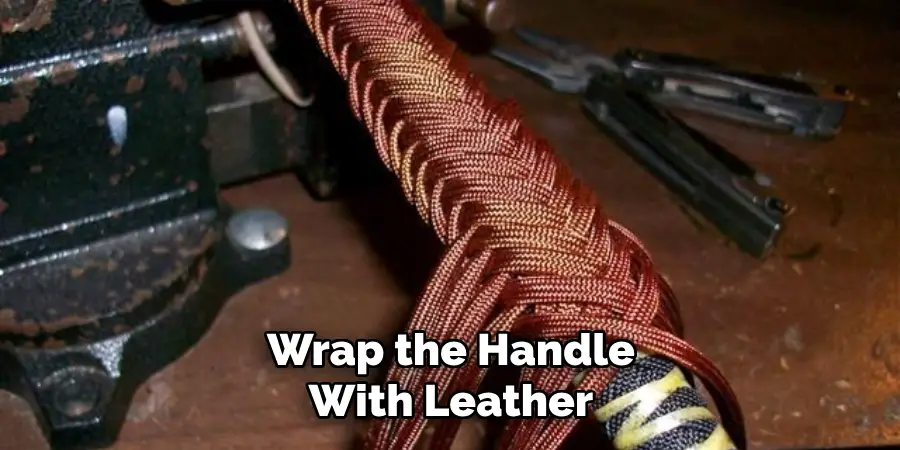
Make sure it is tightly secured, as you don’t want the thong to come loose during use. You may also choose to permanently affix the handle and thong with a glue gun if desired. Finally, attach the popper to the handle with twine or leather, and your whip is finished. With proper use and care, your leather whip should last you many years.
Step 7: Attach the Leather Strips to the Handle
Pierce the end of each leather strip with an awl or leather punch tool. Align the holes on one side of the handle and secure the strips with a strong thread or waxed nylon cord. Ensure that the strips are evenly spaced and tightly attached to the handle.
The knots should be left exposed on the side of the handle. However, if you want a cleaner look, you can cover the knots with a decorative accent or tape. Once the strips are secured to the handle, trim off the excess leather. And you’re done! Congratulations on making your own custom-made leather whip.
Step 8: Braid the Leather Strips
Separate the leather strips into two groups, one for each side of the whip. Start braiding by crossing the outermost strip from one side over the adjacent strip from the opposite side. Continue this pattern, alternating sides, until you reach the end of the strips.
Secure the braided section with a temporary clamp or rubber band. Repeat this process on the other side of the whip. Once you’ve got both sides braided, tie off the ends with a knot and cut off the excess leather.
Step 9: Stitch the Whip
Using a strong thread or waxed nylon cord, stitch the braided section of the whip to ensure it remains secure. Start at the handle and work your way down, stitching through each crossing point of the braided strips. Maintain an even tension and secure the ends of the stitching with knots or a whip stitch.
Step 10: Finishing Touches
Trim any excess leather from the ends of the whip and burnish the cut edges for a clean look. Apply leather conditioner one final time to nourish the whip and protect it from wear and tear. Allow the whip to dry completely before using it.
Conclusion
While leather whips are often seen as a menacing tool of cruelty, they can be made to be beautiful and functionalpieces of art. Crafting a leather whip is not an easy task, but with the steps outlined above, and a bit of patience and creativity, you’ll create a one-of-a-kind piece of art that you can carry with pride.
Be sure to consult with experienced leather workers or feel free to experiment with innovative techniques for making your own unique leather whip! So don’t be intimidated—just take it step by step and you’ll soon have a leather whip that will turn heads and draw admiration from all who see it. Now that you know How to Make Leather Whip, go out there and express yourself!
