Marbling leather is an easy, fun, and unique way to customize any kind of leather product. Marbled leather looks great on jackets, bags, shoes, and more. It can be done in various colors and patterns to create something unique that no one else will have. Plus, it’s relatively inexpensive – all you need are some leather dyes, a few basic tools, and a surface to dye on.
Marbling leather is a great way to add unique decorative elements to projects ranging from small accessories like wallets to large furniture pieces. The process creates beautiful and unique patterns that will stand out in any room.
It also can be used as an economical way of creating custom items by utilizing materials such as scrap leather or even secondhand finds. This makes it an accessible way to bring a personal touch to any project. In this blog post, You will learn in detail how to marble leather.
Step by Step Processes for How to Marble Leather
Step 1: Inspect the Leather
Before you begin marbling leather, inspect the piece to ensure it’s free of any dirt or debris. You should also ensure the leather is dry and clean before proceeding. Once you have inspected the leather, you must prepare it for marbling. Begin by lightly sanding the leather to remove any bumps or imperfections.
Step 2: Choose Your Marble Colors
After you have prepped the leather, it’s time to select your marble colors. You can use acrylic paints for this process and mix together as many different shades as you’d like. Once you’ve chosen your colors, it’s time to start painting. Start by applying a base coat of paint to the leather and let it dry before continuing.
Step 3: Create Your Marble Pattern
Now that the base coat is dry, you can create your marble pattern. For this step, use a brush or sponge to swirl together your colors in a random pattern. Once you have created your marble design, let it dry completely before sealing it. You can use a sealant spray or liquid to keep the marbling in place.
Step 4: Let the Leather Dry Completely
After you have sealed the leather, let it dry completely before doing anything else. It’s important to give the leather plenty of time to dry in order to ensure the best possible results. Once your leather has dried, you can start cutting it into pieces if needed. If you plan on attaching any pieces together, ensure all edges are lined up correctly before gluing them together.
Step 5: Attach Hardware
If you plan on attaching any hardware, such as snaps or buttons, now is the time to do it. Make sure you have the right tools and supplies before starting this step. Once all of your steps are complete, it’s time to enjoy your marbled leather project.
Following these steps, you can create a unique and beautiful marbled leather piece that will last years.
Tips for How to Marble Leather
- Protect your work area with dropcloths or newspapers to prevent any unwanted marbling from staining the floor or surfaces.
- Wear protective gloves and clothing, such as an apron covering your arms and legs to guard against potential paint or other material splashes.
- Work in a well-ventilated area to avoid inhaling any fumes from the paint or other chemicals used for marbling.
- Place a large basin in the center of your workspace, and fill it with warm water to create a pool for marbling.
- Mix up the desired paint, ink, or dye colors you plan to use for marbling according to the instructions.
- Dilute or thin the mixture with a bit of water until it reaches the desired consistency, and then carefully pour it into the basin of water.
- Hold each piece of leather you plan to marble over the surface of the water, allowing an even layer of paint or dye to be transferred onto its surface. Be sure to keep your hands and the leather away from any potential splashes of paint or dye.

How Do You Clean and Maintain Your Marbled Leather?
Once you have marbled your leather, it is important to clean and maintain it properly in order to keep its attractive appearance. Here are some tips for cleaning and maintaining your marbled leather:
- Use a soft cloth or brush to remove dust from the surface of the marble design. If dry cloth does not do the trick, you can use a slightly damp cloth.
- Do not scrub the leather too harshly, as this may damage the marble design or lift the top layer of coloring away from the leather.
- For tougher stains, you can use a mild soap and water solution to clean the surface of your marbled leather. Be sure not to use a harsh soap or cleaning product.
- After you have cleaned your marbled leather, you can use a natural conditioner to moisturize and protect the surface from cracking. This will help maintain the marble design’s attractive appearance for longer.
- Lastly, keep your marbled leather away from direct sunlight and heat sources. Direct sunlight can cause the coloring to fade, and heat can warp the leather and damage the marble design.

By following these tips for cleaning and maintaining your marbled leather, you can ensure that your beautiful creation will last for years to come.
How Long Does It Take to Marble Leather?
Marbling leather is a relatively easy craft that can be achieved with simple materials and patience. Depending on your experience level, it can take anywhere from 30 minutes to an hour or more for each piece of leather you plan to marble.
The marbling process requires several steps, such as prepping the surface of the leather, mixing and applying the paint, and finally, sealing the design. Each step must be done with care to ensure a successful outcome.
The amount of time needed for marbling leather also depends on the type of design you are creating. If you are trying a more intricate design or pattern, it may take longer for you to complete each step due to the complexity of the design.
Additionally, if you are marbling multiple pieces of leather, it can take longer due to needing to repeat the process for each piece. The best way to get a feel for how long it takes to marble leather is by practice and trial and error.
How Can You Avoid Mistakes When Marbling Leather?
When marbling leather, taking your time and patience is important. Rushing through the process can result in a messy and uneven finish. Here are some tips for successfully marbling leather to ensure you get great results:
- Make sure the surface of the leather is clean before starting. Any dirt or debris will create an uneven surface and could cause the paint to run.
- Follow the directions on your marbling medium carefully. Each product requires different preparation, such as thinning the paint or mixing in a specific ratio with water.
- Work in a well-ventilated space so that any fumes from the marbling medium can disperse quickly and safely.
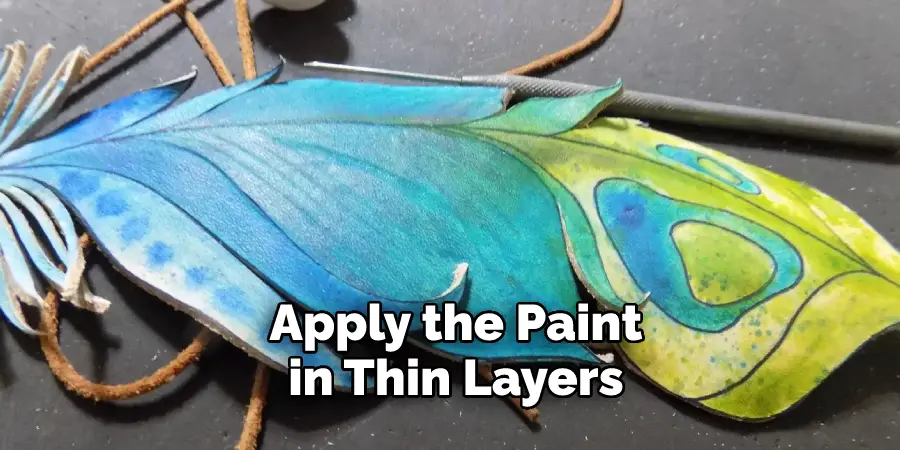
- Apply the paint in thin layers and let it dry between each coat. This will help ensure an even finish with no runs or smudges.
- Once the marbling is complete, protect your work with a sealant or topcoat to give it extra durability and sheen.
By following these tips and taking your time, you should be able to create beautiful marbled leather that will last for years to come.
How Do You Fix Mistakes When Marbling Leather?
If you make a mistake while marbling leather, it can be difficult to fix and may require extra materials and supplies. Luckily, there are several techniques you can use to help repair any damage that has been done when marbling leather.
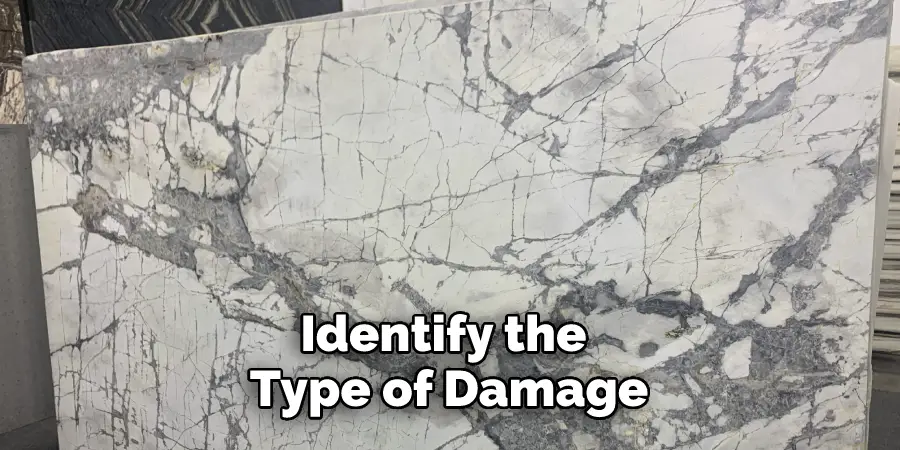
The first step is to identify the type of damage. Depending on the severity, there may be different solutions available. For example, if the marbling has melted or been distorted by heat, you can use an iron to press it back into shape. If part of the leather is discolored, you can use a special leather dye to cover up any blemishes.
In cases where the marbling pattern has been completely removed or needs to be replaced, you may need to re-marble the leather anew. This is especially true if the marbling was an intricate design. You’ll need to purchase additional supplies, such as a sealant, marbling paints, and a brush in order to recreate the pattern correctly.
Marbled leather can make a stunning addition to any room when properly fixed. With the right supplies and techniques, you can easily fix mistakes made while marbling leather and restoring its beauty.
Conclusion
One of the major disadvantages of marbling leather is that it can be time-consuming and labor-intensive. Depending on the complexity of your desired design, it may take several hours to complete a project.
Additionally, various tools are necessary in order to achieve the desired look, such as paints, sponges, rollers, and specialized tools used for marbling leather. Marbling leather also requires a certain level of skill and knowledge in order to achieve desirable results, meaning it is best suited for those with experience or practice with the techniques used.
In conclusion, marbling leather is a great way to add depth and character to any piece of leather. Marbling leather requires a few steps, such as carefully preparing the surface of the leather, creating your desired design with paint or dye, and then sealing it with a protective coating.
With patience and practice, anyone can create beautiful marbled patterns on their favorite pieces of leather. I hope this article has been beneficial for learning how to marble leather. Make Sure the precautionary measures are followed chronologically.