
If you have a leather couch, then you know that it can be expensive to replace. However, if you have a small hole or tear in your couch, don’t worry – there is a way to fix it. In this blog post, we will show you how to patch a hole in a leather couch using some simple supplies. Follow these steps, and your couch will look new again.
What Causes Holes in Leather Couches?
There are a few different things that can cause holes in leather couches. The most common thing is wear and tear. Over time, leather will show signs of wear, including cracks, holes, and tears. Another common cause of holes in leather couches is pets. If you have a pet that likes to scratch or chew on furniture, it can easily cause holes in your couch. Lastly, if you move your couch around a lot, it can also cause holes and tears.
How to Patch a Hole in a Leather Couch Step by Step Guide
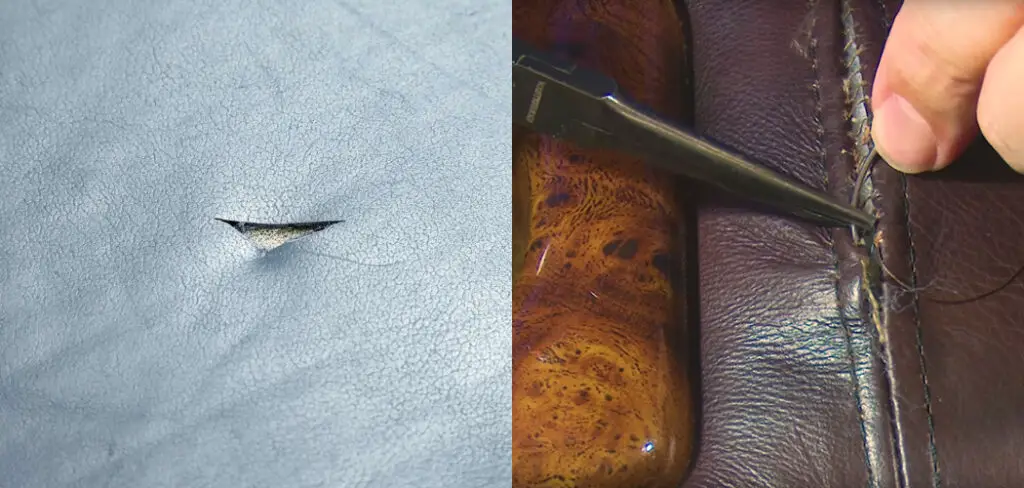
Step 1. Cut the Hole Edges
The first step is to cut the edges of the hole. This is because you want to ensure the edges are clean and even. Use a sharp knife or razor blade to cut around the hole carefully. First, make a small cut around the edge of the hole. Then, make a larger cut that is about 1-2 inches away from the first cut. Finally, make a third cut that is about 2-3 inches away from the second cut. You may need to make more cuts if the hole is very large.
Step 2. Apply the Leather Filler
Next, you will need to apply the leather filler. The leather filler is a special type of glue made to repair holes in leather. You can find this at most hardware stores or online. To apply the filler, first, put on a pair of gloves. Then, squeeze a small amount of filler onto your finger. Gently apply the filler into the hole, and smooth it out with your finger. Be sure to fill the hole. Let the filler dry for about 30 minutes.
Step 3. Apply Glue and Sub Patch
After the filler has dried, you will need to apply glue and a sub patch. Glue is a necessary step because it will help to hold the patch in place. To apply the glue, first, apply a thin layer of glue to the area around the hole. Next, take the sub patch and place it over the hole. Ensure the sub patch is big enough to cover the hole completely. Once the sub patch is in place, apply another thin layer of glue over the top of it. If necessary, you can use a piece of tape to hold the patch in place while the glue dries.
Step 4. Apply a Leather Protector
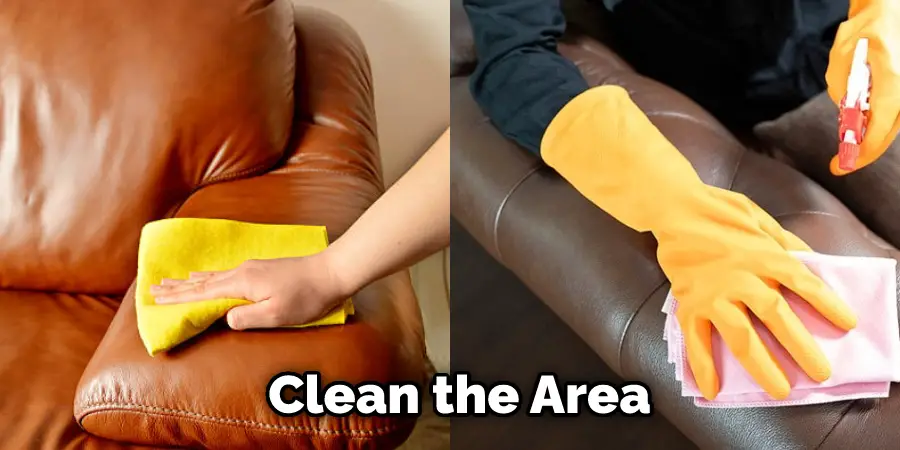
The final step is to apply a leather protector. This is a necessary step because it will help to protect the patch and keep it from coming off. It will also help to keep the leather from cracking or fading. First, clean the area around the patch with a damp cloth. Then, apply the leather protector with a brush or a sponge. Allow it to dry completely before using the couch.
Step 5. Color the Couch
Color is important when it comes to camouflaging a repair. You will want to choose a color that closely matches the leather on your couch. If you are unsure what color to choose, ask a local hardware or home improvement store salesperson. They will be able to help you find the perfect color for your couch. Once you have chosen a color, apply it to the repair area with a sponge or brush. Work the color into the leather until the repair area is evenly covered. Allow the color to dry completely before moving on to the next step. If necessary, you can apply a second coat of color to ensure even coverage.
Step 6. Replace Any Foam That Has Been Removed
Foam is important for a couple of reasons. First, it provides cushioning and support for your couch. Second, it helps to keep the couch’s shape. If you removed any foam when patching the hole, it’s important to replace it.
You can purchase couch foam at most fabric stores. Cut the new foam to fit snugly into the hole, then insert it. Use a spray adhesive to attach the foam to the couch, if necessary. Once the foam is in place, you can proceed to the next step.
Step 7. Trim the Edges of the Hole
Once the color has dried, you must trim the hole’s edges. This is because you want to make sure that the hole is smaller than the patch.
You can use a sharp knife or a pair of scissors to do this. First, cut around the hole’s edges. Second, use a small knife to ensure the hole is slightly smaller than the patch. Finally, use a pair of scissors to trim the excess leather from the hole.
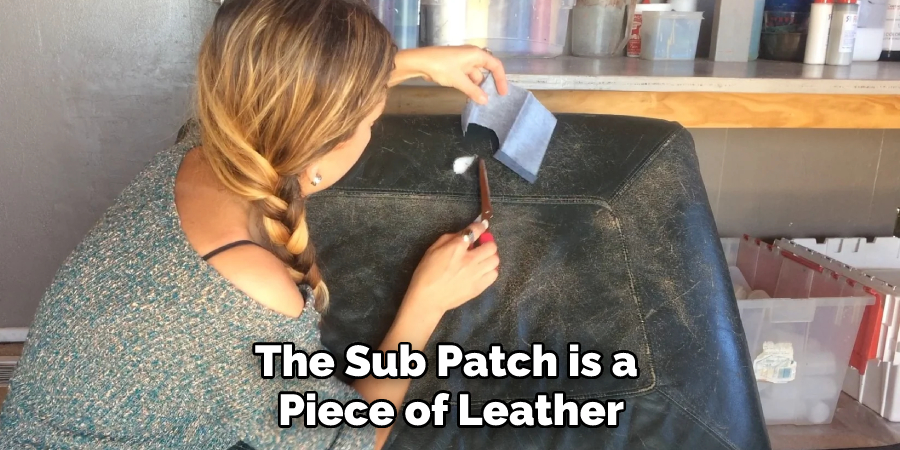
Step 8. Install the Sub Patch
Now, you will need to install the sub-patch. The sub patch is a piece of leather that is used to reinforce the repair. You will need to use a leather adhesive to install the sub patch.
Apply the adhesive to the back of the sub patch and then place it over the hole. Once the sub patch is in place, you will need to use a roller to smooth it out. If you have difficulty smoothing out the sub patch, you can use a hairdryer to heat it up.
Step 9. Apply a Colored Repair Compound
After installing the sub patch, you will need to apply a colored repair compound. This compound is used to fill in any gaps and to match the color of your leather couch. You can find a repair compound at most hardware stores. To apply the repair compound, you must use a putty knife.
Apply the repair compound to the hole and spread it evenly. Allow the repair compound to dry for 24 hours before moving on to the next step.
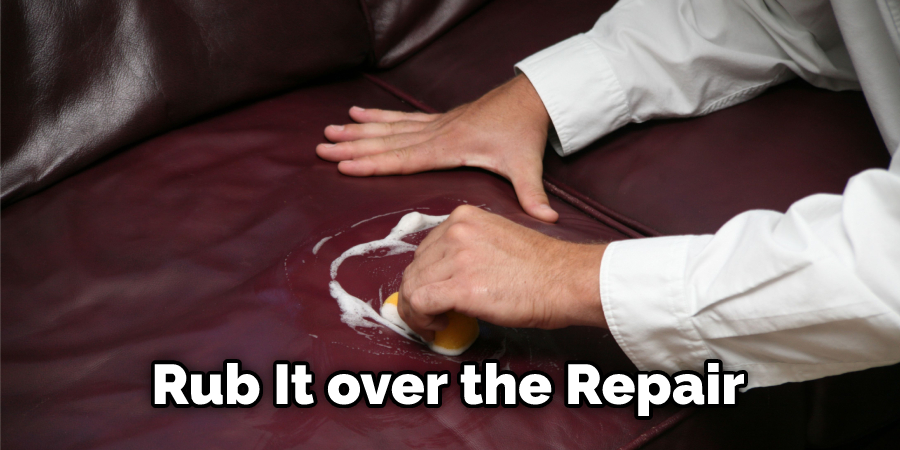
Step 10. Blend With Rubbing Alcohol
The final step is to blend the repair with rubbing alcohol. This will help to create a smooth and even surface. To do this, dip a Q-tip in rubbing alcohol and rub it over the repair. Allow the repair to dry completely before using the couch. If necessary, you can repeat this step until the repair is blended to your satisfaction.
Tips and Warnings on How to Patch a Hole in a Leather Couch
Tips:
- Be sure to clean the area around the hole with a leather cleaner before beginning any patching.
- If the hole is small, you can use a leather repair kit to fix it. These kits come with instructions and all of the necessary materials.
- For larger holes, you will need to cut a piece of leather from another part of the couch or from a scrap piece of leather.
- Attach the patch to the hole using leather adhesive.
- Use a wood block or other heavy object to press the patch onto the hole.
- Allow the adhesive to dry according to the manufacturer’s instructions before using the couch again.
Warnings:
- Do not use regular household adhesives to attach the patch, as these can damage the leather.
- Be sure to test the leather adhesive on a small couch area before using it on the hole. This will help you ensure that it will not damage or discolor the leather.
- If the hole is large or in a high-traffic area, you may want to consider taking the couch to a professional for repair.
- Do not attempt to repair holes in suede leather with this method, as it will damage the fabric. Suede can be repaired by a professional only.
Frequently Asked Questions
What Can I Use to Fill a Hole in Leather?
Many materials can be used to fill a hole in the leather, including leather repair kits, super glue, nail polish, and even duct tape. Try a few different methods to see what works best for you. If the hole is large, you may need to use multiple methods to fill it.
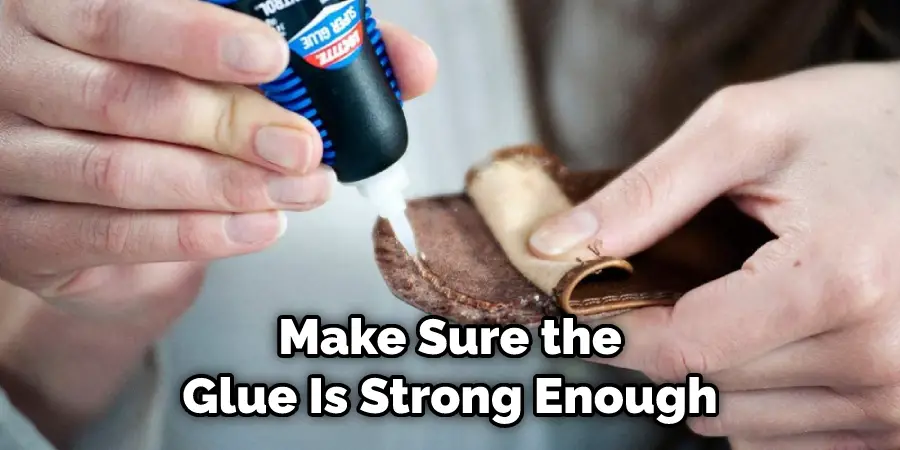
How Do I Know if the Glue Is Strong Enough to Patch a Hole in My Leather Couch?
When gluing leather, you want to make sure the glue is strong enough to hold the patch in place. To test the strength of the glue, put a small amount on a piece of scrap leather and let it dry. Once it’s dry, try to peel the patch off. If it comes off easily, the glue isn’t strong enough. If it takes some effort to remove the patch, the glue is strong enough.
How Much Pressure Should I Use When Applying the Patch?
You want to apply enough pressure to make sure the patch is secure, but not so much that you damage the leather. If you’re not sure how much pressure to use, err on the side of too little rather than too much.
Conclusion
So, there you have it – a step-by-step guide on how to patch a hole in a leather couch. If you follow these simple steps, your furniture will look as good as new in no time at all! Have any questions or comments? Let us know in the comments section below. Thanks for reading!