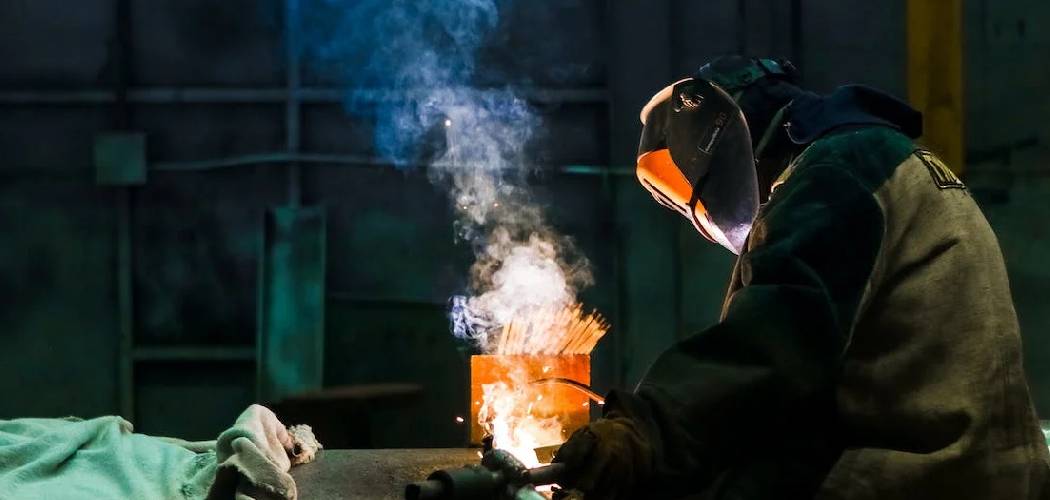
Leather is popular to protect welding hoods from sparks and heat. A welding hood is a piece of essential safety equipment but can be made safer by adding a piece of leather to the front. As a welder, you know the importance of protecting your head and face from sparks and debris.
Therefore, placing the leather in the correct position on the welding hood is essential.

This article will show you how to put leather on welding hood. It’s a simple process that only takes a few minutes to complete. Follow these steps, and you’ll be ready to weld in no time!
Summary: Putting leather on a welding hood is a simple job that requires basic tools. First, acquire the right leather material for your welding hood and make sure it’s cut to size. Next, punch holes in the sides of the leather and use rivets or lacing to secure it to the hood. Finally, check for any gaps in securely fastened leather and ensure no loose material is left when done.
Importance to Put Leather on Welding Hood
Welding is a dangerous profession. There are many hazards associated with the trade, including flying sparks, intense heat, and exposure to harmful chemicals. Most welding hoods are made of tough leather or another fire-resistant material. This helps to protect your skin from the intense heat and sparks generated by welding.
Putting leather on your welding hood is a relatively simple process. Here are some important reasons why you should put leather on your welding hood:
1. Leather is a challenging and durable material that can withstand high temperatures.
2. It will help to protect your skin from the intense heat and sparks generated by welding.
3. Leather is fire-resistant, so it will help to protect your face and neck from burns.
4. It will also help to protect your eyes from the bright flashes of light created by welding.
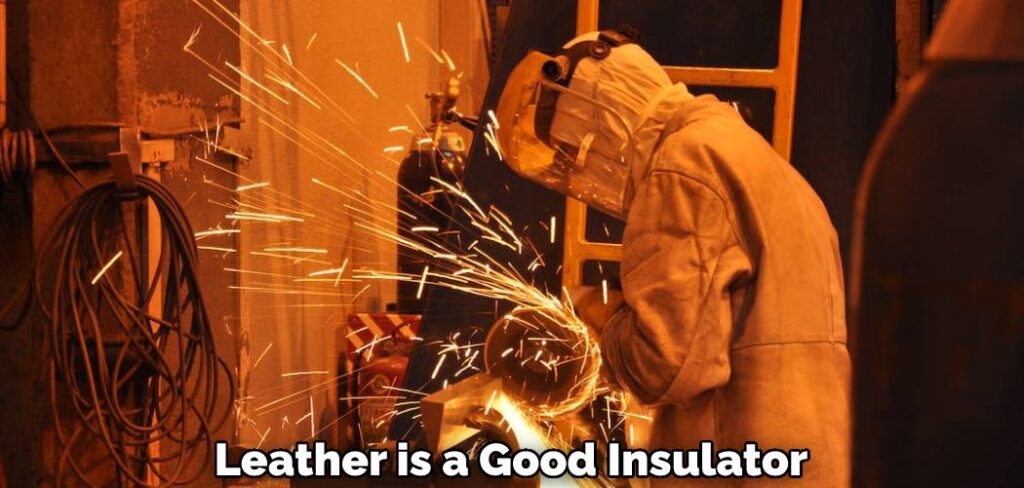
5. Leather is a good insulator, so it will help keep you cool while welding.
6. It will also help to protect your head and neck from electric shocks.
7. Leather is comfortable to wear, so you can work for long periods without feeling uncomfortable.
8. It is also breathable, so it will help to keep you cool and dry while welding.
9. Leather is easy to clean, so you can keep your welding hood looking clean and new.
10. It is also a stylish material that will make you look good while welding.
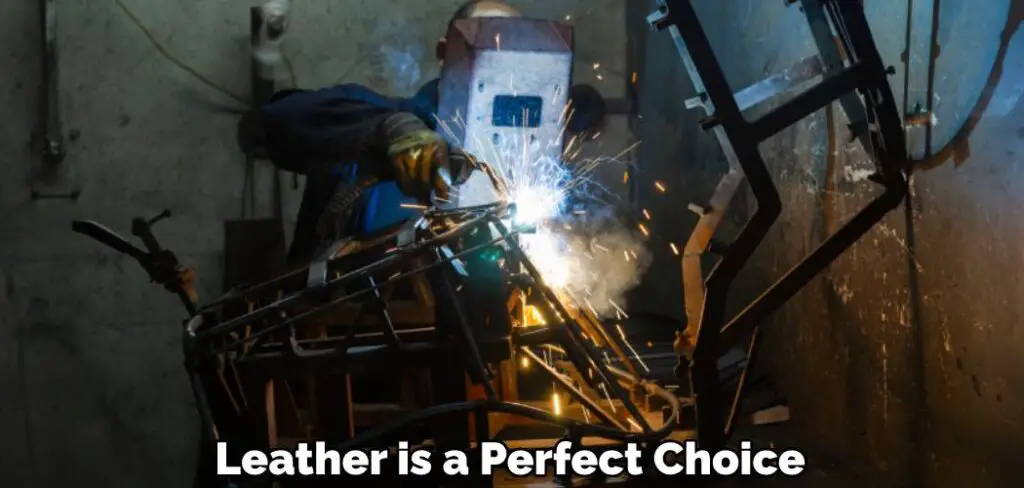
Leather is a perfect choice if you are looking for a challenging and durable material that can withstand high temperatures. It
Step by Step Guideline on How to Put Leather on Welding Hood
Here are some of the most popular and effective methods to put leather on a welding hood:
Step 1: Purchase a Pre-made Welding Helmet
If you don’t feel confident about your ability to put leather on a welding hood or simply don’t have the time, you can purchase a pre-made welding helmet. Many reputable companies sell high-quality welding helmets, and they usually have various designs and colors to choose from.
Step 2: Choose the Right Leather
When putting leather on a welding hood, choosing the right type of leather is important. You will want to find leather that is thick enough to protect your face from the heat of the welding arc but not so thick that it impedes your vision. To do that, you can consult a professional welder or do some research online.
Step 3: Cut the Leather to Size
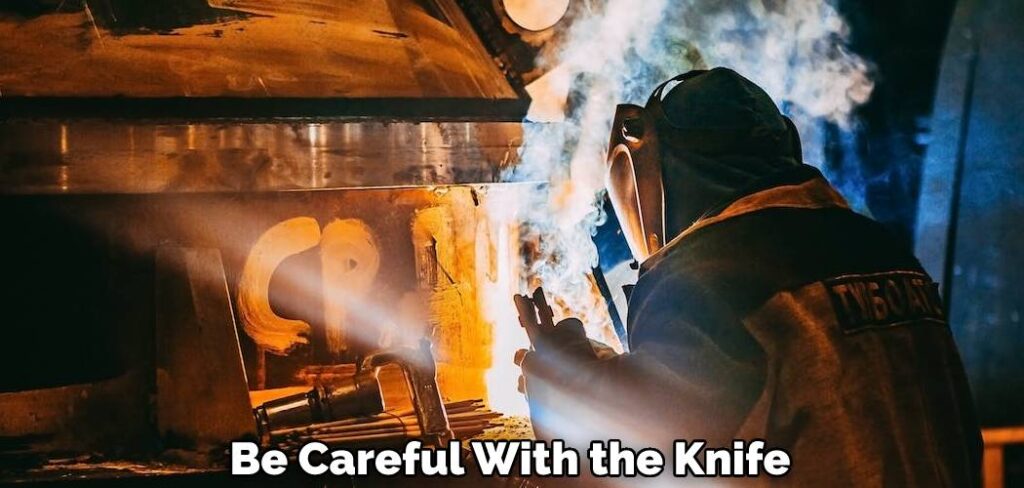
Once you have chosen the right leather, you must cut it to size. To do that, you will want to trace the outline of your welding hood onto the leather. Once done, you can use a sharp knife or scissors to cut the leather. Be careful with the knife, as you don’t want to cut yourself.
Step 4: Apply the Leather to the Welding Hood
Now that you have cut the leather to size, it is time to apply it to the welding hood. To do that, you will want to use some sort of adhesive. Many adhesives on the market are specifically designed for leather, so you will want to use one of those.
First, apply the adhesive to the back of the leather, and then press it onto the welding hood.
Step 5: Secure the Leather in Place
Once you have applied the leather to the welding hood, you will need to secure it. To do that, you can use some sort of fastener. There are many different types of fasteners that you can use, but you will want to find one that is durable and won’t come undone easily.
Once you have chosen the right fastener, you can put it through the holes in the leather and then secure it on the other side.
Step 6: Test the Welding Hood
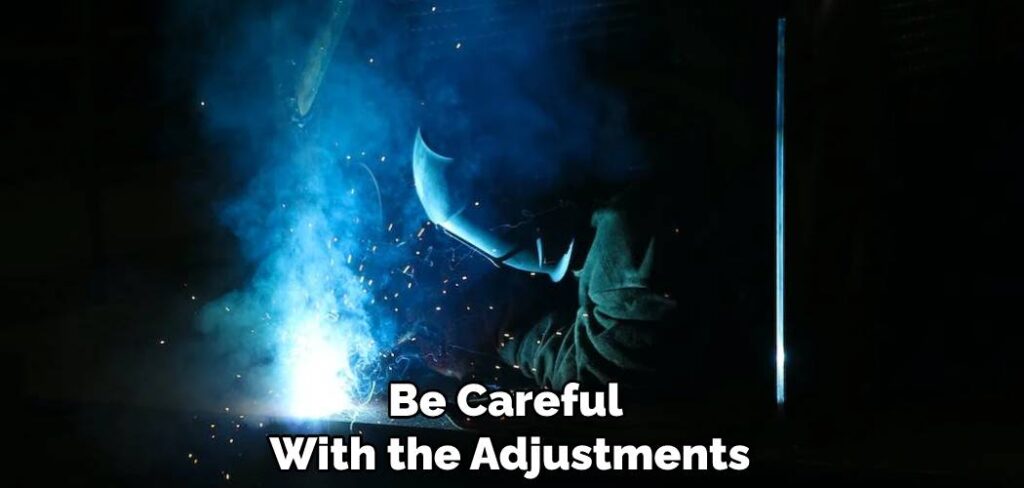
Once you put the leather on the welding hood and secured it, you will want to test it out. To do that, you can put on the welding hood and weld a metal piece. If everything looks good, then you are all set. If not, then you may need to make some adjustments.
But be careful with the adjustments, as you don’t want to make the welding hood too loose or tight.
Step 7: Make Any Necessary Adjustments
If the leather is not in place or providing enough protection, you may need to make some adjustments. To do that, you can either add more adhesive or use a different type of fastener. If you still have problems, you can consult a professional welder.
Step 8: Store the Welding Hood Properly
When not using the welding hood, it is important to store it properly. To do that, you will want to keep it in a dry and cool place. You will also want to ensure that the leather does not come into contact with anything that could damage it. Otherwise, you may have to replace the leather sooner than you would like.
Step 9: Clean the Welding Hood Regularly
It is important to clean the welding hood regularly. You can use a soft cloth and mild soap to do that. Avoid using abrasives that could damage the leather. You can use the same cloth to wipe down the lenses of the welding hood.

Step 10: Replace the Leather When Necessary
Over time, the leather on the welding hood will start to wear down. When that happens, you will need to replace it. To do that, you can follow the same steps as before.
However, you must ensure that you choose the right leather and apply it properly. Otherwise, you may not get the same level of protection.
Putting leather on a welding hood is not as difficult as it may seem. By following the steps above, you can do it yourself with ease. Just be sure to take your time and be careful, and you will be able to put leather on your welding hood in no time.
You Can Check It Out to Get Wrinkles Out of Pleather
Is Leather Good For Welding?
Welding is a complex process that requires precision and protection. Leather can be a great material to use for welding due to its durability, flame resistance, and flexibility.
However, leather is not always the best material for every welding job; it might be more suitable to use other materials that are specifically designed for welding applications. Additionally, certain safety considerations should be considered when using leather for welding projects.
Safety Precautions Before Putting Leather on Welding Hood
This is hazardous work. You are working with fire, hot metals, and poisonous gases. There is a risk of blindness, severe burns, and death. Take the following precautions:
1. Read and understand the manufacturer’s instructions for your welding hood before you start.
2. Inspect your welding hood thoroughly. Look for cracks, tears, or holes in the lens or shell. If you find any damage, do not use the welding hood and replace it immediately.
3. Make sure the filter lens is clean and free of dirt or debris.
4. Position the welding hood, so the lens is directly in front of your face.
5. Secure the headgear straps around your head firmly but not too tightly.
6. Adjust the lens shade lever until it is in the correct position for your welding needs.
7. Once everything is in place, flip up the welding hood and start welding.
8. If you need a break, lower your welding hood and disconnect the power source before removing the headgear.
9. When welding is finished, turn off the power source and remove your welding hood.
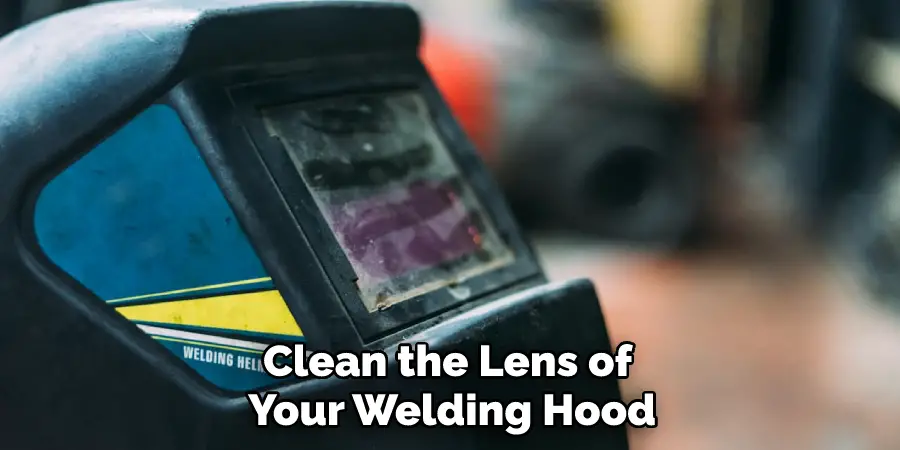
10. Clean the lens of your welding hood with a lens cloth and store it in a safe, dry place.
You must maintain a clear view of your work area while welding. If the lens of your welding hood becomes fogged, stop welding and clean the lens immediately. Never attempt to weld with a fogged or dirty lens.
Frequently Asked Questions
How Do You Put Lenses on a Pancake Welding Hood?
There are a few ways to put lenses on a pancake welding hood. The most common way is to use an adhesive that is specifically designed for this purpose. Another option is to use a piece of paper that has been cut to fit the lens opening, and then taped in place.
Are Pancake Welding Hoods Osha Approved?
Pancake welding hoods are not typically approved for use with the Occupational Safety and Health Administration (OSHA) construction standard 29 CFR 1910.147, which governs the use of welding and cutting equipment. While some welders may choose to use a pancake welding hood for convenience or comfort, this type of hood is not typically approved for use because it does not provide adequate protection against spatter and flying debris.
Why Do Pipeliners Wear Pancake Hoods?
Pipeliners wear pancake hoods to protect them from oil and gas particles that may be in the air. Pipeliners are responsible for moving oil and gas through pipelines, and exposure to these particles can lead to health concerns, such as respiratory irritation, eye irritation, and even lung cancer. By wearing a pancake hood, pipeliners are able to reduce their exposure to these particles and maintain a safe working environment.
Which Welding Area is Weakest?
The strength of a weld depends on a variety of factors, including the type of metal being welded, the welding angle, and the welding speed. However, some areas may be more prone to failure than others, depending on the specific circumstances. It is important to always use proper safety precautions when welding, including using qualified personnel and using the correct equipment for the task at hand. If you are experiencing problems with a weld, it may be helpful to consult with a welding expert to determine which area is likely to fail and how to correct the problem.
Conclusion
Putting leather on a welding hood is not difficult, but it is important to do it correctly. If you do it improperly, then you may not be able to get the same level of protection. Follow the steps above, and you should be able to put the leather on the welding hood without any problems.
If you read the whole post on how to put leather on welding hood, you would have learned properly and could have done it by yourself. If you have any questions or think we missed something, please let us know in the comments below! Thanks for reading!