
Rivets are a popular way to fasten two pieces of leather together. But first, you should know how to put rivets on leather. They are strong and look good, too. There are many ways to attach rivets to leather, and in this blog post, we will show you the most popular steps.
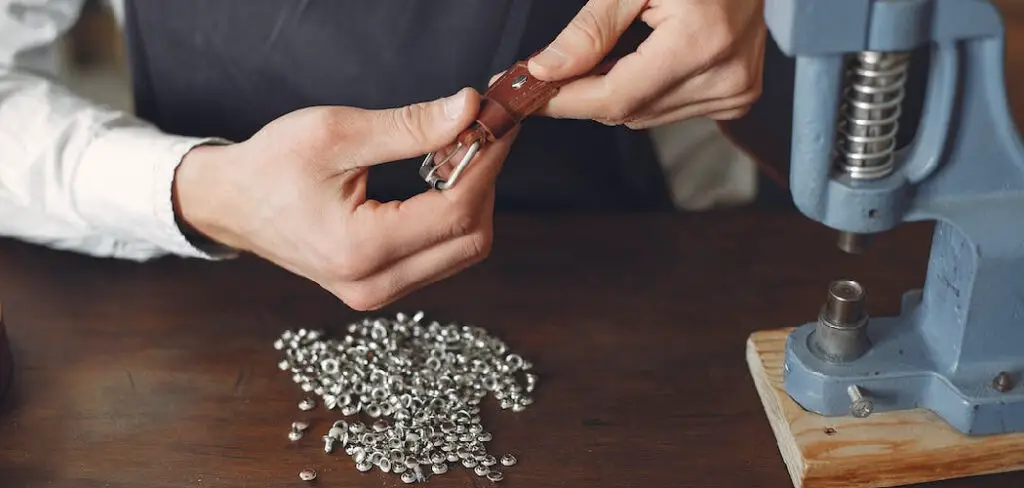
So whether you’re a beginner or an experienced leatherworker, you’ll be able to put rivets on leather easily using these instructions. In this blog post, you will learn to put rivets on leather using a riveting machine and anvil. You will also need some basic tools and supplies. So let’s get started!
Materials You Needed to Put Rivets on Leather
- Rivets (buy them here)
- Riveting machine (buy it here)
- Anvil (buy it here)
- Leather
- Hammer
- Scissors or knife
- Pencil or pen
10 Steps Guide on How to Put Rivets on Leather
Step 1: Choose the Right Size Rivet for Your Project
Rivets come in a variety of sizes, so make sure to select one that is appropriate for the thickness of your leather. If you’re unsure, it’s always better to err on the side of a larger rivet. The right size rivet will ensure that your project looks professional and polished. Conversely, if it’s too small, the rivet may not hold well or pull through the leather over time.
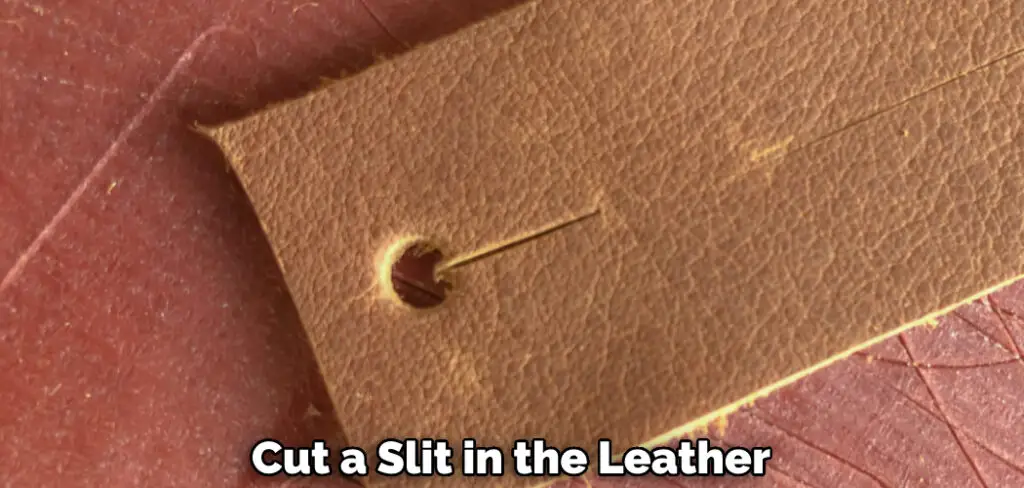
Step 2: Cut a Slit in the Leather
Use a sharp knife or scissors to cut a slit in the leather where you want to place the rivet. The slit should be slightly wider than the diameter of the shank of the rivet. The importance of cutting an accurate slit cannot be overstated, as it will determine the alignment of your rivet. So take your time and make sure the cut is straight.
Step 3: Insert the Rivet Through the Leather
Thread the shank of the rivet through the slit in the leather. The flat end of the rivet (the “head”) should be on one side of the leather, and the pointed end (the “tail”) should be on the other side. By inserting the rivet this way, you can ensure that it will lie flat when it’s finally hammered down.
Step 4: Place the Rivet in the Riveting Machine
Place the rivet in the riveting machine’s jaws with the rivet’s tail pointing up. Make sure that the machine’s jaws are tight enough to grip the shank of the rivet but not so tight that they deform it. It is very important to have a tight grip on the rivet, as this will ensure that it doesn’t slip during the next step.
Step 5: Insert the Setting Tool
Insert the setting tool into the head of the rivet. The setting tool will actually deform the head of the pin, so it needs to be a tight fit. By inserting the setting tools through the head of the rivet, you can also ensure that it is aligned correctly.
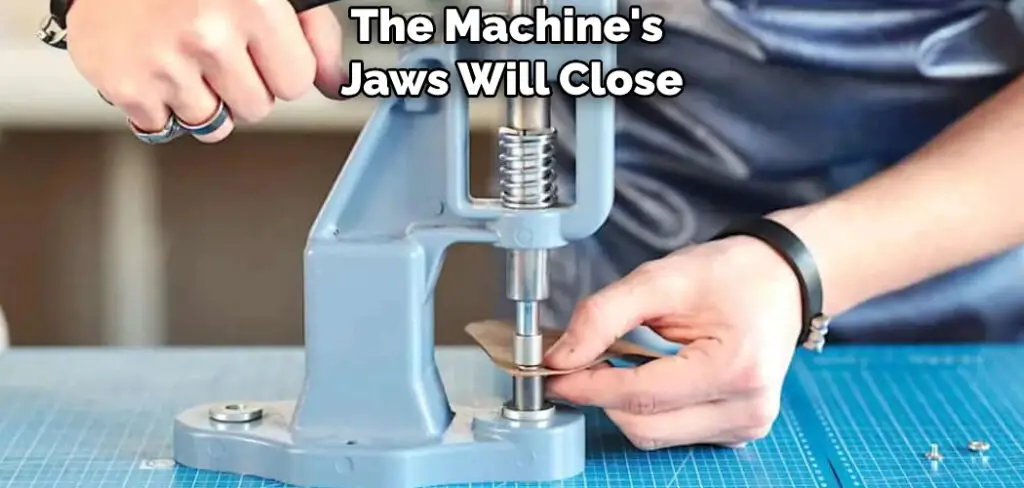
Step 6: Activate the Machine
Activate the machine by either pulling the trigger or turning on the power, depending on the type of machine you’re using. The machine’s jaws will close, gripping the shank of the rivet. The setting tool will also be driven into the head of the rivet, deforming it. If there are any problems in the machine’s operation, please check the manual that came with it.
Step 7: Wait for the Rivet to Cool
Once the machine has finished its cycle, the rivet will be hot. Allow it to cool for a few seconds before moving on. It is very important to wait for the rivet to cool, as it will be very fragile and can easily break if it is handled before it has had a chance to solidify. This is an important factor.
Step 8: Remove the Setting Tool
Remove the setting tool from the head of the rivet. You may need to use a pair of pliers to get a good grip. By removing the setting tools, you can now see the deformed head of the rivet. This is very important, as it will ensure that the rivet is secure.
Step 9: Place the Rivet on the Anvil
Place the rivet on the anvil with the deformed head facing up. You will need to use a hammer to flatten the head of the rivet, so make sure that the anvil is sturdy and will not move when you strike it. Use a hammer to flatten the deformed head of the rivet. Start in the center and work your way out to the edges.
Step 10: Trim the Tail of the Rivet
Use a sharp knife or a pair of wire cutters to trim the rivet’s tail flush with the leather’s surface. Be careful not to cut into the leather itself. Also, Be careful not to overdo it, as you can easily split the head of the rivet if you hit it too hard.
There you have it! You’ve successfully installed a rivet in leather.
Frequently Asked Questions
How Do Rivets Work on Leather?
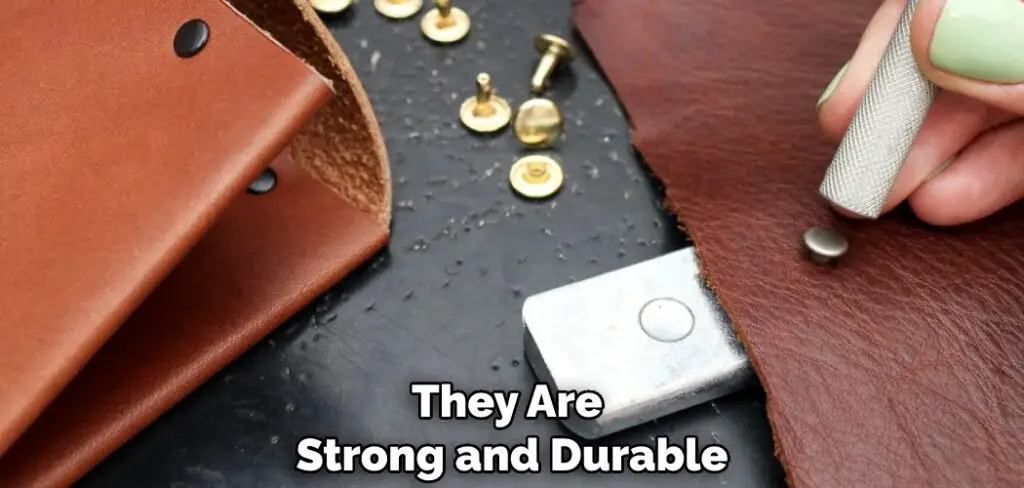
Rivets are a great way to attach two pieces of leather. They are strong and durable and can give your project a professional look.
There are two parts to a rivet: the body and the cap. The body is the part that goes through both pieces of leather, and the cap is the part that sits on top of the body and holds everything in place.
You will need a rivet setter and an anvil to install a rivet. First, put the body of the rivet through both pieces of leather. Then, place the cap on top of the body and use the rivet setter to hammer the cap into place. Finally, use the anvil to flatten the cap and secure the rivet.
Can I Set Rivets Without a Rivet Setter?
Yes, you can set rivets without a rivet setter, but it’s not recommended. Rivet setters provide a more secure grip on the rivet so that it doesn’t slip while you’re setting it. They also allow you to set the rivet at the correct depth, which is important for ensuring a strong connection. If you don’t have a rivet setter, you can try using a pair of pliers, but it’s more likely that the rivet will slip and not be set correctly.
How Do You Fasten a Rivet?
There are two parts to a rivet – the mandrel and the body. The mandrel is the part that protrudes from the back of the rivet, and the body is the part that’s inserted into the hole. To fasten a rivet, you’ll need to insert the body into the hole and then use a tool to grip the mandrel and pull it through the body. This will cause the mandrel to flare out on the back side, which secures the rivet.
How Do I Install Pop Rivets Without Tools?
Installing pop rivets without tools is a simple process that anyone can do. All you need is a little bit of patience and some basic knowledge of how to use a hammer. The first thing you need to do is find the right size pop rivet for your project. Once you have found the right size, you need to determine how many you will need. A good rule of thumb is to use one pop rivet for every two square inches of leather.
Once you have determined how many pop rivets you need, it’s time to start installing them. You first need to make a small hole in the leather where you want the pop rivet to go. You can do this with a punch or a sharp knife. Once you have made the hole, insert the pop rivet into the hole and then use a hammer to flatten the back of the rivet. Continue this process until all of your pop rivets are installed.
What Can I Use Instead of Rivets?
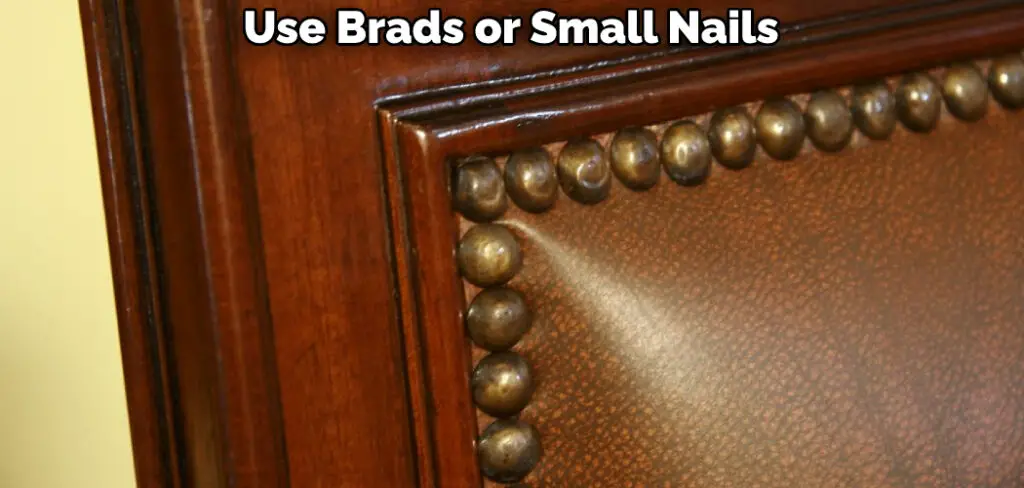
If you don’t have any pop rivets or tools to install them, you can use a few other options. First, you can hand-sew your leather project using a needle and thread. This is a more time-consuming option, but it will give your project a more polished look. Another option is to use brads or small nails. This option is not as strong as pop rivets, but it will still hold your project together.
Conclusion
Rivets are an excellent way to join two pieces of leather together. But if you want to work with this, you should carefully read the instructions on how to put rivets on leather. Then, you can use a hand-held rivet setter or a mallet to set the rivets into the leather.
Be sure to practice on scrap pieces of leather before you attempt to put rivets onto your final project. With a little practice, you’ll be able to create beautiful and sturdy leather projects that will last for years.