
Recovering a faux leather headboard is an excellent way to update the look and feel of a room without having to invest in a new piece of furniture. Faux leather can be prone to wear and tear over time, but with the right steps, you can make your old headboard look new again. By recovering your faux leather headboard, you can give it a fresh, new look that can help to transform the entire room.
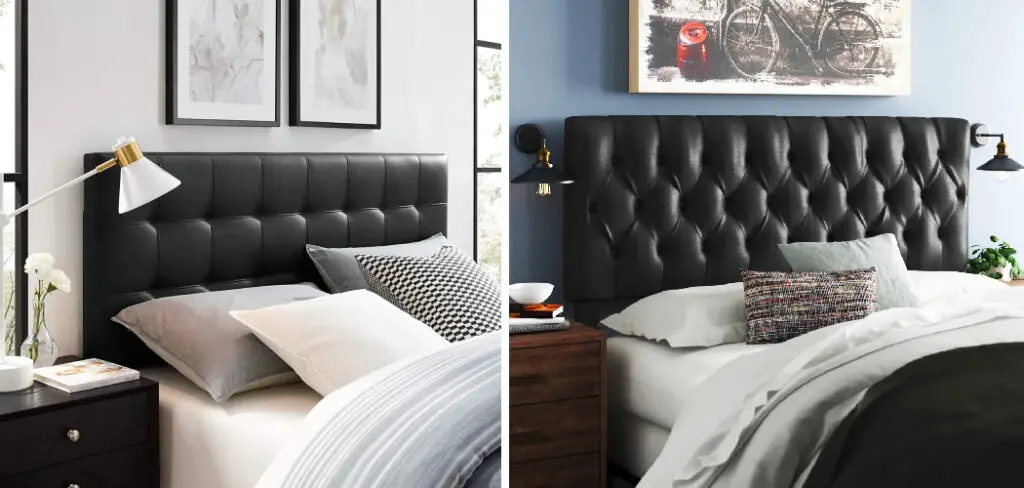
One of the biggest advantages of recovering a faux leather headboard is that it is relatively easy and inexpensive. Compared to recovering other types of furniture, such as fabric upholstery or real leather, faux leather can be easily cut to size using scissors and requires few tools for installation. In this blog post, You will learn how to recover a faux leather headboard in detail.
Tools You Will Need
- Staple gun
- Utility knife
- Hammer
- Screwdriver
- Measuring tape
- Pencil or marker
- Needle and thread
- Fabric scissors
- Iron and ironing board (optional)
- Cardboard, foam, or batting for padding (optional)
- Heavy-duty plastic sheeting (optional)
- The fabric of your choice for recovering
Now that you have gathered all the necessary tools, it’s time to begin. Before starting, ensure you understand how to safely use each tool and practice using them on scrap pieces of wood or fabric first if needed.
Step-by-step Instructions for How to Recover a Faux Leather Headboard
Step 1: Inspect the Headboard
Before you start recovering the faux leather headboard, it is important to inspect it for damage. Take a look at all the areas of the headboard and check for any cracks, rips, or other wear and tear that may be present. If you find any damage, address that first before moving on to the next steps.
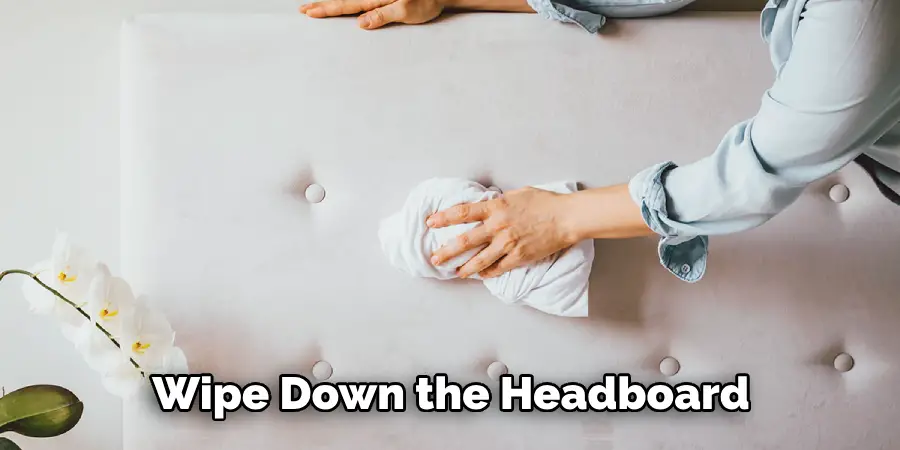
Step 2: Clean the Headboard
Once you have inspected the headboard for any damage, it is time to clean it thoroughly. Use a mild cleaner or soap and water mixed with a cloth to wipe down the headboard. Be careful not to use too much moisture, which can cause additional damage. After cleaning the faux leather material, allow it to dry completely before moving on.
Step 3: Remove Old Upholstery and Replace it with New Fabric
Carefully remove the existing upholstery from the headboard using an appropriate tool, such as a utility knife or scissors. Once this is done, you can begin to add the new fabric that will be used to cover the faux leather. Make sure to cut any excess material and double-check that the fabric covers the entire headboard.
Step 4: Secure New Fabric with Adhesive
To ensure the new fabric stays in place, use an appropriate adhesive to secure it onto the faux leather material. Be sure to spread an even adhesive layer across the headboard and press firmly into place. Allow this to dry for a few hours before moving on to the next step.
Once the adhesive is dry, it is time to cut out pieces of fabric for the corners and edges of the headboard. Make sure that these pieces are slightly larger than needed so you can tuck them into place later on.
Step 5: Apply Adhesive to Edges and Corners
Take the pieces of fabric you cut out for the edges and corners of the headboard and apply an adhesive to one side. Place these in their respective places on the headboard before pressing them firmly into place. Allow this to dry for a few hours before moving on.
Once the adhesive has dried, it is time to trim any excess fabric from the edges or corners. Use a sharp pair of scissors for this step and be sure to cut as close to the edge of the headboard as possible.
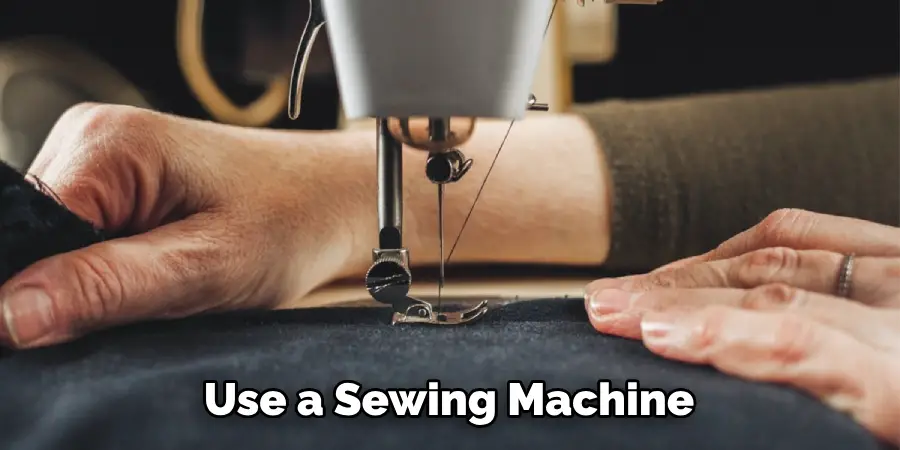
Step 6: Stitch Around Edges
To ensure the new upholstery is secure, use a sewing machine to stitch around the edges of the headboard. This will help keep everything in place and give it a finished look. Once the stitching is complete, you can add any finishing touches you would like. This could include adding decorative trim or buttons, depending on your preference.
And last but not least, enjoy your new headboard! After all of the hard work you have put into recovering it, you should be proud of the results. With proper care and maintenance, this faux leather headboard should last you for many years. Following these instructions lets you quickly and easily give your headboard a brand-new look without spending too much time or money.
Safety Tips for How to Recover a Faux Leather Headboard
- Always use a dust mask and safety goggles when recovering a faux leather headboard to protect your eyes and lungs from the dust particles created during the process.
- Make sure to have adequate ventilation in the room where you are working, as fumes may be released from some adhesives or paints used in recovering a faux leather headboard.
- Wear gloves when handling the headboard to protect your hands from any irritants on the faux leather surface or in the adhesives used for recovering it.
- When cutting the faux leather, use a sharp utility knife with a protective blade guard and always cut away from yourself.
- Make sure to use a proper adhesive suitable for use on faux leather. It is important to read the instructions and follow the manufacturer’s safety guidelines for applying adhesives.
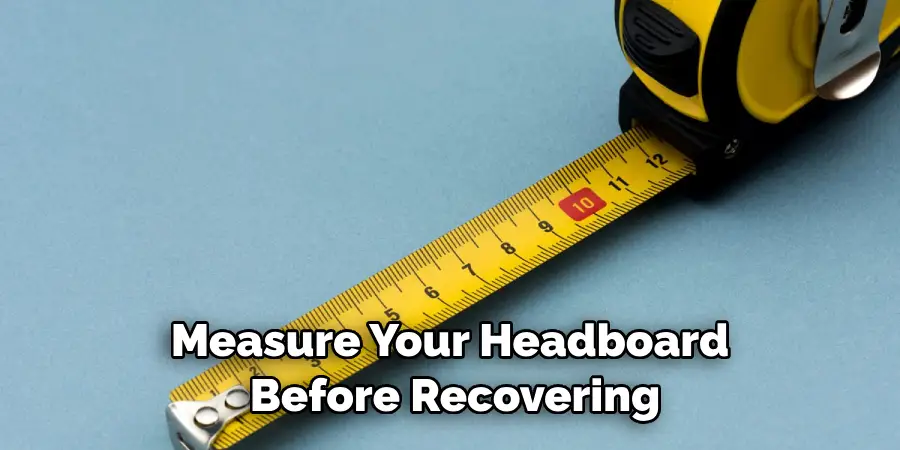
- Carefully measure your headboard before recovering it, so you are sure to have enough material to complete the job. Also, make sure to add an extra inch or two of material to allow for any shrinkage or stretching.
By following these safety tips, you can be sure that you will recover your faux leather headboard safely and effectively.
What Kind of Adhesive Should You Use to Attach the New Fabric Covers?
When recovering a faux leather headboard, choosing the right type of adhesive is important. Choose an adhesive that is specifically designed for leather and vinyl upholstery fabrics.
This type of adhesive will be easy to apply and won’t harm the faux leather surface. Ensure you read the package instructions carefully before applying any kind of adhesive. Before attaching the fabric covers, apply a thin layer of adhesive to the back side of the headboard.
Carefully follow the instructions on the package, but in general, you should start at one end and slowly work your way towards the other end while pressing down gently. Let the adhesive dry completely before proceeding with covering your headboard.
Once fully dry, you can start attaching the fabric covers. Start at one end of the headboard and carefully pull the fabric tight while pressing down gently to ensure a secure adhesion. Move along the entire length of the headboard in this manner, applying pressure as you go along.
Are Any Special Techniques or Skills Needed to Recover a Faux Leather Headboard?
Recovering a faux leather headboard requires some basic sewing and upholstery skills and the ability to measure and cut fabric accurately. You will also need access to an iron or steamer for shaping the fabric and several different types of tools, such as scissors, pins, needles, and thread.
Recovering a faux leather headboard without these skills or tools is possible, but it will require much more time and effort. If you don’t have experience in sewing or upholstery, you may want to consider hiring a professional to recover your faux leather headboard.
This is especially important if the headboard is large or difficult to access. Professional upholsters should be able to provide an exact fit for your headboard and may even be able to suggest more creative ideas.
In addition, you should make sure you use a high-quality faux leather material when recovering your headboard. The fabric must be strong enough to withstand the weight of the mattress and other items placed on it.
How Long Should the Project Take to Complete?
The process of recovering a faux leather headboard will depend on the size and complexity of the project. Repurposing your headboard may take several hours or days, depending on how much work you plan to do.
You should give yourself enough time to complete the project properly without rushing it. Gather all of the supplies needed for the project before beginning work.
This includes fabric, a staple gun, and any other tools that may be helpful. It is also important to measure your headboard correctly to accurately cut the new fabric to fit. If needed, enlist the help of someone else who can assist with measuring and cutting.
Once all supplies have been gathered and measured correctly, the fabric can be cut and stapled to adhere to the headboard. Carefully staple each side of the fabric to stay in place and look neat. Use a heavy-duty staple gun if possible for best results.
Conclusion
In conclusion, recovering a faux leather headboard is not an easy task but with the right tools and techniques, it can be done. With patience and care, you can restore your headboard to its original look with minimal effort. Start by cleaning the surface thoroughly before applying generously adhesive spray foam followed by wrapping the faux leather around the headboard.
Use a staple gun or specialized upholstery tacks to secure the faux leather and remove any excess fabric before replacing the buttons. Finally, apply a protective coating to ensure your headboard looks good for years. I hope reading this post has helped you learn how to recover a faux leather headboard. Make sure the safety precautions are carried out in the order listed.