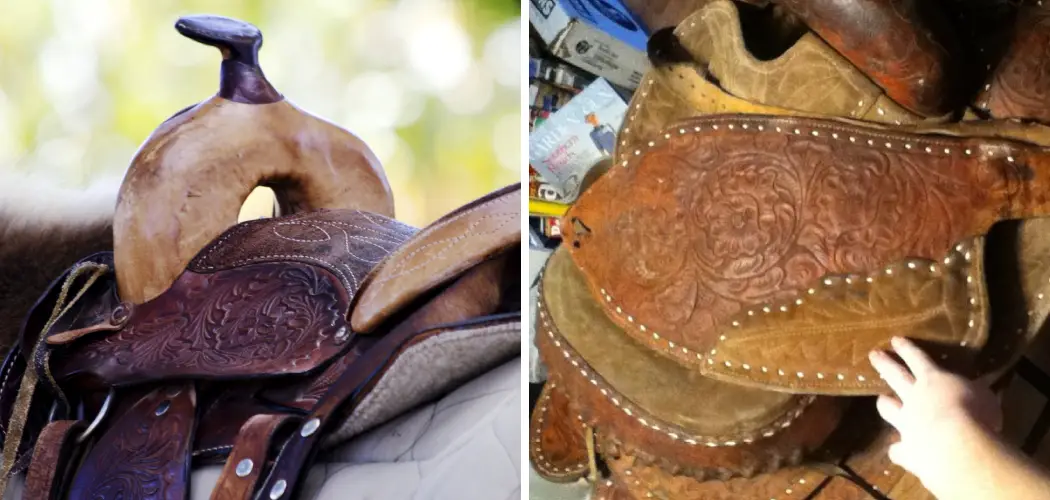
Do you have a beloved saddle that has fallen into disrepair? Or do want to upgrade your current riding equipment? Whatever the reason may be, re-fleecing your saddle is a simple and straightforward process that can quickly breathe life back into an old item of tack. By following some basic tips and procedures, it’s possible to fluff any standard English or Western saddles in no time at all. Read on for information about what supplies are needed, how to prepare the surface correctly, and which fibers work best with each type of saddle.

We all know the importance of having well-cared-for horseback riding equipment, and caring for a saddle is an important part of that process. An old, worn-out saddle can be uncomfortable to ride on and may even cause injury to your horse or yourself while you’re in the saddle. Fortunately, it’s possible to refresh an old favorite without replacing it with something new – by re-fleecing your saddle! In this blog post, we’ll take a look at how to refleece a saddle so that you can continue riding safely and comfortably.
Why May You Want to Refleece a Saddle?
There are many reasons why you may want to refleece a saddle, including:
1. To Replace Worn Padding
One of the most common reasons to refleece a saddle is to replace worn padding. Saddle pads can become thin and uncomfortable over time, so it’s important to replace them regularly for the comfort of both horse and rider.
2. To Improve Fit
If your saddle isn’t fitting properly, refleecing may be able to help. A thicker layer of fleece can add padding where it’s needed, such as under the rider’s legs or behind the saddle tree, allowing for a better fit.
3. To Increase Comfort
For riders who spend long hours in the saddle, refleecing can be a great way to increase comfort and prevent chafing. A thicker layer of fleece can also provide shock absorption, which can be particularly beneficial for horses who are sensitive to movement or often perform in activities that require hard-stop turns.
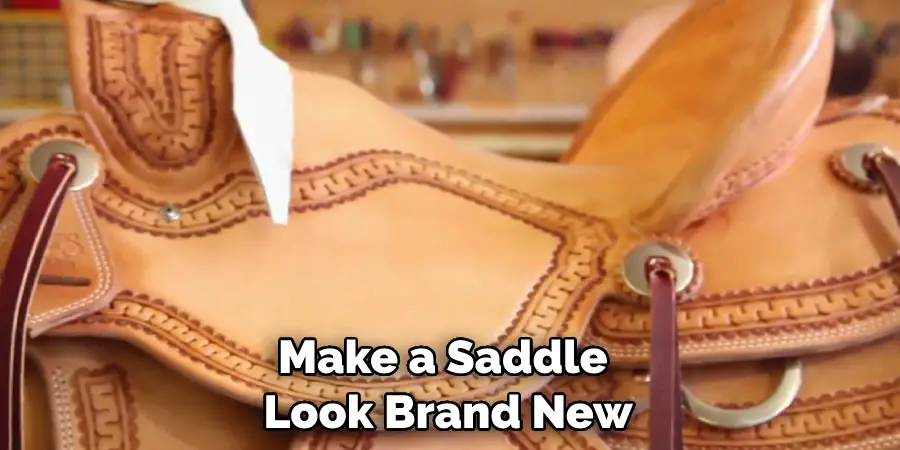
4. To Improve Appearance
If your saddle is looking a bit tired and worn, refleecing can help to restore its appearance. A fresh layer of fleece can make a saddle look brand new, and you may even be able to choose a pattern or color that matches your style.
How to Refleece a Saddle in 7 Easy Steps
Step 1: Gather All the Tools
The very first step in refleecing your saddle is to gather all the necessary tools. You’ll need a good pair of scissors, a bit of heavy-duty thread, and material that matches the existing fleece on your saddle.
Step 2: Remove Old Fleece
Use a flathead screwdriver to carefully remove the staples from the underside of your saddle. Then, carefully peel away the old fleece from the top of the saddle. Also, make sure to remove any old padding that may be beneath the fleece.
Step 3: Cut New Fleece
Using the scissors, cut a piece of fleece material that is slightly larger than the size of your saddle. Make sure to measure twice and take into account any additional fabric needed for seams or adjustments.
Step 4: Create a Pattern
Lay the new fleece material on top of the saddle and use pins to mark any necessary adjustments for optimal fit. The pattern should include extra fabric for seams, as well as any other modifications that may be needed.
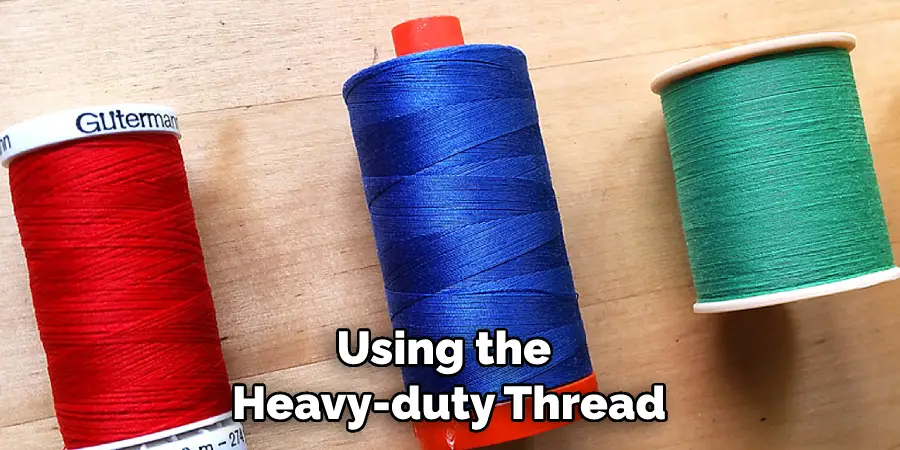
Step 5: Sew New Fleece
Using the heavy-duty thread, carefully sew the new fleece material together according to the pattern. Make sure there are no loose threads or gaps in the seam. But you have to be careful when you sew the material so that it won’t tear.
Step 6: Attach New Fleece
Once the new fleece is sewn together and adjusted to fit perfectly on your saddle, use a staple gun to attach it securely to the underside of the saddle. Make sure the staples are even and correctly spaced.
Step 7: Install the Saddle
Finally, you can install your newly released saddle onto your horse. Make sure it fits securely and that all of the straps and buckles are correctly adjusted for a comfortable ride. But make sure to check the fit of the saddle periodically, as it may need to be adjusted over time.
Some Additional Tips and Tricks to Refleece a Saddle
1. Do Not Pull Too Tightly
When attaching the fleece to the saddle, make sure not to pull it too tightly. Doing so can cause undue stress on the fibers of the material, potentially leading to the tearing and weakening of your newly refleece saddle.
2. Level Out Guide Lines
Once you have cut out a piece of fleece to cover the saddle, take a few moments to ensure that any guidelines used to trace its shape are even and level across the fabric. This will help you get an even fit when fitting it onto the saddle.
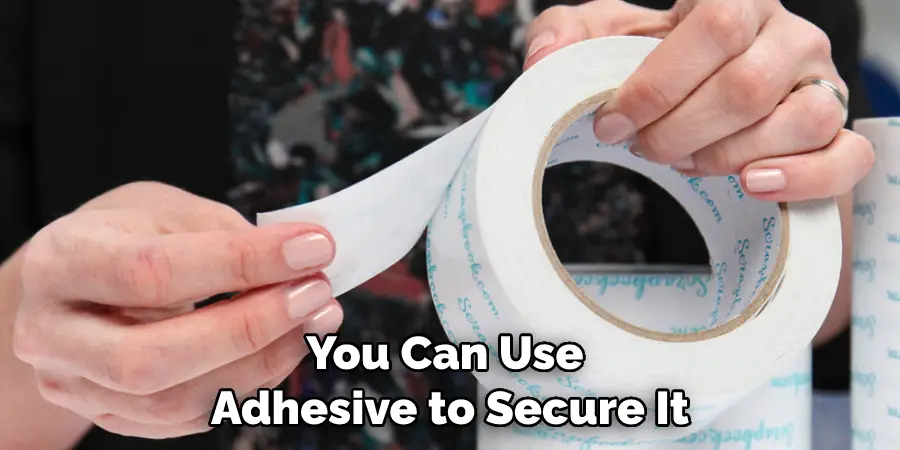
3. Use Adhesive for Extra Security
In order to prevent your new fleece from sliding off of your saddle, you can use adhesive to secure it. This will help to ensure that the saddle remains fully covered and in place regardless of its usage.
4. Test Before Use
Before you ride with your newly refleece saddle, make sure to test it out first. If any parts do not seem safe or secure, consider reworking them before use. This is particularly important for the safety of both you and your horse.
5. Keep It Clean
Finally, make sure to keep your refleece saddle clean and maintained regularly. Doing this will help to extend its lifespan and improve its performance while riding. Be sure to use cleaning products specifically designed for saddles in order to avoid any damage or wear.
Following these tips and tricks will help you get the most out of your refleece saddle, ensuring that it looks great and lasts for years. With a little bit of time and effort, you can keep your saddle looking as good as new!
Frequently Asked Questions
What Are The Precautions When Refleeceing a Saddle?
When refleecing a saddle, it is important to take precautions to ensure that the saddle won’t be damaged. Always use a good quality fleece for your project and make sure you thoroughly clean the saddle before starting. Additionally, avoid using heat or harsh chemicals as this may damage the leather. To protect the stitching on the saddle, use a leather needle for any repairs.
Finally, make sure that you apply the fleece with even pressure and do not over-tighten it as this could damage or warp the saddle.
What Tools Are Needed to Refleece a Saddle?
The tools needed to refleece a saddle are relatively simple and can be purchased from most tack shops. You will need a tube of leather conditioner, a soft brush, some sandpaper, a knife or scissors, and some fleece. Additionally, you may want to invest in a leather needle if you plan on making any repairs or alterations to the stitching on the saddle. Finally, it is also a good idea to have some sponges and rags on hand for cleaning the saddle.
How Much Time Does Refleeceing a Saddle Take?
The amount of time required to refleece a saddle depends largely on the size of the area that needs to be recovered, as well as the quality of the fleece used. Generally, it will take around an hour to complete the project if you are experienced, while a beginner may take up to two hours.
It is also important to factor in the time needed for cleaning and conditioning before beginning the refleeceing process. Additionally, if any repairs or alterations are necessary then this will also add to the time needed.
Are There Any Alternatives To Refleeceing a Saddle?
If you don’t have the time or resources to refleece a saddle, there are some alternatives that can still give it an updated look. For example, you can purchase new seat and knee pads for the saddle, or use a saddle cover to give it an instant face-lift. Additionally, you can also purchase new saddle accessories such as stirrups and breastplates to further update the look of your old saddle.
These options are often more affordable than refleeceing the entire saddle and can be just as effective in giving your horse’s saddle a new lease on life.
Conclusion
Properly refleecing your saddle can help you avoid problems down the road and ensure a comfortable ride for both you and your horse. It’s a simple process that only takes a few minutes, but it’s important to do it correctly. With these tips, you’ll be able to refleece your saddle like a pro in no time!