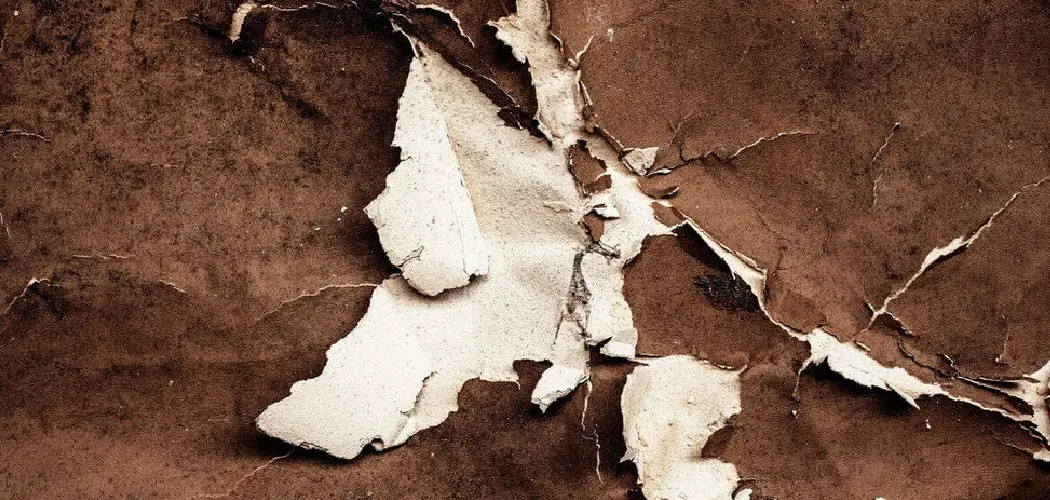
Cracking leather can be a frustrating issue, but with the right approach, it’s possible to restore its appearance and prolong its lifespan.

Whether it’s a leather couch, jacket, or pair of shoes, addressing cracks early can prevent further damage. This guide will provide you with simple, effective steps on how to repair cracking leather.
Why Does Leather Crack?
Leather cracks because it loses its natural oils and moisture over time, leading to dryness and brittleness. This degradation can be caused by several factors, such as exposure to sunlight, heat, or improper storage conditions. Environmental elements like low humidity or repeated wetting and drying can accelerate the process, leaving the leather less flexible.
Additionally, regular use without proper care, such as conditioning, can cause the material to weaken and develop small cracks that expand over time. Understanding these causes is key to preventing and addressing cracking leather effectively.
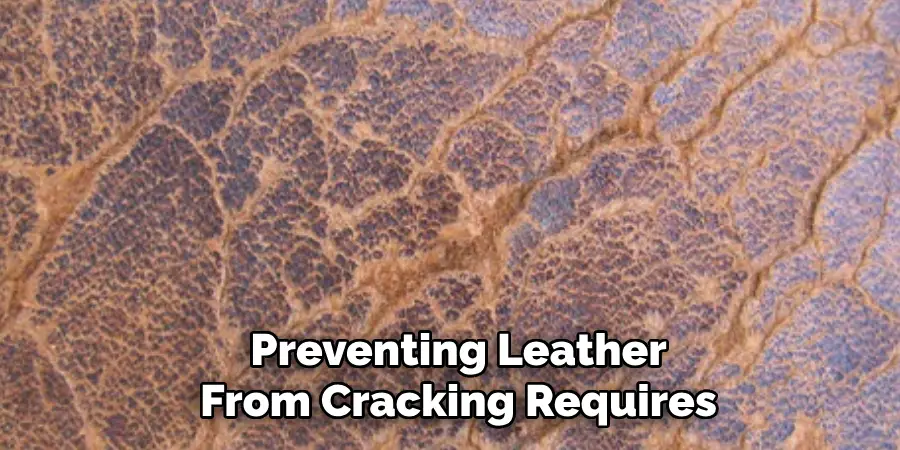
How to Prevent Leather from Cracking
Preventing leather from cracking requires regular care and attention to maintain its natural suppleness. Here are some essential tips to keep your leather in good condition:
- Clean Regularly
Dust and dirt can accumulate on leather surfaces, leading to abrasion and eventual cracking. Use a soft, damp cloth or a specialized leather cleaner to gently remove dirt, ensuring the leather stays clean without stripping away its natural oils.
- Condition Your Leather
Leather conditioners replenish the natural oils that keep the material soft and flexible. Apply a high-quality leather conditioner every few months or as needed, depending on usage and exposure to environmental elements.
- Avoid Direct Sunlight and Heat
Prolonged exposure to sunlight or heat can dry out leather, causing it to lose its moisture and become brittle. Store leather items in shaded, temperature-controlled spaces, and avoid placing them near heat sources such as radiators.
- Maintain Proper Humidity Levels
Extremely dry environments can accelerate the drying process of leather. If possible, maintain a moderate humidity level, especially in storage areas, to prevent the material from losing its natural moisture.
10 Methods How to Repair Cracking Leather
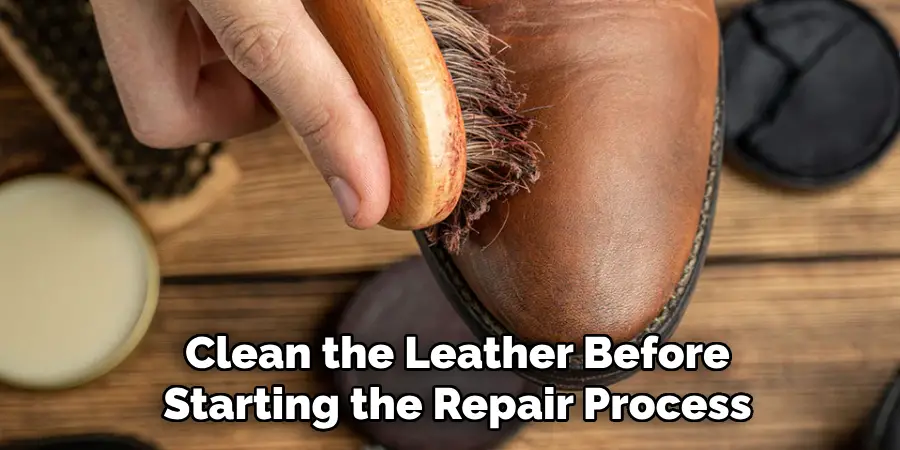
1. Clean the Leather Thoroughly
Before beginning any repair work on cracked leather, it is essential to clean the surface thoroughly. Dirt, dust, oils, and old conditioners can interfere with the repair process and make it harder for products to adhere to the leather.
Use a soft cloth or microfiber towel, along with a leather-safe cleaner, to wipe down the cracked leather surface. This cleaning removes contaminants and ensures that the leather is prepared for the next steps. Be sure to let the leather dry completely before proceeding with any repair treatments.
2. Use a Leather Repair Kit
One of the most straightforward and efficient ways to repair cracked leather is by using a leather repair kit. These kits often contain everything you need, including cleaning agents, leather fillers, colorants, and tools for blending and finishing the leather.
To begin, apply a leather filler or adhesive to the cracked area using a spatula or applicator tool. Smooth the filler into the crack, ensuring it fills the gap completely. Once the filler has dried, you can use the provided colorants to restore the original color of the leather, blending it in with the rest of the surface.
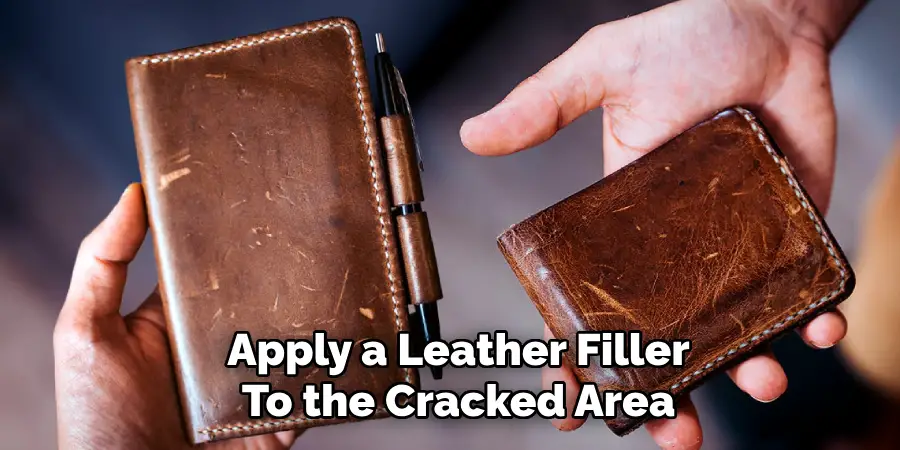
3. Leather Filler for Deep Cracks
For more severe cracks, where the leather is deeply torn or split, a leather filler is essential. Leather fillers are designed to restore the structure of the leather and seal the cracks. Begin by selecting a high-quality filler that matches the texture and thickness of the leather.
Use a spatula to gently apply the filler into the crack, ensuring it fills the entire damaged area. Once the filler is dry, smooth it out with fine-grit sandpaper to match the surrounding leather surface. This method works particularly well for deep or large cracks that need structural support.
4. Condition the Leather
After repairing cracks, it’s essential to condition the leather to restore its flexibility and prevent further damage. Leather tends to lose moisture over time, which contributes to its tendency to crack.
A good leather conditioner replenishes the oils and moisture in the leather, helping to keep it supple and resilient. Apply a leather conditioner to the entire surface, massaging it in with a soft cloth. Conditioning helps to maintain the overall health of the leather and prevents new cracks from forming.
5. Use a Leather Glue or Adhesive
In cases where the crack has caused the leather to separate or peel, leather glue or adhesive can be used to bond the edges back together. Choose a high-quality leather adhesive that is specifically designed for repairing leather.
Apply a thin layer of glue to both sides of the crack and press them together, ensuring that the adhesive bonds securely. After a few minutes, wipe away any excess glue with a damp cloth and let the adhesive cure fully. This method is ideal for small tears or separations in the leather.
6. Apply Heat to Rejuvenate Leather
For minor surface cracks, applying heat can help rejuvenate the leather and make it more pliable. Leather is a natural material that responds well to heat, which can restore some of its original suppleness.
Using a blow dryer on the lowest heat setting, gently warm the cracked area of the leather. Be cautious not to overheat the leather, as excessive heat can cause further damage. After applying heat, condition the leather immediately to lock in moisture and restore its flexibility.
7. Use a Leather Dye for Color Restoration
Cracked leather can often lead to fading or discoloration around the damaged area. To restore the original color and appearance, you can apply a leather dye specifically formulated for your type of leather. First, clean the leather surface and apply the dye with a soft cloth or sponge, gently rubbing it into the cracked area.

Use a color that closely matches the original shade of the leather to ensure an even finish. Allow the dye to dry before conditioning the leather, as this will ensure the color remains vibrant and even across the surface.
8. Sand and Buff the Area
For smoother repairs, sanding and buffing the area after applying filler or adhesive can be highly effective. Once the filler has dried, use fine-grit sandpaper (around 400-grit) to smooth out any rough patches or uneven areas.
Gently sand the repaired crack until it is level with the rest of the leather surface. Afterward, buff the area with a soft cloth to restore a smooth, uniform finish. This method is especially useful for cracks that have caused uneven textures or raised areas in the leather.
9. Use a Leather Patch for Severe Damage
In cases where the cracks are too extensive or deep to repair with fillers and adhesives alone, a leather patch may be necessary. A patch can be applied to cover large damaged areas, preventing further deterioration and restoring the item’s appearance.
Choose a leather patch that closely matches the texture and color of the original material. Trim the patch to fit the cracked area and use a strong leather adhesive to bond it securely to the surface. Once the patch is in place, blend the edges using a leather dye or conditioner to make it appear seamless.
10. Prevent Future Cracking with Regular Maintenance
Once you have repaired the cracks in your leather, it is crucial to take steps to prevent future damage. Regular leather maintenance is key to keeping your leather in good condition. Continue to clean and condition the leather regularly, as this helps to maintain its moisture levels and flexibility.
Avoid exposing the leather to excessive sunlight or heat, as UV rays and extreme temperatures can cause the material to dry out and crack again. By implementing a routine care schedule, you can significantly extend the life of your leather items and prevent the recurrence of cracks.
Common Mistakes to Avoid
When repairing cracked leather, it’s important to approach the process carefully to ensure successful results. Here are some common mistakes to avoid:
- Skipping the Cleaning Step
Failing to clean the leather before starting the repair process can prevent adhesives, fillers, and conditioners from properly bonding to the material. Always clean the leather thoroughly to remove dirt, oils, and residue.
- Using the Wrong Products
Not all products are suitable for leather repair. Avoid using household glues, general-purpose fillers, or non-leather-specific dyes, as they can cause further damage or leave the surface uneven and discolored.
- Applying Too Much Filler or Adhesive
Over-applying filler or adhesive can result in an unnatural texture or bulky appearance. Use only the necessary amount for the repair to maintain the smoothness and integrity of the leather.
- Skipping Conditioning After Repairs
Conditioning the leather after repairs is essential to restore its flexibility and protect it from future damage. Overlooking this step can lead to the repaired area cracking again over time.
Conclusion
Repairing cracked leather can seem like a daunting task, but with the right tools, techniques, and patience, you can restore your leather items to their former glory. From cleaning and conditioning to applying adhesives and dyes, each step plays a crucial role in ensuring a seamless and lasting repair.
By avoiding common mistakes and prioritizing regular maintenance, you can not only fix existing cracks but also prevent new damage from occurring. Thanks for reading our blog post on how to repair cracking leather! We hope you found it helpful and informative.