
There’s nothing quite like a leather jacket. It’s tough, durable, and looks great no matter what you wear. So what do you do when your favorite jacket shows signs of wear? Try repairing it yourself! It’s easier than you think and can save you a lot of money in the long run.

If you have a faux leather jacket that you love, but it’s been damaged, don’t worry – there is hope! You can easily repair the jacket yourself and have it look good as new in no time after reading this article on how to repair faux leather jacket. All you need is some fabric glue and a few basic supplies. Follow these simple steps to get started.
Why Repairing Faux Leather Jacket Important?
Faux leather is a material that looks like leather, but it is not real. It is made of different materials, such as polyurethane, PVC, or acrylic. Even though it is not the same as real leather, it can last long with proper care. However, faux leather can also suffer from wear and tear like your other clothes. When this happens, it is important to repair it as soon as possible to avoid further damage.
12 Steps on How to Repair Faux Leather Jacket
There are several ways that you can repair a faux leather jacket. Depending on the severity of the damage, you may be able to use a simple patch, or you may need to replace the entire piece.
Here are some effective steps to take to repair your faux leather jacket:
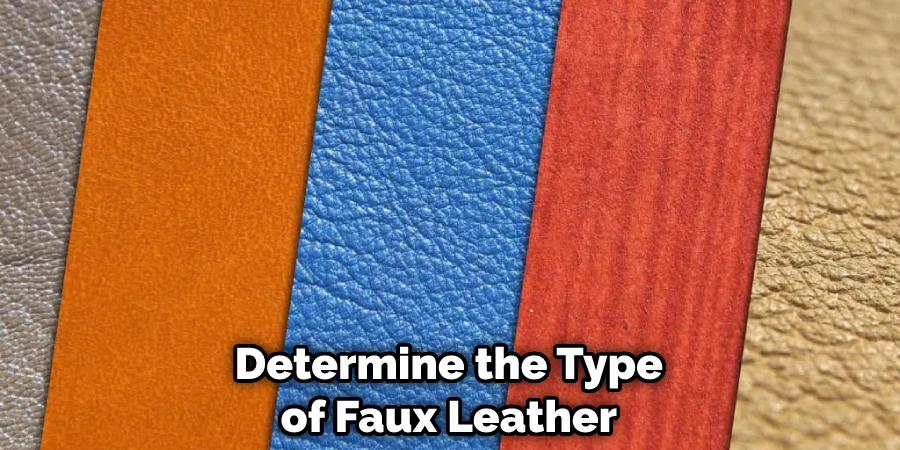
Step 1: Determine the Type of Material
The first step is to determine what type of faux leather you are dealing with. Polyurethane (PU) and polyvinyl chloride (PVC) require different repair methods. Look at your faux leather jacket and identify which material it is made from.
Step 2: Consider the Severity of the Damage
Once you know what type of faux leather you are dealing with, you can assess the severity of the damage. If the damage is minor, such as a small scratch or tear, then you may be able to repair it with a simple patch. However, if the damage is more severe, such as a large hole or tear, you will likely need to replace the entire piece.
Step 3: Choose Your Repair Method
If you have minor damage, you can try to repair it with a simple patch. You will need to purchase a patch from the same material as your jacket. Then, press firmly.
If you have more severe damage, you will likely need to replace the entire piece. To do this, you will need to purchase a new piece of faux leather that is the same color and material as your jacket. Then, simply cut out the damaged piece and replace it with the new piece.
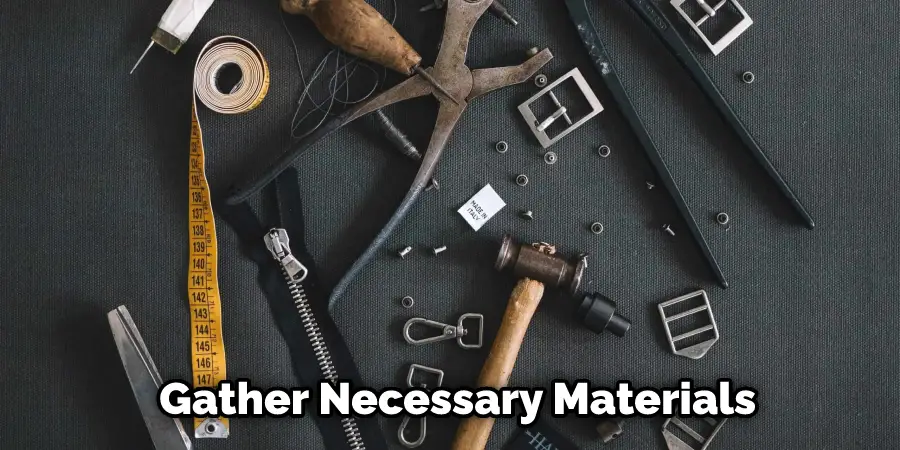
Step 4: Gather Your Materials
Once you have chosen your repair method, you must gather the necessary materials. For example, if you are repairing a patch, you will need to purchase a patch made from the same material as your jacket. If you are replacing the entire piece, you will need to purchase a new piece of faux leather that is the same color and material as your jacket.
Step 5: Prepare the Area
If you’re repairing a patch, ensure the area around the damage is clean and dry. If you are replacing the entire piece, you need to remove the old one. To do this, carefully cut around the damaged area with a sharp knife.
Step 6: Apply the Patch
If you are repairing with a patch, simply adhere the patch to the damaged area and press firmly. You need to be careful not to apply too much pressure, which can cause the patch to tear. You can try to practice on a scrap piece of material first. If you’re not careful enough, you might end up with a patch that’s not big enough and causes the hole to show. If you’re too careful, the patch will be obvious.
Step 7: Replace the Entire Piece
If you replace the entire piece, you first must remove the old one. Then align the new faux leather piece over the old piece and glue it into place.
If you’re repairing a hole or tear in your faux leather jacket, you’ll need to patch it from the inside. To do this, cut a piece of fabric slightly larger than the hole or tear. Then, glue the fabric patch into place and allow it to dry.
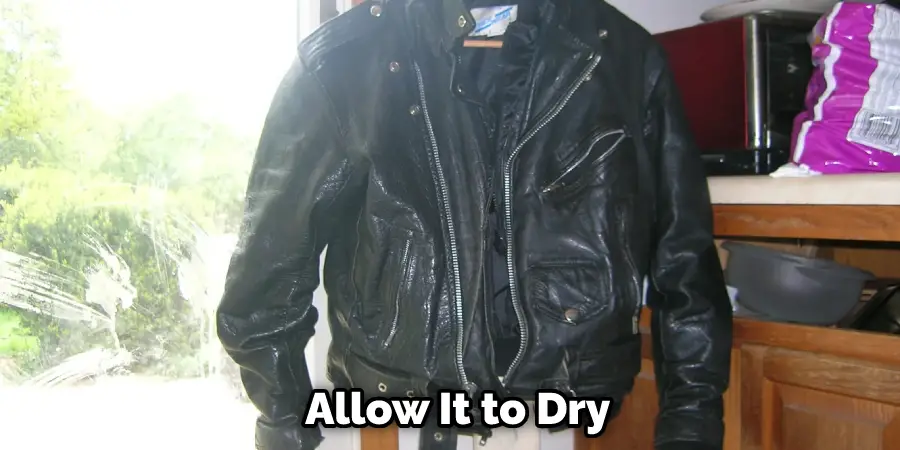
Step 8: Allow the Repair to Dry
Once you have completed your repair, you will need to allow it to dry. If you use a patch, simply allow the adhesive to dry completely before wearing it. The patch may not adhere properly and could come off without drying time. If replacing the entire piece, you must allow the glue to dry completely before wearing it. Without drying time, the adhesive may not adhere properly and could cause the new piece to come off.
Step 9: Trim the Excess
Once you have sewn the new piece, you must trim the excess. Simply cut away the excess fabric with a sharp knife and rotary cutter. Be sure to cut away loose threads as well.
Now is a good time to try the jacket and ensure it fits properly. If it doesn’t, you can always make adjustments by sewing in a different piece of fabric. Just be sure to trim away the excess once you’re finished.
Step 10: Apply the Finishing touches
Once you’ve trimmed the excess, you must apply the finishing touches. You can use a leather sealer to protect the repair and make it more durable. Finally, allow the repair to dry completely before wearing the jacket.
Step 11: Apply Filler
If the damage is minor, you can apply a filler material to the affected area. There are many different types of filler available, so be sure to choose one that is compatible with the type of faux leather you are working with. You may notice that some fillers are tinted. This can be helpful if you are trying to match a particular color, but it is unnecessary.
Once you have applied the filler, allow it to dry completely before proceeding to the next step.
Step 12: Paint the Area
Once the filler is dry, you will need to paint it. Again, choose a paint compatible with the type of faux leather you work with. You may find it helpful to use a small brush for this step, as it will allow you to be more precise with your paint application.
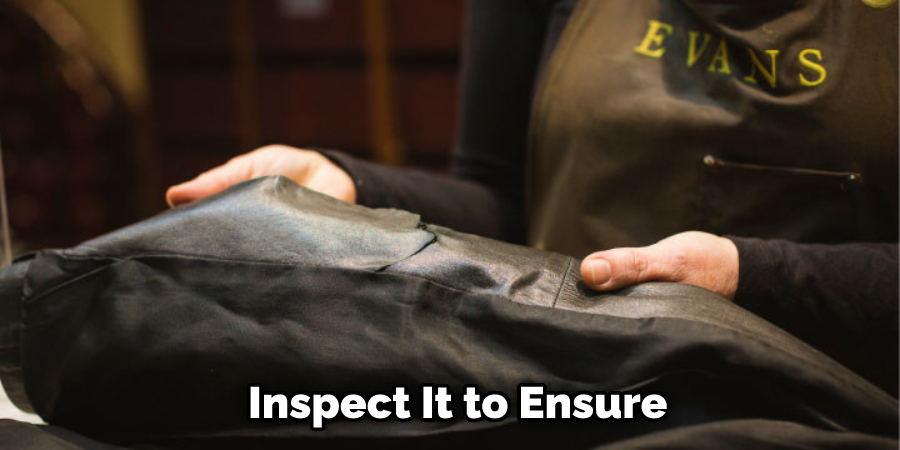
Once the repair is dry, you should inspect it to ensure it is properly bonded and has no gaps or holes. If everything looks good, you can enjoy your repaired faux leather jacket!
Congratulations! You have successfully repaired your faux leather jacket. Now you can wear it with pride knowing that you have repaired it yourself.
Is It Worth Repairing a Faux Leather?
If your faux leather piece has seen better days, you may wonder if it’s worth repairing. The good news is that, in most cases, it is possible to repair faux leather. However, there are a few things to remember before attempting to fix your damaged goods.
Faux leather is made from various materials, including polyurethane, PVC, and microfiber. While it’s designed to look and feel like real leather, it doesn’t have the same durability. That means faux leather is more susceptible to rips, tears, and other types of damage.
However, that doesn’t mean that you should automatically assume that your faux leather item is a lost cause. In many cases, it is possible to repair faux leather. The key is choosing the right repair method for the type of damage you’re dealing with.
For example, if your faux leather jacket has a rip or tear, you’ll want to use a patch or an adhesive to fix it. If the damage is more severe, you may need to replace the entire panel of faux leather.
No matter what damage you’re dealing with, it’s important to act quickly. The longer you wait to repair your faux leather, the more difficult it will be to fix. So, if you notice any damage, don’t hesitate to start the repair process.
Frequently Asked Questions
What Causes Faux Leather to Peel?
There are a few causes of faux leather peeling. The most common is exposure to water and moisture. If the leather is exposed to rain, or if it gets wet from any other source, the oils and fats in the leather will start to break down. This process can cause the leather to start to peel away in large, thin sheets.
Another potential cause of faux leather peeling is heat. If you keep your faux leather piece hot, or if it’s exposed to direct sunlight, the oils and fats in the leather will start to cook. This process can also cause the leather to start peeling away in large, thin sheets.
Finally, one final cause of faux leather peeling is acidic substances. If you have a piece of faux leather that’s made from a synthetic material, then it’s possible for acid to seep into the fabric over time. This acid can break down the oils and fats in the fabric, leading to peeling.
Can Faux Leather Be Restored?
Yes, faux leather can often be restored using a variety of methods. Some common restoration techniques include:
1. Sanding and polishing: This is the most basic approach, and helps to restore the surface texture and smoothness of the faux leather.
2. Re-coating: This involves applying a new layer of paint or sealant to the surface of the faux leather, and is often used to protect the leather from moisture and fading.
3. Replacing stitches and patches: Broken or lost stitches can be replaced with new ones, and missing patches may be replaced with similar-looking replicas.
4. Repairing damage: Damaged areas of the faux leather may be repaired using a variety of methods, including patching or sewing.
5. Restoring color: Damaged areas of the faux leather may be restored with a dye or pigment, depending on the original color of the faux leather.
There are many different restoration techniques available, and each has its own benefits and drawbacks. It is important to choose the right method for the specific situation, based on the condition of the faux leather and your desired outcome. By following some simple guidelines and using appropriate tools and materials, you can successfully restore your faux leather piece to its original condition.
Is Gorilla Glue Good for Faux Leather?
Gorilla Glue is a great product for faux leather surfaces because it can hold the paint and fabric together while the glue dries. It is also easy to remove later if you need to, so you don’t have to worry about leaving any residue behind.
How Do You Glue Two Pieces of Faux Leather Together?
To glue two pieces of faux leather together, you will need a glue gun, some leather glue, and a piece of leather scrap about the same size as the piece of faux leather you are trying to attach. First, line up the two pieces of faux leather so that the edges are facing out and the seams are aligned. Then, apply a thin layer of leather glue to one edge of the piece of faux leather. Press the glued edge against the seam on the other piece of faux leather, and hold it in place for about 5 seconds until the glue has dried. Repeat this process with the other side of the piece of faux leather, and then trim off any excess glue with a knife or scissors.
Conclusion
A faux leather jacket is a great way to add style to your wardrobe without spending much money. However, if you’re not careful, it can also be easy to damage your jacket.
Repairing your faux leather jacket is much easier than you might think! With just a few simple materials and steps, you can have your jacket looking good as new in no time at all. So don’t despair if you accidentally damage your favorite piece of clothing.
Simply follow our guide on how to repair faux leather jacket and fix it yourself!