
Hot tub covers are an essential part of maintaining the quality and longevity of your hot tub. They protect it from dirt, debris, and extreme weather conditions, while also insulating it to keep your energy costs down. However, over time, they can develop wear and tear or damage that requires repairs. Learning how to repair a hot tub cover can save you money and extend its lifespan.

The main advantage of repairing hot tub cover is to save money and time. By being able to do the repairs yourself, you can avoid costly service fees and waiting times for a professional technician. Additionally, knowing how to repair a hot tub cover allows you to maintain your relaxation space in top condition without any delays. In this blog post, You will learn in detail how to repair hot tub cover.
Step-by-step Instructions for How to Repair Hot Tub Cover
Step 1: Inspect the Damage
Before you start your repair, carefully inspect your hot tub cover. Look for any tears, holes or rips that may need to be fixed. Use a mild detergent and warm water to clean the damaged area of your hot tub cover. Make sure to remove all dirt and debris from the surface.
Step 2: Dry the Area
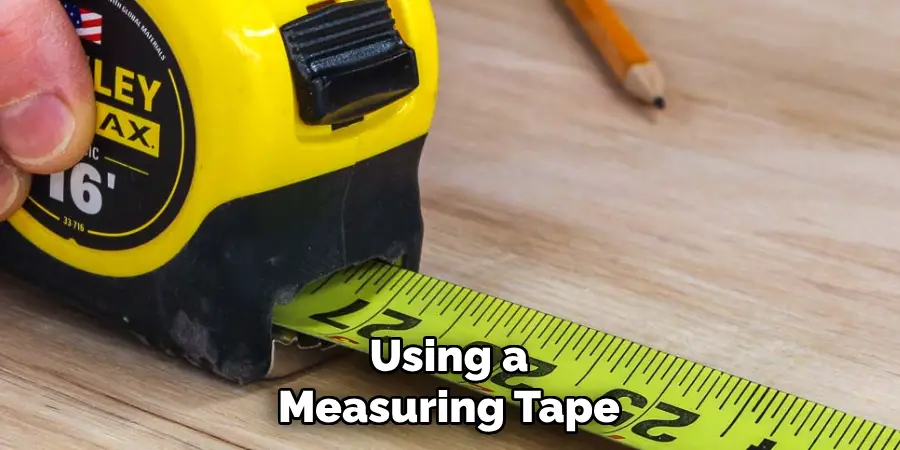
After cleaning, dry the damaged area completely with a towel. This will ensure that the repair materials adhere properly to the surface. Using a measuring tape, measure the size of the damaged area and add an extra inch to each side. Cut a piece of patch material in this size.
Step 3: Apply Adhesive
Apply a thin layer of adhesive on the damaged area, making sure to cover the edges. Carefully place the cut patch material over the damaged area, pressing it down firmly onto the adhesive.
Step 4: Smooth Out Any Air Bubbles
Gently use your hand to smooth out any air bubbles or wrinkles in the patch material. This will ensure a smooth and even repair. Let the adhesive dry completely according to manufacturer’s instructions. This can take anywhere from a few hours to overnight.
Step 9: Trim Excess Material
After the adhesive has dried, use a pair of scissors to trim any excess patch material around the edges. To ensure a strong repair, apply a second layer of adhesive over the patch and edges. This will also help to seal the edges and prevent any future damage.
Step 11: Let It Cure
Allow the second layer of adhesive to cure according to manufacturer’s instructions. This may take another few hours or overnight. Once the adhesive has fully cured, test the repair by gently pulling on the patch. If it feels secure and there are no signs of peeling or lifting, your hot tub cover is now successfully repaired.
Precautions for How to Repair Hot Tub Cover
- Before starting any repair work, make sure to turn off power to the hot tub and unplug the electrical cord. This will prevent any risk of electrical shock.
- Wear appropriate protective gear such as gloves and safety goggles to protect yourself from any potential hazards while performing the repair.
- Inspect the cover carefully for any sharp edges, broken pieces, or other damaged parts that could cause injury. Use caution when handling these areas.
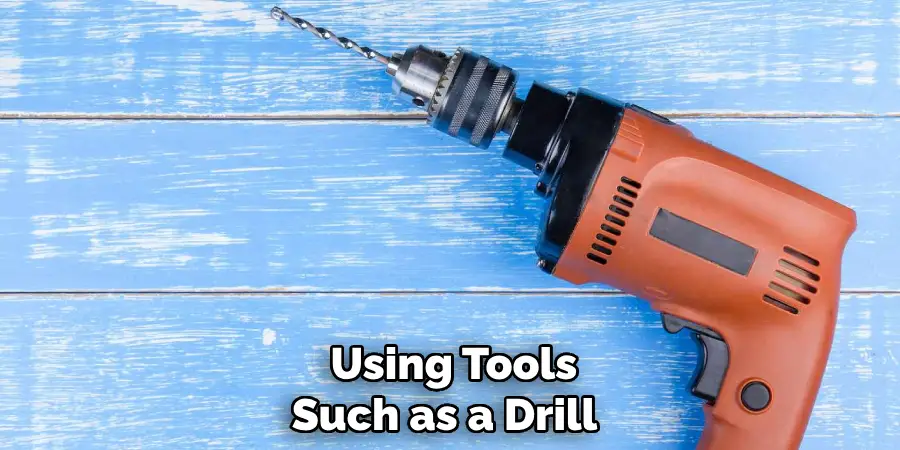
- If you are using tools such as a drill or saw, make sure they are in good working condition and handle them carefully to avoid accidents.
- Always follow the manufacturer’s instructions and guidelines for repairing the hot tub cover. This will ensure that you are using the correct methods and materials.
- If your hot tub cover is attached by straps or clips, make sure to secure them properly before performing any repairs.
- If you are unsure about how to repair a specific issue or do not have the necessary skills or experience, it is best to seek professional help. Attempting to repair a hot tub cover without proper knowledge and expertise can be dangerous.
It is important to take these safety precautions seriously as they can help prevent accidents and injuries while repairing your hot tub cover. Remember, safety should always come first when dealing with any type of equipment or machinery.
What Are the Common Problems With Hot Tub Covers?
Hot tub covers are an essential part of maintaining the cleanliness and functionality of your hot tub. They protect the water from dirt, debris, and harsh weather conditions. However, like any other equipment, they can also encounter various problems.
In this section, we will discuss some common problems with hot tub covers and how to repair them. This knowledge will come in handy if you ever face these issues with your hot tub cover.
1. Cracked or Broken Cover
One of the most common problems with hot tub covers is cracks or breaks. This usually happens due to prolonged exposure to harsh UV rays, extreme temperatures, and heavy snowfall. A cracked cover will not only affect the insulation but also let in unwanted debris into the water.
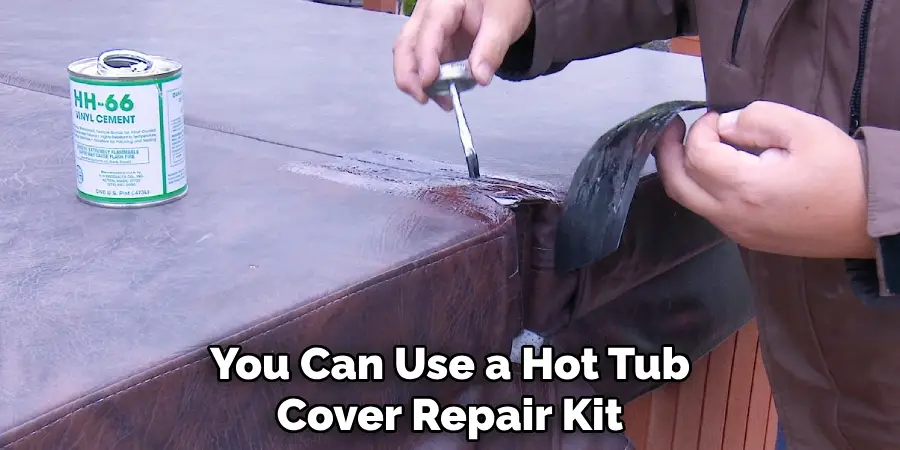
To repair this issue, you can use a hot tub cover repair kit, which usually comes with instructions. First, clean and dry the affected area. Then, apply the patch or sealant provided in the kit over the crack/break and let it dry completely before using the cover.
2. Torn Cover
Another common problem with hot tub covers is tears or rips. This can occur due to several reasons, such as sharp objects or animal damage. In any case, a torn cover can significantly affect the efficiency of your hot tub’s heating system.
To fix this problem, you can use a vinyl patch repair kit that is specifically designed for hot tub covers. First, clean and dry the area around the tear. Then, place the adhesive patch over it and firmly press down. Allow it to dry completely before using the cover.
3. Sagging Cover
Due to its weight, a hot tub cover can start sagging in the middle over time. This can make it less effective in keeping the heat inside your hot tub and also put extra strain on the hinge of the cover.
To repair this issue, you can use polystyrene foam inserts designed to support hot tub covers. These inserts are placed under the cover to provide additional support and prevent sagging. You can also use an adjustable steel brace if your cover’s hinge is damaged.
Is There Any Regular Maintenance That Can Prevent the Need for Future Repairs?
Regular maintenance is crucial to keeping your hot tub cover in good condition and preventing the need for future repairs. Here are some tips on how to properly maintain your cover:
1. Keep It Clean
Make sure to remove any debris or dirt from your hot tub cover regularly, especially if you live in an area with high pollen or dust levels. Use a mild soap and water solution to clean the cover, and avoid using harsh chemicals that can damage the material.
2. Protect It from the Sun
Exposure to direct sunlight can cause your hot tub cover to fade and deteriorate over time. To prevent this, use a UV protectant spray specifically designed for hot tub covers. Apply this solution every three months or as needed.
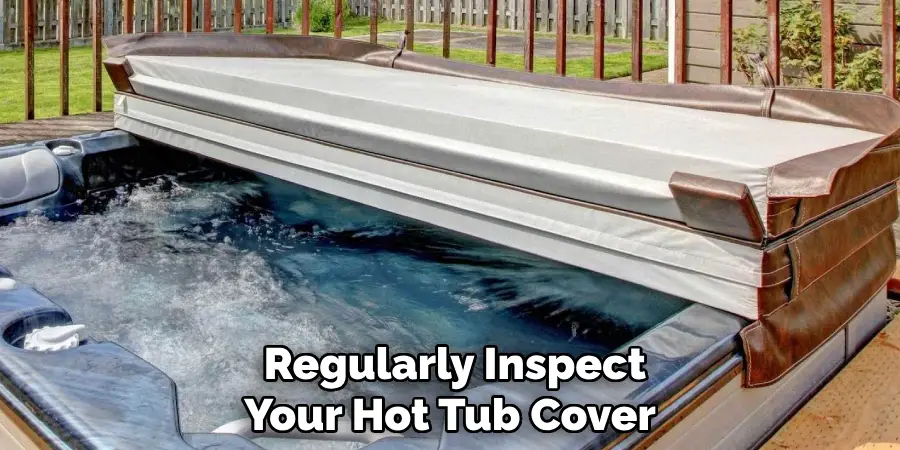
3. Inspect for Wear and Tear
It’s important to regularly inspect your hot tub cover for any signs of wear and tear, such as cracks, tears, or sagging areas. If you notice any issues, address them immediately to prevent further damage.
4. Keep It Securely Fastened
Make sure your hot tub cover is properly secured in place at all times. Windy weather can easily lift or blow off an unsecured cover, potentially causing damage to the cover or your hot tub.
5. Use a Cover Lifter
Investing in a cover lifter can not only make it easier to remove and replace your hot tub cover, but it can also reduce the risk of accidental damage. A cover lifter prevents unnecessary pulling or stretching of the cover, which can lead to tears or other damage.
By following these maintenance tips, you can help prolong the lifespan of your hot tub cover and reduce the need for future repairs. However, if your cover does require repair, it’s important to address the issue promptly to prevent further damage and maintain the functionality of your hot tub.
Are There Any Common Mistakes to Avoid When Repairing a Hot Tub Cover?
When it comes to repairing a hot tub cover, the time it takes can vary depending on the extent of the damage and the skill level of the person performing the repair. In general, a simple tear or small hole can be repaired in under an hour, while more extensive damage such as broken straps or large rips may take several hours. However, regular maintenance can help prevent the need for future repairs and extend the overall lifespan of your hot tub cover.
Simple tasks such as regularly cleaning and treating the cover with a protective spray can help prevent tears and wear over time. Checking and tightening straps, as well as keeping them free from debris, can also help prevent damage.
Additionally, it is important to be careful when performing repairs on a hot tub cover. Common mistakes such as using the wrong type of adhesive or not allowing enough drying time can lead to further damage and potentially make the repair more difficult.
Conclusion
In conclusion, repairing a hot tub cover can be an easy and cost-effective solution if done correctly. It is important to identify the type of damage on your cover and choose the appropriate repair method. Whether it’s a small tear or a larger hole, there are various options available such as using patch kits, tape, or DIY solutions like sewing or gluing.
However, prevention is always better than cure, so it is essential to regularly maintain and clean your hot tub cover to avoid any potential damage. Additionally, investing in a high-quality cover from the start can also prolong its lifespan and reduce the need for frequent repairs. I hope this article has been beneficial for learning how to repair hot tub cover. Make Sure the precautionary measures are followed chronologically.