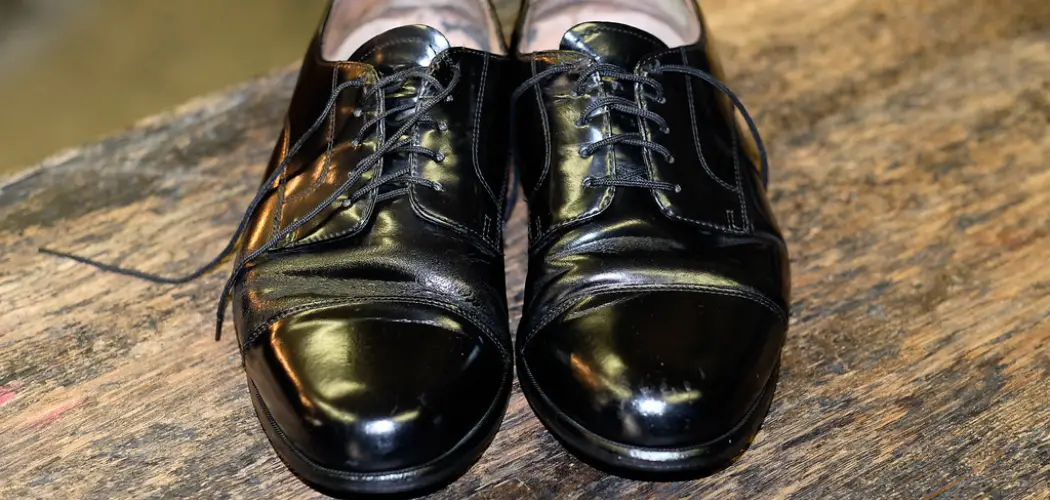
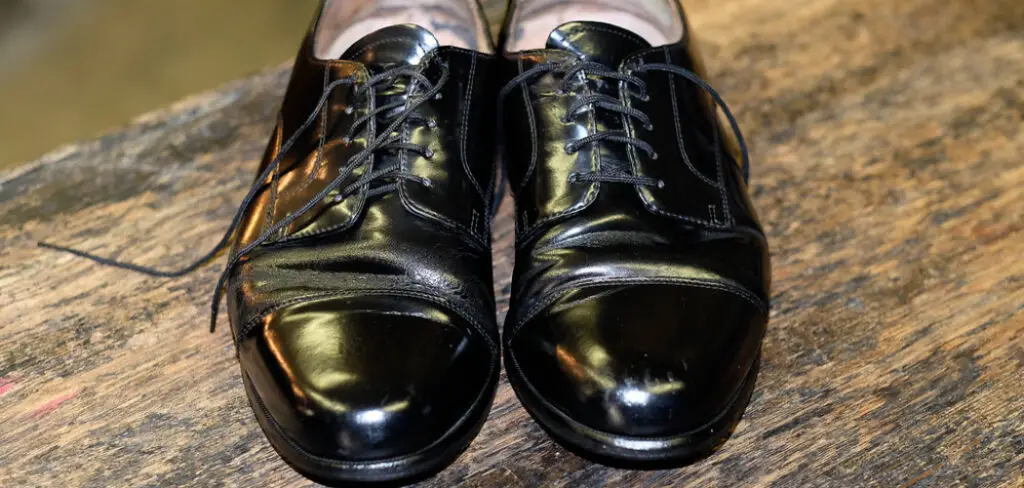
Patent leather is a type of leather that has been given a shiny and glossy finish. This makes it popular for shoes, handbags, belts, and other accessories. However, patent leather can be prone to scratches, scuffs, and tears.
Fortunately, if you know to repair patent leather properly, you can fix this damage and restore its original look. Learning to repair patent leather can save you time and money, as you won’t have to replace the item or take it to a professional for repairs.
Repairing patent leather is an attractive, cost-effective solution for restoring a piece of footwear to its original condition. Patent leather can be found on many different styles of footwear, including Mary Jane shoes, dress shoes, and even sneakers. Repairing patent leather is easy because it only requires the use of a few simple tools and some special care. In this blog post, You will learn how to repair patent leather in detail.
Materials You Will Need
- Clean cloth
- A bowl of warm water
- Soft brush
- Mild detergent or dish soap
- Small sponge
- Mild leather cleaner
- Petroleum jelly or olive oil
- Leather conditioner or balm
- Acetone (nail polish remover)
- Clear nail polish.
Step-by-Step Processes for How to Repair Patent Leather
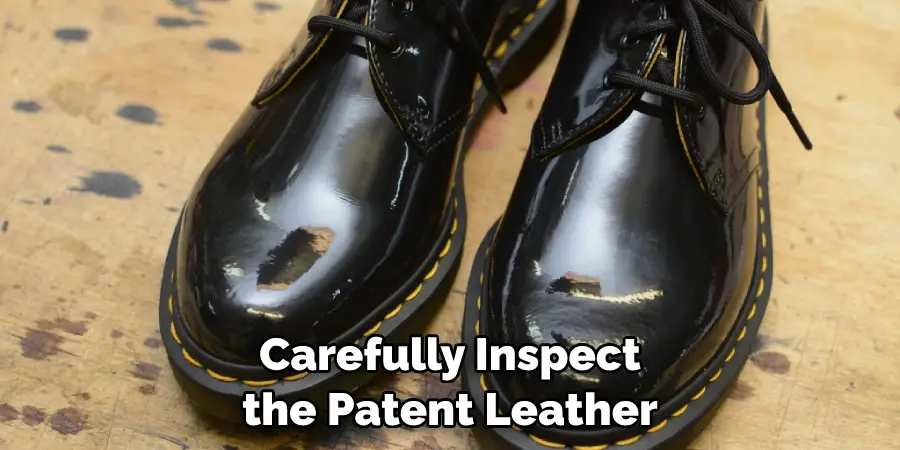
Step 1: Inspect the Patent Leather
Carefully inspect the patent leather for damage before proceeding. Check for scrapes, scratches, punctures, gouges, and other signs of wear. Before attempting to repair the patent leather, clean it with a soft cloth and mild soap and water. Do not use harsh chemicals or abrasive materials that could damage the patent leather.
Step 2: Repair Minor Scrapes and Scratches
Apply small mink oil or petroleum jelly to the affected area for smaller scrapes and scratches. Using a gentle circular motion with a soft cloth, rub in the oil or jelly until it is absorbed into the patent leather. You may need to apply additional layers of oil or jelly until the surface is smooth.
Step 3: Repair Gouges and Punctures
For larger damage, such as gouges and punctures, you will need to use a patching compound to fill in the area. Apply the patching compound using a small spatula. Once it has been applied, use a damp cloth to smooth out the patching compound. Allow it to dry completely before proceeding.
Step 4: Apply Leather Conditioner
After you have repaired the patent leather, apply a leather conditioner to help protect it from future damage. Use a soft cloth and circular motions to evenly distribute the conditioner over the surface of the patent leather. Once the conditioner has been applied, use a soft cloth to buff out any remaining scratches or gouges. This will help create an even surface with no visible signs of damage.
Step 5: Apply Leather Protector
Apply a leather protector to help protect the patent leather from future damage. These products are available at most shoe repair shops and department stores. Allow the patent leather to dry completely before wearing it or using it. You may need to use a hair dryer on the low setting to speed up the drying process.
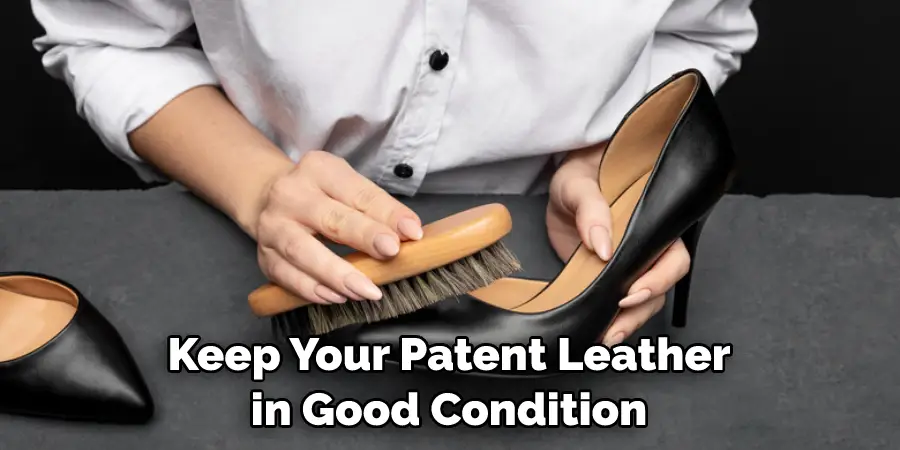
Step 6: Buff the Patent Leather
Once dry, use a soft cloth to buff the patent leather. This will create an even and glossy finish that will help protect it from future wear. To keep your patent leather in good condition, take care when wearing it. Avoid exposing it to excessive heat or moisture, as this can cause it to crack or warp. Also, store it in a cool, dry place when not using it.
By following these steps, you will be able to repair patent leather and keep it looking great for years to come.
8 Safety Precautions for How to Repair Patent Leather
- Wear protective clothing and safety gear, including gloves, safety goggles, and a respirator mask, when using any chemicals during the repair process.
- Use lint-free cloths or sponges when cleaning patent leather to avoid leaving behind any residue that could interfere with the repair process.
- Before you start the repair, test any treatment on a small spot of leather first to make sure it won’t damage the material or color.
- Use only products specifically designed for use with patent leather, and follow all instructions carefully.
- Keep your workspace well-ventilated when using chemicals for repairs; open windows and use fans to increase air circulation.
- When applying any kind of treatment to patent leather, start in the middle and work your way outward for a more even finish.
- Be sure to let the repair dry completely before using or wearing the item.
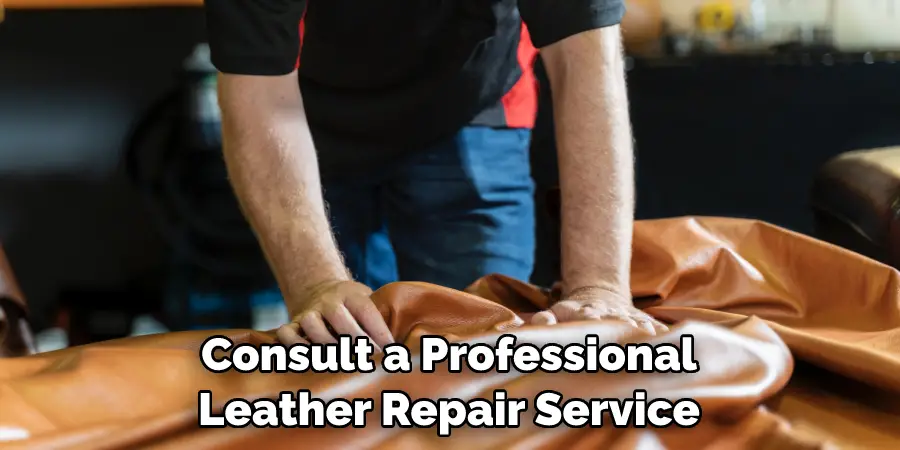
- It is best to consult a professional leather repair service for larger or more complex repairs. This will ensure the best possible results for your patent leather item.
Following these safety precautions, you can successfully repair patent leather without harming or damaging your material. Whether you prefer to do it yourself or enlist the help of an expert, with a little care and patience, you can have your patent leather item looking like new again in no time.
How Can You Identify Any Damage on the Patent Leather Surface?
Patent leather has a glossy surface that can be easily damaged over time. It is important to identify any areas of damage before beginning the repair process. Look for scuffs, scratches, and tears on the leather surface to do this.
You should also inspect if there are any signs of cracking or peeling, as these can indicate deeper issues with the leather surface. If you notice any of these signs, addressing them before attempting any repairs is important.
Once any visible damage has been identified, the next step is to figure out how best to repair it. Depending on the damage’s severity, a few different techniques can be used to restore the patent leather.
If the damage is relatively minor, such as a few small scratches or scuffs, you may be able to simply buff it out with a soft cloth and some patent leather polish. If the leather’s surface shows signs of cracking, peeling or fading, then you may need to use a more intensive repair method.
What Techniques Should You Use to Ensure a Seamless Repair?
Repairing patent leather can be a tricky job. It is important to use the right techniques to ensure the repair is seamless and looks as good as new or even better. The following are some tips on repairing patent leather:
- Use specialized glue, such as Super Glue or E6000 glue, for best results. Patent leather is a delicate material requiring a special adhesive to ensure strong and secure repair.
- For small tears, use an iron-on patch as a quick fix. This can be easily done at home with a warm iron and some scrap fabric or suede, but if you are not confident about doing it yourself, leave it to a professional.
- If the patent leather has cracks or scratches, you can use a specialized filler to help reduce their visibility and make the repair look better.
- For larger tears and damages, you may want to consider using pieces of new patent leather or even replacing the entire item. If this is the case, make sure to use the same color and quality of patent leather as the original piece in order to ensure a seamless look.
Following these tips will help you repair your patent leather effectively and maintain its original look. You can bring your favorite patent leather items back to life with careful application and proper care.
Are There Any Special Care Instructions for Maintaining Repaired Patent Leather Items in Good Condition?
Once you have successfully repaired patent leather, there are a few extra steps to take in order to keep the item looking nice for years. First, it is important to protect the material from moisture and heat.
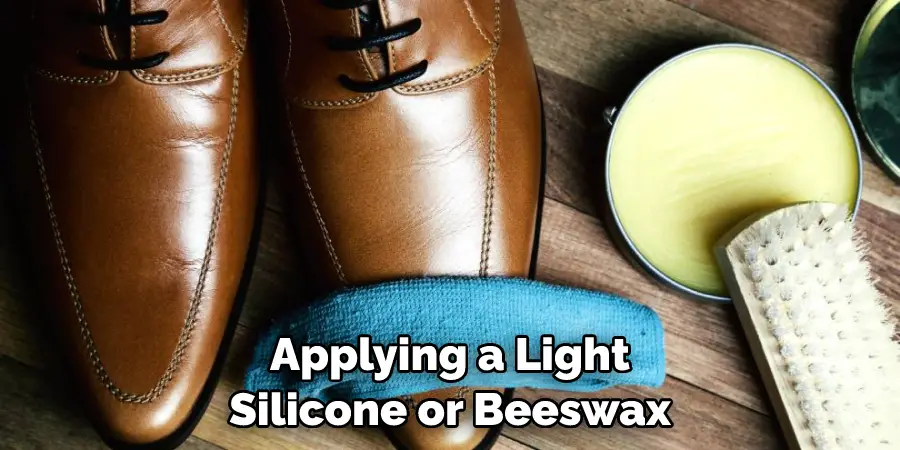
This can be done by applying a light silicone or beeswax-based waterproofing cream coating, which will help prevent cracking, peeling, and discoloration. This can also be done by storing the item in a dry place if not being used.
In addition to protecting patent leather from moisture and heat, it is important to clean it properly. To avoid damaging the material, a slightly damp cloth should be used with a mild soap or detergent-free cleaner. Any excess moisture should be dabbed away with a dry cloth and left to air dry naturally.
Finally, patent leather can benefit from being buffed every few months with a soft cloth or brush to keep it looking smooth and shiny. This will also help reduce any scuffing or scrapes on the item. The same cloth can be used to apply a light layer of polish or wax to protect the material.
Conclusion
In conclusion, repairing patent leather is an easy and cost-effective way to extend the life of your favorite shoes or accessories. With a few simple items, such as vinegar, water, cloth, rubbing alcohol, and a toothbrush, you can easily tackle scratches and scuffs. And if you encounter any more serious issues with your patent leather item, contact a professional to help you out.
With proper care and maintenance, your patent leather items can look great for many years to come. I hope this article has been beneficial in learning how to repair patent leather. Make Sure the precautionary measures are followed chronologically.