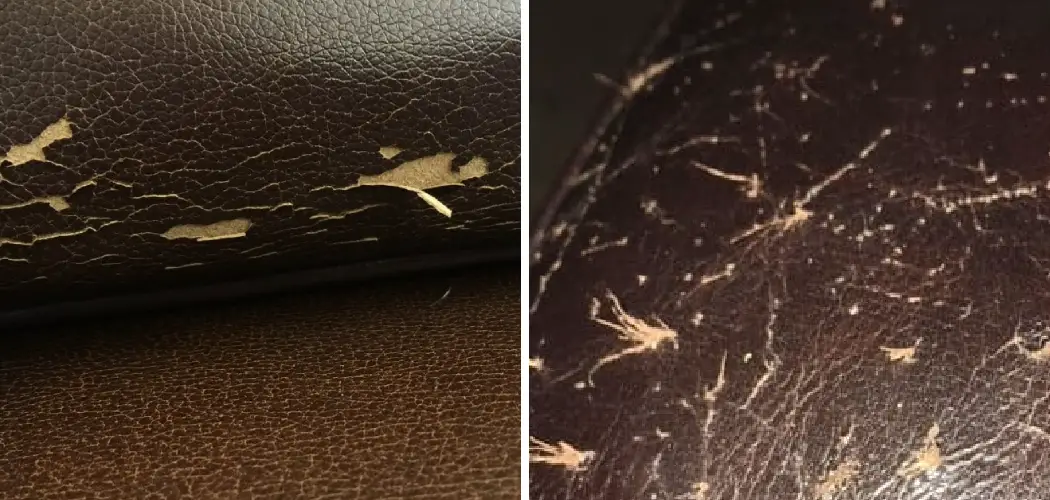
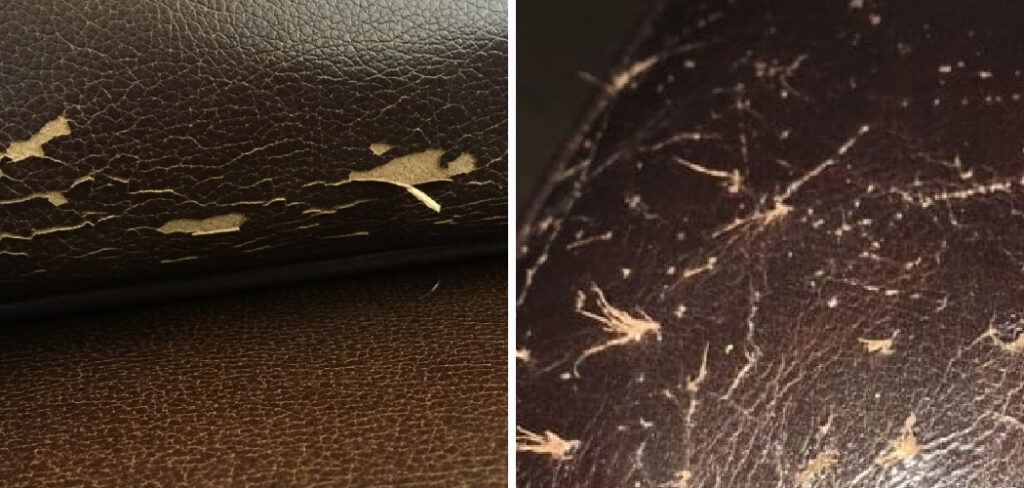
The wear and tear on leather items over time can result in the unsightly occurrence of rubbed-off areas, diminishing the overall appeal of cherished belongings. Whether it’s a favorite leather jacket, bag, or piece of furniture, learning how to repair rubbed-off leather is a valuable skill for maintaining the aesthetic longevity of such items. In this comprehensive guide, we will explore how to repair rubbed off leather, from simple touch-ups to more involved restoration processes.
Understanding the causes behind the wear, the types of leather involved, and the appropriate repair materials is essential for achieving seamless results. Whether you’re a DIY enthusiast or someone looking to salvage a beloved leather possession, mastering the art of repairing rubbed-off leather ensures that your items can regain their luster and continue to be enjoyed for years to come.
Common Reasons for Leather Rubbing off
Leather is a durable and stylish material that is used in various products such as shoes, bags, jackets, and furniture. However, despite its durability, leather can still rub off or wear out over time. This can be frustrating for leather owners, especially if the product was expensive or has sentimental value. In this section, we will discuss some common reasons why leather rubs off and what you can do to repair it.
1. Poor Quality Leather
The quality of leather plays a significant role in its durability. Low-quality leather is prone to rubbing off due to its weak and thin surface layer. This is because it lacks the necessary protective coating that high-quality leather has, making it more susceptible to abrasion and wear. In some cases, the leather may even start to peel off or crack, leading to further damage.
2. Friction and Abrasion
One of the main reasons why leather rubs off is due to friction and abrasion. When used frequently, items such as shoes, bags, and jackets can come in contact with rough surfaces, causing the leather’s surface layer to rub off. This is more common in high-traffic areas such as elbows, knees, and the soles of shoes. Over time, this can lead to visible wear and tear on the leather.
3. Exposure to Harsh Chemicals
Leather products that are regularly exposed to harsh chemicals, such as cleaning agents or certain types of body lotion, can cause the leather’s surface layer to rub off. These chemicals can strip away the protective coating on leather, making it more vulnerable to abrasion and wear. It is essential to use gentle cleaning products specifically designed for leather items to avoid this issue.
10 Methods How to Repair Rubbed off Leather
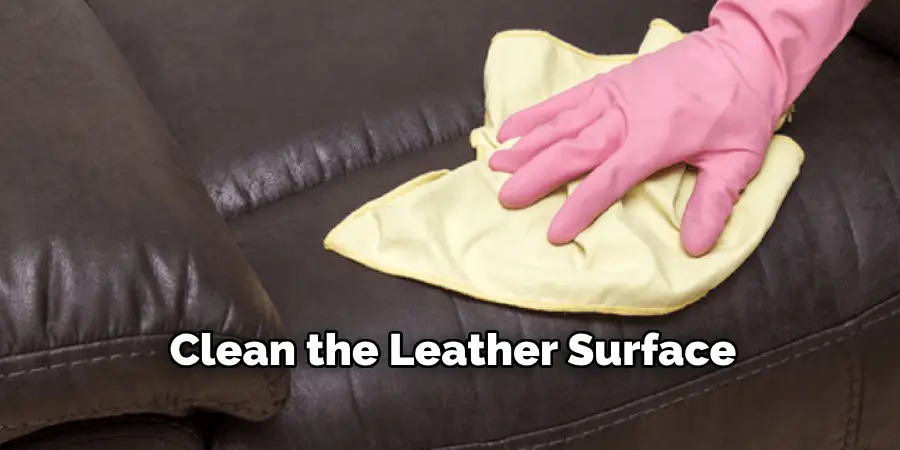
1. Clean the Leather Surface
The first step to repairing rubbed-off leather is to clean the leather surface. Use a damp cloth to remove any dirt or dust from the surface, then use a dry cloth to wipe away any remaining moisture. If there are any stubborn stains, you can use a mild soap and water solution to gently scrub them away. Once the surface is clean, allow it to dry completely before proceeding with repairs.
2. Apply Leather Conditioner
Once the leather surface is clean and dry, you should apply a leather conditioner to help protect it from further damage. The conditioner will help keep the leather soft and supple, as well as provide some protection against future wear and tear. Make sure to follow the directions on the bottle of conditioner carefully in order to get optimal results.
3. Rub in Leather Dye
If you want to restore color to your rubbed-off leather, you can use a leather dye or stain that matches the original color of your item. Be sure to test the dye on an inconspicuous area first before applying it all over your item. When applying dye, make sure that you rub it in evenly so that it looks natural when finished. Allow the dye to dry completely before moving on to the next step.
4. Seal with Finishing Cream
Once you have applied dye (if desired) and allowed it time to dry, you should seal your work with a finishing cream or wax polish designed for leather goods. This will help protect your repair job from further wear and tear while also giving it a nice shine and luster that will make it look like new again! Again, be sure to read all instructions carefully before applying this product in order to get optimal results.
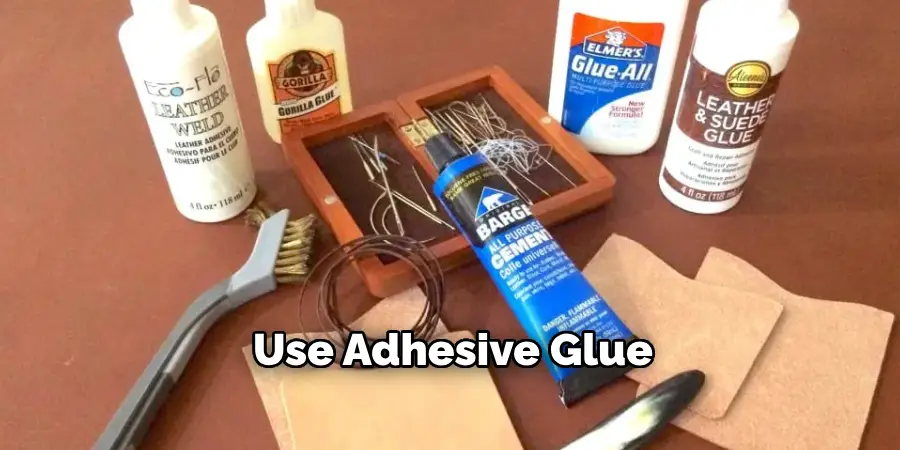
5. Patch Damaged Areas
If there are any areas of your rubbed-off leather that have been severely damaged, such as holes or tears, you may need to patch them up using pieces of scrap leather or fabric patches cut into shapes with scissors or an X-Acto knife. Once you have patched up these areas securely, use adhesive glue designed for leather goods in order to hold them in place permanently before moving on with other repair steps if necessary.
6. Buff Out Scratches
Scratches can also occur on rubbed-off leather due to wear and tear over time; however, they can usually be buffed out fairly easily using a soft cloth and some rubbing alcohol or saddle soap solution (depending on what type of finish is present). Gently rub away at these scratches until they become less noticeable; then, use another soft cloth dampened with water in order to buff out any excess rubbing alcohol/soap residue left behind by this process before allowing everything time to dry completely once more.
7. Apply Leather Paint
If desired, you may also choose to apply some leather paint onto your item after completing all other repair steps listed above; this will help give it an extra layer of protection against further damage while also helping to hide any minor scratches or blemishes still present after repairs have been made.
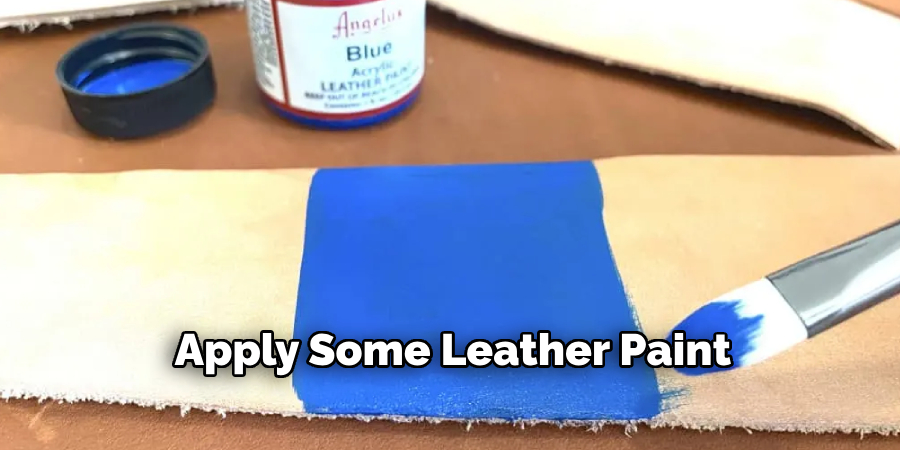
Be sure to test this product out on an inconspicuous area first before painting over large sections of your item; additionally, read all instructions carefully beforehand so that you know how long to let each coat dry before adding additional coats if needed.
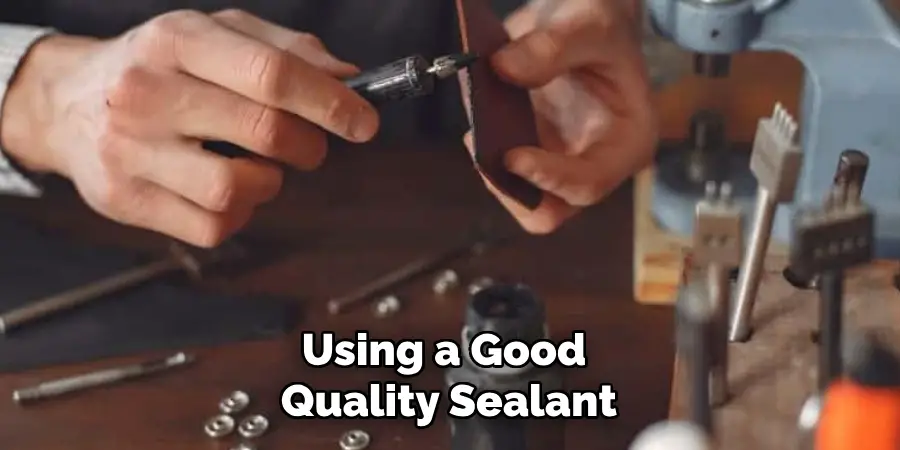
8. Apply Leather Sealant
After painting (if desired), apply one final layer of protection by sealing everything together using a good quality sealant specifically designed for use on leather goods.. This will help ensure that all repairs remain secure even after being exposed too everyday wear & tear over time.. Make sure to read & follow all instructions carefully when applying this product so that you achieve optimal results.
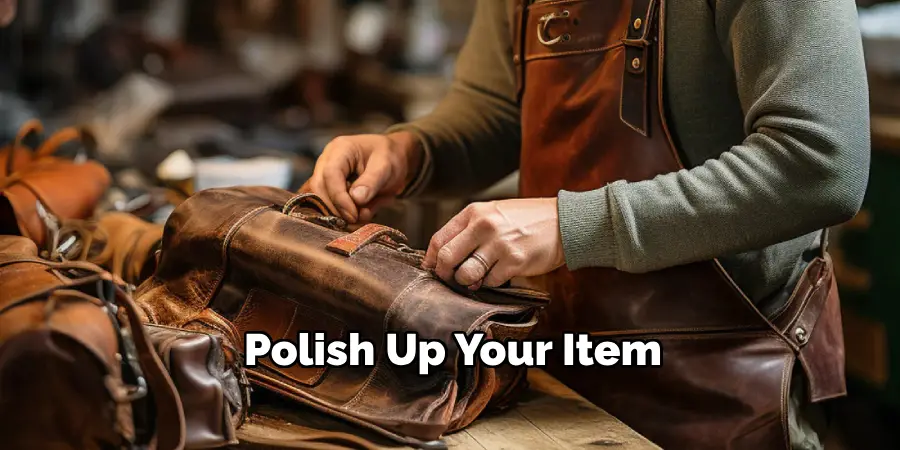
9. Polish Up Your Item
Finally, once everything has dried properly after applying sealant (or just conditioner/dye if no sealant was used), polish up your item using either beeswax polish or mink oil depending upon what type of finish is present.. Both products will help bring back some shine & luster while also providing additional protection against future damage as well. Just make sure not to overdo it when polishing since doing so can actually cause more harm than good!
10. Enjoy Your Refurbished Item!
Now that all repair steps have been completed successfully enjoy your refurbished item, knowing that it’s now looking better than ever! With proper care & maintenance going forward, hopefully, this piece of furniture should last for many years to come without needing further repairs anytime soon. Don’t forget to thank yourself for taking the time to repair your rubbed-off leather item instead of just throwing it away & buying a replacement.
Things to Consider When Repairing Rubbed off Leather
If you have a beloved leather item that has been rubbed off, you may be wondering if it can be repaired. While repairing rubbed-off leather is possible, there are a few things to consider before jumping into the repair process.
Firstly, take a look at the extent of the damage. Is the rubbed-off area small or large? Is it just a few scratches, or is the leather completely worn off? This will determine the type of repair method you need to use.
If the damage is minimal, such as a few small scratches, then you can likely fix it yourself with some simple leather repair kits that are available at most craft stores. These kits usually contain colored liquid compounds that can be applied to the damaged area to cover up the scratches and blend in with the original leather color.
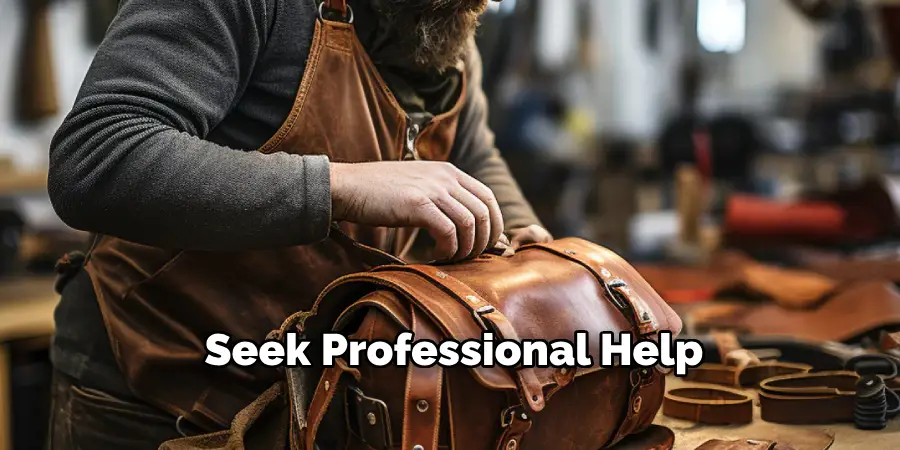
However, if the damage is more extensive, it’s best to seek professional help. Attempting a DIY repair on large areas of rubbed-off leather can often make the problem worse and result in an uneven or discolored appearance. A professional leather repair specialist will have the proper tools and knowledge to fix the damage and restore your leather item back to its original condition.
Additionally, it’s important to consider the type of leather that is damaged. Not all leather is created equal and certain types may require different repair techniques. For example, suede or nubuck leather cannot be repaired with liquid compounds like regular leather can. In these cases, a professional will use specialized methods such as sanding or brushing to restore the leather’s texture.
Common Mistakes to Avoid When Repairing Rubbed Off Leather
While repairing rubbed-off leather may seem like a simple task, there are some common mistakes that people often make that can actually worsen the condition of their leather. In this section, we will discuss these mistakes and how to avoid them in order to successfully repair your rubbed-off leather.
Not Identifying the Type of Leather
One of the most common mistakes people make when repairing rubbed-off leather is not identifying the type of leather they are dealing with. Different types of leather require different methods and products for repair, so it’s important to know what type you are working with before attempting any repairs. For example, genuine leather will require a different approach than bonded leather or suede.
Using Harsh Chemicals
Another mistake people often make is using harsh chemicals or cleaning products on their leather. While these may seem effective in removing stains, they can also strip the leather of its natural oils and cause further damage. It’s important to use gentle, pH-balanced cleaners specifically designed for leather when repairing rubbed-off areas.
Not Testing Products
Before applying any products to your leather, it’s important to test them on a small, inconspicuous area first. This will allow you to see how the product affects the leather and ensure that it won’t cause any further damage. It’s also important to follow the instructions on the product carefully in order to achieve the best results.
Conclusion
In conclusion, leather repair can be an easy and affordable way to spruce up any worn-down piece of furniture. Whether you are taking on the task yourself or hiring a professional to do the job, it is important to understand the different techniques used for rubbing off leather in order to make sure you get the best possible result.
Taking care of your furniture and regularly cleaning any patches or rips will be beneficial in ensuring that your piece remains looking great year after year. With proper attention and care, you can restore your leather furniture to its former glory in no time at all. So what are you waiting for? Start using these useful tips today to learn how to repair rubbed off leather!