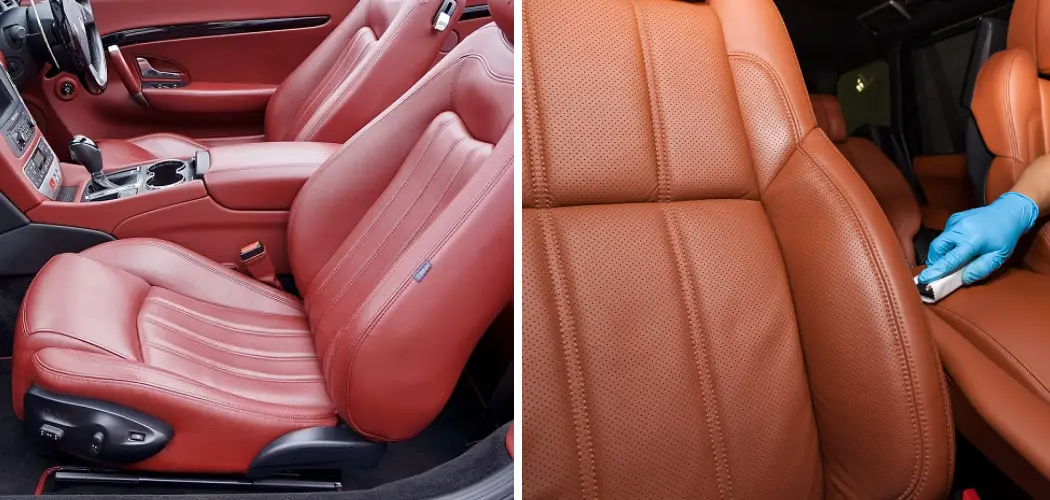
Are you looking for a way to bring new life to an old car seat without breaking the bank? The good news is that with simple supplies and time, you can easily reupholster your automobile’s leather seats and give them a renewed look and feel.

Car seat leather is a popular material for many vehicles due to its durability and comfort. However, it can become worn, cracked, or stained over time. Instead of replacing the entire seat, you can save money by learning how to reupholster them yourself.
Whether you’re hoping to restore the factory finish or just want some fresh comfort, taking on this project can be satisfying and affordable. Read on to learn how to reupholster a car seat leather by yourself!
What Will You Need?
Before starting, ensure you have all the necessary tools and supplies. These may include:
- Leather upholstery fabric
- Upholstery foam
- Spray adhesive
- Utility knife
- Scissors
- Pliers or a staple remover
- Staple gun and staples
- Needle nose pliers
It’s important to use high-quality materials for this project to ensure a professional-looking finish. You may also need some additional tools or supplies depending on the condition of your car seat and the specific steps you’ll be taking.
10 Easy Steps on How to Reupholster a Car Seat Leather
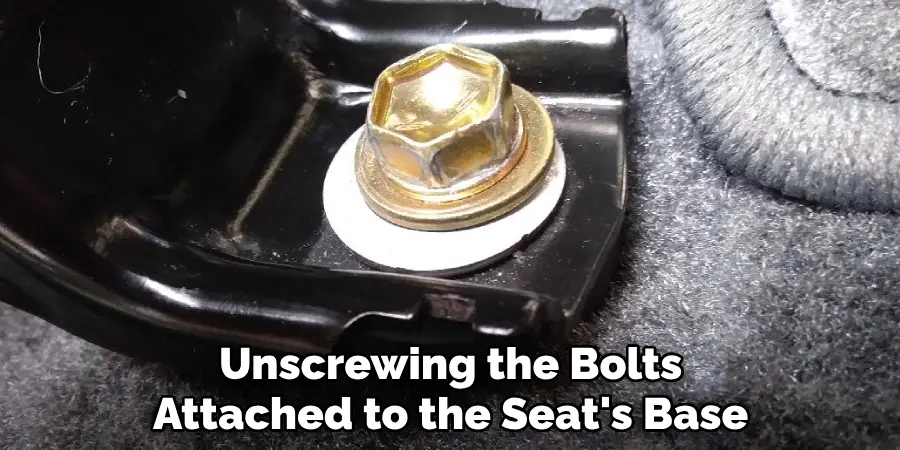
Step 1. Remove the Car Seat:
Start by unscrewing the bolts attached to the seat’s base with a socket wrench. Be sure to unplug any electrical connectors before completely removing the seat from the car. This will make the re-upholstering process much easier as you’ll have more room to work with.
Step 2. Remove the Old Upholstery:
Once the car seat is removed, start detaching the old leather upholstery. You’ll likely find that it’s secured with staples or clips. Use your pliers or staple remover to carefully remove these fastenings without causing damage to the seat frame. Remember to keep track of all the parts you remove, as you may need them for reference when installing the new leather.
Step 3. Clean and Repair the Seat Frame:
After removing the old upholstery, thoroughly inspect the seat frame for any signs of damage or rust. Use a wire brush to remove rust and repair broken parts if needed. A clean and well-maintained frame not only ensures a smoother upholstery process but also enhances the longevity of your newly upholstered seat.
Step 4. Cut the New Leather:
Measure the dimensions of your car seat, and add a few extra inches on all sides for leeway. Use these measurements to cut your new leather upholstery fabric. Using the old upholstery as a template for cutting the new leather is highly recommended, as this can provide a more accurate fit. Use a utility knife or scissors to cut the leather, making straight and clean cuts.
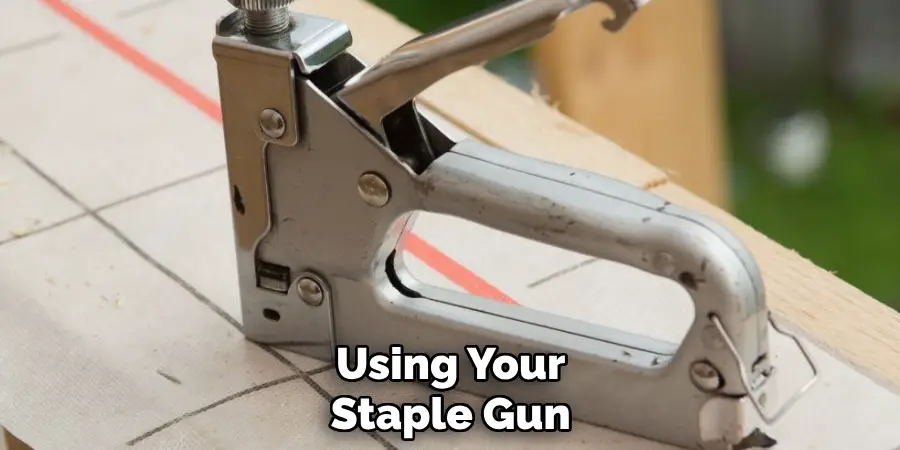
Step 5. Attach the New Leather:
Begin by laying the new leather over the seat, ensuring it aligns correctly with the shape and contours. It is useful to secure the leather temporarily with fabric weights or clips to prevent it from moving around.
Starting from the center and working outwards, attach the leather to the seat frame using your staple gun. Make sure to pull the fabric taut as you go along to avoid any wrinkles or loose areas.
Step 6. Trim and Tuck the Leather:
After securing the leather on the seat frame, it’s time to deal with corners and complex shapes. Cut small slits in the fabric that allow it to fold neatly around these areas. Be careful to cut only a little, though, as you might end up with gaps or loose fabric.
Fold and tuck the leather, then secure it with additional staples. Also, trim any excess fabric from the underside of the seat frame, leaving enough to secure the material effectively but not so much that it interferes with the reinstallation of the seat.
Step 7. Reinstall the Seat:
Once you’ve successfully attached the new leather and ensured it’s secured tightly, it’s time to reinstall the car seat. Carefully position it back in the car, aligning the mounting holes with the bolts on its floor.
Reattach the bolts and tighten them using your socket wrench. Remember to reconnect any disconnected electrical connectors when you initially remove the seat. This final step completes the re-upholstering process, leaving you with a rejuvenated leather seat that will enhance the appeal and comfort of your vehicle.
Step 8. Conditioning the Leather:
After the seat is securely reinstalled in the car, the final touch is to condition the new leather. Use a high-quality leather conditioner to hydrate and protect the material. Apply the conditioner following the product’s instructions—usually, this involves applying a small amount of conditioner to a soft cloth, then wiping it onto the leather in a circular motion.
This step not only enhances the look of the new upholstery but also extends its lifespan by protecting it from UV damage, spills, and wear and tear. Let the conditioner sit and absorb into the leather for the recommended amount of time, then buff it off with a clean, dry cloth.
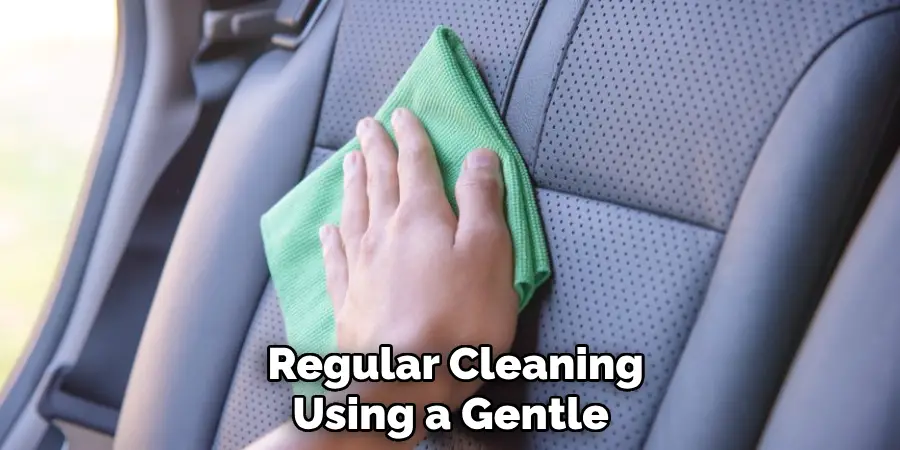
Step 9. Maintaining Your Leather Seat:
After successfully reupholstering and conditioning your car seat, it’s crucial to maintain the quality and appearance of the leather. Regular cleaning using a gentle, leather-safe cleaner can remove dirt and grime that accumulates with daily use.
Moreover, conditioning the leather every few months will keep it hydrated and help prevent cracking or fading. In case of spills, immediately wipe them off to avoid any stains. Stick to a regular care routine, and your reupholstered car seat will look its best for years to come.
Step 10. Enjoy Your New Seat:
Congratulations! You have successfully reupholstered your car seat with new leather. Take a moment to appreciate your hard work and the new look of your vehicle’s interior. Not only have you enhanced the aesthetic of your car, but you’ve also increased its value. Enjoy your new seat, and take pride that you accomplished this task alone!
By following these steps and using the proper tools and materials, you can easily reupholster a car seat with leather. It may seem daunting initially, but with patience and attention to detail, you’ll have a beautifully reupholstered car seat in no time.
5 Additional Tips and Tricks
- Leverage the Right Tools: For reupholstering car seat leather, having the right tools is crucial. This includes a good quality upholstery needle, heavy-duty thread, a staple gun, and upholstery fabric scissors.
- Choose High-Quality Leather: Opt for a durable, high-quality leather material that can withstand daily wear and tear. Consult a professional about the best leather types for car seats.
- Remove Seats Carefully: When removing the car seats, be sure not to rush. Careless removal may damage the seat or the vehicle’s interior. Keep track of all screws and bolts for easy reassembly.
- Clean The Seats Beforehand: Before starting the re-upholstering process, thoroughly clean the seats, removing dust or grime. This helps to ensure a smoother and more efficient re-upholstering process.
- Patience is Key: Reupholstering car seat leather is a meticulous job that requires patience and precision. Don’t rush the process. Take your time to ensure the best results.
With these additional tips and tricks, you’ll be well on your way to successfully reupholstering your car seat leather.
5 Things You Should Avoid
- Avoid Using Inappropriate Tools: Using incorrect or low-quality tools can cause damage or result in sub-par work. Always invest in the right tools for reupholstering car seat leather.
- Don’t Settle for Cheap Leather: While it might be tempting to save money on materials, cheap leather can easily wear and tear, leading to more frequent replacements and ultimately costing you more in the long run.
- Avoid Rushing the Removal and Installation Process: The seats’ removal and installation processes require care and precision. Rushing these steps can not only damage the seats but also the rest of the car’s interior.
- Don’t Skip the Cleaning: Skipping the cleaning step could result in dirt and grime getting trapped under the new leather, potentially causing damage over time.
- Avoid Ignoring the Manufacturer’s Instructions: Every car and seat model is different, and ignoring the manufacturer’s guidelines could lead to errors. Always refer to these instructions when in doubt.
By avoiding these common mistakes, you can ensure a successful reupholstering of your car seat leather.
Conclusion
To conclude, how to reupholster a car seat leather is only a task any layperson can take on with the proper skill and tools. With the right combination of knowledge, resources, and tools, however, you can make an old and worn out seat look as good as new. We hope this guide was useful to you and is a helpful reference for your project.
And with some elbow grease, you’ll successfully bring your car’s interior to its original glory! If you ever feel uncertain about how to proceed, don’t hesitate to contact an expert or professional. There is nothing more satisfying than breathing new life into a beloved vehicle.
Now go forth and make that automotive relic of yours shine again!