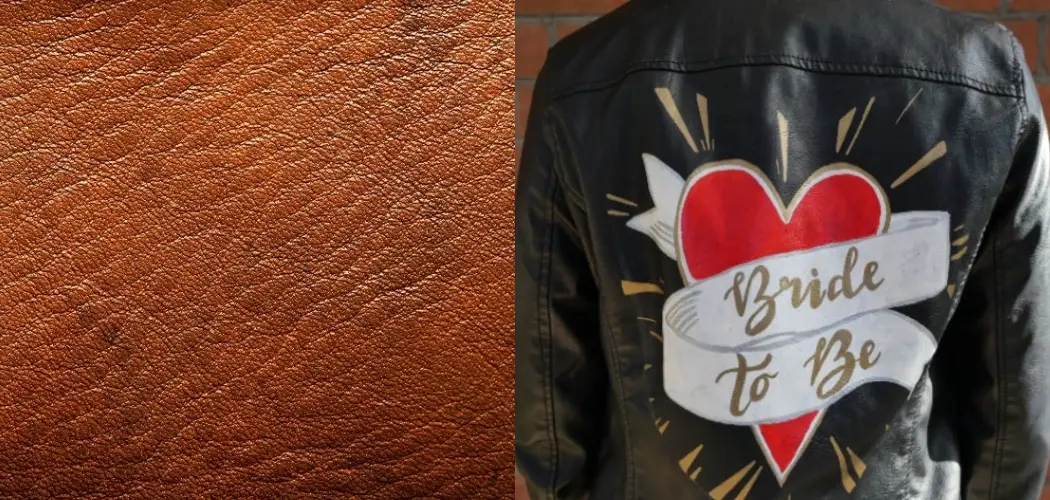
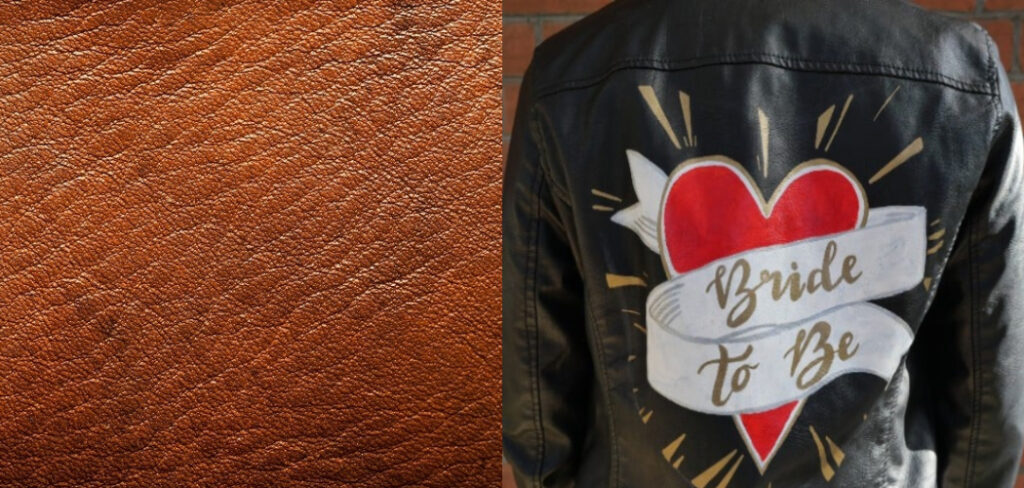
Acrylic paint is a water-based paint known for its versatility and wide range of colors. Leather is a natural material that comes in many different colors and textures. By sealing the acrylic paint on leather, you will be protecting it from fading and cracking. There are several different ways to seal acrylic paint on leather.
In this blog post, we will show you how to seal acrylic paint on leather using the right sealant. One way to do this is by sealing the paint with a clear acrylic sealant. However, if your painting includes leather, you will need to use a special sealant that is designed for leather. This process will help protect your project from weathering and fading over time. Read on for more information!
Why Should You Seal Acrylic Paint on Leather?
Acrylic paint is a versatile and popular choice for painting leather. It dries quickly and is available in a wide range of colors. However, acrylic paint is not waterproof, and it can be susceptible to fading and cracking over time. By sealing the paint with a clear acrylic sealant, you will be protecting it from these damaging effects.
Sealing the paint will also give the leather a glossy finish that will make it look new and vibrant. You can find clear acrylic sealants at most hardware stores or online. If you want to add extra protection to the leather, you can also use a UV-resistant sealant. When applying the sealant, make sure to follow the instructions on the packaging.
10 Effective Ways on How to Seal Acrylic Paint on Leather:
1. Use a Thin Layer of Mod Podge:
Mod podge is a water-based sealant available in Matte, Gloss, and Satin finishes. It dries clear and can be used to seal acrylic paint on leather. To use mod podge, apply a thin layer over the painted surface with a brush. Allow it to dry for at least 24 hours before using the leather.
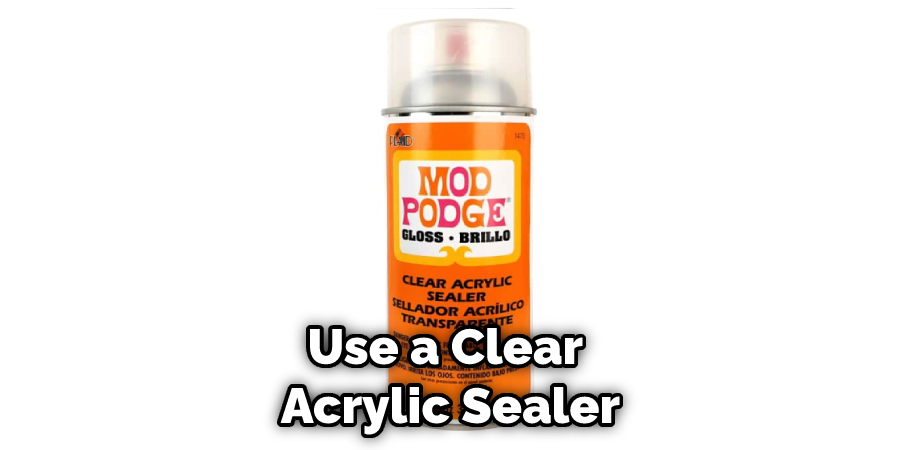
2. Use a Clear Acrylic Sealer:
Clear acrylic sealers are available in glossy, matte, and satin finishes. They can be found at most hardware stores or online. Use a clear acrylic sealer, apply a thin layer over the painted surface with a brush. Allow it to dry completely before adding another layer. Repeat this process until the sealer is no longer visible.
3. Use a Polyurethane Sealer:
Polyurethane sealers are available in glossy and satin finishes. They provide the best protection for your leather and can be applied with a brush or spray. If the polyurethane sealer is applied with a brush, make sure to use a high-quality brush so that the sealer goes on smoothly.
4. Let the Leather Dry:
Once you have applied the sealer, let the leather dry for at least 24 hours before using it. This will allow the sealer to set and cure properly. Ensure the area is well-ventilated and that the leather is not exposed to direct sunlight.
5. Use a Varnish:
Varnishes come in glossy, semi-gloss, and satin finishes. They provide moderate protection for your leather and can be applied with a brush or a spray. You can find varnishes at most hardware stores. When using varnishes, always test a small, inconspicuous area of your leather first to ensure compatibility.
6. Create a Barrier with Gesso:
Gesso is a white, water-based paint that can be used to create a barrier between the leather and the sealer. To use gesso, apply a thin layer over the entire surface of the leather with a brush. Allow it to dry completely before applying the sealer. Gesso can also be used to prime the leather for painting.
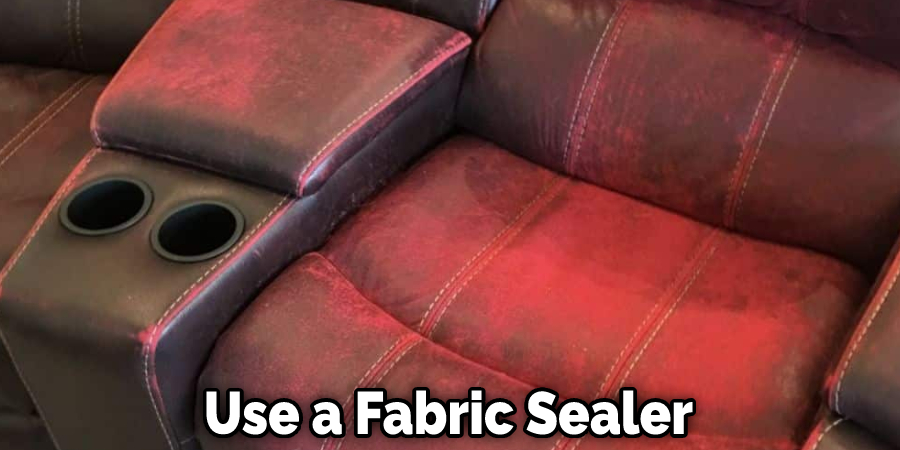
7. Use a Fabric Sealer:
Fabric sealers are available in clear and tinted finishes. They can be found at most craft stores or online. To use a fabric sealer, apply a thin layer over the entire surface of the leather. Then, allow it to dry completely before continuing.
8. Seal with an Oil:
You can use oil to seal your acrylic paint on leather. The most common options are olive oil, jojoba oil, or mineral oil. You can find these at most stores in the cooking aisle.
Simply apply a small amount of oil to a clean cloth and rub it into the painted area. Let it dry for 24 hours before using the item. If you want a more durable option, you can try using leather sealer or lacquer. These products will give your leather a glossy finish and help protect it from wear and tear.
9. Use Latex Paint:
Applying a layer of latex paint is another great way to seal in your acrylic paint and protect it from damage. This method is especially effective if you’re painting something that will see a lot of wear and tear, like a piece of furniture. Simply apply a thin layer of paint over your dried acrylics, letting it dry completely before using or handling the item.
10. Apply Clear Nail Polish:
For a quick and easy way to seal your acrylic paint, reach for some clear nail polish! Simply apply a thin layer of polish over the surface of your painting, letting it dry completely before using or handling the item. This method is great for small projects or if you’re in a pinch, but it’s not as durable as other options.
What Tool & Supplies Needed:
You will need the following supplies to complete this project:
- A piece of leather, at least 8×10 inches in size
- Acrylic paint in your desired colors
- A paintbrush
- A sealer
Step by Step Guide: How to Seal Acrylic Paint on Leather
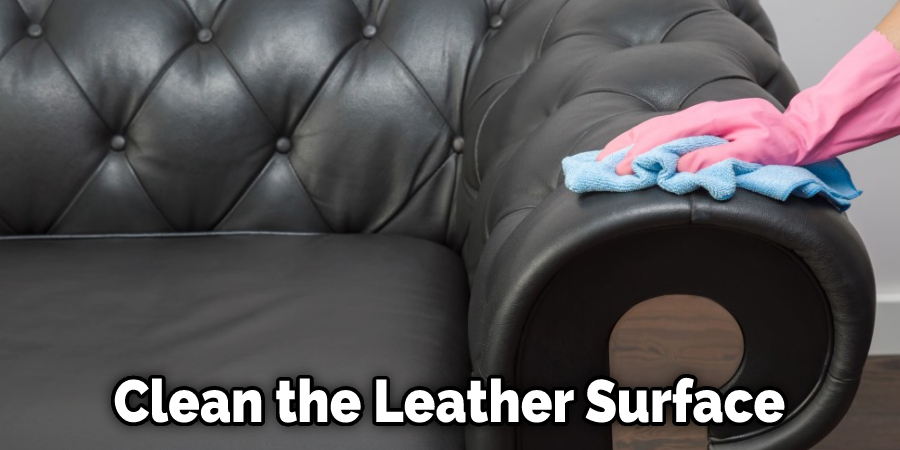
Step 1: Clean the Leather Surface
Before you start, you will need to clean the leather surface. This will remove any dirt, dust, or oils that could prevent the sealant from adhering properly. You can use mild soap and water to clean the leather.
Step 2: Apply the Acrylic Sealant
Once the leather is clean and dry, you can apply the acrylic sealant. You will need to use a brush or sponge to apply an even sealant layer over the surface. If you want, you can use a spray sealant, but make sure to follow the directions on the can.
Step 3: Let the Sealant Dry
After applying the sealant, you will need to let it dry. The drying time will vary depending on the product that you use. Once the sealant is dry, it will create a protective barrier over the paint. This will help to keep the paint from chipping or fading.
Step 4: Apply a Top Coat
Once the sealant is dry, you can apply a top coat. This will provide an extra layer of protection for the paint. It is important to use a top coat compatible with the sealant you used.
Top coats come in various finishes, so you can choose the one that best suits your needs. For example, a glossy top coat will give the leather a shiny finish, while a matte top coat will provide a more natural look. You can also find top coats that are specifically designed for outdoor use.
Step 5: Let the Top Coat Dry
After applying the top coat, you will need to let it dry. The drying time will vary depending on the product that you use. Once the top coat is dry, your leather piece will be protected from the elements.
Step 6: Enjoy Your Newly Protected Leather Piece!
Now that your leather piece is protected, you can enjoy it for years to come. Ensure to take care of it by cleaning it regularly and avoiding exposure to extreme temperatures or sunlight. With proper care, your leather piece will last for many years.
Some Helpful Tips and Suggestions:
- Clean the surface of the leather with a damp cloth. This will remove any dirt or debris that could interfere with the paint’s adhesion.
- If you’re working with multiple colors, test them out on a scrap piece of leather or paper first. This will help you feel how the paint will look on the final product.
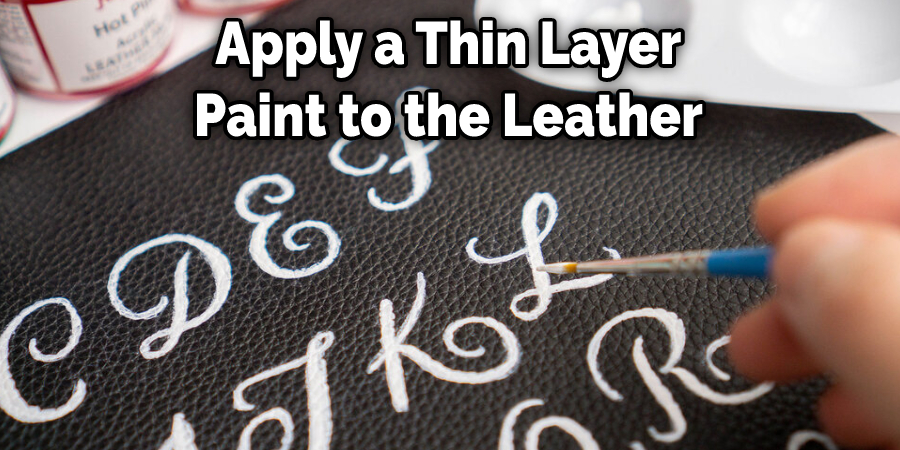
- Once you’re happy with your colors, apply a thin layer of paint to the leather. Again, work in small sections and use a light hand to avoid creating any streaks or blotches.
- Allow the first layer of paint to dry completely before adding additional coats. Each coat should be thinner than the last to prevent the paint from cracking or peeling.
- Once you’re satisfied with the coverage, seal the paint with a clear acrylic sealer. This will protect the paint from wear and tear, making it resistant to water and stains.
With these tips in mind, you’ll be able to create beautiful, long-lasting paintings on leather. So get creative and experiment with different colors and techniques to see what you can create!
Conclusion
To seal acrylic paint on leather, you will need a few supplies and follow these simple steps. First, make sure the surface of the leather is clean and dry. Then, using a brush or sponge, apply a thin coat of sealant to the surface. Finally, allow the sealant to dry completely before applying another coat.
If desired, you can also add a layer of gloss finish over the top. By following these simple steps on how to seal acrylic paint on leather, you can ensure that your acrylic paint will stay on your leather project for years to come. Have you tried sealing your acrylic paintings with this method? Let us know how it worked out in the comments below!