There’s nothing like the look and feel of genuine leather, but sometimes you don’t need a whole piece of leather. For example, maybe you’re working on a small project, or you want to test out a new color or pattern.

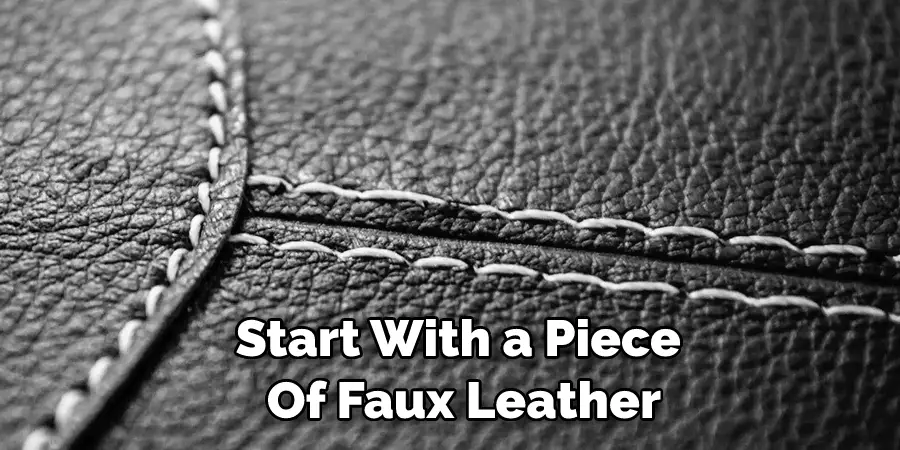
In cases like this, it’s tempting to use faux leather. Faux leather comes in many different colors and styles to be an excellent option for projects. However, if you’re not careful, the edges of your faux leather pieces can fray and unravel. Here’s how to seal faux leather edges to look great and last longer.
Sealing the edges of your faux leather is a simple process that requires just a few supplies. Many people recommend using Fray Check, but you can also use clear nail polish or even a glue gun. It’s essential to choose a clear sealant, so it doesn’t alter the color of your leather.
Things You’ll Need
- Faux leather
- Pencil
- Scissors
- Ruler or a yardstick
- Mod Podge
- Paintbrush
- Water
How to Seal Faux Leather Edges Step by Step Guide
Step 1.
Start with a piece of faux leather that is at least 2 inches wider and 2 inches longer than the item you will be covering. If you are unsure of the size, it is better to err on the larger side, as you can always trim the excess off later. Place the faux leather wrong side up on a flat surface. Use a pencil to lightly draw a line around the perimeter of the item you will be covered, leaving about 1/2 inch around for seam allowance. Cut along the lines with scissors.
Step 2.
To create clean, straight edges on your faux leather, use a ruler or yardstick and a sharp blade to score a line along all four sides, about 1/4 inch from the edge. Be sure not to cut through the backing! Instead, make a shallow cut in the top layer. This will allow you to fold the edges over neatly without any bulges.
Step 3.
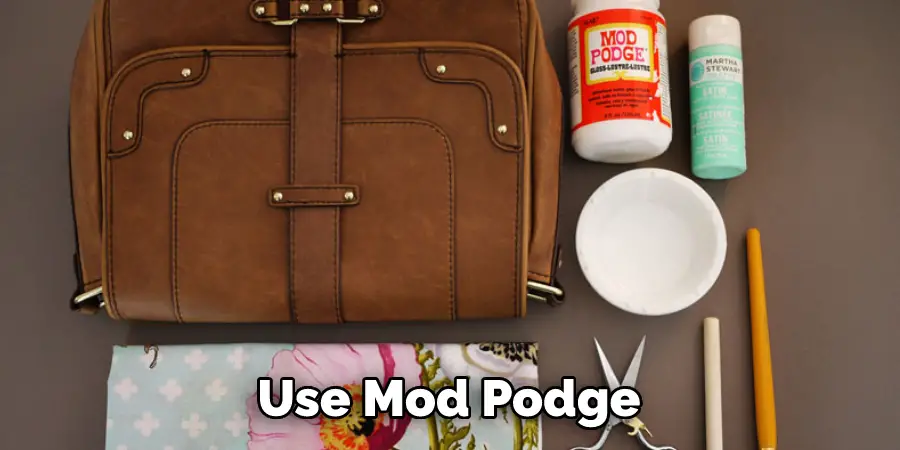
Now it’s time to seal the edges so that they won’t fray. You can use Mod Podge for this (which can be found at most craft stores), or you can make your fabric sealant by mixing equal parts water and white glue. Brush the sealant onto all four edges of the faux leather, making sure to get into all the creases. Allow it to dry for at least 30 minutes before moving on to the next step.
Step 4.
Once the sealant is dry, fold over the scored edges, so they are flush with the back of the faux leather. Use a bone folder or your fingers to smooth out any wrinkles or bumps. Apply another layer of sealant to the seam and allow it to dry completely.
Step 5.
Now your faux leather is ready to be used! Cut a piece of batting or craft felt that is slightly smaller than your piece of leather. Place it wrong side down on top of the leather, aligning all the edges. Use a glue gun to attach the two pieces, being careful not to get any glue on the top of the leather. Trim off any excess batting or felt, and you’re all done! These steps will help in how to seal faux leather edges.
Tips and Tricks:
- If you’re looking for a super-smooth, professional finish on your faux leather edges, consider using a heat sealer. Heat sealing is a quick and easy way to create a permanent seal that will give your project a polished look.
- To avoid any potential damage to your heat sealer, test it out on a scrap piece of fabric before using it on your project.
- When using a heat sealer, always use low heat and work slowly to avoid melting the fabric.
- If you don’t have access to a heat sealer, you can also use fray check or clear nail polish to seal the edges of your faux leather. Then, apply the product to the edges of the fabric and allow it to dry.
- For a decorative touch, you can also add bias tape or trim around the edges of your fabric before sealing. This will give your project a unique look and help to hide any imperfections.
- When working with faux leather, it’s important to remember that it can be easily damaged. So be sure to handle it carefully and avoid using sharp objects or abrasive cleaners on the surface.
With just a little bit of effort, you can quickly seal the edges of your faux leather and extend its lifespan. This simple DIY trick is a great way to save money and keep your fabric looking its best. So, next time you’re working with faux leather, give it a try!
Can You Use Heat N Bond on Faux Leather?
Faux leather, also known as pleather or vinyl, is a popular fabric choice for clothing and upholstery. It is durable and easy to care for, and it can be made to look like many different types of leather.
When it comes to crafting with faux leather, one question is whether or not you can use Heat n Bond on it. The answer is yes! Heat n Bond is an adhesive activated by heat, and it works well with faux leather.
It can be used to create all sorts of fun and unique projects. For example, you could use it to make a custom faux leather wallet or phone case. Or, if you’re feeling adventurous, you could even use it to make your pair of jeans! So whatever project you have in mind, don’t be afraid to give Heat n Bond a try.
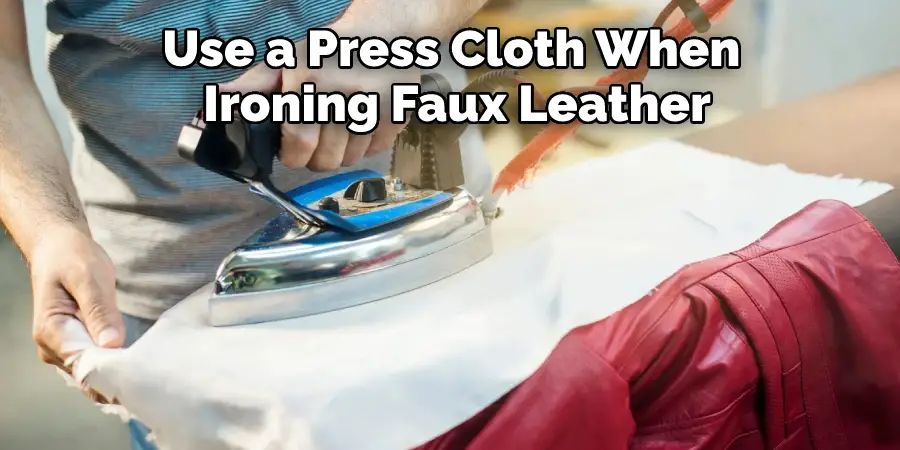
Can You Iron on Faux Leather?
Faux leather, also known as pleather, is an artificial fabric that imitates the look and feel of genuine leather. It is often used in clothing and upholstery and is an affordable alternative to genuine leather. But can you iron on faux leather?
The answer is yes, but there are a few things you need to keep in mind. First, always use a press cloth when ironing faux leather. This will protect the fabric from getting damaged by the heat of the iron. Second, set your iron to a low or delicate setting and not press too hard. You can successfully iron on faux leather without damaging it with little care.
You Can Check It Out to Tie a Knot in Leather Cord
Frequently Asked Questions
What Keeps Faux Leather From Peeling?
One of the main reasons why faux leather may start to peel is because it is not treated with a protective agent. If you want to keep your faux leather looking good and avoiding any damage, you should apply a protective coating every six months or so. This will help to stop the leather from deteriorating and peeling.
Can You Use Vaseline on Faux Leather?
Vaseline is a petroleum-based product that is not recommended for use on faux leather. This type of skin does not tolerate oil or grease well, and may result in damage or discoloration. Additionally, vaseline can also cause weight gain because it can elevate blood sugar levels.
What Oil is Best for Faux Leather?
Faux leather is made of a variety of materials, the most popular being vinyl. When it comes to oils that are compatible with faux leather, mineral oil is typically considered to be the best option. This oil has a low-odor and non-toxic nature, making it safe for use on skin and clothing. Additionally, mineral oil is slowly absorbed into the surface of the fabric which helps to preserve its color and appearance over time.
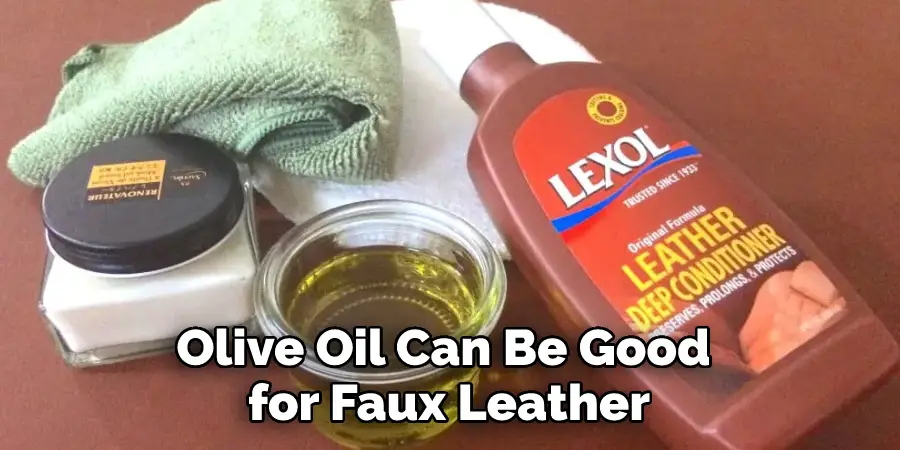
Is Olive Oil Good for Faux Leather?
Yes, olive oil can be good for faux leather. It is a natural oil that is high in antioxidants and fatty acids, which are both beneficial for faux leather. Olive oil seals in the moisture and prevents it from oxidizing, giving your faux leather a longer lifespan. Additionally, it has anti-bacterial properties that help to keep your furniture clean and free of harmful bacteria.
Conclusion:
Now that you know how to seal faux leather edges, it’s time to put your new skills into practice! With a little practice, you will achieve professional-looking results in no time. So have fun with it, and remember that the sky is the limit for creativity. Faux leather can be used for many different projects, so don’t be afraid to experiment. Thanks for reading, and we hope you enjoy putting your new skills into action!