
Sewing patches onto the leather is an excellent way to create a unique, customized look for your clothing and other accessories. Whether it’s for a special occasion or just for fun, learning to sew patches onto the leather can help you take your style up a notch.

Sewn patches are more secure than iron-on patches, so they won’t come off easily or fray after a few washes. They also provide more flexibility in terms of design since you can choose any type of patch and any color thread to customize your look.
One of the main advantages of sewing patches onto the leather is that it creates a much stronger bond than using an adhesive. Sewing is a more permanent solution, as it will not come undone over time as adhesives can.
Additionally, when you sew patches onto leather, they are able to withstand any wear and tear that may occur with use. This makes them long-lasting, so you don’t have to worry about the patch coming off or getting damaged easily. In this blog post, You will learn in detail how to sew patches onto leather.
Tools You Will Need
- Patches
- Leather material
- Sewing machine
- Thread to match the leather color
- Scissors
- Needles of different sizes (if hand sewing)
- Iron
- Waxed thread (for hand sewing)
- Fabric glue (optional)
- Thimble and thimble pusher (if hand sewing)
Step-by-Step Processes for How to Sew Patches Onto Leather
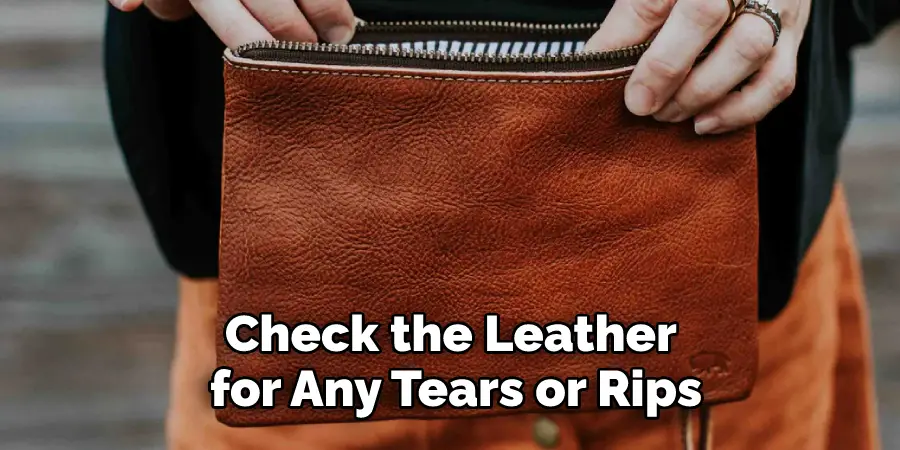
Step 1: Inspect the Leather Material
Check the leather for any tears or rips. If there are any, you will need to stitch them together before proceeding with attaching the patch. You can do this by hand or with a sewing machine.
Step 2: Choose the Right Type of Needle and Thread
For most leather materials, you will need to use a curved needle and strong thread, such as upholstery or waxed thread. These needles have an eye at the end to help you easily guide the thread through the leather. You can use a pen or pencil to mark the leather where you want your patch to be attached. Make sure the patch is centered and looks how you want it.
Step 3: Put the Patch on the Leather
Place your patch onto the leather, covering up any lines or markings that you had made previously. Secure it in place by using some fabric glue or pins. Using a leather punch, make small holes around the edge of the patch. This will be where you insert your needle and thread to sew it on. Try to space them out evenly for optimal stitching.
Step 4: Begin Sewing
Sew the patch onto the leather with your curved needle and waxed thread. Start at one corner and work your way around, following the outline of the patch. Once you have gone all the way around the patch, go back and sew reinforcing holes in each hole that was punched. This will make sure that your patch is securely attached to the leather.
Step 5: Tie a Knot and Cut the Thread
Once you finish sewing, tie a knot at the end of your thread and cut it with scissors. This will prevent it from coming undone and help hold the patch in place. Using a leather protectant, such as mink oil or beeswax, will help seal the patch onto the leather and make it last longer.
Once you have completed these steps on Sewing Patches Onto Leather, you can now enjoy your newly attached patch.
Precautions for How to Sew Patches Onto Leather
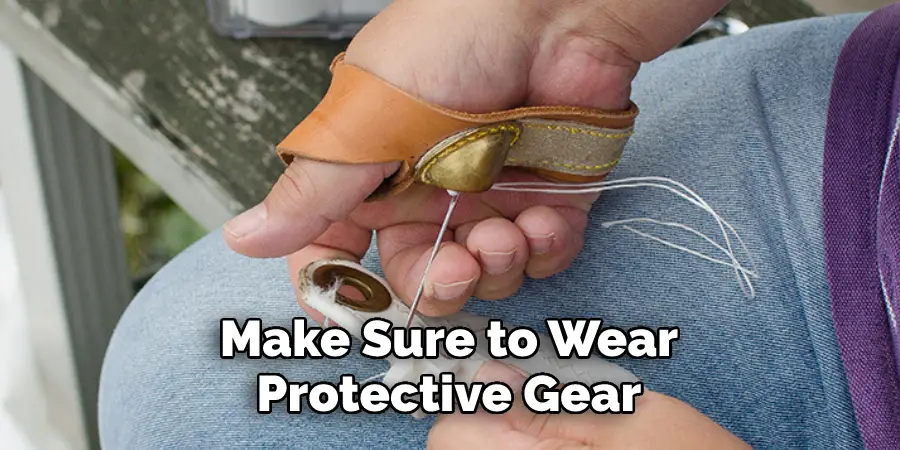
- Make sure to wear protective gear such as gloves while handling the leather and sewing needle.
- Use a piece of scrap leather underneath your patch so that you can easily remove it if necessary without damaging the surface below.
- Measure the size of your patch before you start sewing, and mark it with a pencil or chalk.
- Use a leather needle that is designed specifically for heavy-duty fabrics such as leather and thicker cloths.
- Use strong, durable thread to sew the patch on securely. Waxed polyester threads provide extra strength and durability to hold the patch in place over time.
- Use a thimble to protect your fingers from the needle and thread while you’re sewing.
- Lastly, check for any loose threads after each patch has been sewn onto the leather to ensure that it is secure and won’t come undone. This will also ensure that your patches stay in place as long as possible.
Following these easy tips and precautions will help you sew patches onto leather properly and safely. With the right supplies, some patience and practice, you can successfully create a unique piece of clothing or accessory with your own customized patches.
How Can You Clean and Maintain a Patched Leather Surface?
Once you’ve sewn on a patch or two onto a leather surface, it’s important to maintain the patched area in order to keep the patches looking their best. To clean and maintain your patched Leather surface:
- Dust the surface with a soft cloth regularly.
- Wipe off any dirt using a damp cloth.
- Apply a leather conditioner to the patched area, or if you have it, use a specially-formulated leather cleaner/conditioner.
- Allow the surface to air dry before applying any additional patches or treatments.
- If possible, store your patched Leather item away from direct sunlight and in a cool, dry place.
By taking the time to maintain your patched Leather, you can ensure that it looks its best for years to come.
How Should You Store Your Patched Leather to Ensure Its Longevity?
Once you’ve sewn your patches onto leather, it’s important to store the item correctly in order to ensure its longevity. When storing your patched leather garment or accessory, ensure it is clean and dry. It should also be kept away from direct sunlight and extreme temperatures not to fade the colors or cause the leather to become brittle.
You should also store your patched leather in a breathable cloth bag, wrap it in acid-free tissue paper, and place it in an airtight container. This will help prevent mold from forming on the patches and preserve the item for future generations.

You should also treat your item with a good quality leather conditioner and protectant to further protect your item. This will help prevent the patches from cracking or becoming brittle over time. By storing your patched leather properly, you can ensure that it remains in excellent condition for years to come.
How Can You Prevent Your Stitches From Coming Undone After Sewing a Patch Onto Leather?
After you have successfully sewn a patch onto leather, it is important to ensure that your stitches remain secure and do not come undone. You can take several measures to prevent this from happening. First, use strong thread for stitching the patch onto the leather material. A heavy-duty thread such as waxed linen or polyester will provide a secure stitch and hold the patch in place for longer.
Second, you should use an appropriate needle for sewing patches onto the leather. A leather or denim needle with a sharp point is best suited for this task. It should not be too blunt or too fine as the stitches may not be able to penetrate the leather material.
Third, use a heavy-duty sewing machine to attach the patch to the leather. A machine designed specifically for leatherworking will provide more power and control while stitching a patch onto the material.
Finally, reinforce your stitches by adding extra stitching at the end of each stitch line. This technique will help keep your stitches secure and ensure that the patch does not come off. This step is especially important if you are using a thinner thread.
Are There Any Special Techniques for Making Sure That a Patched Area Looks Seamless and Professional?
Yes, there are several techniques that you can use to make sure that a patched area looks seamless and professional. First, it is important to choose the right patch for the job – one that is made of high-quality material and design.
Second, make sure to prepare the surface of the leather before applying your patch by cleaning off any dirt or oils. Third, carefully cut the patch to ensure that it fits perfectly on the surface of the leather.
Fourth, when sewing your patch onto the leather, use a heavy-duty waxed thread and a curved needle to easily sew around any curves and intricate designs on the patch. Finally, once you have finished stitching your patch on, you can use a leather sealer to help protect it against any further wear and tear. Following these tips will ensure that your patched area looks seamless and professional.

Conclusion
In conclusion, sewing patches onto the leather can be a great way to add a personal touch and unique flair to any item of clothing or accessory. With the right tools, techniques, and materials you can have beautiful results that will last for years. By following the steps in this guide, you should now have all the knowledge needed to successfully sew patches onto the leather with ease.
When working with leather, it is important to remember that the wrong techniques can weaken or damage the material, so take your time and practice patience when sewing. I hope this article has been beneficial for learning how to sew patches onto leather. Make Sure the precautionary measures are followed chronologically.