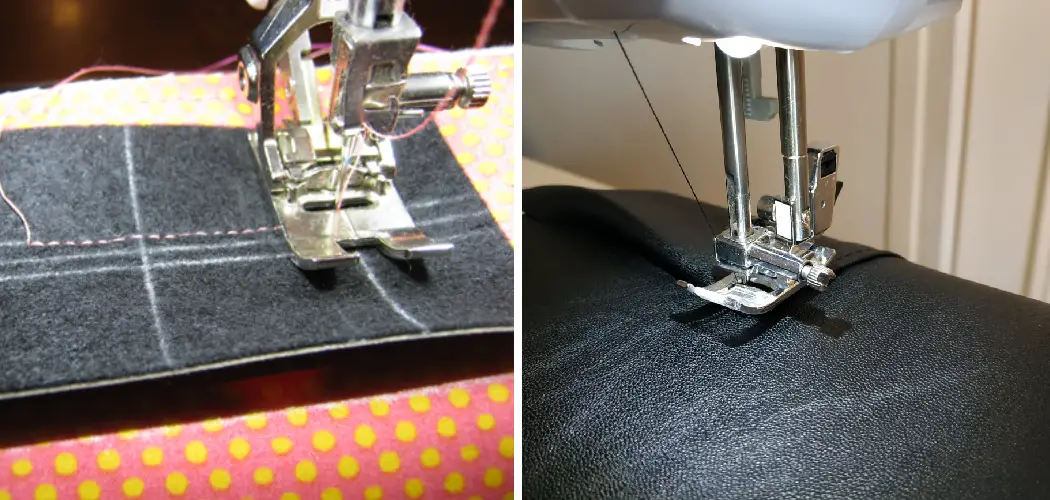
Sewing is a skill that can be used in many different ways, from repairing clothes to making unique and personalized garments. But have you ever considered sewing with pleather? This synthetic fabric made of plastic and coated with polyurethane is becoming increasingly popular for its leather-like appearance and durability.

The main advantage of sewing with pleather fabric is its durability. It is a synthetic leather that can withstand daily wear and tear, making it ideal for clothing items like jackets, purses or bags. Unlike real leather which requires regular maintenance to keep it in good condition, pleather fabric can be easily cleaned with a damp cloth. In this blog post, You will learn in detail how to sew pleather.
Step by Step Processes for How to Sew Pleather
Step 1: Inspect the Material
Before starting any sewing project, it’s important to inspect the fabric first. This is especially true when working with pleather as it can be quite different from other fabrics. Look for any imperfections or flaws in the material and make sure there are no wrinkles or creases.
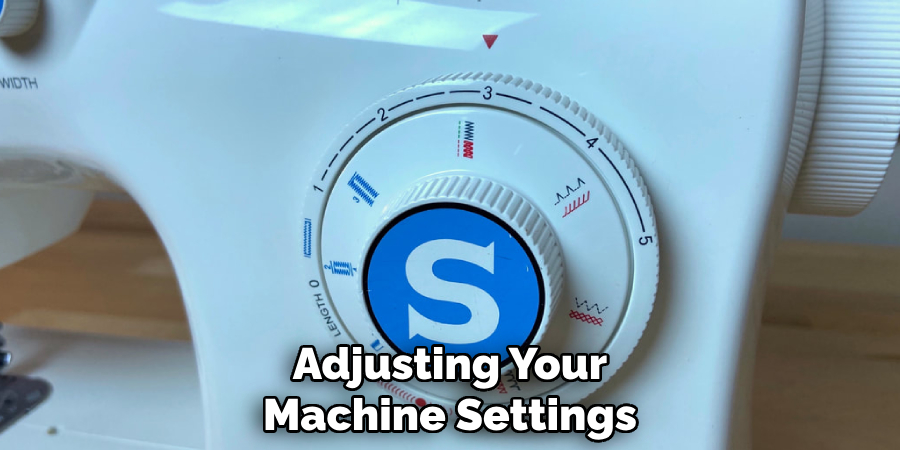
Step 2: Prepare Your Sewing Machine
Pleather is a tricky fabric to work with, so it’s important to make sure your sewing machine is prepared for the task. Use a needle specifically designed for sewing leather or heavy duty fabrics and adjust the tension accordingly.
In addition to your sewing machine, you’ll need a few other supplies when working with pleather. These include sharp scissors, clips instead of pins, a leather or heavy duty thread, and a walking foot for your sewing machine.
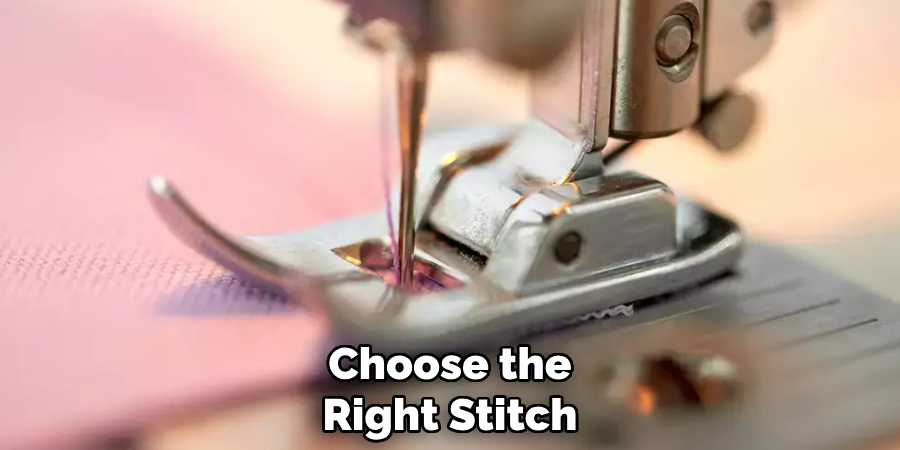
Step 3: Choose the Right Stitch
Pleather is not as forgiving as other fabrics when it comes to stitching, so it’s important to choose the right stitch. A straight stitch or a triple stitch are recommended for pleather as they provide strength and durability.
If you’re new to sewing with pleather, it’s a good idea to practice on scrap fabric first. This will allow you to get a feel for the material and test out different stitches and settings on your machine.
Step 4: Use Clips Instead of Pins
Pleather is easily damaged by pins, so it’s best to use clips or binder clips to hold the fabric in place instead. This will prevent any unsightly holes or punctures on your finished product.
Since pleather is a non-porous material, it can be difficult to make marks using traditional methods like pins or chalk. Instead, use tailor’s chalk or a water-soluble marker to mark your fabric for cutting and sewing.
Step 5: Take Your Time
Working with pleather requires patience and precision. Make sure to take your time when cutting, pinning, and sewing the fabric to avoid any mistakes or mishaps. A walking foot is essential when sewing with pleather as it prevents the material from slipping or puckering while sewing. This attachment may take some getting used to, but it will improve the overall quality of your finished product.
To give your pleather project a professional and polished look, finish the seams with bias tape. This will prevent any fraying and add extra strength to the seams.
Safety Tips for How to Sew Pleather
- Always wear protective gear, such as gloves and goggles, when working with pleather. This will protect your hands and eyes from any potential hazards.
- Use a sharp needle specifically designed for leather or heavy-duty fabrics. A sharp needle will make it easier to sew through thick layers of pleather without breaking the thread.
- Avoid using pins when sewing pleather as they can create permanent holes in the fabric. Instead, use clips or paper clips to hold the fabric pieces together.
- Place a piece of tissue paper under your pleather before sewing to prevent it from sticking to the machine’s presser foot or throat plate.
- Adjust your sewing machine settings and use a longer stitch length when sewing pleather. This will help prevent puckering and ensure that the stitches hold.
- Test your thread and needle on a scrap piece of pleather before starting your project. This will help you determine the best settings for your machine and ensure that the stitches look neat and even.
- Use a walking foot or Teflon presser foot when sewing pleather to prevent it from shifting or sticking to the presser foot. These special feet are designed to help the fabric move smoothly under the presser foot.
By following these safety tips, you can ensure a smooth and successful sewing experience with pleather. Remember to always take your time and work carefully when handling this unique material to create beautiful and durable projects.
Are There Any Specific Techniques That Need to Be Followed While Sewing With Pleather?
Yes, sewing with pleather requires some specific techniques in order to achieve the best results. In this section, we will discuss some important tips and tricks for successfully sewing with pleather.
1. Use Sharp Needles
Pleather is a synthetic material that can be quite tough to sew through. It is recommended to use sharp needles, preferably ones specifically designed for heavy duty fabrics, to minimize the risk of breaking or bending needles.
2. Adjust Your Machine Settings
When sewing with pleather, it is important to adjust your sewing machine’s tension and stitch length. A higher tension setting will help prevent puckering and ensure that the stitches lay flat on the fabric. Additionally, a longer stitch length will also help prevent puckering and make it easier to sew through the thicker material.
3. Use Clips Instead of Pins
Pins can leave permanent holes in pleather and may also cause the fabric to slip while sewing. It is recommended to use clips instead, which will securely hold the fabric in place without causing any damage.
4. Avoid Ironing Directly on Pleather
Ironing directly on pleather can easily melt or burn the fabric. Instead, place a cloth or pressing sheet between the iron and pleather to protect it while still achieving a smooth finish.
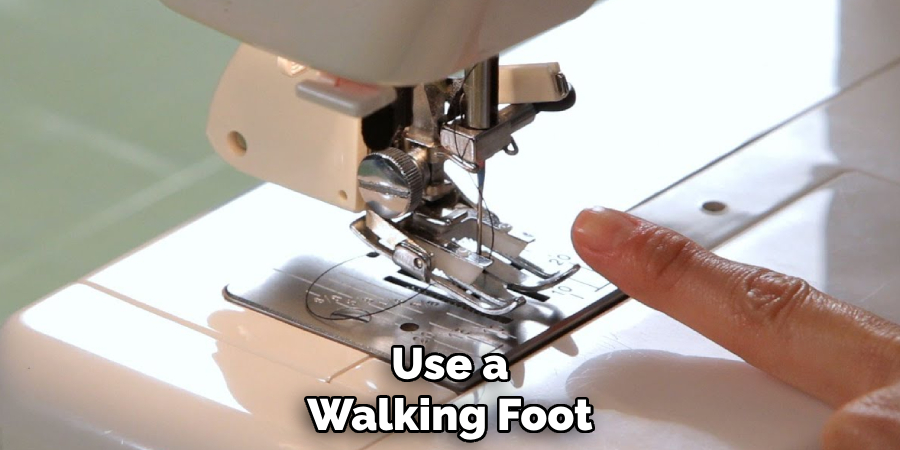
5. Use a Walking Foot
A walking foot is a helpful tool for sewing with pleather as it evenly feeds the fabric through the machine without stretching or slipping. If you do not have a walking foot, sewing with tissue paper on top of the pleather can also help prevent slipping.
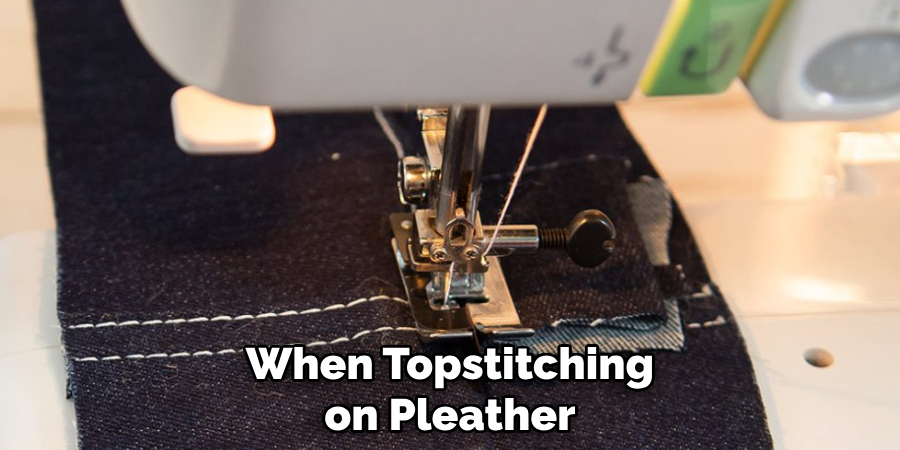
6. Use a Longer Stitch Length for Topstitching
When topstitching on pleather, it is recommended to use an even longer stitch length than when sewing seams. This will not only make it easier to sew through the thicker material, but it will also give a more polished look to your finished garment.
In addition to these tips, it is also important to handle pleather with care while sewing. It can be a bit trickier than sewing with other fabrics, but with the right techniques and tools, you can create beautiful and durable projects with pleather.
What Are the Common Challenges a Beginner Might Face While Sewing Pleather?
Sewing with pleather can be challenging, especially for beginners. Here are some common challenges that you may face while sewing with pleather and how to overcome them:
- Difficulty in cutting: Pleather is a thick material that can be difficult to cut accurately. Use sharp scissors or a rotary cutter to get clean and precise cuts.
- Slipping fabric: As mentioned earlier, pleather can easily slip while sewing. Be sure to use clips or tissue paper to keep the fabric in place.
- Puckering: The thick and slippery nature of pleather can cause puckering on seams and topstitching. Adjusting your machine settings, as mentioned above, can help prevent this issue.
- Bulk at seam intersections: When sewing multiple layers of pleather, it can create bulk at seam intersections. Avoid this by trimming down the excess fabric before sewing or using a hammer to flatten the seams.
- Needle breakage: As mentioned earlier, pleather can be tough to sew through and may cause needles to break if they are not sharp enough. Be sure to use new and sharp needles when sewing with pleather.
With practice and patience, you will be able to overcome these challenges and successfully sew with pleather. Overall, it is important to take your time and pay attention to the specific techniques needed for sewing with this unique fabric.
Conclusion
In conclusion, pleather is a versatile and durable material that can add a touch of style to any sewing project. Whether you are a beginner or an experienced seamstress, learning to sew pleather opens up a world of possibilities for your creations.
One of the most important things to keep in mind when working with pleather is to choose the right needle and thread. Using a leather needle and a strong, polyester or nylon thread will ensure that your stitches hold up well on the material.
Another important tip is to use clips instead of pins when pinning pleather pieces together. Pins can leave permanent holes in the material, whereas clips can easily be removed without causing any damage. I hope this article has been beneficial for learning how to sew pleather. Make Sure the precautionary measures are followed chronologically.