Are you looking for an alternative way to shape a felt cowboy hat without using steam? Look no further. This blog post will teach you the steps on how to shape a felt cowboy hat without steam in just a few minutes!
No more spending time waiting around for Steam or relying on a pro to have it done correctly. Now, with just some simple materials and straightforward instructions, you can come away with the perfect fit for your head size and head shape that’s unique as well as stylish. Read on to learn how easy creating your own personalized felt cowboy hat can be!

Tools and Materials You Will Need to Shape a Felt Cowboy Hat Without Steam
- Felt cowboy hat
- Hot water
- Towels or cloths
- Plastic bag
- Iron set to low heat setting (optional)
Step-by-Step Guidelines on How to Shape a Felt Cowboy Hat Without Steam
Step 1: Begin by Soaking the Felt Cowboy Hat:
Fill a bowl with hot water and submerge your felt cowboy hat. Allow the hat to soak for at least two minutes. This will help to soften the material, making it easier to shape without steam. If you are using an iron, make sure the temperature is set to low heat. This will help to ensure that the felt does not get damaged or burned.
Step 2: Form Your Hat Around a Bowl:
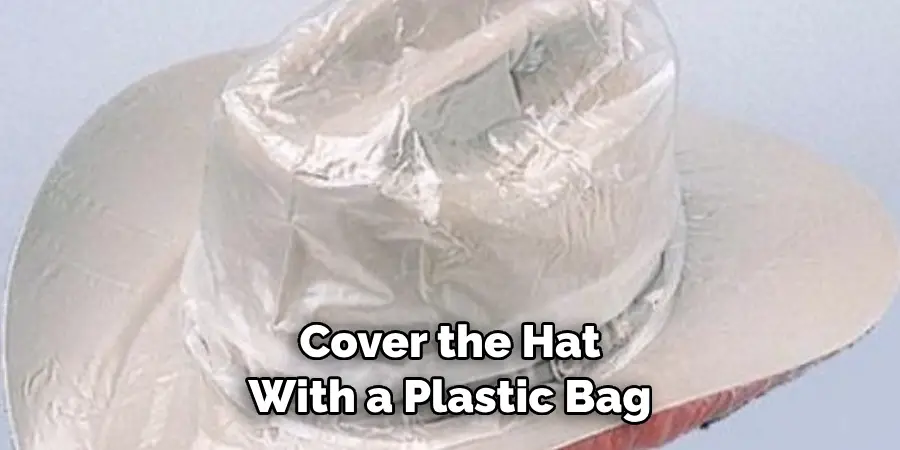
Once the hat is soaked, carefully remove it from the hot water and wrap it with a towel or cloth. Then allow the material to cool for up to five minutes. Next, place your felt cowboy hat over a bowl of the desired shape. The bowl should be slightly bigger than your head size, as this will allow for a more natural fit. Allow the material to form around the bowl and use your hands to press it into place. You may also want to cover the hat with a plastic bag while it dries, as this will help to retain its shape.
Step 3: Allow the Hat to Dry and Set:
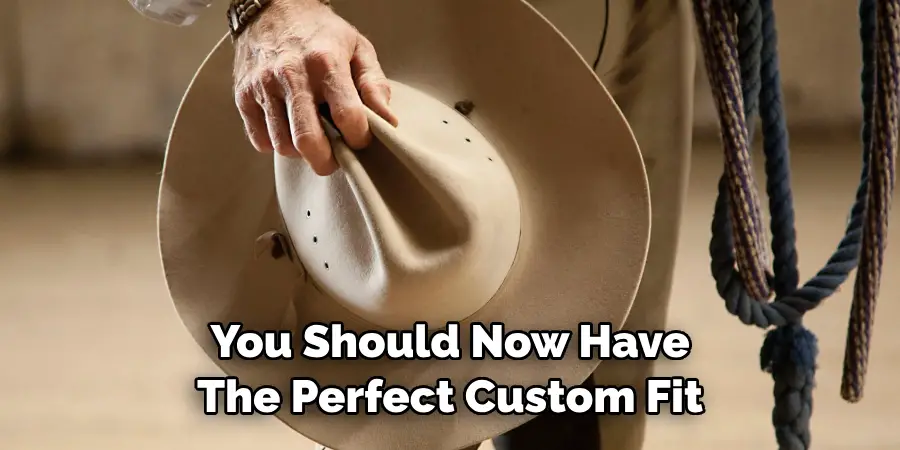
Once your felt cowboy hat is in place, let it dry completely. This could take up to several hours depending on humidity levels and temperature. Once the material is dry, carefully remove it from the bowl and touch up any imperfections with a hot iron set to low heat. You should now have the perfect custom fit for your head size and shape without having to use Steam!
Step 4: Enjoy Your Custom Felt Cowboy Hat:
You can now proudly wear your custom felt cowboy hat knowing that you achieved the perfect fit without having to use steam. Enjoy the compliments and be sure to show off your unique style! With the right steps, anyone can shape their own felt cowboy hat with no steam required. So go ahead, give it a try, and enjoy your customized hat!
And there you have it! You now know how to shape a felt cowboy hat without steam in just a few easy steps. With the right materials and instructions, your hat will be ready in no time. Now you can enjoy your stylish and comfortable felt cowboy hat with confidence!
Additional Tips and Tricks to Shape a Felt Cowboy Hat Without Steam
1. If you are having trouble forming your felt cowboy hat around a bowl, try using a towel or cloth to help press the material into place.
2. For stubborn areas, use an iron set to low heat to ensure that your hat doesn’t get damaged or burned.
3. To retain the shape of the hat and prevent it from sagging, cover the hat with a plastic bag while it dries.
4. Once your hat is completely dry, touch up any imperfections with an iron set to low heat.
5. Store your felt cowboy hat in a cool and dry area when not in use to increase its longevity.
6. If you want to shape the brim of your felt cowboy hat, try using a hat form or using the technique of “rolling and stretching”.
7. If you still want to use steam to shape your felt cowboy hat, make sure to set the iron’s temperature to low heat and keep it away from the material at all times.
8. When caring for your felt cowboy hat, never put it in the washing machine or dryer. Instead, use a damp cloth and gentle soap to clean the material.
Shaping your own felt cowboy hat without steam is easy and can be done in just a few simple steps. With the right materials and instructions, you can create a stylish custom-fitted hat that’s perfect for your head shape and size. Now you can express yourself with confidence and style!
Things You Should Consider to Shape a Felt Cowboy Hat Without Steam
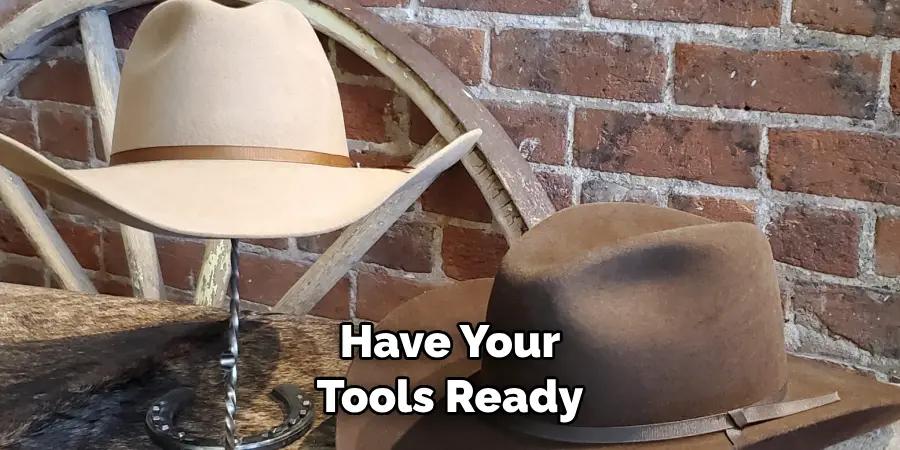
1. Use the Right Tools:
Before you even attempt to shape your felt cowboy hat without steam, make sure you have the right tools for the job. You will need a flat surface that can support your hat while you are working on it, such as a tabletop or countertop. If possible, use a non-porous material like plastic or glass so that your hat won’t absorb any moisture. You will also need a few other tools to shape your hat without steam, such as a wide-tooth comb, pins with round heads, and an optional pair of gloves.
2. Wear the Hat:
Once you have your tools ready, it’s time to put on your hat and start shaping it. Put on the hat so that it fits comfortably on your head without being too tight or loose. This will help give you a better idea of how much work needs to be done to shape the hat properly without resorting to steam.
3. Start Shaping:
When you’re ready, begin shaping your felt cowboy hat without steam by starting with the brim first. Use the wide-tooth comb to start combing out any wrinkles or bumps that are in the felt fabric. Once you’ve evened out the brim, move on to the crown and use your fingers to press down on any sections that appear too high or too low. When you’re finished, use the pins with round heads to secure the shape of your hat in place until it is completely dry.
4. Clean Up:
Once you’ve finished shaping your felt cowboy hat without steam, it’s time to clean up. Use a damp cloth to wipe away any dust or dirt that has been collected on the hat, and make sure that all of your tools are put away in a safe place. If you used pins while shaping your hat, remember to remove them before storing them away until the next time you want to wear them.
By following these considerations and tips, you can easily shape your felt cowboy hat without steam. You don’t need to be a professional milliner or have access to complicated tools in order to get the perfect look for your hat. With some patience and practice you can quickly become an expert at shaping felt cowboy hats without steam!
Frequently Asked Questions
Can I Use a Hairdryer Instead of Steam to Shape My Hat?
No, a hairdryer will not be able to provide the same level of precision and control as using steam would. When shaping your felt cowboy hat without steam, it’s important to use tools like pins and a wide-tooth comb in order to get the right shape. A hairdryer could cause the felt fabric to become too hot and be damaged in the process.
Is There Any Way to Speed Up the Drying Process?
Yes, if you are impatiently waiting for your hat to dry after shaping it without steam, there are a few things you can do. Place a fan near the hat to help speed up the drying process, and make sure it is in a well-ventilated area so that moisture doesn’t get trapped inside the felt fabric. Additionally, you can use absorbent materials like paper towels or newspapers to quickly soak up any excess moisture and help your hat dry faster.
Are There Any Other Tips I Should Know?
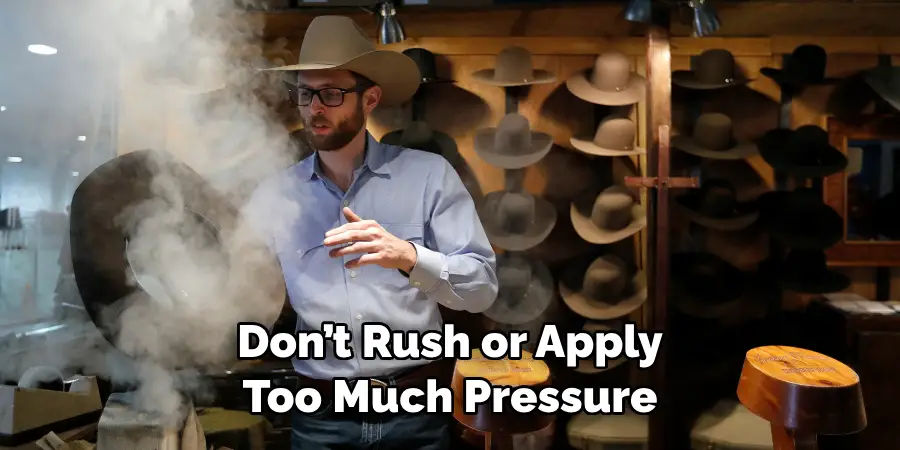
When shaping your felt cowboy hat without steam, make sure to take your time and work slowly. Don’t rush or apply too much pressure when using the tools as this can cause the felt fabric to tear or become damaged. And don’t forget to wear the hat once you are done shaping it so that you can get a better idea of how it looks on your head before permanently setting the shape.
Conclusion
All in all, knowing how to shape a felt cowboy hat without steam can be a great alternative to using steam. With the right tools and techniques, you can get the perfect look for your cowboy hat without risking any damage or shrinking of the fabric. Have fun trying out different patterns and styles, and don’t forget to wear it with pride!