
Do you need help to make holes in your leather project? Whether you’re a beginner or an experienced leatherworker, having a sharp leather hole punch is essential for achieving clean and precise holes.
A leather hole punch is an essential tool for anyone working with leather, whether crafting, repairing, or customizing leather goods. Over time, however, use can dull the punch’s blades, leading to rough edges, imprecise holes, and increased frustration during projects. Properly sharpening a leather hole punch can restore its effectiveness and ensure clean, precise holes in your material.
This guide will walk you through the steps on how to sharpen leather hole punch , helping you maintain its performance and extend its lifespan. With a little care and attention, you can keep your tool in top condition and ready for any leatherworking challenge.
What Will You Need?
Before sharpening your leather hole punch, ensure you have the necessary tools and materials. Here’s a list of things you’ll need:
- Leather hole punch
- Sharpening stone or sandpaper (medium grit)
- Lubricating oil
- Clean cloth or rag
Once you have all your materials ready, let’s begin sharpening your leather hole punch.
10 Easy Steps on How to Sharpen Leather Hole Punch
Step 1: Clean Your Tool
Before starting the sharpening process, ensuring your leather hole punch is clean is crucial. Any dirt, debris, or leather residue on the punch can interfere with sharpening and potentially damage both the punch and your sharpening tools. To remove surface debris, begin by wiping down the leather hole punch with a clean cloth or rag.
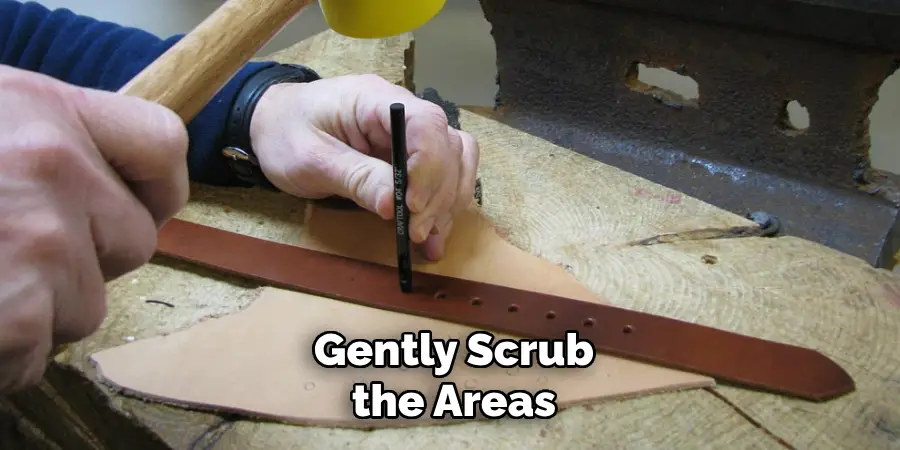
If there is stubborn residue, dampen the cloth with water or a mild cleaner and gently scrub the areas where grime is present. Once the punch is clean, thoroughly dry it with a cloth to ensure no moisture is left, as this can lead to rust and further dull the tool. Taking the time to clean your tool will make the sharpening process more effective and help maintain the longevity of your leather hole punch.
Step 2: Inspect the Edges
Before proceeding with sharpening, it’s important to inspect the edges of your leather hole punch closely. Look for any visible nicks, dents, or areas that appear exceedingly dull, as these will need the most attention during sharpening. By understanding the current condition of the tool, you can focus your efforts more effectively and ensure that you address any specific damage or wear. If you find any severe damage, consider whether the tool can still be effectively sharpened or if it might require professional repair or replacement. Starting with a clear assessment of the edges will aid in making the sharpening process efficient and successful.
Step 3: Secure the Tool
Before you begin sharpening, secure the leather hole punch. Holding the tool steady is essential to ensure accurate sharpening and avoid accidents. Use a vise or clamp to hold the punch in place on a stable surface, such as a workbench. If a vise or clamp is unavailable, hold the tool securely in one hand, ensuring your fingers are safely away from the sharpening area. Ensuring the tool is stable during sharpening enhances precision and protects the user and the punch from potential damage.
Step 4: Start with the Coarse Grit
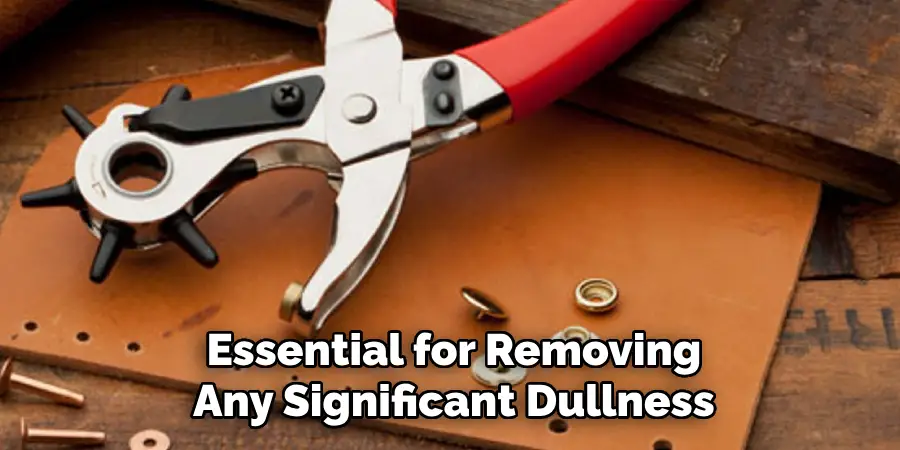
Begin the sharpening process by applying a coarse grit sharpening stone or sandpaper to the edge of the leather hole punch. If using a sharpening stone, ensure it is adequately lubricated with oil or water to reduce friction and prevent damage to the tool. Hold the sharpening implement at the same angle as the slope of the punch, which is typically around 30 degrees. Gently move the stone or sandpaper back and forth along the edge of the punch with steady pressure. Continue this motion until you notice a more refined edge developing. The coarse grit is essential for removing any significant dullness or nicks and prepares the tool for the subsequent finer sharpening.
Step 5: Switch to the Medium Grit
Switch to a medium-grit sharpening stone or sandpaper once the initial edge has been refined using the coarse grit. This step will further smooth and refine the edge, enhancing its sharpness. As before, ensure the sharpening surface is lubricated correctly if necessary. Maintain the same angle as you move the medium grit tool along the edge of the punch. Use controlled, consistent strokes to refine the surface evenly. The medium grit helps transition the edge to a finer state, preparing it for the final polishing step that will punch your leather hole with optimal sharpness.
Step 6: Finish with the Fine Grit
To achieve a razor-sharp edge, switch to a fine-grit sharpening stone or sandpaper. This final step will polish the edge and ensure the highest level of sharpness possible. As with previous steps, lubricate the sharpening surface if needed and maintain a consistent angle of around 30 degrees. Carefully glide the fine grit back and forth along the punch’s edge using light, steady pressure. Take your time to ensure an even finish across the entire edge. The fine grit will remove any remaining scratches or minor imperfections, resulting in a smooth, sharp, polished edge ready for precise leather punching.
Step 7: Test the Sharpness
Once you have completed the sharpening process with the fine grit, it’s time to test the sharpness of your leather hole punch. Select a small piece of scrap leather as your test material. Secure the leather on a stable surface and press the punch through it. A properly sharpened punch should create clean, precise holes with minimal effort. If the holes are ragged or require excessive force, additional sharpening may be needed. By testing its performance, you can ensure the tool meets your leatherworking needs and is ready for any project you undertake.

Step 8: Clean and Maintain the Punch
After ensuring that your leather hole punch is adequately sharpened, cleaning and maintaining it for future use is essential. Begin by wiping down the punch with a clean cloth to remove any metal filings or residue from the sharpening process. Use a small brush to get into any crevices and ensure thorough cleaning. Once clean, apply a thin layer of lubricating oil to the punch. This will help protect the metal from rust and corrosion, maintaining the sharpness of the edge. Store your leather hole punch in a dry, secure place, ideally in a protective case or sheath, to prevent accidental damage. Regular maintenance will prolong the life of your tool and ensure it performs optimally whenever you need it.
Step 9: Safety Tips for Using the Leather Hole Punch
Safety should be a top priority when using a leather hole punch to prevent accidents and injury. Always ensure your hands and fingers are clear of the punching area before applying pressure. Utilize a stable work surface to maintain control and prevent slips. It’s also advisable to wear protective gloves to safeguard against any unintended contact with the sharp edge. Keep children and pets away from your workspace while crafting. Additionally, regularly inspect your tool for any signs of wear or damage and address them promptly.
Step 10: Proper Storage and Care
Ensuring the longevity of your leather hole punch requires attention to proper storage and ongoing care. After each use, clean the tool thoroughly to remove any debris or residue, as the remaining particles can affect future performance and cause damage over time. Store the punch in a dry, protected environment, ideally in a toolbox or on a tool rack, to maintain its condition and safeguard against rust. Humidity and exposure to moisture should be minimized since they can corrode the metal. Periodically applying a thin layer of protective oil will further help in preventing rust.
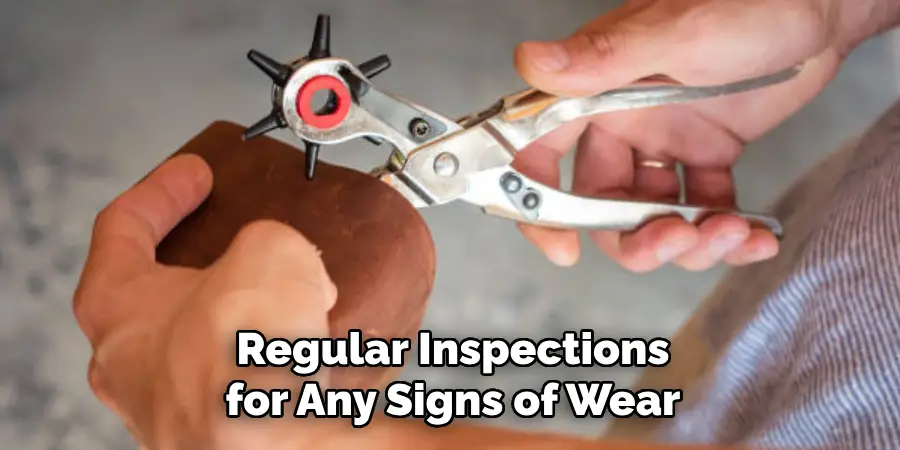
At the same time, regular inspections for any signs of wear can reveal issues that need addressing before they become significant problems. Proper storage and care will ensure that your leather hole punch remains a reliable and integral part of your leatherworking toolkit.
By following these steps, you can efficiently and effectively sharpen your leather hole punch to maintain its sharpness for all your crafting needs.
5 Things You Should Avoid
- Using a Bench Grinder: Avoid using a bench grinder to sharpen your leather hole punch. The high-speed rotations can cause the metal to overheat and lose its temper, which may result in a weakened and brittle tool.
- Ignoring Manufacturer’s Instructions: Always check and follow the manufacturer’s guidelines for maintaining and sharpening your hole punch. Ignoring these instructions might damage it or void any warranties.
- Using Excessive Force: Applying too much pressure when sharpening can cause uneven edges or deformation to the cutting edge. Gentle, consistent strokes will yield better results without damaging the tool.
- Sharpening at the Wrong Angle: Be mindful of maintaining the cutting edge’s original angle. Altering the angle may compromise the tool’s functionality, leading to poor performance and a shortened lifespan.
- Neglecting Regular Maintenance: Skipping regular sharpening and maintenance can lead to a blunt tool that requires more effort, potentially damaging your leather projects and the tool itself. Regular attention ensures the tool remains functional and practical.
Conclusion
Regular maintenance and proper sharpening techniques are essential for preserving the efficiency and longevity of your leather hole punch.
By avoiding common pitfalls such as using excessive force or grinding at an incorrect angle, you ensure the tool maintains its sharpness and precision. Consistently following manufacturer guidelines and ensuring regular upkeep will keep your hole punch in top condition and improve the quality of your leather work.
Hopefully, the article on how to sharpen leather hole punch, along with these tips on what to avoid, will help you make the most out of your tool and achieve professional results in your leather projects. So keep these tips in mind the next time you sharpen your leather hole punch and happy crafting! Happy crafting!