Have you ever wanted to learn how to skin a beaver for tanning? Tanning animal skins can seem overwhelming at first, but with the right information and guidance, it doesn’t have to be.

In this blog post, we’ll walk you through every step of skinning and tanning a beaver so that you can create an amazing fur garment or accessory for yourself! All it takes is some time, patience, and attention to detail. So grab your tools and let’s get started – learning how to skin a beaver will open up the world of leather-working possibilities for anyone looking to hone this unique craftsmanship skill!
Tools and Materials You Will Need to Skin a Beaver for Tanning
- A beaver-skinning knife (or other sharp, durable blade)
- Tanning solution
- Salt or alum to help preserve the fur
- Utensils for scraping and cleaning the skin
- Buckets or basins for soaking in tanning solutions
- Sap or other natural oils to help keep the fur soft and supple
- Wooden table or similar work surface
Step-by-Step Guidelines on How to Skin a Beaver for Tanning
Step 1: Prepare the Beaver
Before you begin skinning the beaver, it is important to properly prepare and clean the fur. Begin by making a cut just behind the head of the animal, then around its underside and down to its back legs. This will create an opening that will allow you to remove most of the internal organs without damaging any of the furs.
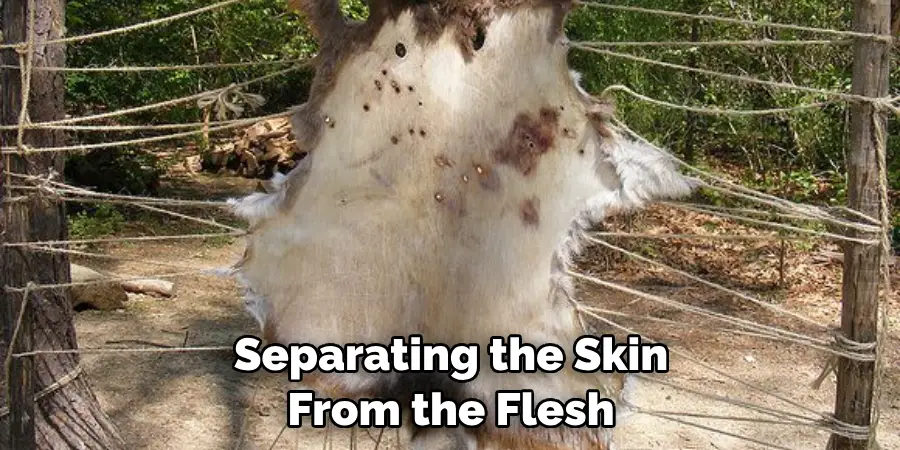
Step 2: Separate the Skin from the Flesh
Once the internal organs have been removed, it is time to begin separating the skin from the flesh. Use your knife to make a small incision in the soft area just below one of the hind legs. From there, carefully run your blade between the flesh and skin until you feel the skin begin to pull away from the body.
Step 3: Remove All Fur
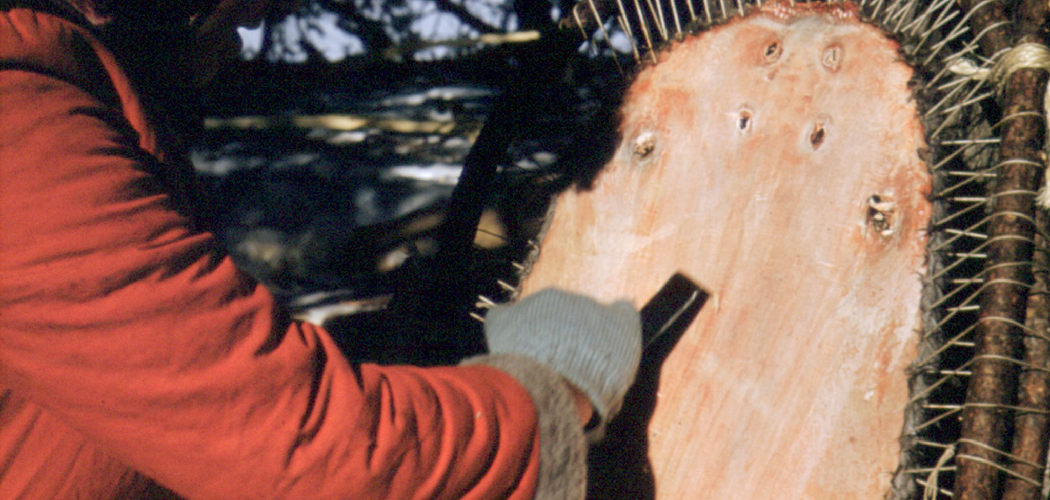
Carefully use your knife or other sharp tool to scrape away any remaining fur from the hide. This will help ensure that all of the fur is removed, as well as any remaining fat and tissue.
Take care not to damage the skin while doing so. While removing the fur, you may find that some areas are more difficult to scrape than others. You can use a stiff-bristled brush to help loosen and remove any excess fur from these areas.
Step 4: Stretch the Skin
Once all of the fur has been removed, it is time to stretch and dry out the skin. To do this, place a clean piece of wood or other flat surface over the skin and then use your hands to gently pull it as tightly as possible. This will help to tighten up the skin and allow it to dry quickly. This will also help to preserve the shape of the hide before it is tanned.
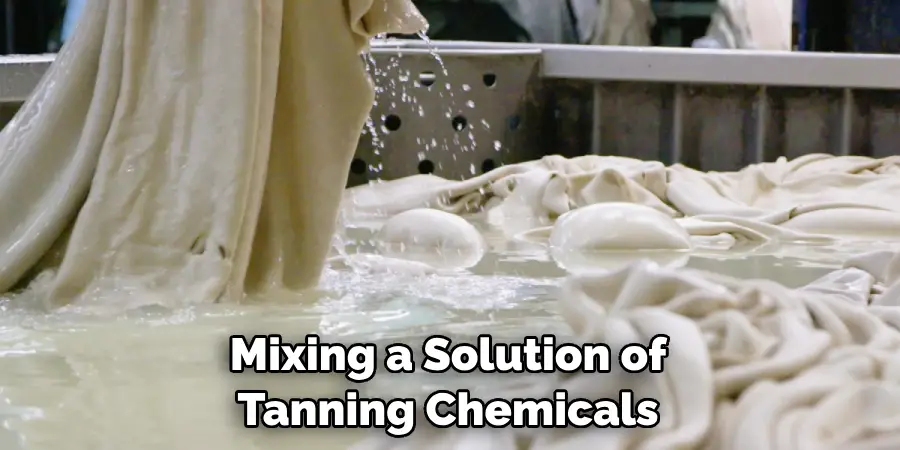
Step 5: Tanning
This step is critical in ensuring that your beaver skin will last for years to come. Start by mixing a solution of tanning chemicals and water in a bucket or basin according to the directions on the package. After this, carefully submerge the beaver skin into the solution and allow it to soak for one to two days. This will help to preserve and soften the hide before you begin working with it.
Once the tanning process is complete, take your skin out of the tanning solution and lay it out on a flat surface or table in order to let it dry completely. This may take several days, depending on the humidity and temperature of your work area.
Step 6: Finishing Touches
After the skin is finished drying, you can begin to add any finishing touches that you desire. Start by stretching the skin once more over a flat surface in order to restore its original shape. Next, you can apply natural oils or sap to the fur in order to keep it soft and supple. Finally, use salt or alum to help preserve the color of your beaver skin and keep it strong for years to come!
Congratulations – you have now successfully learned how to skin a beaver for tanning! With some patience and practice, you can create amazing leather-working pieces that will last for many years. Enjoy your new skill!
Additional Tips and Tricks to Skin a Beaver for Tanning
1. Make sure to wear protective gloves when skinning the beaver, as their claws are sharp and can cause cuts.
2. It’s a good idea to set up a workstation near a clean water source so that you can easily rinse off the fur after removing it from the animal.
3. When pulling the fur off, you should make sure to use a slow and steady motion. Pulling too quickly could cause tearing of the skin.
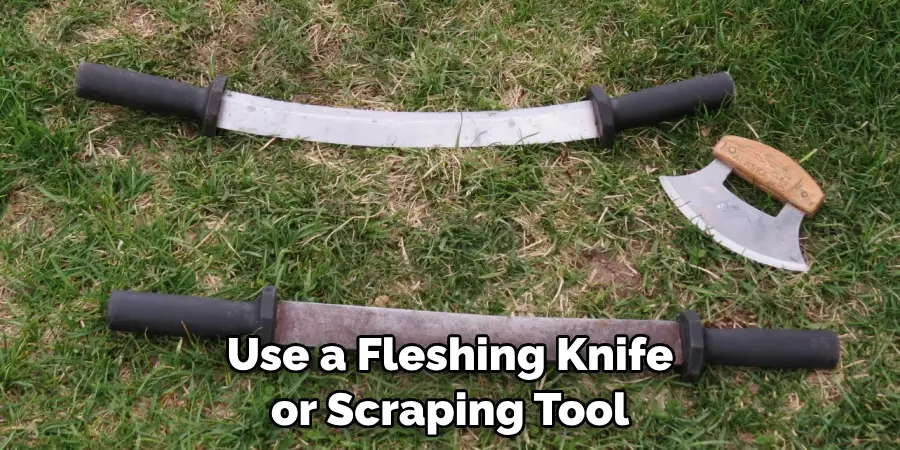
4. To remove any excess fat and tissue underneath the hide, use a fleshing knife or scraping tool. This will help to loosen up any remaining layers that need to be removed before tanning the hide.
5. Once all of the fur and fat has been removed, you should apply a tanning agent to the hide in order to preserve it. This will help to keep the hide soft and resistant to deterioration.
6. Finally, hang the dry hide on a stretcher or rack so that it can be dried completely. This will help to ensure that the hide retains its shape and softness for many years to come.
By following these tips and tricks, you can make sure that your beaver skinning process is successful! With a little patience and attention to detail, you can create beautifully tanned hides that last. Good luck and happy tanning!
Precautions Need to Follow for Skin a Beaver for Tanning
1. Never skin a beaver while it is still alive. A living animal must not suffer any distress or pain, so take the appropriate precautions and wait until the beaver has been humanely euthanized before beginning the tanning process.
2. Clean the entire pelt of the beaver with soap and water to eliminate dirt and oils. Once clean, allow the pelt to dry completely before beginning the skinning process.
3. Use a sharp knife to cut around the head and feet of the beaver, then gently peel back the skin from its muscles. This will reveal its musculature structure and is necessary for properly tanning it.
4. Make sure that the pelt is kept as intact as possible, without any tears or punctures. This will help to ensure a better quality of hide when it is finished tanning.
5. Once the beaver has been skinned, stretch out the pelt on a flat surface such as a wooden board. This will help to eliminate any irregular shapes or wrinkles from the hide.
6. Use a special tanning solution to preserve the beaver’s skin and hair, as well as make it soft and supple for use in future projects. Follow the instructions on the product packaging carefully when applying this solution.
7. Allow the pelt to dry completely before storing or using it for any purpose. This is particularly important if you plan to use it in a craft project, as wet hides can quickly stretch and tear.
By following these precautions, you can ensure that a beaver pelt is properly skinned and tanned for use in various projects or crafts. When done correctly, the hide will be soft and supple, with its fur intact and ready to use in any project.
Frequently Asked Questions
Is It Difficult to Skin a Beaver?
Skinning a beaver does take some practice, but it is not overly difficult. You will need to make sure you have the right tools on hand to safely and effectively remove the pelt from the animal without damaging it in any way. Additionally, it is important to be familiar with the anatomy of a beaver so you can accurately identify and separate the fur from the skin.
How Long Does It Take to Skin a Beaver?
This process can take anywhere from 15 minutes to an hour depending on your skill level and familiarity with the animal’s anatomy. It is important to take your time and go slowly so you do not damage the skin or fur while removing it from the animal. Additionally, be sure to use sharp tools and practice proper safety measures throughout the process.
What Should I Do With The Pelt After I Skin The Beaver?
Once you have successfully removed the pelt from the animal, it is important to take proper care of it. The hide should be air-dried as soon as possible and kept out of direct sunlight. Additionally, you will need to apply some form of tanning solution or oil to the hide in order to preserve its quality. Following these steps will ensure that your beaver pelt is ready for use in various leatherworking projects.
Conclusion
Just like any other taxidermy or leather working project, you must take into consideration every step of how to skin a beaver for tanning in order to get the desired results.
By following these steps closely, you can turn a harried beaver hide into something constructive and safer for use in everyday items. With patience and practice, donning the title of master leatherworker won’t be too far out of your reach.
Lastly, don’t forget to give yourself a pat on the back for taking the time to practice a skill that was once used by our ancestors for many practical purposes. Now you can take your newly tanned beaver hide and craft that unique item you have been wanting to make!