Do you have a leather recliner in your home that makes obnoxious squeaking noises whenever you sit down? If you have a squeaky leather recliner that is driving you up the wall, then there is good news. You don’t have to put off your relaxation time due to an uncomfortable sound coming from your chair—it can be quite easily fixed with some handy tools and materials!

In this blog post, we will walk you through step-by-step how to identify the source of the noise and then how to stop squeaky leather recliner quickly so that your favorite area of seating can be silent again in no time. Below we outline a few key steps to take in order to get rid of those pesky squeaks once and for all! Who knows—you might even gain a new respect for home repairs once you complete this quick project!
What is Meant by Squeaky Leather Recliner?
A squeaky leather recliner is exactly what it sounds like—a leather chair or seat that makes an unpleasant sound when someone sits down or stands up in it. The noise can range from a slight squeak to a loud and uncomfortable creaking noise. It is usually caused by the friction of two metal parts rubbing against each other, which results in an unpleasant sound. Fortunately, this is an easy problem to fix.
Identifying the Source of the Squeak
The first step in eliminating a squeaky leather recliner is to identify where the sound is coming from. It could be coming from either one of two places: underneath the cushion or at any of the joints between the metal components. To accurately pinpoint the source of the noise, press on various parts of the chair and listen for the sound. Once you have located it, you will be able to repair it quickly and easily.
What to Keep in Mind While Stopping Squeaky Leather Recliner?
Before attempting to repair your squeaky chair, there are a few things you should keep in mind.
- Firstly, make sure the leather is clean and dry before you begin; any dirt or moisture will make it harder for the adhesive to stick to the surface of the recliner.
- Secondly, be aware that some adhesives and lubricants can cause discoloration on the leather, so it is important to test them in an inconspicuous area first.
- Finally, always wear protective gloves and take safety precautions when handling any kind of adhesive or lubricant.
Required Items to Stop Squeaky Leather Recliner
Once you have identified the source of the squeak, there are several items that you will need in order to fix it:
- Adhesive (such as glue or epoxy)
- Lubricant (such as WD-40 or silicone spray)
- Soft cloths
- Rubber mallet
- Screwdriver (for any screws that need to be removed)
10 Ways How to Stop Squeaky Leather Recliner
1. Clean the Leather
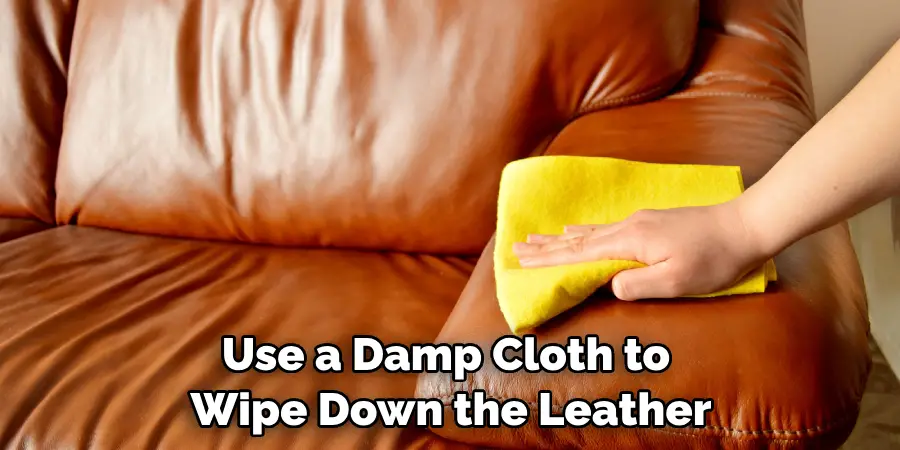
Before you start repairing the chair, use a damp cloth to wipe down the leather in order to remove any dirt or grime that may be preventing the adhesive from properly sticking. Cleaning the leather will also ensure that the repair looks as good as possible when you’re done.
2. Apply Adhesive
Once the surface is clean, use an adhesive to put any loose parts of the recliner back together. You can use glue or epoxy specifically designed for leather, as they are more durable and less likely to discolor the material.
3. Secure Joints with Screws
Use a screwdriver to tighten up any loose joints that may be causing the squeaking. This will help prevent them from moving and creating further noise in the future. Securing loose screws also adds stability to the chair, so it’s a good idea to do this even if you don’t hear any noise.
4. Apply Lubricant
Once the joints are secure, apply a lubricant (such as WD-40 or silicone spray) to all of the metal parts that move when someone is sitting in the chair. This will reduce friction and help prevent further squeaking noises in the future.
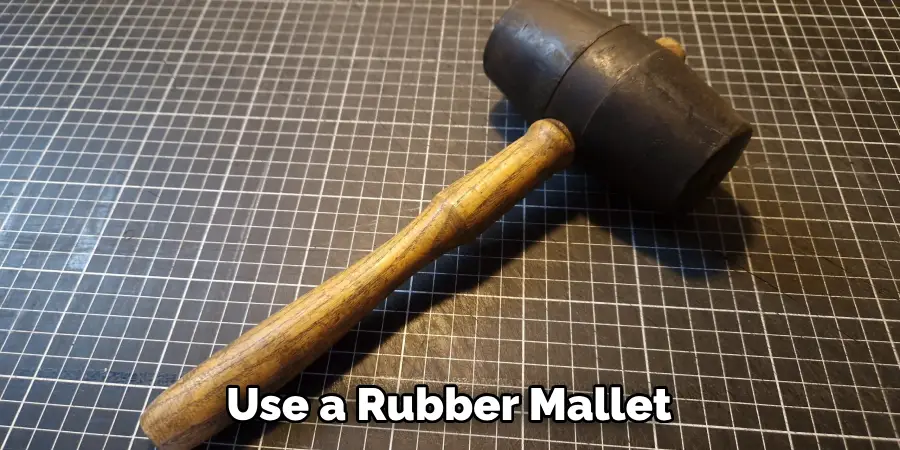
5. Hammer Down Loose Parts
If there are parts of the recliner that are still loose even after being secured with screws, then you may need to use a rubber mallet to hammer them down into place. Make sure to place a cloth underneath the part that you are hammering to protect the leather.
6. Allow Adhesive and Lubricant to Set
Once all of the necessary steps have been completed, it’s important to allow both the adhesive and lubricant sufficient time to set before using the chair again. Depending on which products were used, this could take anywhere from a few hours to
4. Lubricate Moving Parts
If you’ve identified any moving parts as the source of the squeak, then you should apply a lubricant such as WD-40 or silicone spray to the area. This will help reduce friction and prevent further squeaking in the future.
5. Tighten Loose Parts
If any of the components are loose, use a screwdriver to tighten them securely back into place. This will also help keep the chair stable and prevent it from moving too much when someone is sitting in it.
6. Hammer In Loose Parts
If you’ve identified any parts that are still loose or wobbly, then use a rubber mallet to hammer them back into place. Again, make sure to place a cloth underneath the part that you are hammering in order to protect the leather.
7. Test for Squeaks
Once all of the steps have been completed, it’s time to test out your hard work! Sit down in the chair and take a few short hops up and down; if you no longer hear any squeaking noises, then your repair has been successful!

8. Allow Adhesive and Lubricant to Set
No matter which products you use, it is important to allow them sufficient time to set before using the chair again. Depending on the type of adhesive or lubricant that was used, this could take anywhere from a few hours to a couple of days.
9. Clean Off Excess Glue or Lubricant
If necessary, use a damp cloth to remove any excess glue or lubricant that may have been left behind during the repair process. Cleaning off any excess will help to keep the chair looking neat and make sure that your repair is as effective as possible.
10. Enjoy Your Quiet Leather Recliner
Now that you’ve successfully stopped the squeaking, it’s time to enjoy your quiet leather recliner! With a little bit of patience and some simple tools, you have managed to repair your chair and get back to enjoying it in peace.
With these tips for how to stop squeaky leather recliner, you’ll be able to easily eliminate the noise from your chair and enjoy using it again. Just remember to take safety precautions when handling any adhesive or lubricant, and always let the products set before using your chair again.
8 Maintenance Tips for How to Stop Squeaky Leather Recliner
1. Use a clean cloth and saddle soap to polish the leather recliner and coat it with a protective sealant. This will keep dirt from settling in the crevices, which can create squeaking noise when you move.
2. Lubricate all the moving parts of your leather recliner with a good quality lubricant such as WD-40. This will not only reduce further squeaking, but it can also help extend the life of your recliner.
3. Check the bolts and screws that hold the frame together for signs of looseness or wear and tear. If any are found, tighten them to secure the joints and reduce vibrations created when you move the leather recliner.
4. Use a damp cloth to clean the metal parts of your leather recliner and make sure they are free from dirt and debris. This will help reduce squeaking caused by friction between the rotating parts.
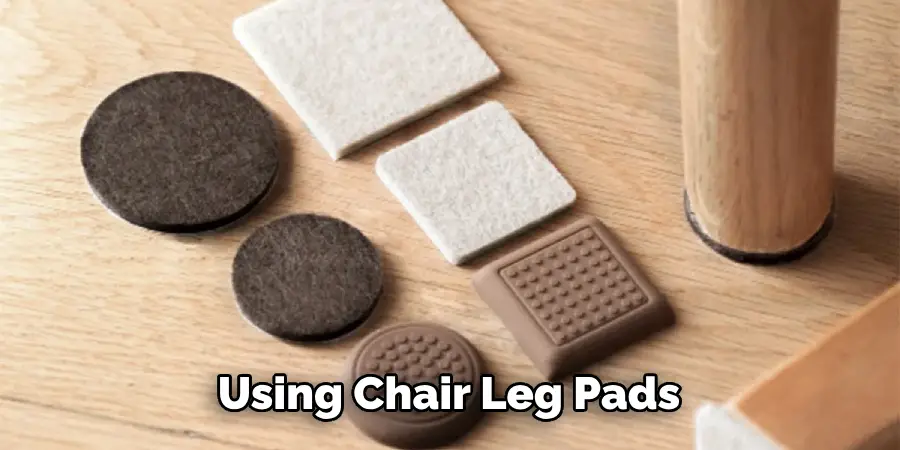
5. To prevent further wear and tear, consider using chair leg pads to provide extra cushioning for the legs of your leather recliner.
6. Check the springs under the seat of your leather recliner for signs of wear or damage. If necessary, replace these to provide proper support and reduce squeaking when you move around in the chair.
7. Consider replacing any rusted parts with new ones, as this can be a major cause of excessive squeaking in leather recliners.
8. Lastly, if all else fails, contact a professional upholstery specialist to inspect and repair your squeaky leather recliner. This is the best way to ensure that your chair gets the attention it needs and that you get maximum comfort from using it.
Following these tips can help you keep your leather recliner in great shape and stop it from squeaking. Additionally, regular maintenance of your recliner will extend its life and ensure many years of comfort. And remember: if all else fails, contact a professional for assistance!
Conclusion
An enduring squeaky leather recliner can be an annoying and frustrating nuisance to have to deal with. With the right materials, some basic tools, and a little bit of patience, it’s possible to make your furniture piece good as new. As such, armed with the tips outlined in this post, you can banish that distracting squeak once and for all!
The process may take a few steps of how to stop squeaky leather recliner depending on where the sound is coming from but keep at it. Remember to stay relaxed throughout the process, stay organized and methodical in approach, use non-abrasive tools & lubricants, and work slowly but surely. Most importantly, don’t forget – persistence is key! Eventually, you’ll get there!