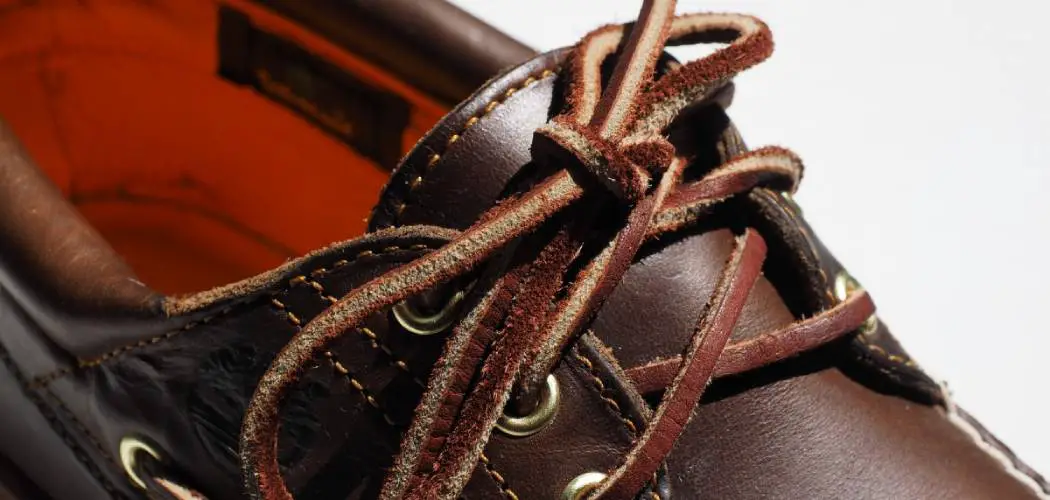
Something about a good pair of Sperrys makes you feel put together. Maybe it’s the preppy style or the signature leather laces. But whatever it is, there’s no doubt that a pair of Sperrys can elevate any outfit. Today in this article, we’ll show you how to tie sperrys leather laces. So if you’re wondering how to tie those sleek leather laces, read on for our foolproof guide.

Sperrys are classic shoes, and part of what makes them so traditional is the leather lacing. Leather laces add a touch of luxury to any pair of shoes, and they’re also notoriously difficult to tie. As a result, many people shy away from leather laces because they don’t know how to connect them. But with our step-by-step guide, you’ll be an expert in no time.
Summary: Tying the leather laces of Sperry shoes is a simple task that can be accomplished in a few easy steps. Begin by threading the lace through the hole closest to your toes and pulling it up so there is an equal length on both sides. Then, tie a standard knot – loop one side over the other, then tuck it under and pull tight. Finally, double-knot if desired for extra security.
How to Tie Sperrys Leather Laces Detailed Guide
Method 1: Barrel Knot
The Barrel Knot is one of the most popular and essential knots to keep your Sperrys tight and secure. It’s also relatively easy to tie once you get it.
Step 1.
Begin by threading one end of the laces through the eyelet on the side of the shoe nearest to your big toe.
Step 2.
Next, take the other end of the laces and thread it through the eyelet on the opposite side of the shoe.
Step 3.
Now that both ends of the laces are coming out of their respective eyelets hold them together and tie them once to form a basic knot.
Step 4.
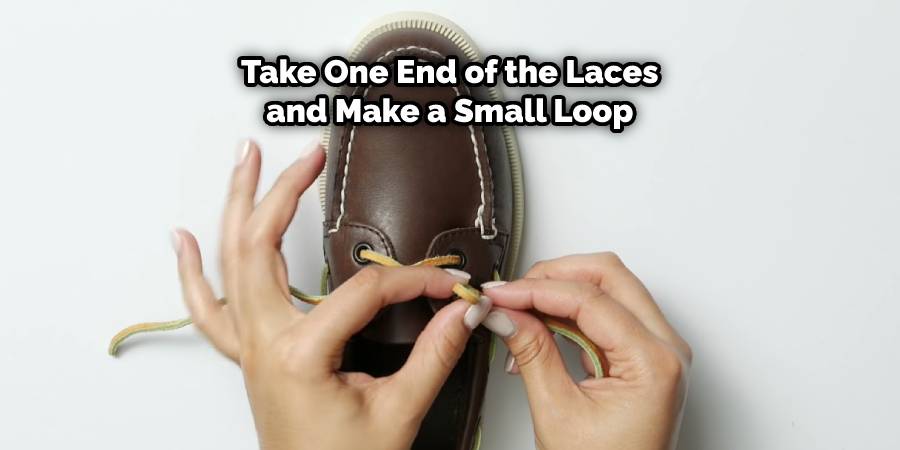
Take one end of the laces and make a small loop, or “bight.” This bight should be close to the shoe.
Step 5.
Take the other end of the laces and thread it over the top of the bight. Then, thread it through the hole created by the bight.
Step 6.
Now pull both ends of the laces to tighten the knot. You’ve just tied a Barrel Knot!
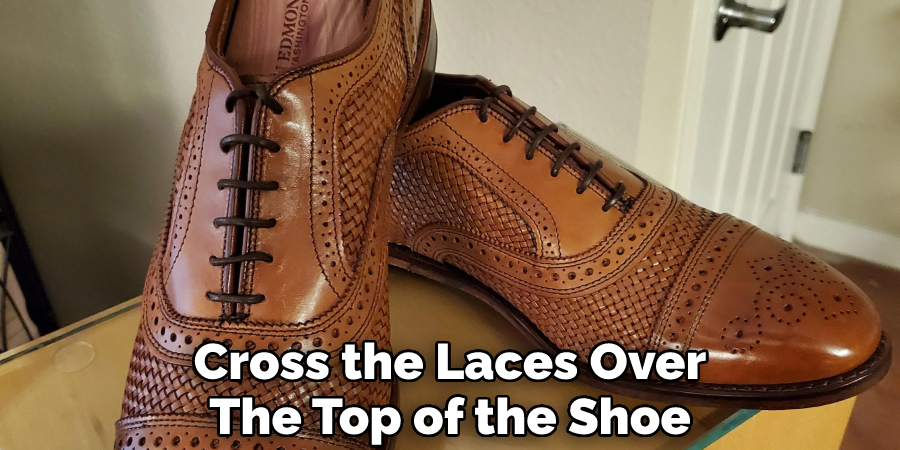
Method 2: Cross Knot
The cross knot is more complicated than the basic loop knot, but it’s still relatively easy. Plus, it results in a neater, more polished look perfect for boat shoes and dressier Sperrys.
Step 1.
Start with the shoe on your foot. If you have trouble, put the shoe on a table or other hard surface.
Step 2.
Cross one lace over the other lace halfway up the laces.
Step 3.
Take the end of the “over” lace and put it over the “under” lace. Now poke it underneath the “under” lace.
Step 4.
Hold on to the ends of both laces and pull tight. The cross should now be close to the shoe.
Step 5.
Take the “over” lace and make a small loop or ‘bunny ear’. This “over” bunny ear should have a long tail.
Step 6.
Make the same loop with the “under” lace and cross the middle of the “over” bunny ear with the “under” bunny ear.
Step 7.
Take the top of the “under” bunny ear and put it over the “over” bunny ear. Now poke it through the hole.
Step 8.
Put your fingers inside the ends of the bunny ears, then hold on and pull tight. You’ve now tied the loops in a knot.
Step 9.
Trim the excess laces, careful not to cut too close to the knot. You’re done!
Method 3: Tassel Knot
The tassel knot is the most common way to tie Sperrys. It’s simple and only requires few steps. This knot is also known as the shoestring knot or the basic slip knot.
Step 1.
Take the left lace and make a small loop, holding it between your thumb and the first two fingers.
Step 2.
Cross the right lace over the top of the left loop.
Step 3.
Now take the end of the right lace and insert it through the hole created by the loop in step 1.
Step 4.
Pull-on both laces to tighten. You should now have a basic knot.
Step 5.
Next, take the left tassel and make a small loop, holding it between your thumb and first two fingers.
Step 6.
Do the same with the right tassel, making sure that the loops face each other.
Step 7.
Take the top of the right tassel loop and insert it over the left tassel loop.
Step 8.
Now take the end of the right tassel and insert it through the hole created in step 7.
Step 9.
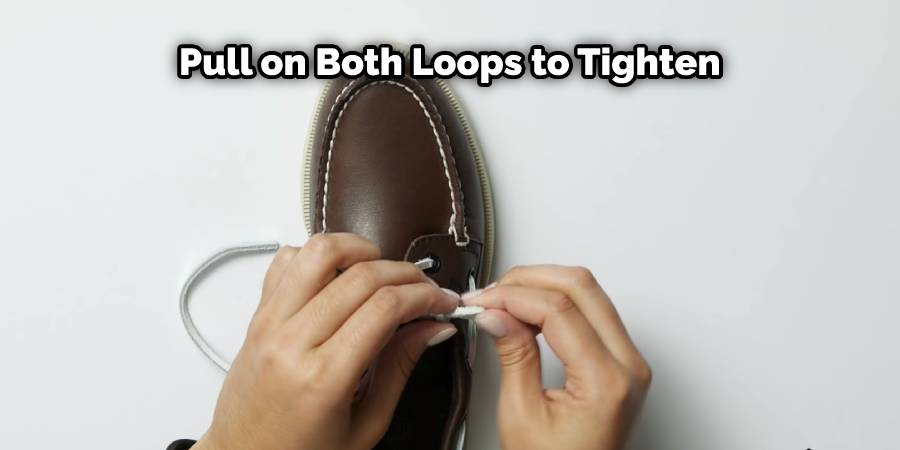
Pull on both loops to tighten. You’ve now successfully tied a tassel knot!
Method 4: Chain Knot
This is the most common way to tie Sperrys and how they come connected from the factory. It’s a straightforward knot, but it’s essential to get it right, or your shoes will quickly come untied.
Step 1.
Start with the laces, slack and straight. Cross one lace over the other lace halfway up the laces, about 6 inches from the end.
Step 2.
Take the end of the “over” lace and put it over the “under” lace, then poke it underneath.
Step 3.
Now take the end of the “under” lace and put it over the “over” lace, then poke it underneath.
Step 4.
Pull both laces tight. The cross should now be close to the shoe.
Step 5.
Take the “over” lace and make a small loop or ‘bunny ear’. This “over” bunny ear should have a long tail.
Step 6.
Do the same thing with the “under” lace to make a second bunny ear, but this time make the loop smaller than the first one.
Step 7.
Cross the middle of the “under” bunny ear over the “over” bunny ear.
Step 8.
Take the top of the “under” bunny ear and put it over the “over” bunny ear, then poke it through the hole.
Step 9.
Put your fingers inside the ends of both bunny ears, then hold on and pull tight. You’ve now tied the loops in a knot.
Step 10.
Trim the ends of the laces if they’re too long.
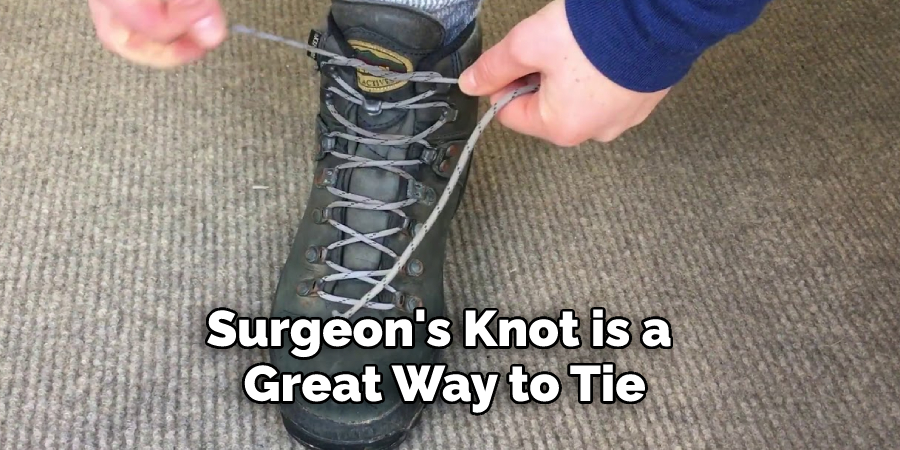
Method 5: Surgeon’s Knot
The Surgeon’s Knot is a great way to tie your shoes if you have two different materials that you need to use. Surgeons commonly use this knot because it is secure and won’t come undone easily.
Step 1.
Take the left shoelace and make a small loop, or “bunny ear.” This “ear” should have a long tail.
Step 2.
Make the same loop with the right shoelace and cross the two loops in the middle.
Step 3.
Take the top of the left loop and put it over the right loop. Now poke it underneath the right loop.
Step 4.
Put your fingers inside the created hole and then grab the top of the left loop and pull it through. You’ve now tied the loops together in a basic knot.
Step 5.
Take the left shoelace and make a small loop, or “bunny ear.” This “ear” should have a long tail.
Step 6.
Make the same loop with the right shoelace and cross the two loops in the middle.
Step 7.
Take the top of the left loop and put it over the right loop. Now poke it underneath the right loop.
Step 8.
Put your fingers inside the created hole and then grab the top of the left loop and pull it through. You’ve now tied the loops together in a basic knot.
Step 9.
Take both ends of the left shoelace and hold them in your left hand. Next, take both ends of the right shoelace and hold them in your right hand.
Step 10.
Cross the laces over the top of the shoe and tie them together once, making sure it’s tight against the shoe. You’ve now tied a surgeon’s knot!
How Do You Keep Leather Shoelaces From Untying?
Keeping leather shoelaces from untying can be achieved through a few simple steps. Firstly, make sure the laces are tied properly with an appropriate knot and that the ends of the laces are secured firmly to each other. Secondly, reinforce the knot by tucking the end of one lace into a loop on the other side or pulling it back through itself creating a crisscross effect.
Thirdly, add adhesive to help secure the knot in place. This can be done by using products such as melted wax or fabric glue. Finally, avoid creating tension on your shoestrings when putting on your shoes as this can cause them to become loose and untied more easily. By following these simple steps, you can help ensure that your leather shoelaces remain securely tied for long periods of time.
Frequently Asked Questions
Can You Tie Leather Laces?
Sure, you can tie leather laces! All you need is some sturdy string and a pair of scissors. Here’s how to do it:
1. using scissors Cut the string into two equal pieces. Make sure the length of each piece is about twice the width of the laces you want to tie.
2. Take one piece of string and put it through one of the holes in the middle of the lace. Make sure the lace is centered on the string.
3. Cross the strings over each other, tucking them underneath so that they are held in place. Then, poke one end of the string through the hole on the other side of the lace and pull tight to tighten the knot. Repeat on all sides of the lace.
Are Leather Laces Strong?
While there is no scientific evidence to support the claim that leather laces are stronger than other types of shoelaces, some people may choose to wear them due to this belief. In general, shoelaces are not very strong and can easily be untied or broken. If you’re concerned about your safety when wearing shoes with leather laces, it would probably be a better idea to stick with a more standard type of lace.
What Are the Strongest Laces?
There are many different types of lace, but the strongest type of lace is silken-like silk. This type of lace was once used to make the finest damasks and other textiles. However, today it is mainly used for lingerie and corsets because its elasticity allows it to compliance with curves while holding shape. It’s also durable and wrinkle-resistant, making it a popular choice among fashion designers and consumers who want high-quality clothing that will last long periods of time without needing frequent repairs or alterations.
Given these reasons, if you’re looking for strong yet comfortable laces that can be worn in almost any situation, silk-like lace may be your best bet!
What Shoe Laces Stay Tied Best?
It largely depends on the type of shoe you’re tying. However, some common lace-keeping tips include using double or triple laces for high-top shoes or sneakers and using a simple knot for low-tops or dress shoes. It’s also important to make sure that your loops are tight enough so that they don’t stretch out over time.

Additionally, ensure that the ends of the laces are neatly tucked underneath the shoe itself – otherwise, they could get caught on things like door frames or chair legs and come untied easily. Lastly, avoid wearing mismatched socks with your favorite pair of shoes – this can result in sharp shoelace cuts on both feet!
Conclusion
Follow these simple methods to tie your Sperrys leather laces, and you’ll have them looking sharp in no time! We hope you have gone through the article on how to tie sperrys leather laces. Thanks for reading, and we hope you enjoy your new shoes!
You may also like – How to fix leather shoes tear.